How to Create a Quote for Support at Home Clients
Step 1: Access Quotes & Contracts Window
Option 1: Go to the Budget / Quotes and Contracts section in the client profile
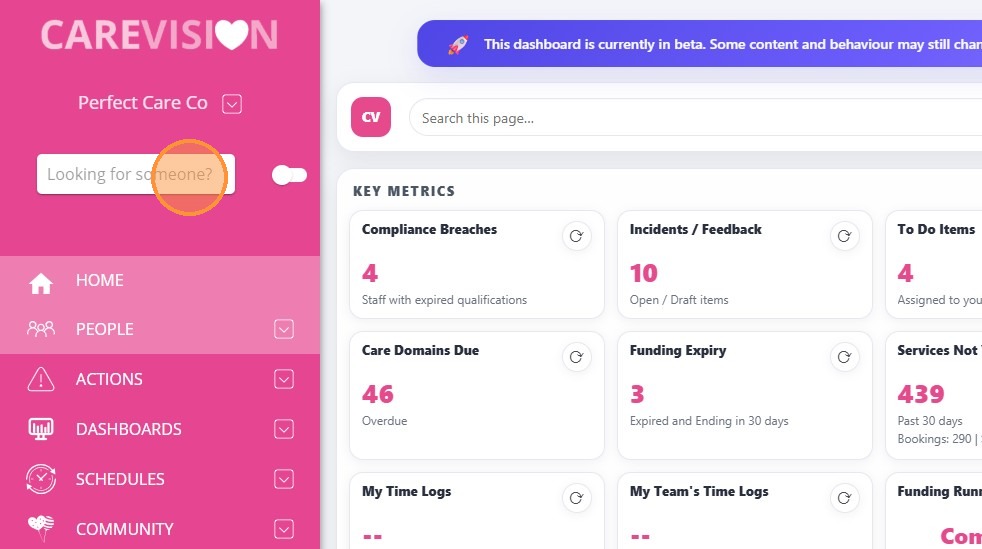
1. In the search bar, type the name of the lead or client.
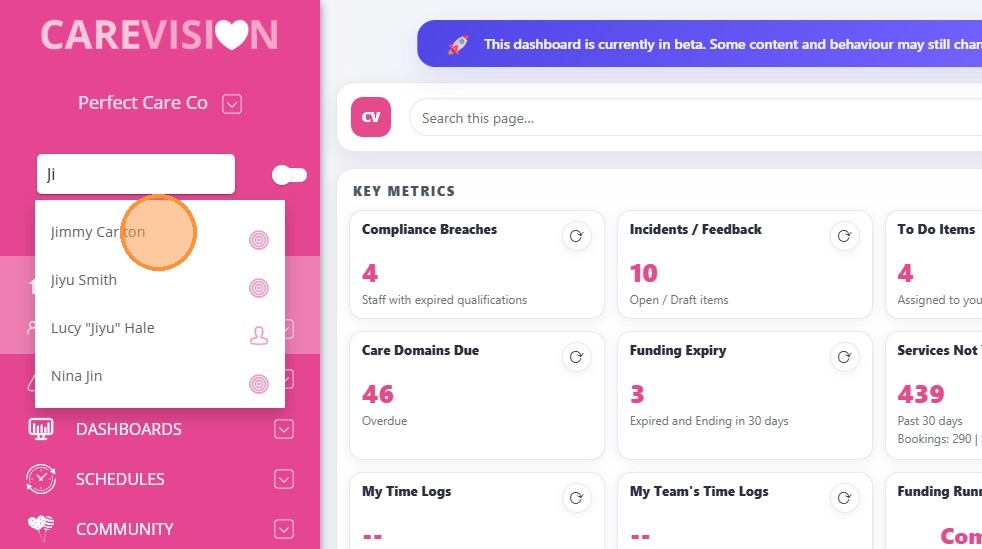
2. From the search results, select the client you want to create a quote for. Clients are identified by a circle (target) icon.
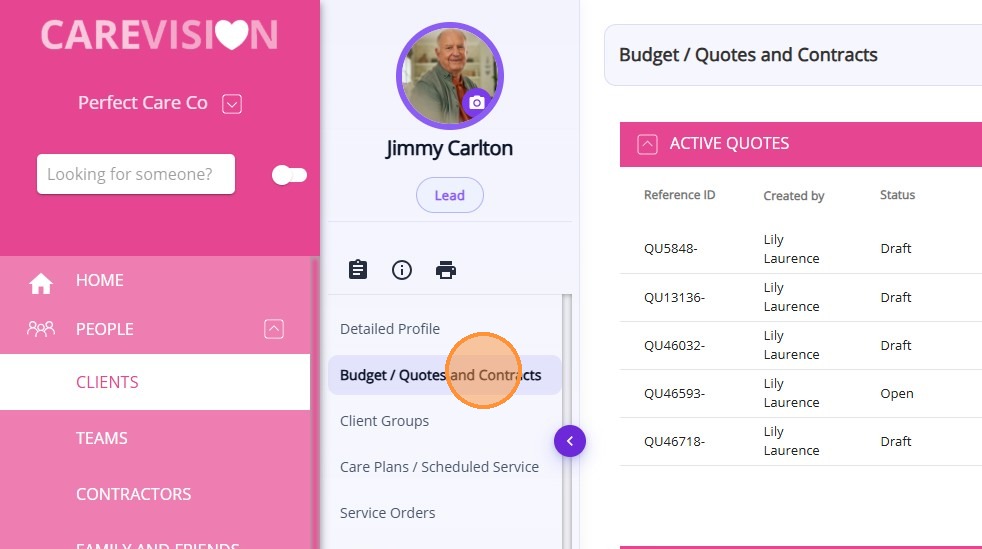
3. Click Budget / Quotes and Contracts.
3. Click the Create quote/contract icon at the top right of the client profile.
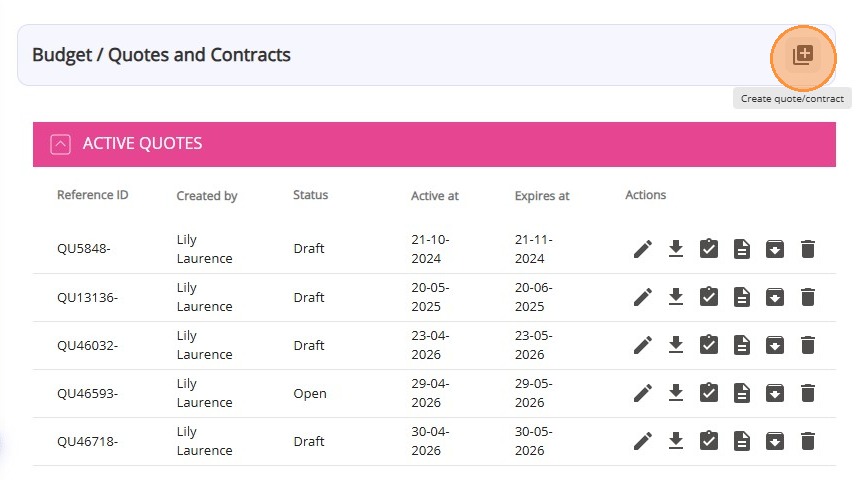
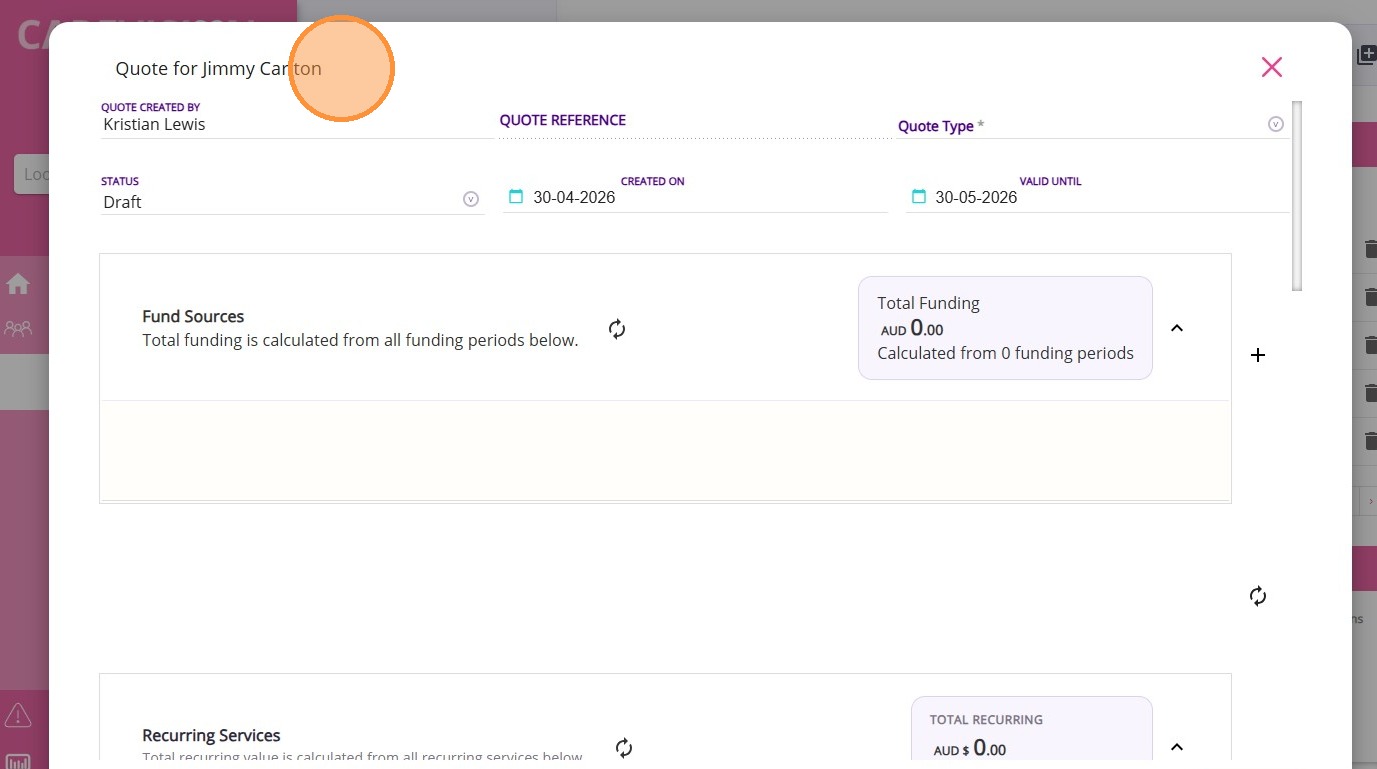
The Quotes Window will appear.
Option 2: Using Quick Actions (fast option)
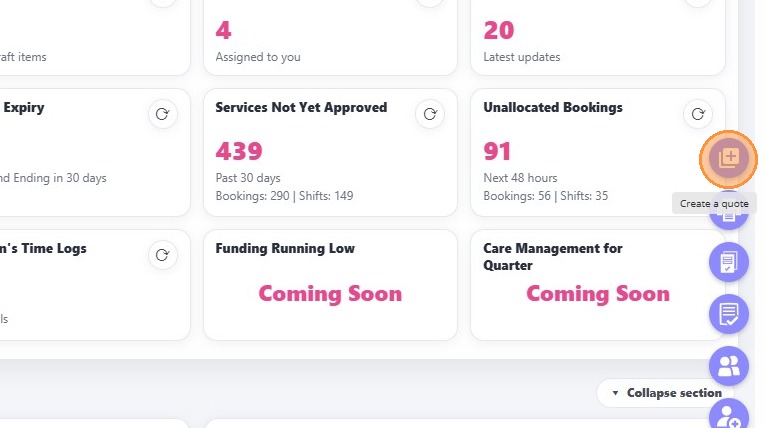
1. Click the plus or Quick Actions icon in the bottom-right corner of the screen.
2. Click the topmost icon to Create a Quote.
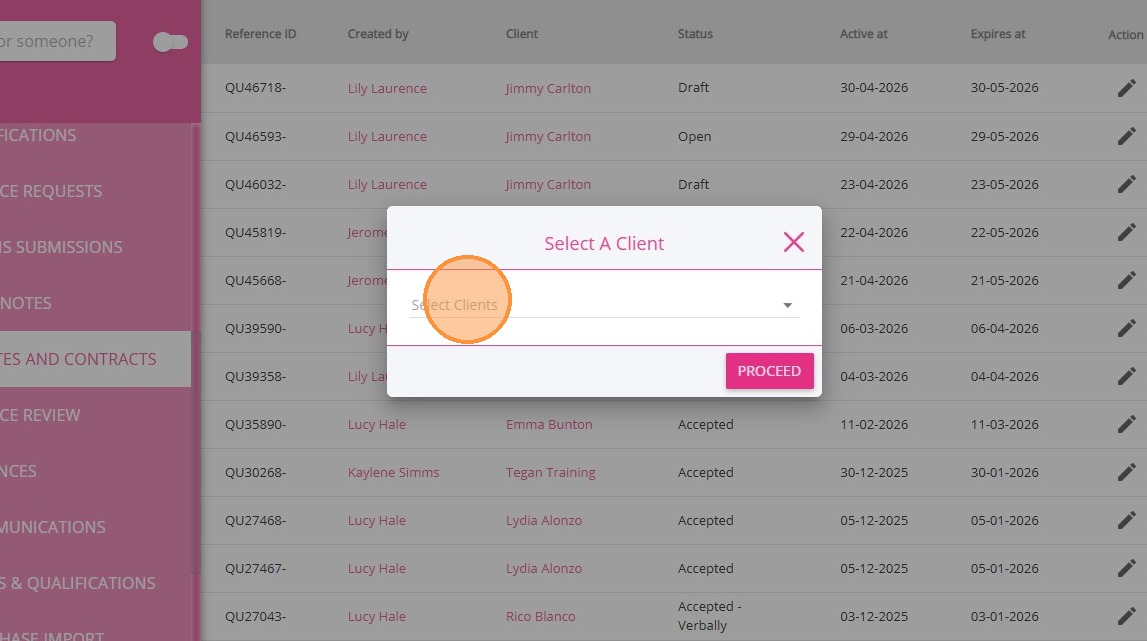
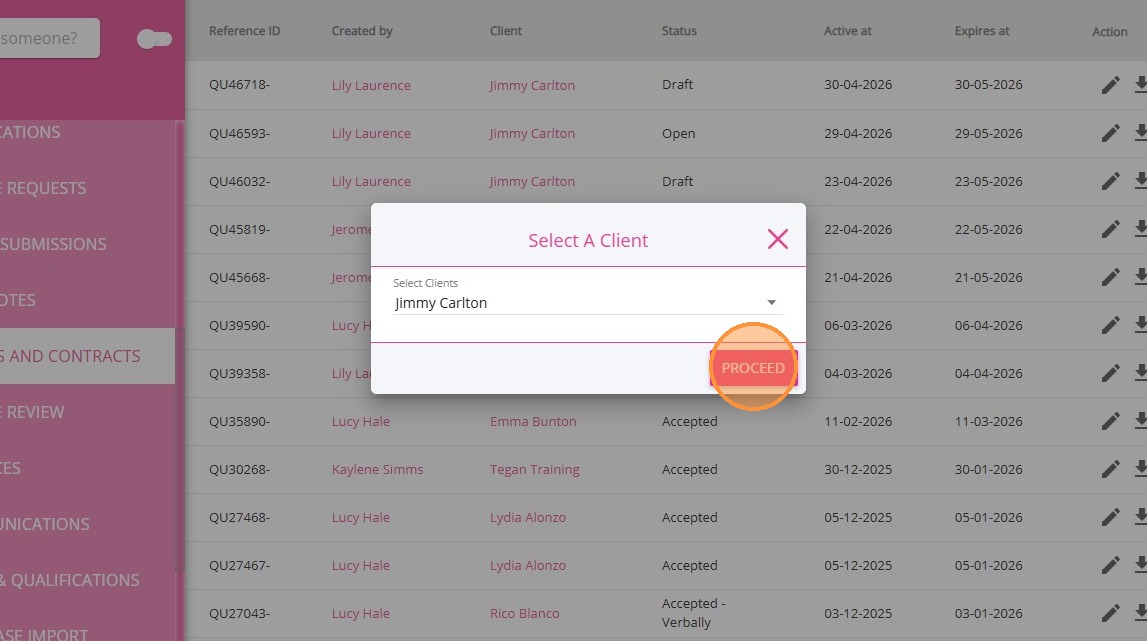
3. In the Select Clients field, either scroll to find the client or type the client’s name in the search bar.
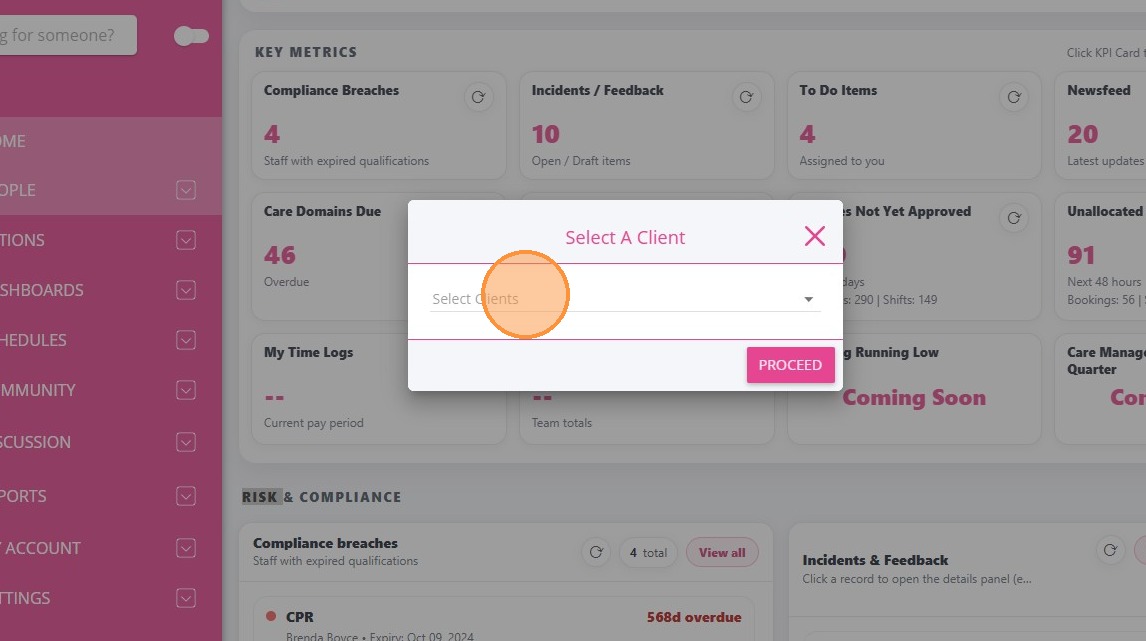
4. Click Proceed.
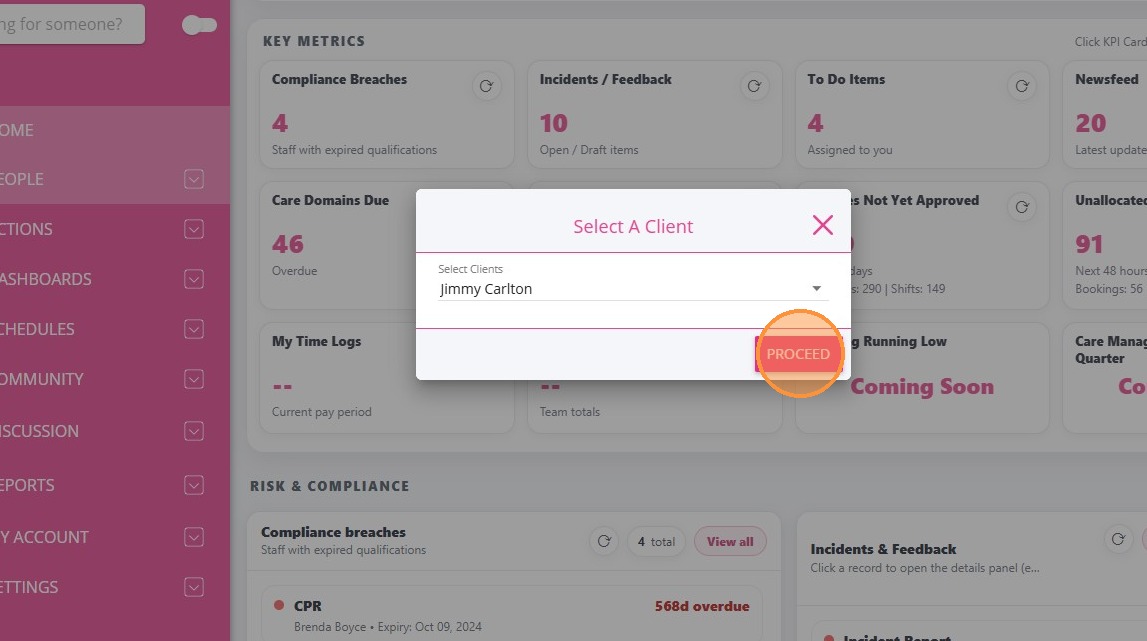
The Quotes Window will appear.
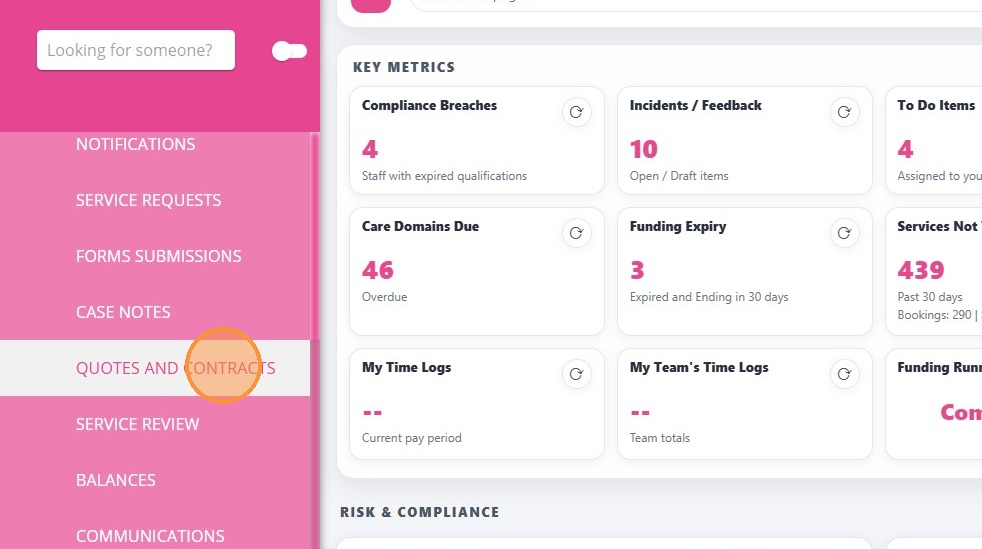
Option 3: From the Quotes & Contracts Action Board

1. In the left navigation pane, click Actions.

2. Select Quotes and Contracts.
3. In the upper-right corner, click +Create Quotes and Contract.
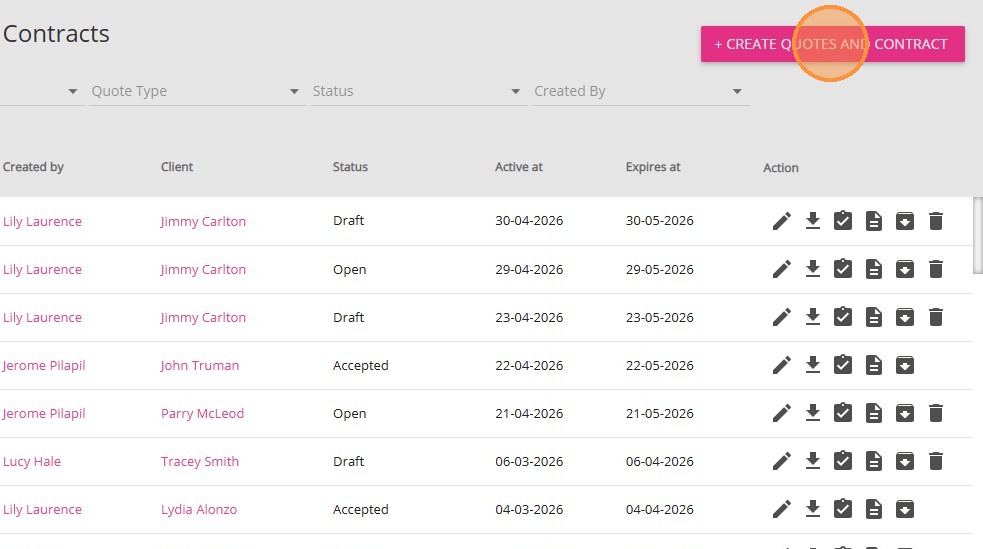
4. In the Select Clients field, either scroll to find the client or type the client’s name in the search bar.
5. Click Proceed.
The Quotes Window will appear.
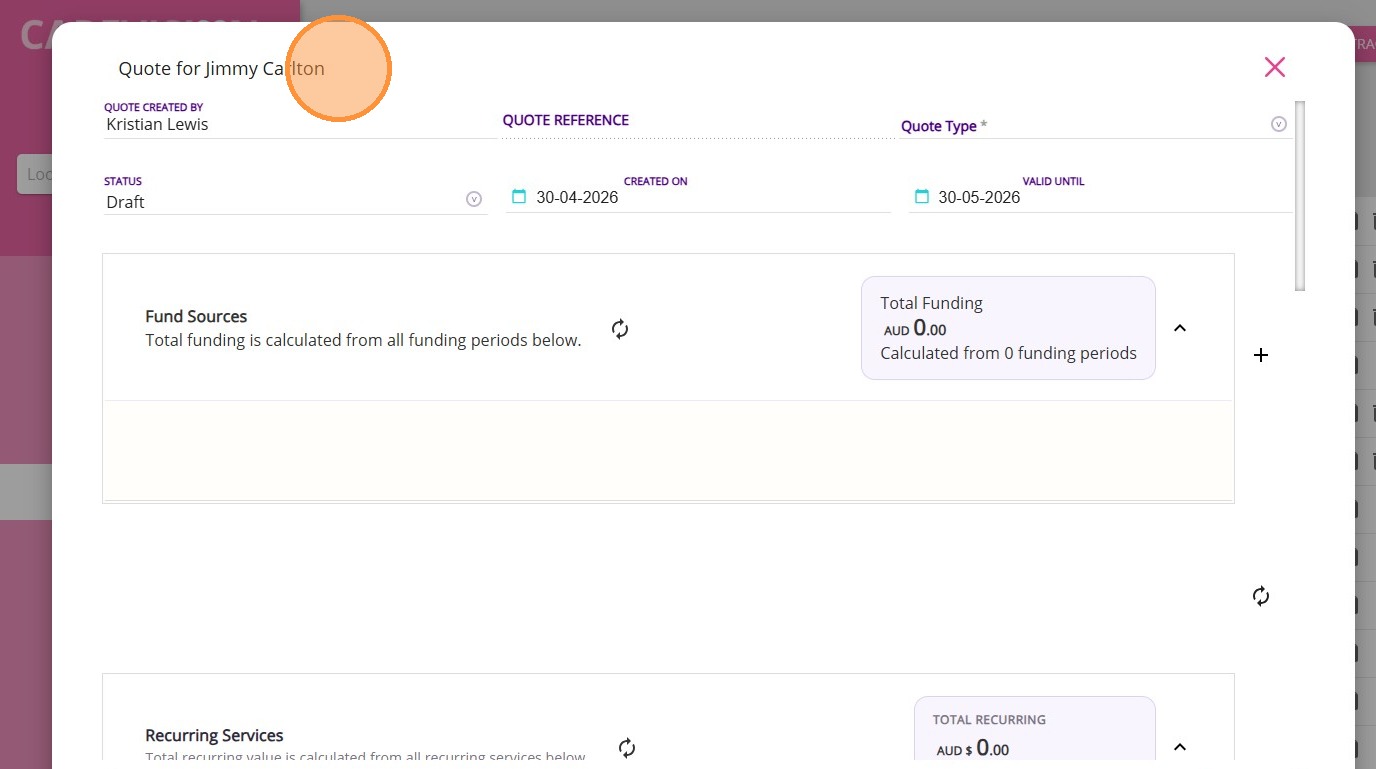
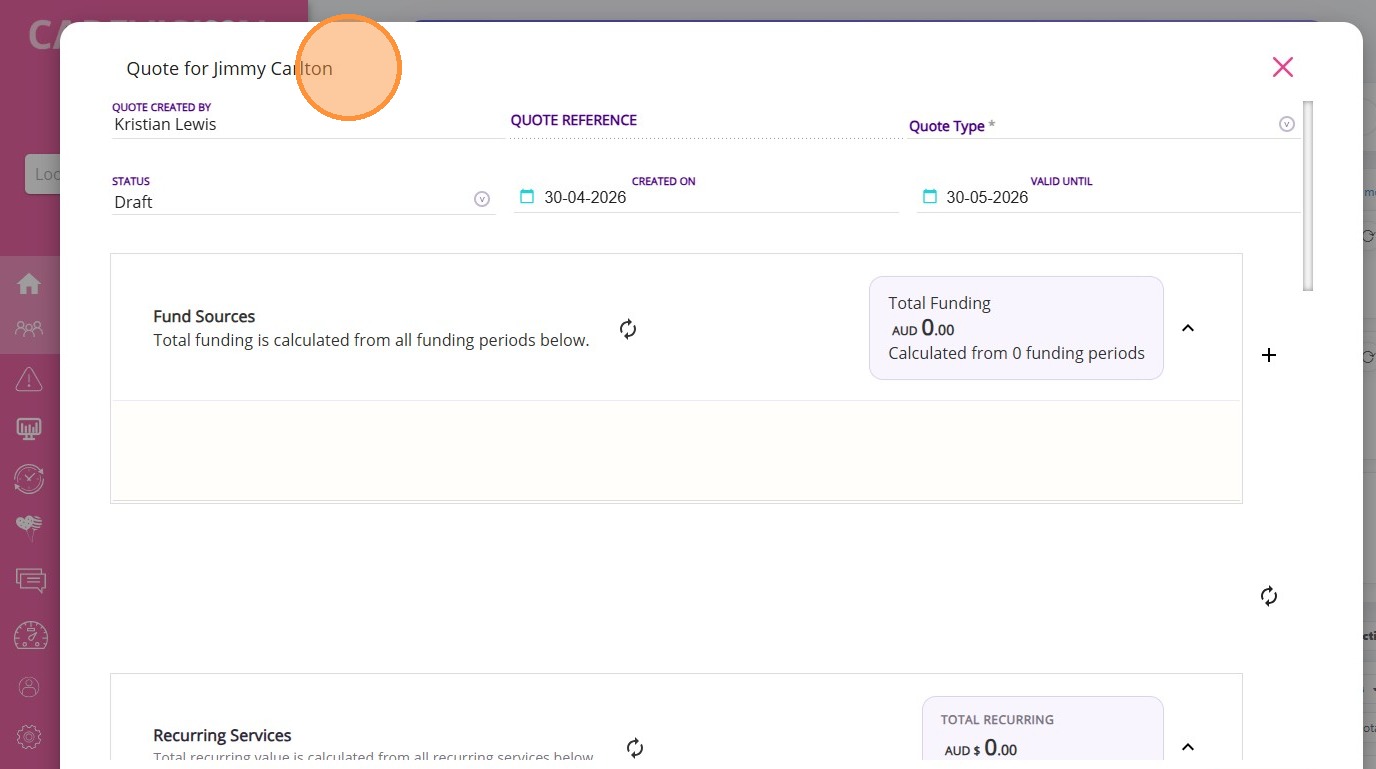
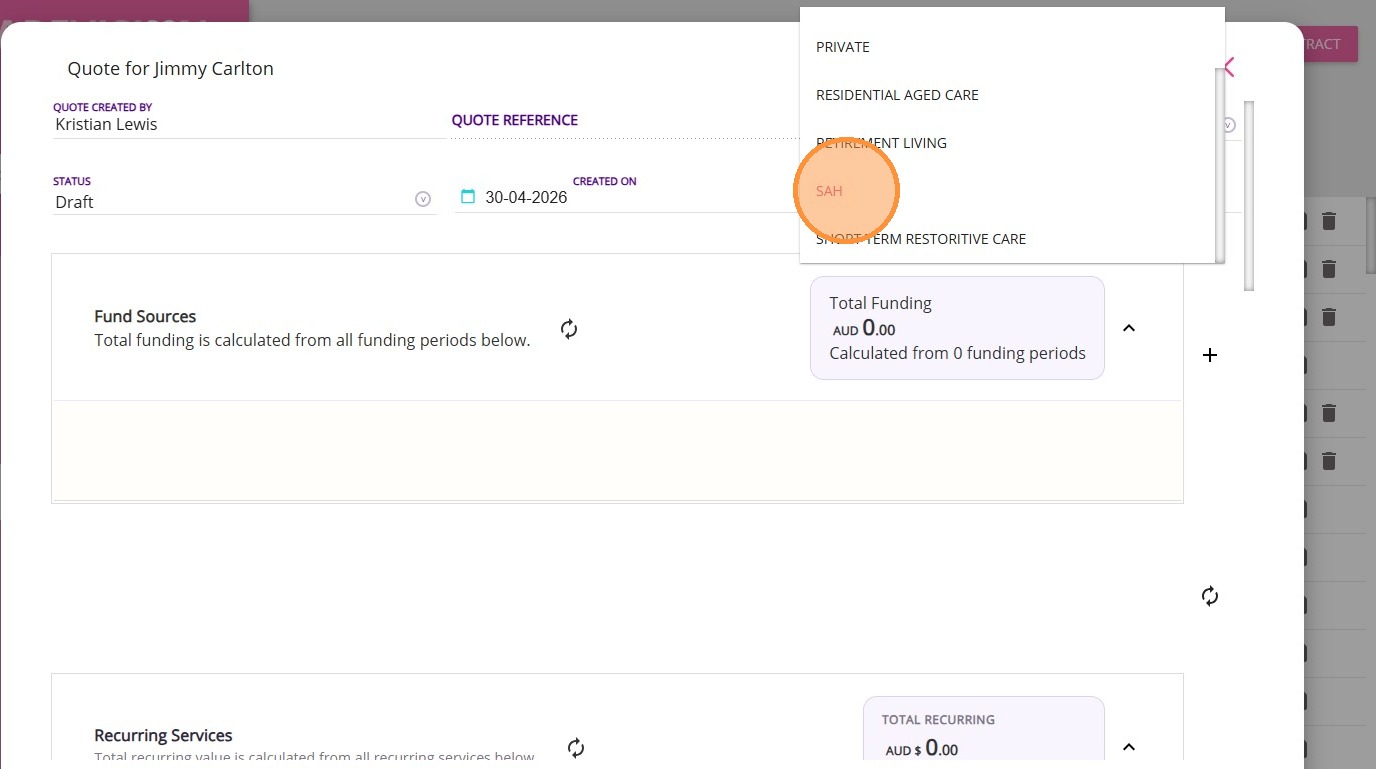
Step 2: Review Quote Header
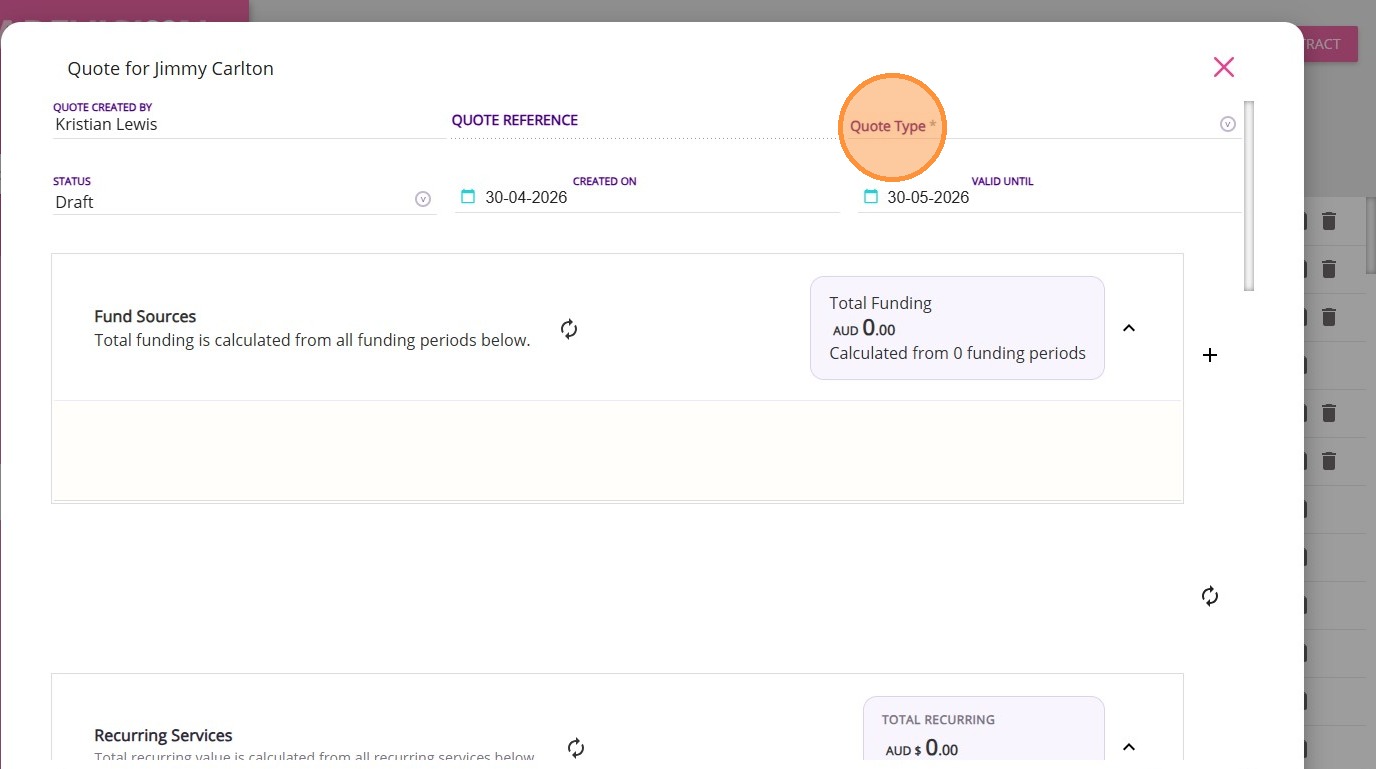
Example: SAH
Step 3: Manage the Fund Sources Section
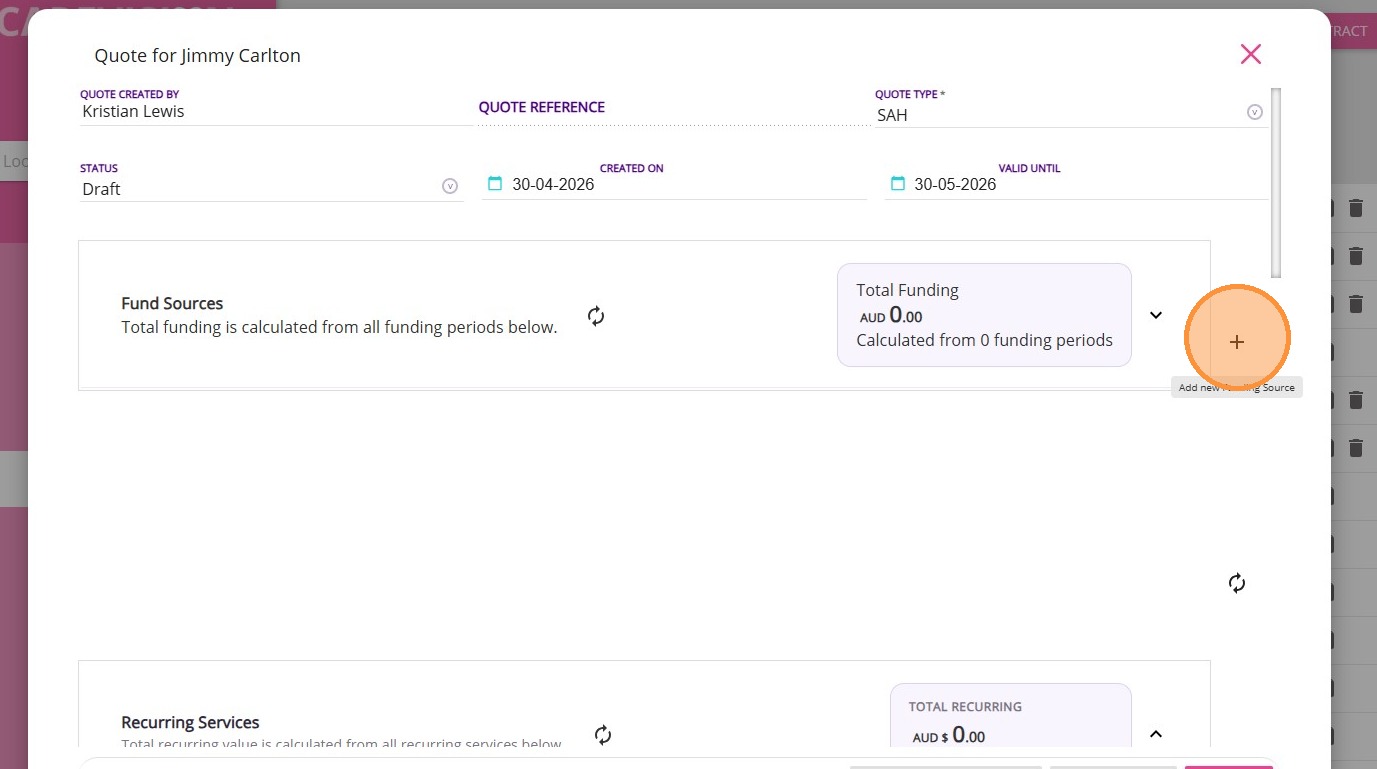
 Note: When you add a funding source template, most fields will automatically populate with data from the template you set up. The template includes all the rules and pre-configured information specific to the funding type you have selected. For more details, see the Introduction to the Advanced Funding Source Template.
Set the “Starts On” field to the correct funding commencement date.

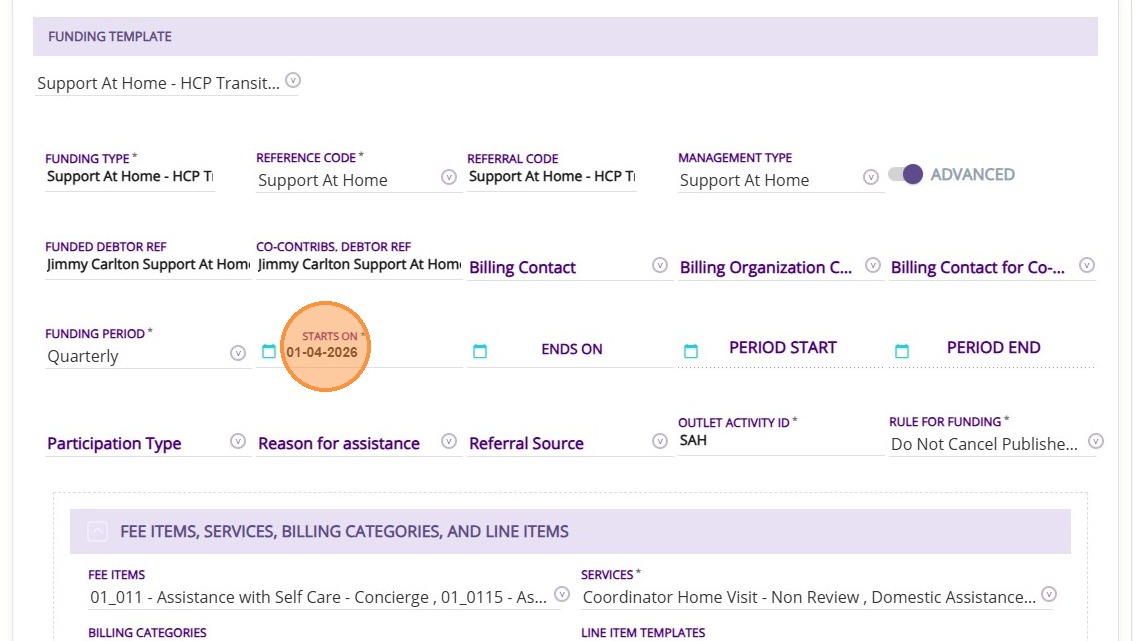 Note: You can only change the Starts On date when you first add the funding template. After that, it stays the same unless the client moves to a different funding level. If you can’t edit the Starts On date, it’s because the funding has moved into a new period and the system locks this date to keep everything in line with the quarterly schedule.
- Billing Contact
- Billing Organisation Contact
- Billing Contact for Co-Contributions
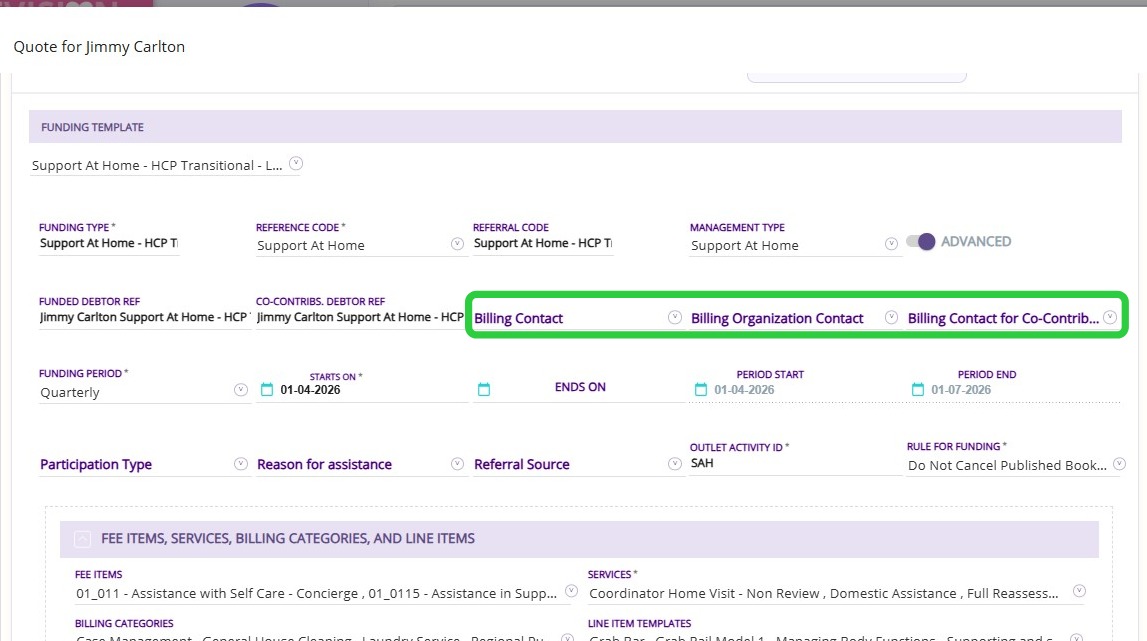 Note: Before you can add values to the fields, you must set up the contacts in the client profile. See How to Add Billing Contacts to a Client Profile.
D. Add Supplements (if Applicable)
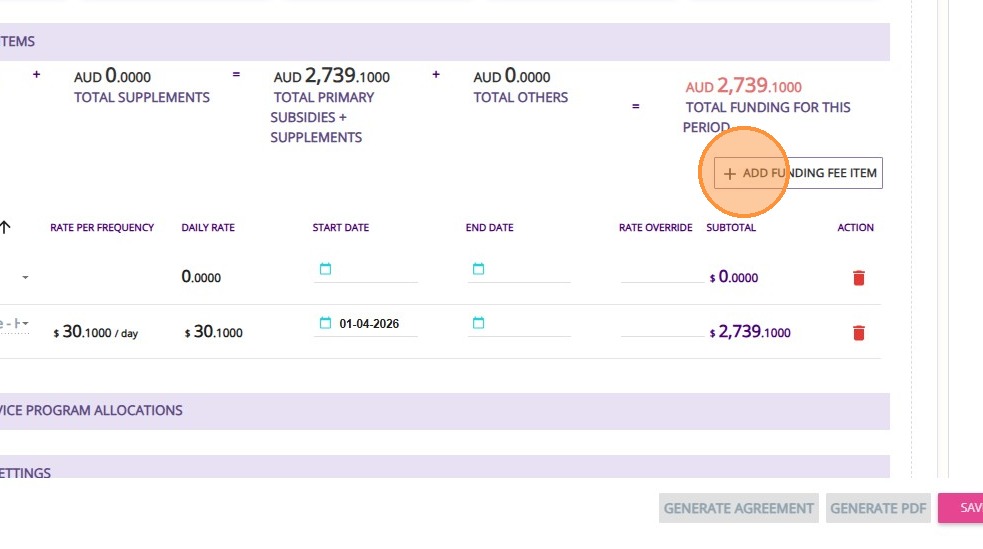
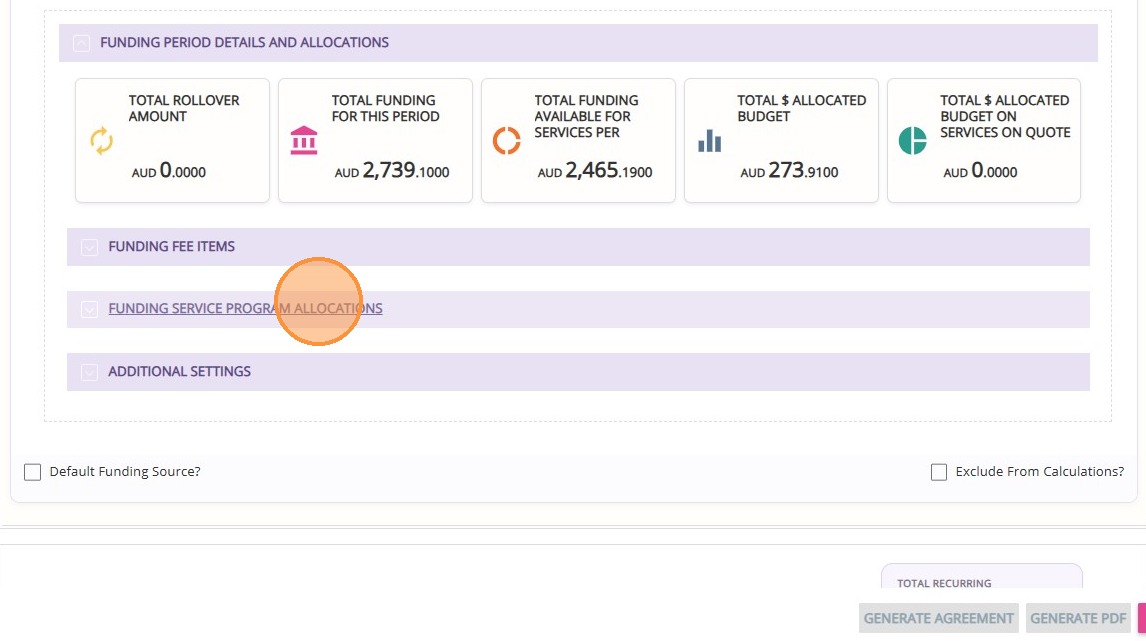
1. Go to the Funding Fee Items section.
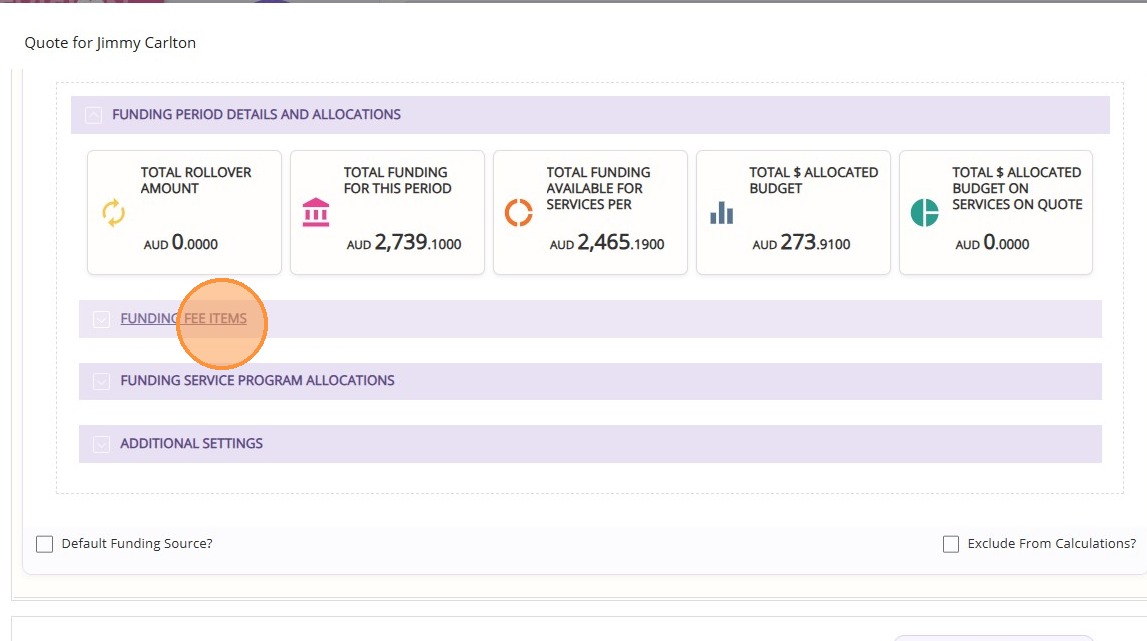
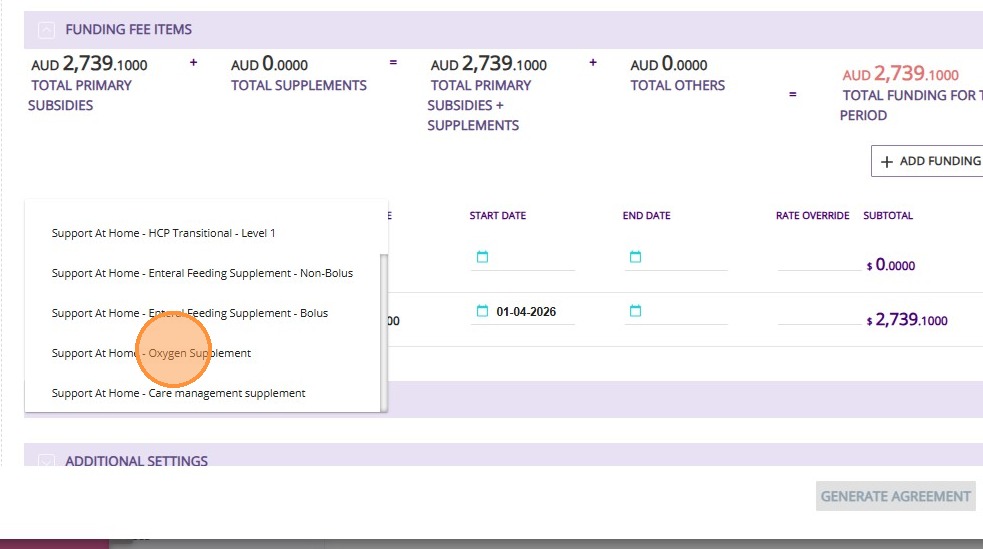
2. Click Add Funding Fee Item to include additional funding fee items. These items are set by default when you add a funding source template. But, you can modify them if your clients have a supplement or another subsidy to add.
3. You can add multiple funding fee items to a single funding source. For example, if your client needs an additional supplement or subsidy, such as an oxygen supplement, you can add it to the list.
E. Set Co-contribution (or Leave Blank if Unknown)
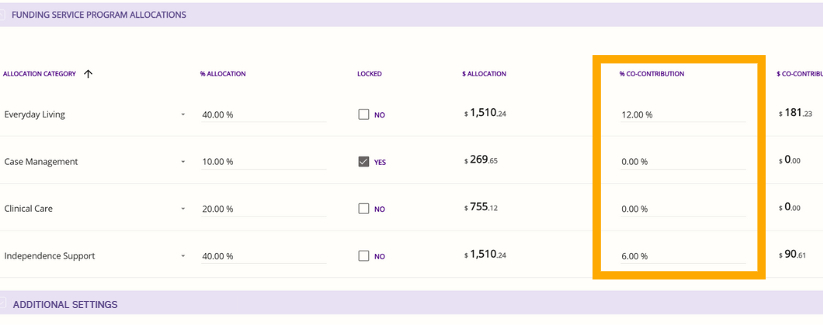
1. Click Funding Service Program Allocations. In this section, you can manage both the allocation of funding and the co-contribution rates.
2. Under the Allocation Category column, the allocation options will be listed based on the funding source template you selected. For Level 1 to 8 or Transitional funding sources, the available categories are Care Management, Clinical Care, Everyday Living, and Independence Support.
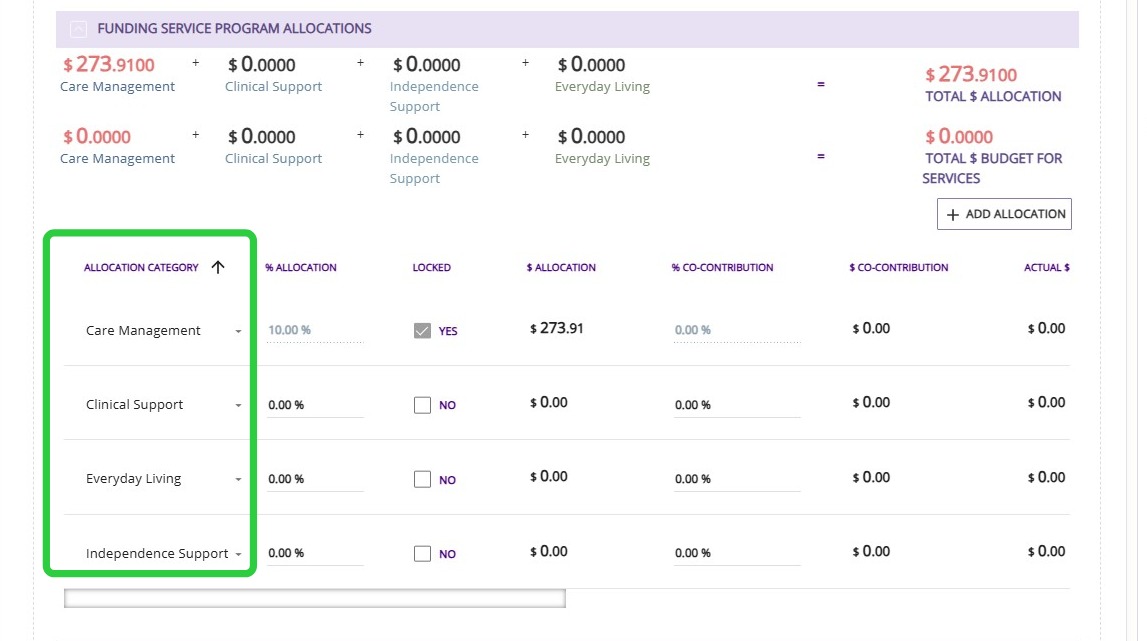
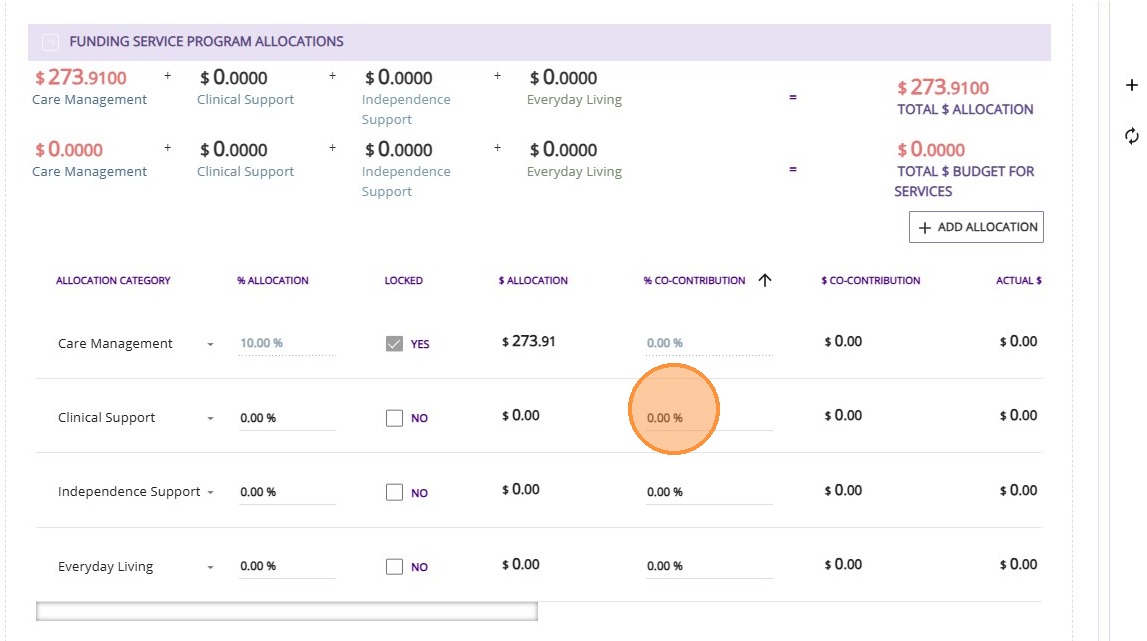
3. The % Co-contribution column shows the percentage of costs that the client is required to contribute for each allocation category. By default, Co-contributions are set to zero. When preparing a quote, enter the relevant co-contribution percentages for each category, or leave them as 0 if unknown.
Glossary of Terms in the Funding Service Program Allocations Section
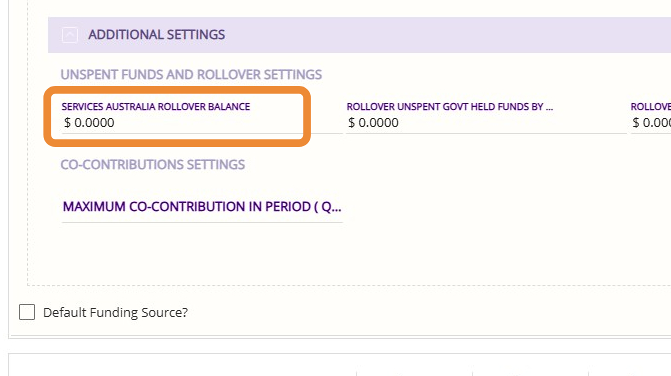
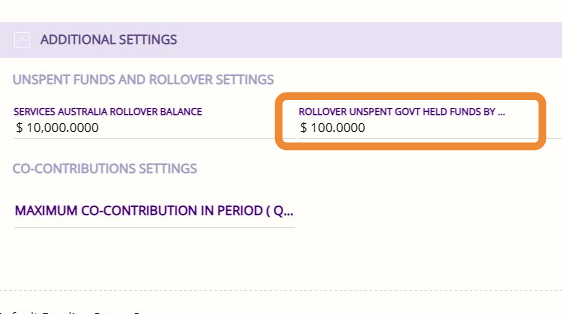
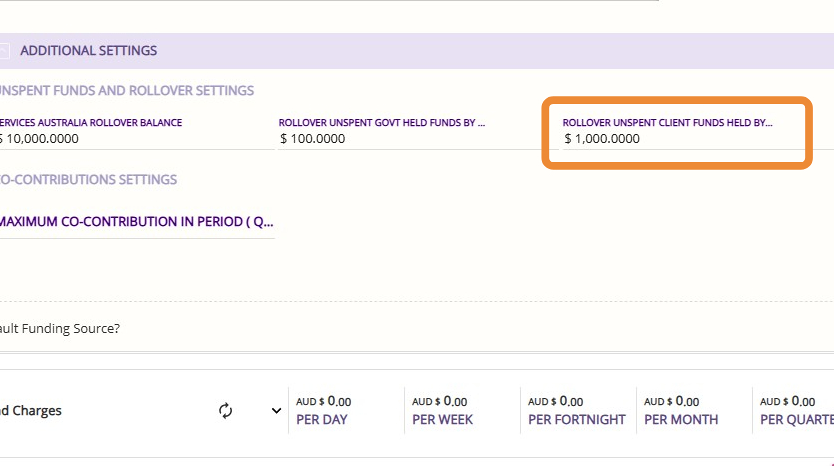
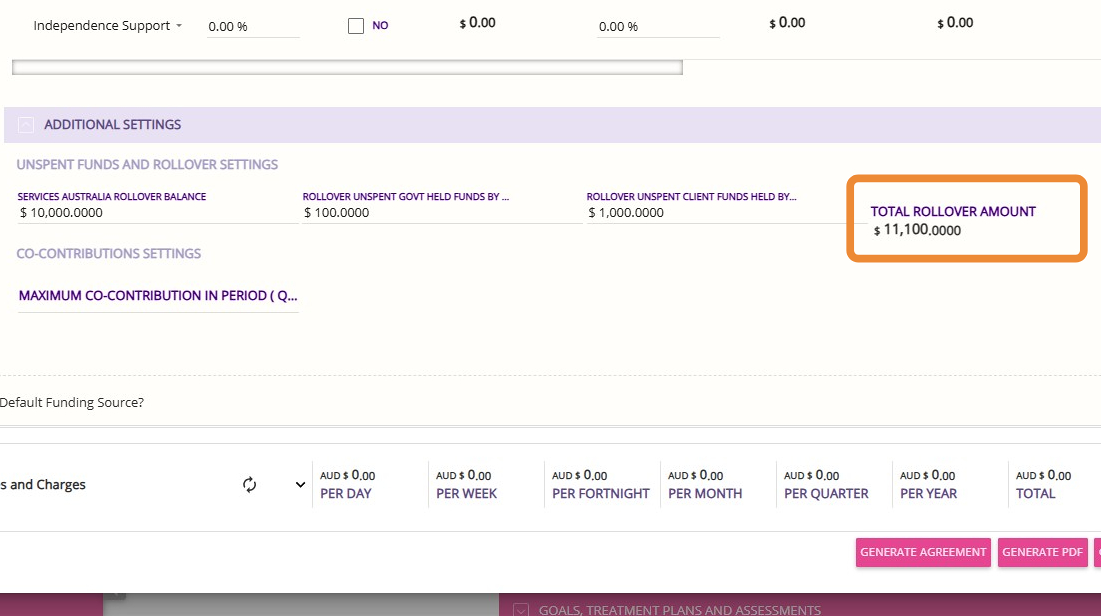
1. Go to the Additional Settings section.
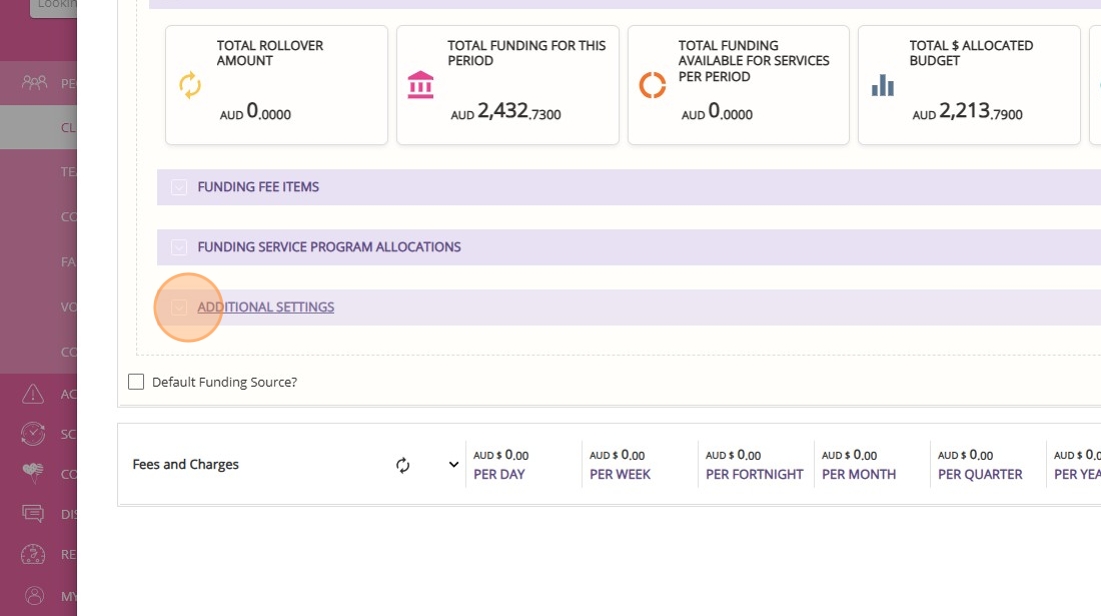
The system will track co-contributions as services are delivered, and once the client reaches the maximum set in this field, no further co-contributions will be charged for that period.
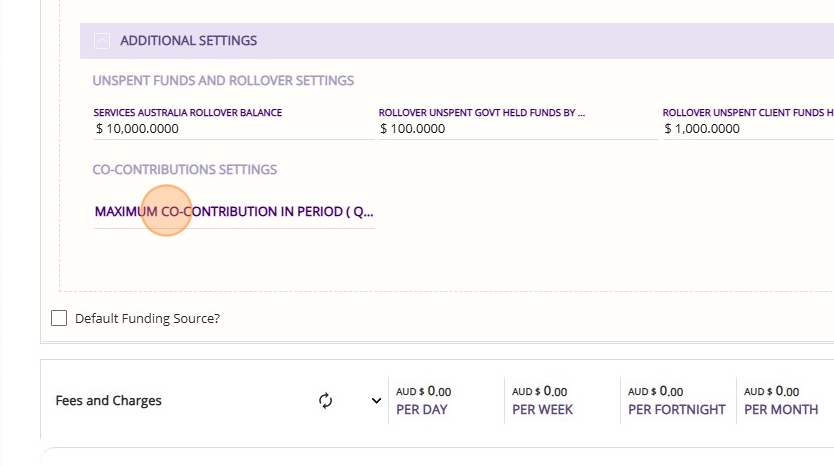
If a client has a co-contribution rate of 12% and the maximum co-contribution per period is set at $100, the client will be charged 12% per booking until their total co-contributions reach $100.
After reaching this cap, no further co-contributions will be collected for the remainder of the period, even if 12% of their total funding would exceed $100. The maximum is calculated as the ITF daily rate of the home care package multiplied by the number of days in the period.
G. Set Default Funding
Tick the Default Funding Source? box. This ensures ongoing services automatically use the correct funding as it rolls over each quarter.
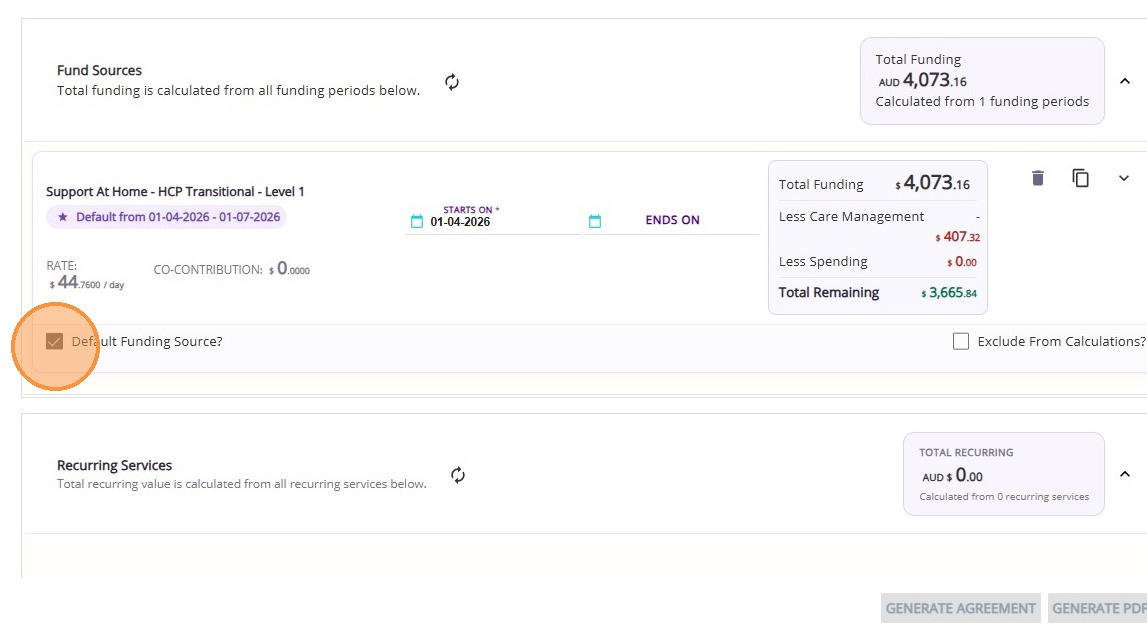
- Services automatically link to the active funding each quarter
- No need to update care plans or bookings
- Quotes, bookings, and statements stay aligned with current funding
If you don’t tick it:
- Services stay tied to a specific funding period
- You’ll need to manually update them each quarter
- Higher risk of errors (such as incorrect funding, booking or claiming issues)
Step 4: Add Recurring Services
Step 4: Add Recurring Services
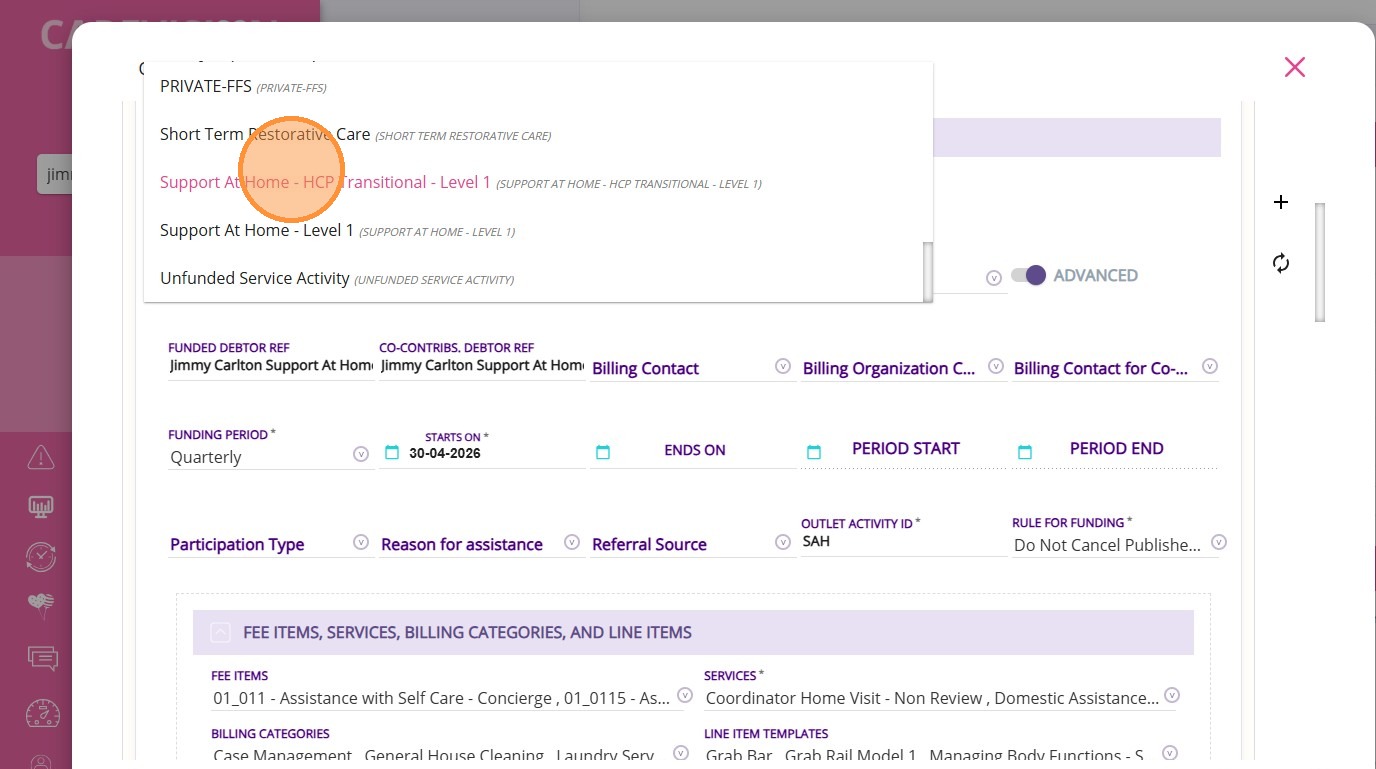
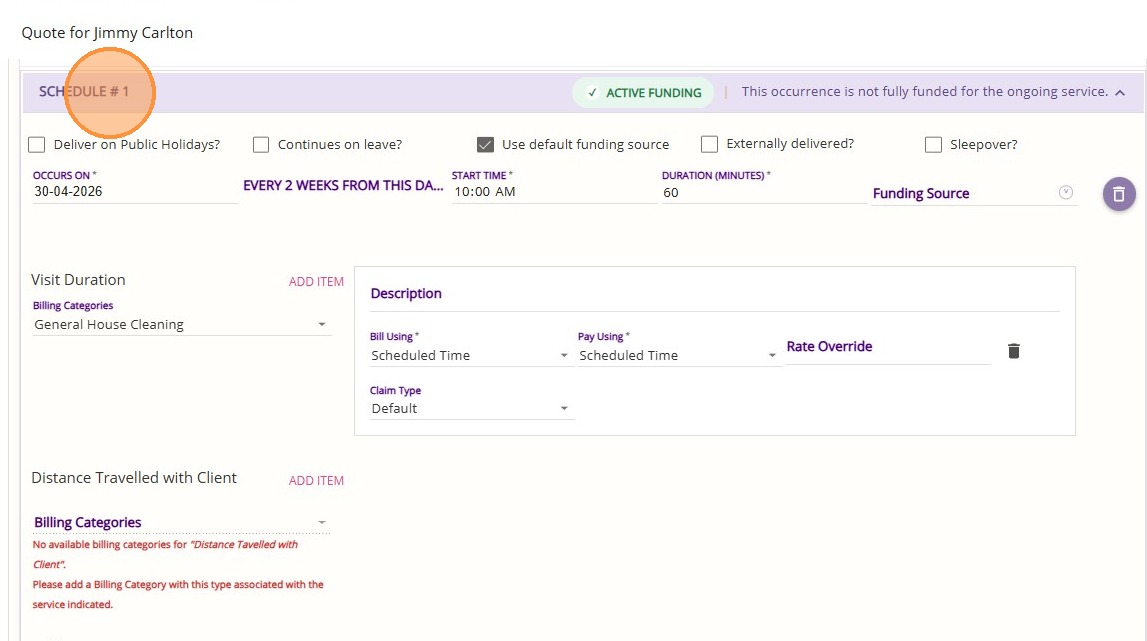
1. Select from the dropdown, which displays services linked to the chosen funding source template, then complete the remaining required fields.
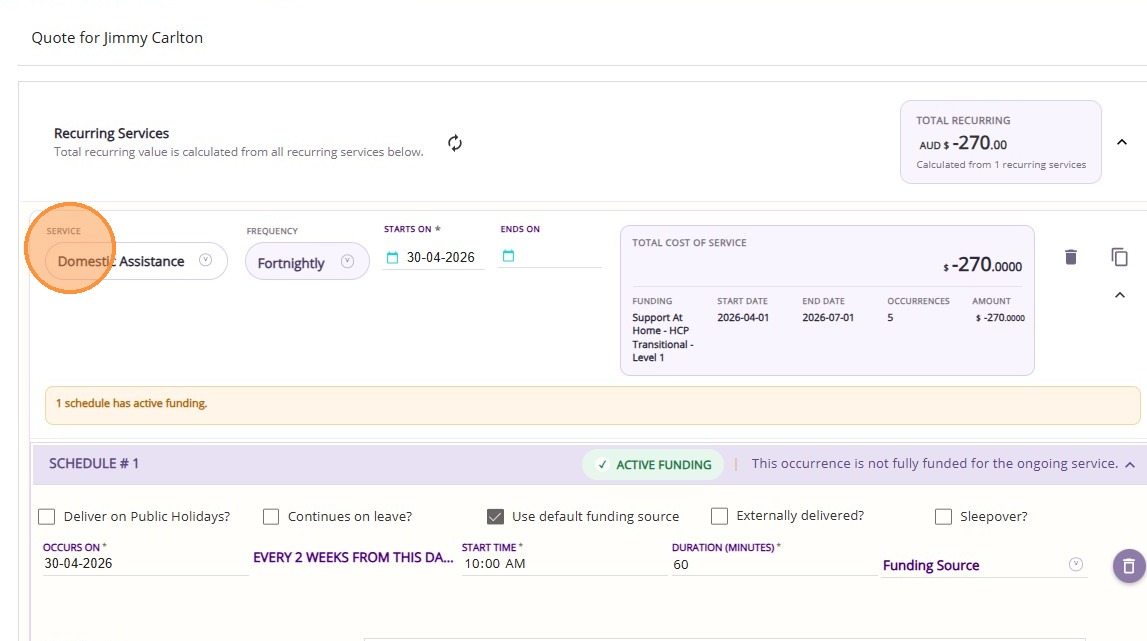
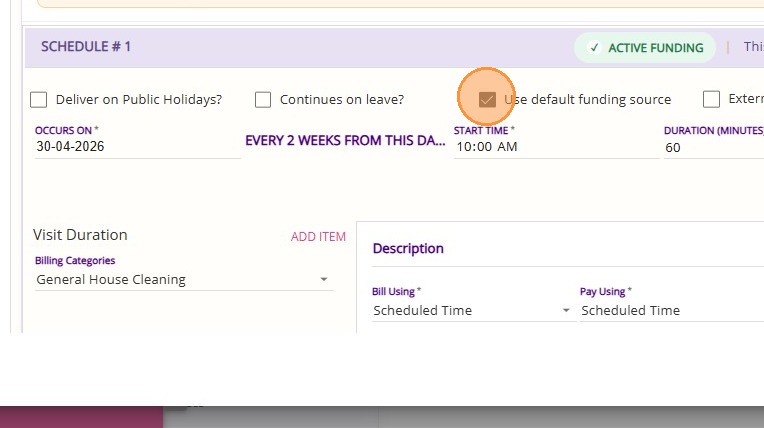
3. Complete the required fields in the Schedule section and adjust as needed to align with the client’s service requirements.
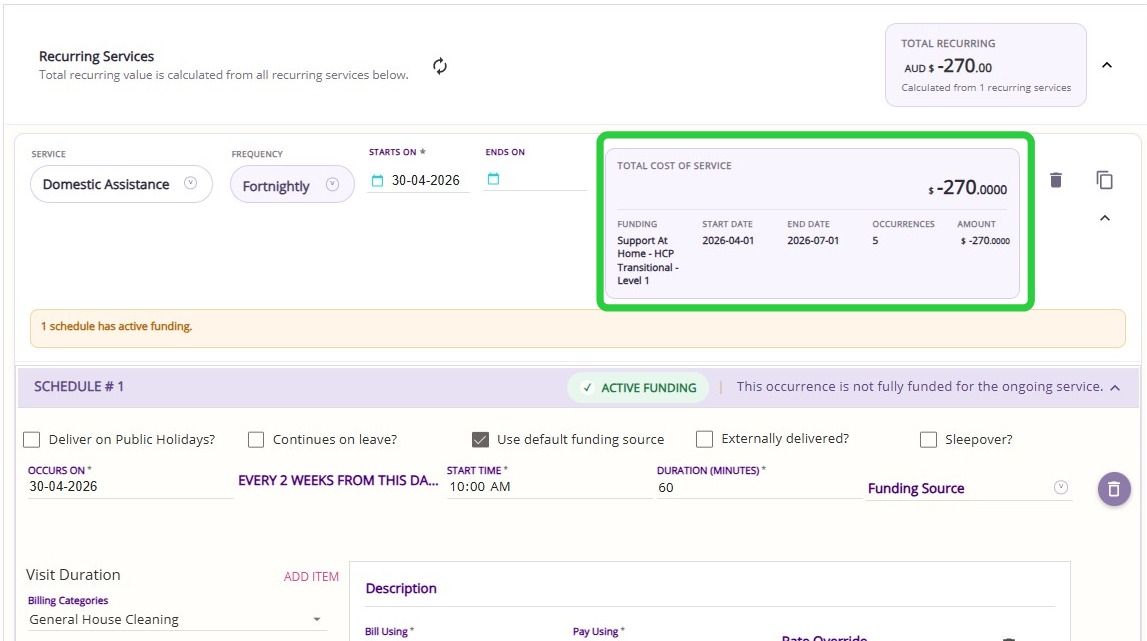
4. Click the Recalculate button.
The Total Cost of Service card will update to display the start date, end date, number of occurrences, and total cost. It provides a clear summary of the service. For example, showing how many occurrences fall between the selected dates and the total cost for that service.
This allows you to see a detailed cost breakdown for each service within the quote.
Glossary of Terms in the Recurring Services Section
Step 5: Add Once-Off Services
Step 5: Add Once-Off Services
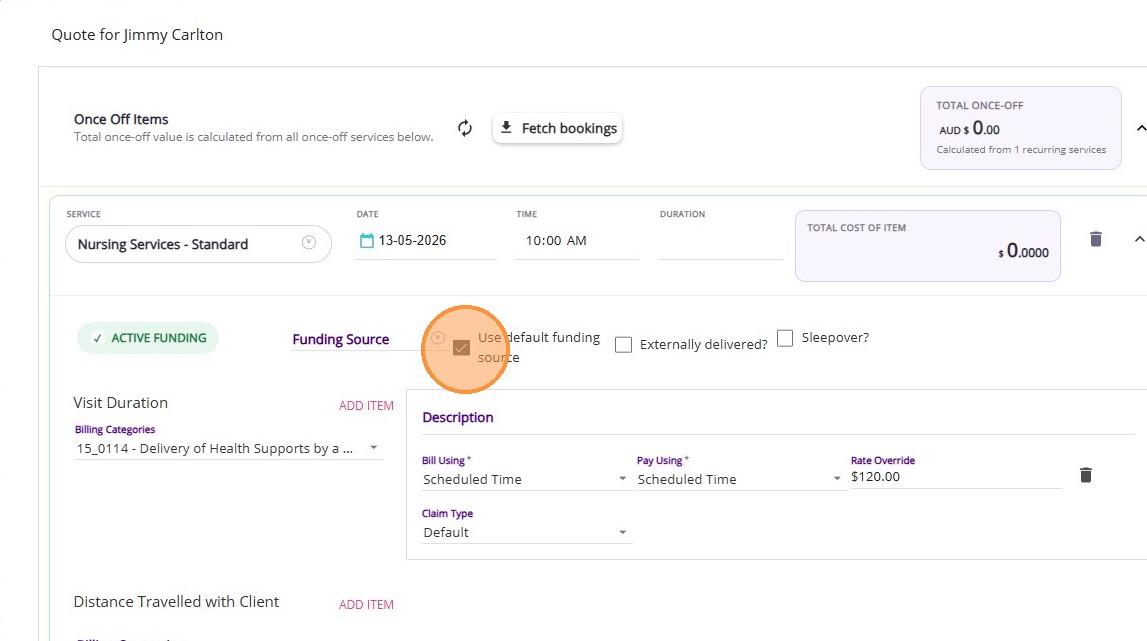
1. Select a once-off service as needed. Then, complete the remaining required fields.
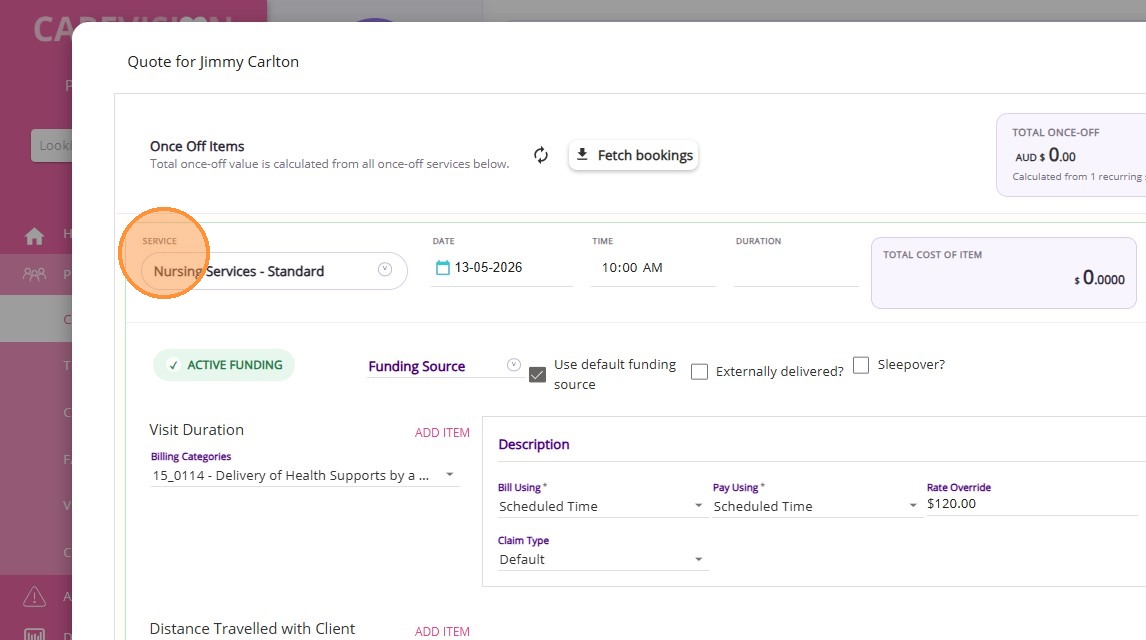
2. Tick Use default funding source.
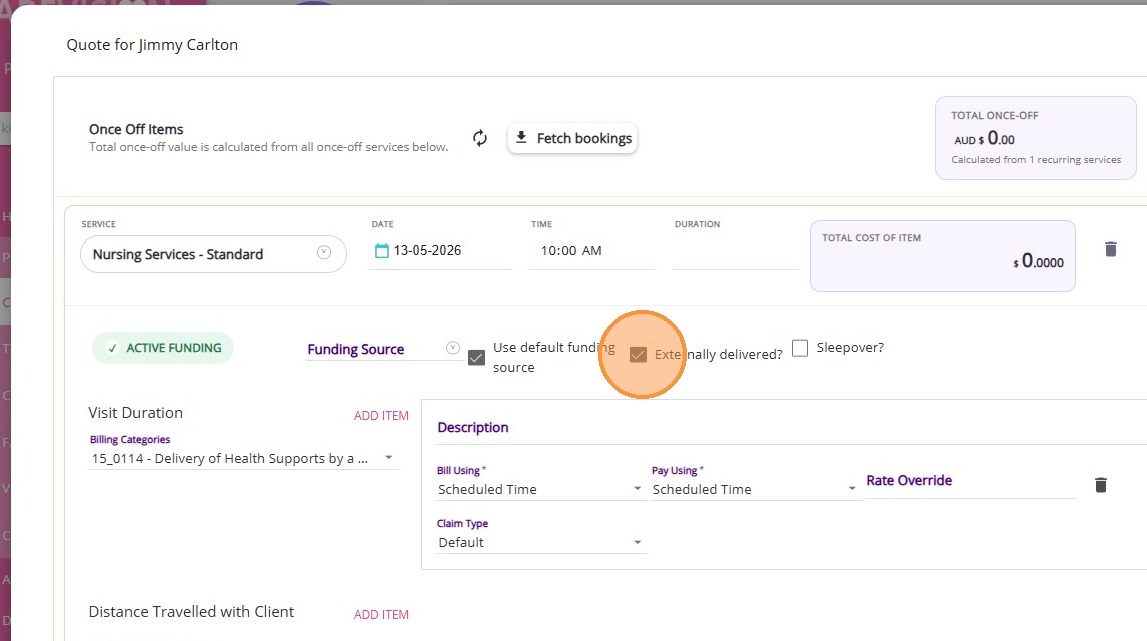
3. Optional. Tick Externally delivered? if the service is being contracted to an external provider.
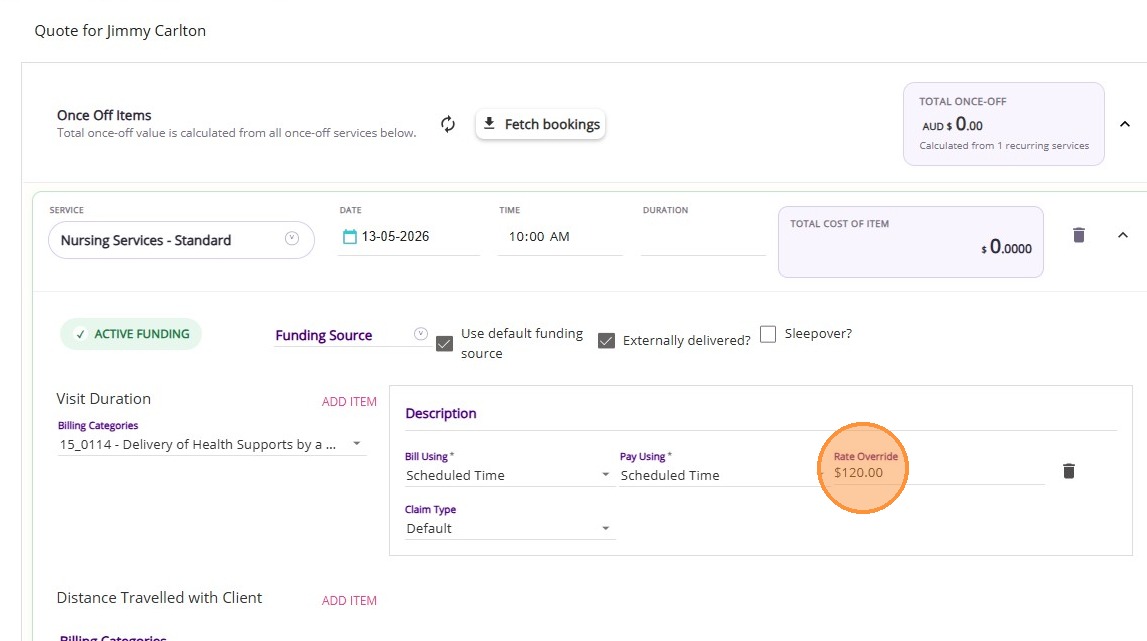
4. Optional. Enter a value in the Rate Override field if you need to apply a custom rate, either for your organisation or when contracting the service to an external provider.
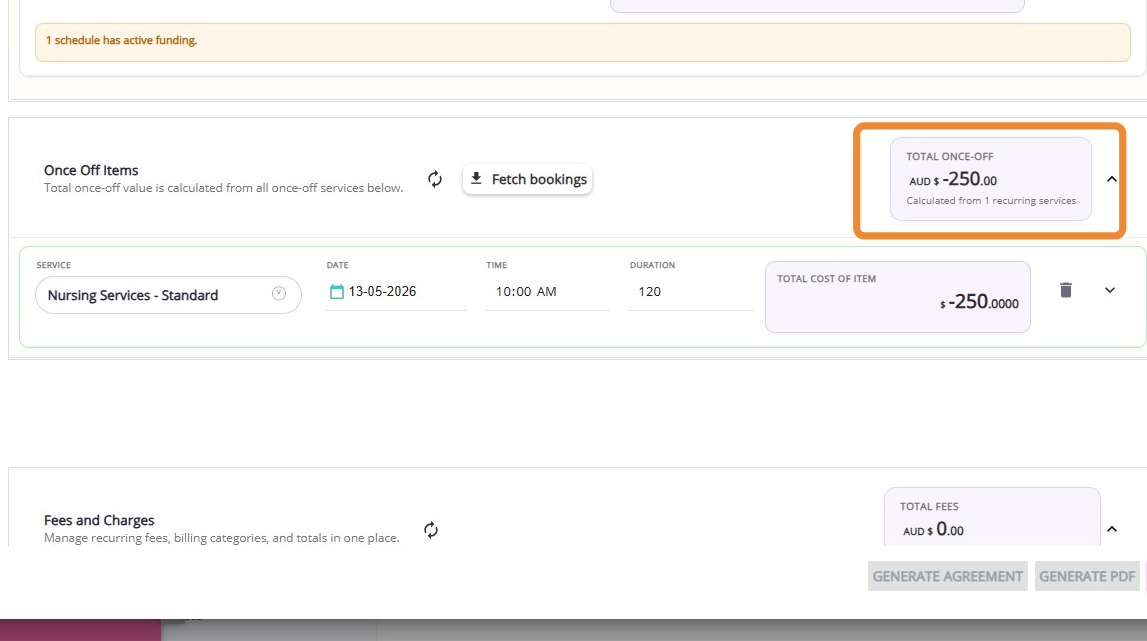
The Total Once-Off card displays a detailed cost breakdown for each once-off service within the quote.
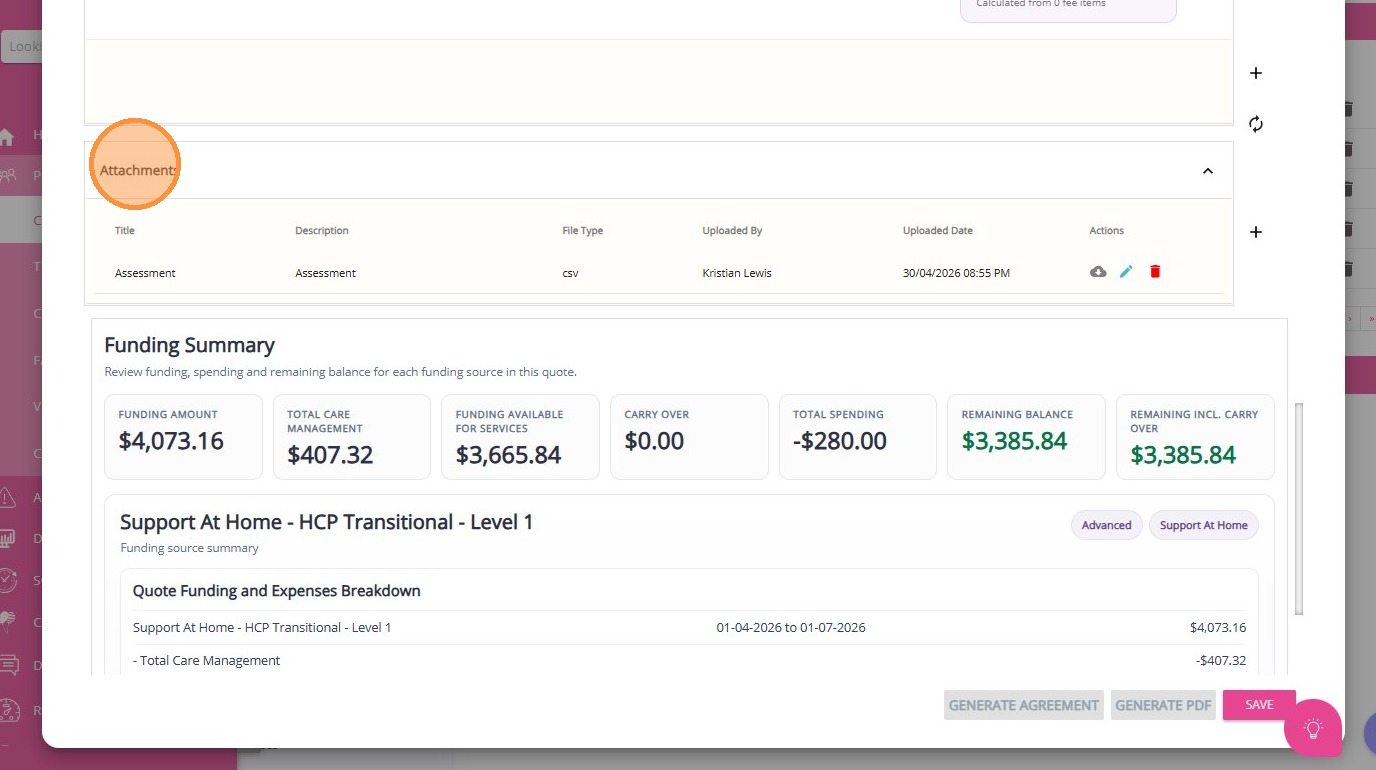
Step 6: Upload Attachments
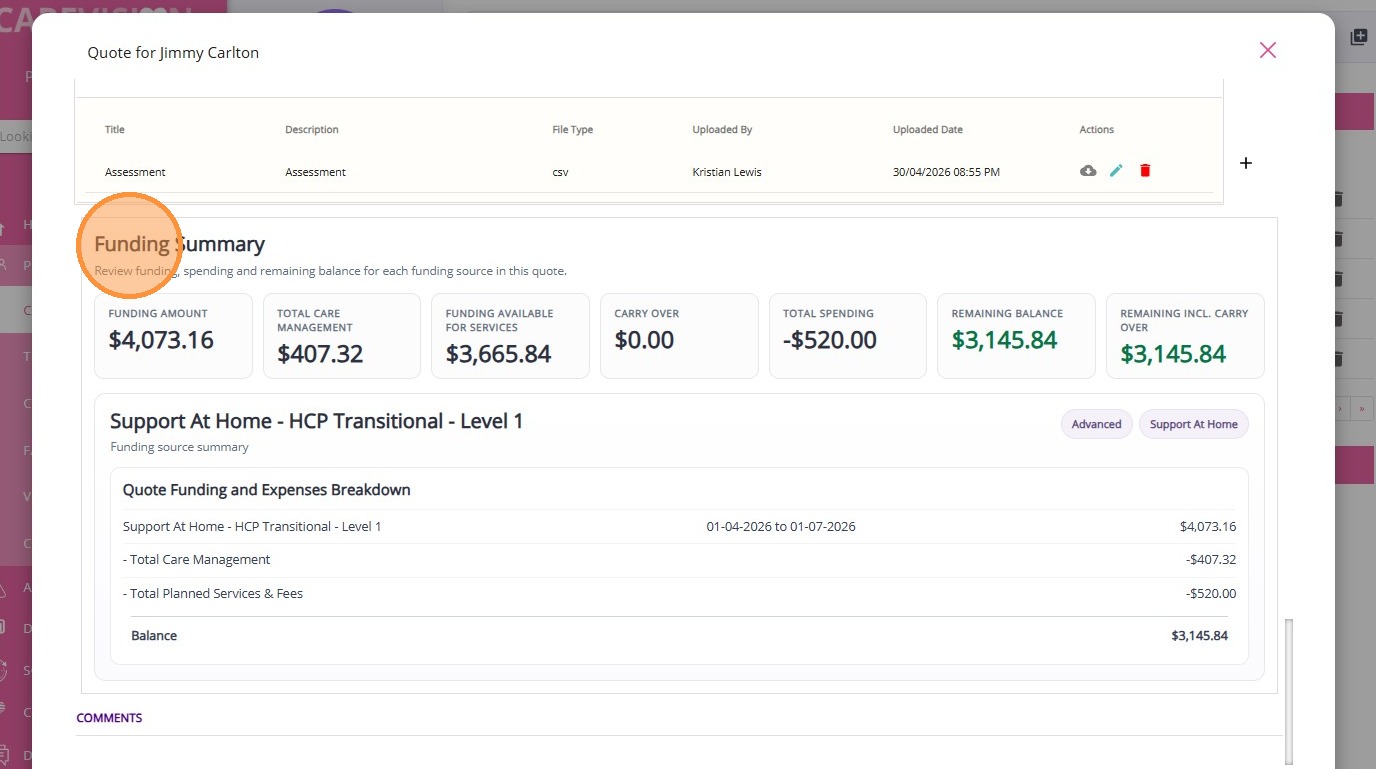
Step 7: Review and Calculate Quote
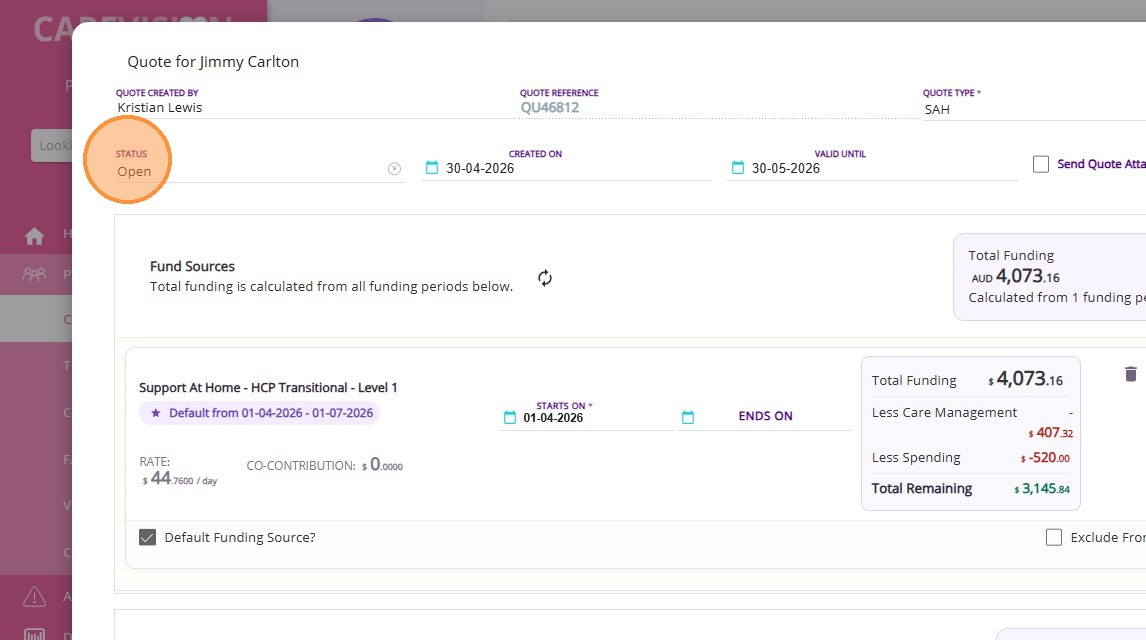
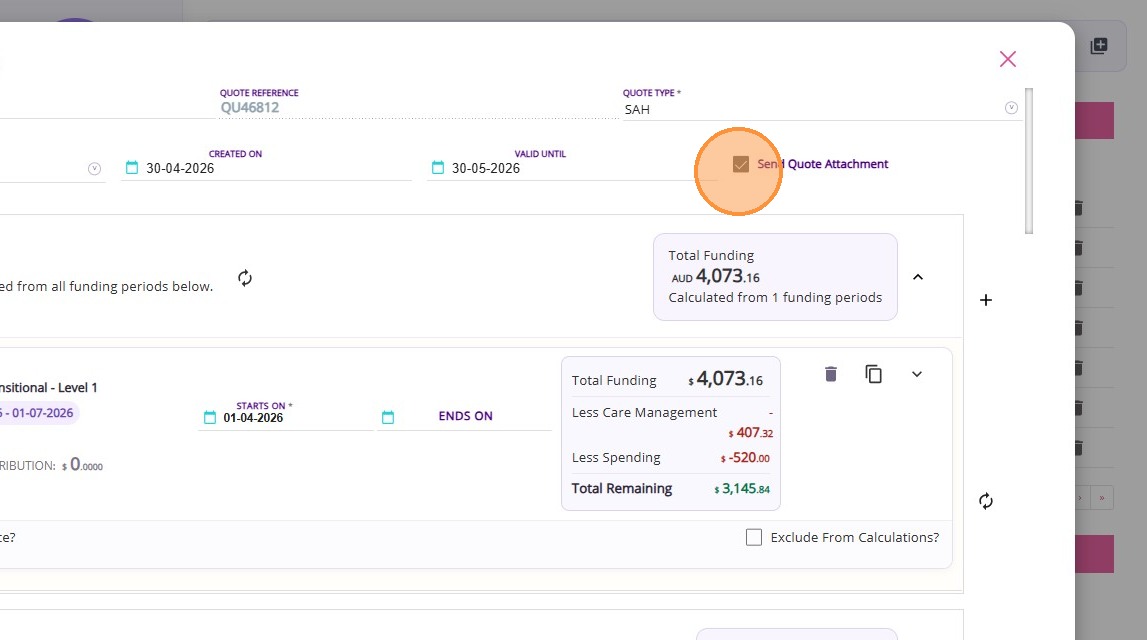
Step 8: Manage Quote Status
Quote status indicates the current stage or progress of a quote, such as draft, open, accepted, or rejected.
Step 8: Manage Quote Status
- Save as the Quote as Draft: When you create a quote, it is automatically saved in Draft status. This allows for editing and internal review before presenting it to the client.
- Change Status to Open: Once the quote is ready for the client, update its status to Open.
- Send Quote Attachment checkbox: When you set the quote status to Open, a checkbox labeled Send Quote Attachment appears. If you check this box before saving, a PDF copy of the quote will be automatically emailed to the client when you Save the quote.
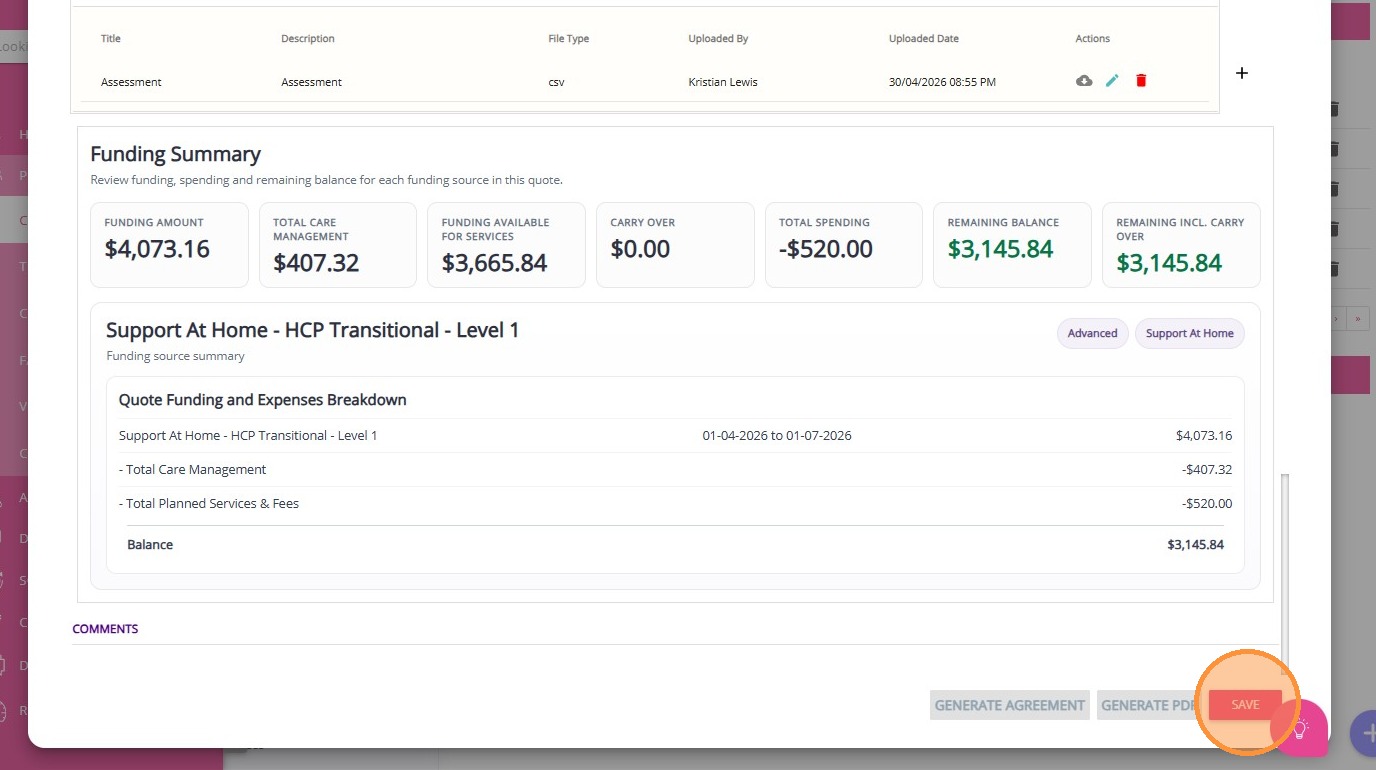
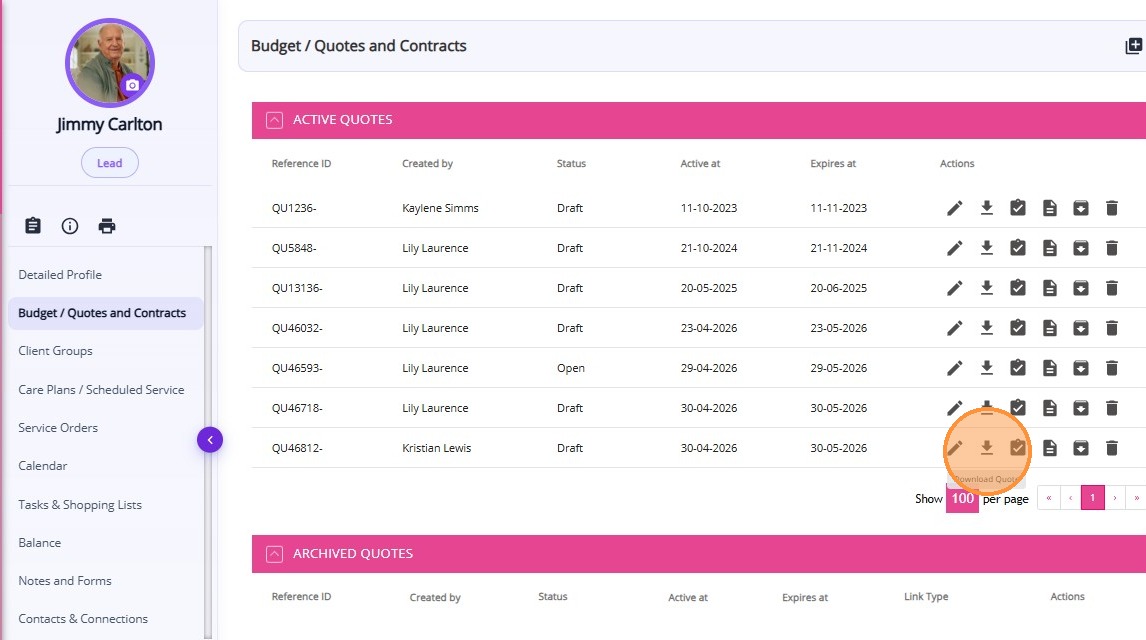
Step 9: Generate Quote
Step 9: Generate Quote
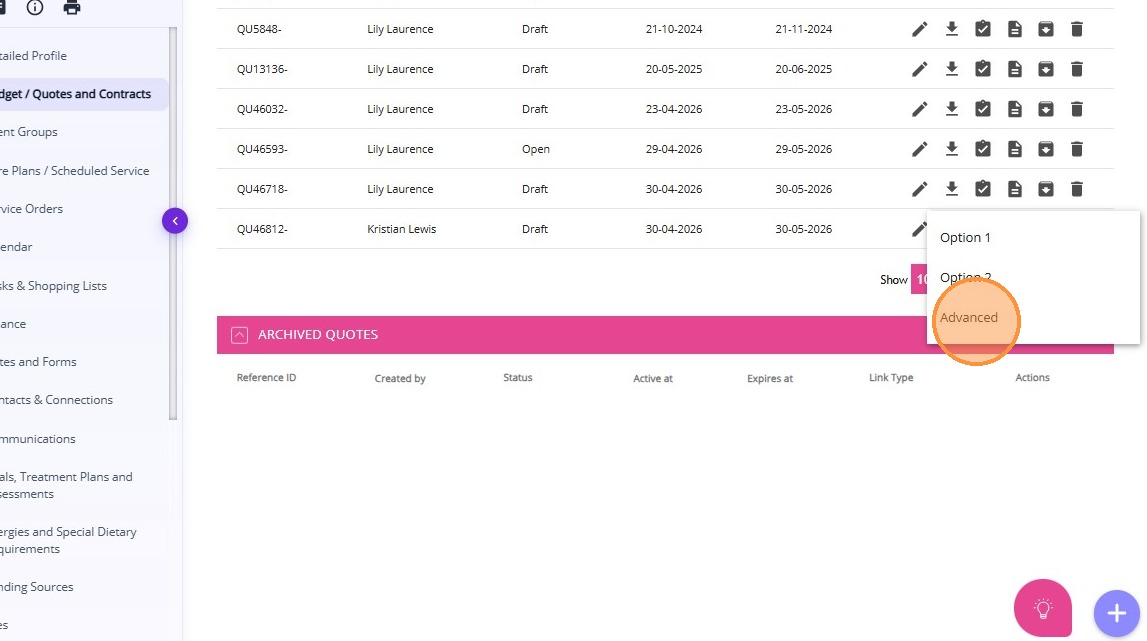
1. Click the Download button in the Budgets/Quotes and Contracts section of the client profile to download the quote for review.
2. Select the Advanced option to generate a quote using advanced mode.
Sample Quote
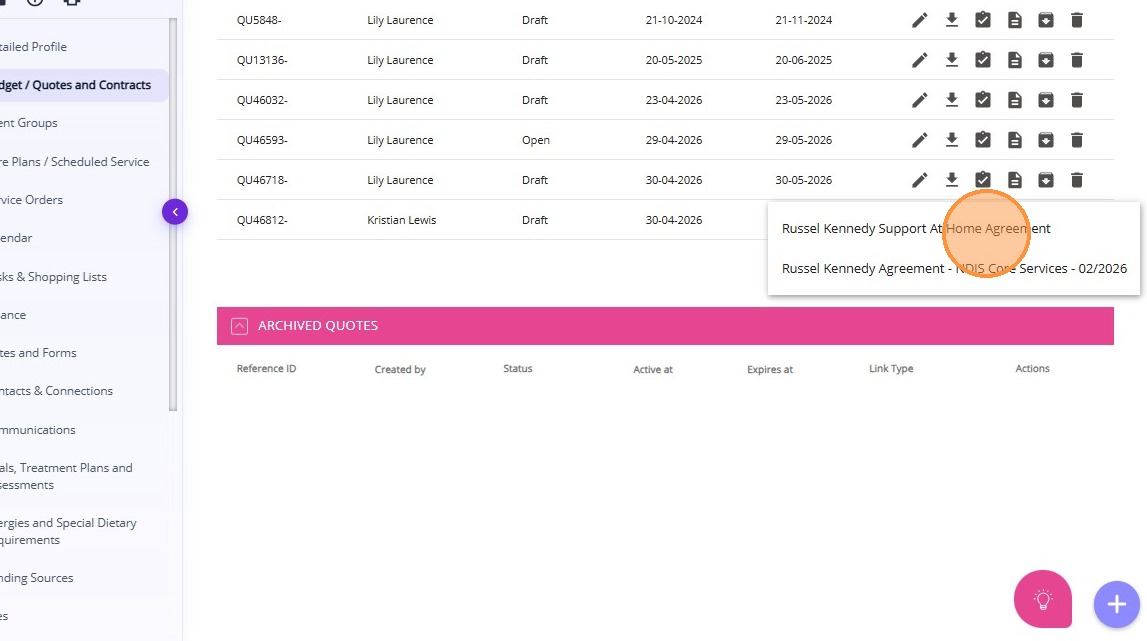
Step 10: Generate Russel Kennedy Agreement
Step 10: Generate Russel Kennedy Agreement
Click the Download Agreement button to download the client agreement.
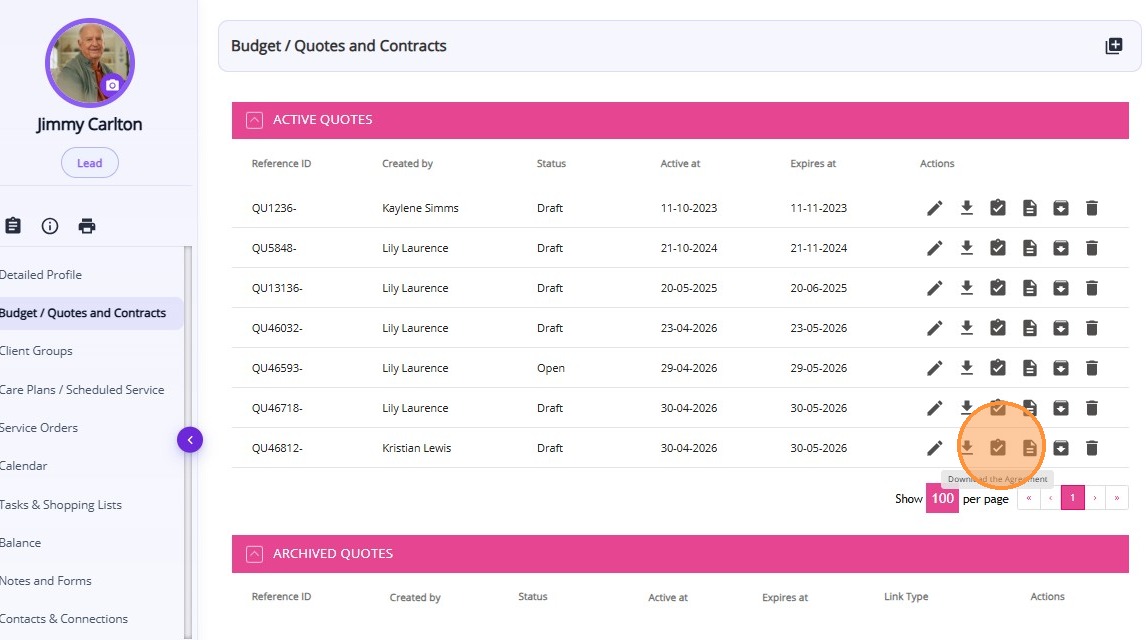
The agreement is an important resource to help your organisation meet legal and regulatory requirements under the Support at Home program.
Related Articles
Quotes Modal Improvements
The Quotes modal has been improved to provide a better experience when creating and managing quotes. Below is a summary of the key changes. Keywords: quotes modal, quote management, funding sources, recurring services, once off items, quote ...How to Create a Quote for Assistive Technology and Home Modifications Package
Assistive Technology and Home Modifications (AT&HM) provide Support at Home (SAH) participants with equipment and home changes to improve daily living, safety, and independence. Examples of assistive technology include mobility aids, toileting ...Overview of Client Intake Workflow for SAH
This topic describes the data required for Support at Home (SAH) client intake and onboarding. Keywords: sah intake, support at home, client onboarding, my aged care person id, billing contact, billing organisation, co-contribution, client ...Configure Interim Funding Client Group for SAH
This topic describes how to configure the Interim Funding client group in the portal to ensure the correct percentage of each participant’s approved budget is allocated within the new Support at Home (SAH) funding setup. By following these steps, SAH ...How to Set Up the Russell Kennedy- Support at Home Agreement
The Russell Kennedy - Support at Home Agreement is an important resource to help your organisation meet legal and regulatory requirements under the Support at Home program. To make your agreement complete and accurate, key settings need to be ...