Configure Interim Funding Client Group for SAH
This topic describes how to configure the Interim Funding client group in the portal to ensure the correct percentage of each participant’s approved budget is allocated within the new Support at Home (SAH) funding setup. By following these steps, SAH participants, whether interim-funded or fully funded, will receive the appropriate funding allocation until their full package is approved.
I. Create a Group Set

2. In the dropdown at the top, click Group Sets.

3. Click + Create Group Sets.

4. In the Name of Group Set field, enter: Funding Status.

5. In the Description field, add a short description.

6. Tick the Minimum Data Set box.

7. Click Save.

II. Create Client Groups
1. In the dropdown at the top, click Client Groups.

2. Click + Create Client Group.

3. For Interim Funding:
- In the Client Group set field, select: Funding Status.
- In the Name field, enter: Interim Funding.
- Complete other fields as shown and click Save.

For Full Funding:
- In the Client Group set field, select: Funding Status.
- In the Name field, enter: Full Funding.
- Complete other fields as shown and click Save.

4. After saving, under Client Groups, you should see both groups listed: Interim Funding and Full Funding.

III. Apply Client Group Treatments to Fee Billing Categories
In this section, apply client group treatments (interim funding) to Fee billing categories for the following primary subsidies:
- Support at Home Level 1–8
- Support at Home – HCP Transitional – Level 1–4.
1. In the left navigation pane, click Settings > Billing Categories.

2. Click the Type column to display Fees.

3. Find the primary subsidy for Support at Home. In this example, Support At Home - HCP Transitional - Level 1 is selected.

4. Click Edit to edit the billing category.

5. Click Client Group Treatments.

6. Click Add Client Group Treatment.

7. Set the Client Group field to Interim funding.
- Set the Treatment field to % discount.
- Set the Rate field to 40

8. Click Save.

9. Click Publish.

`10. Scroll down and click Save again.

 Repeat steps for each of the remaining primary subsidies:
- Support at Home Level 1–8
- Support at Home – HCP Transitional – Level 1–4
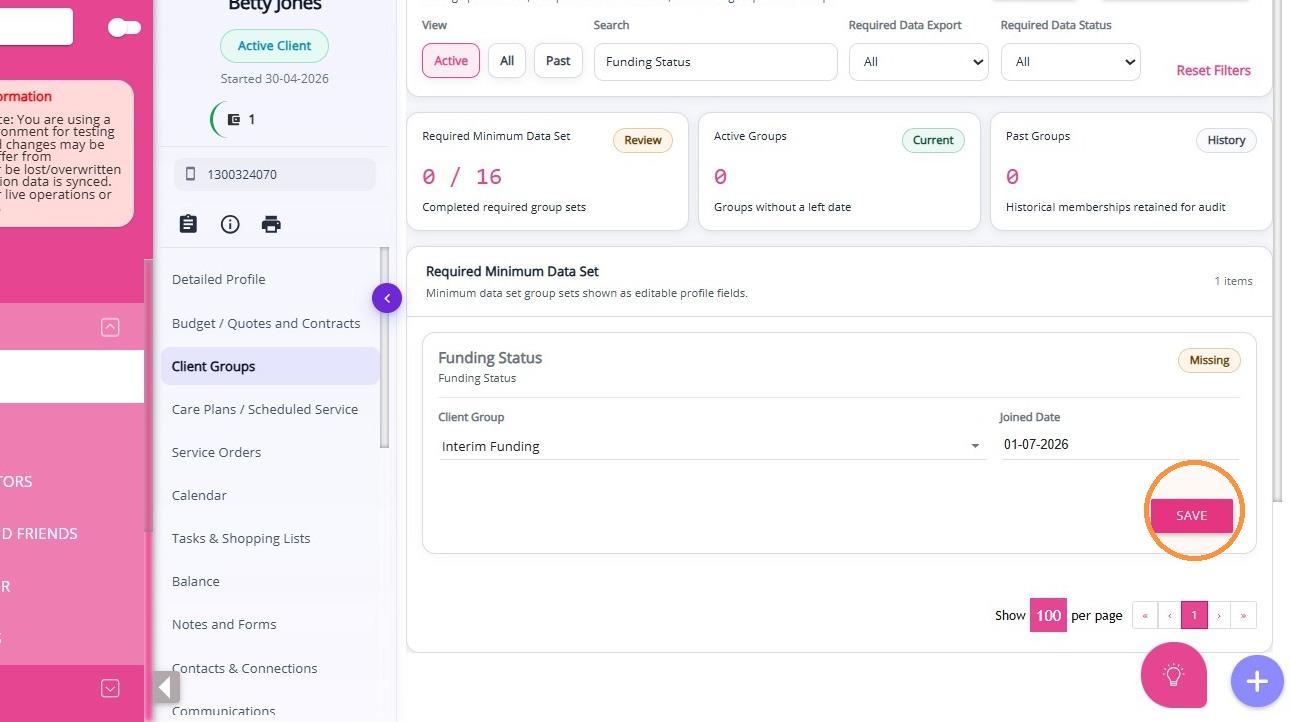
IV. Apply Funding Status in Client Profile
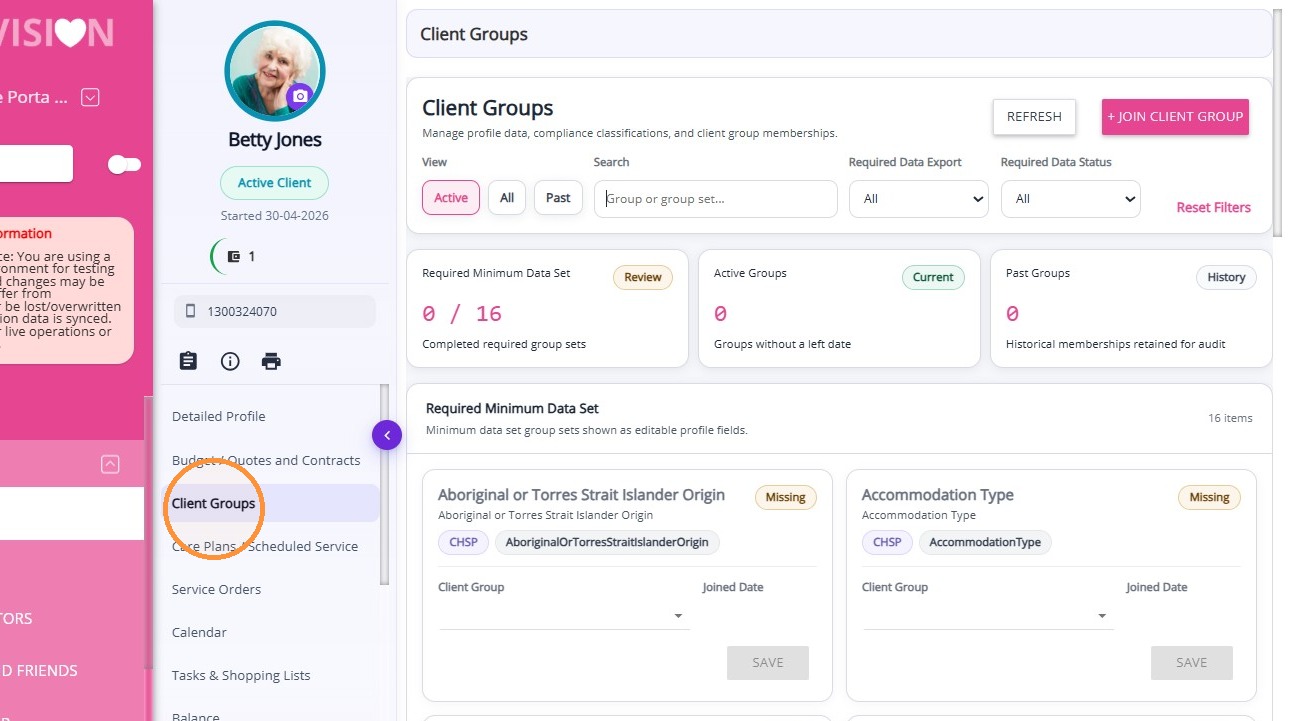
In the search bar, find the recently created Funding Status.
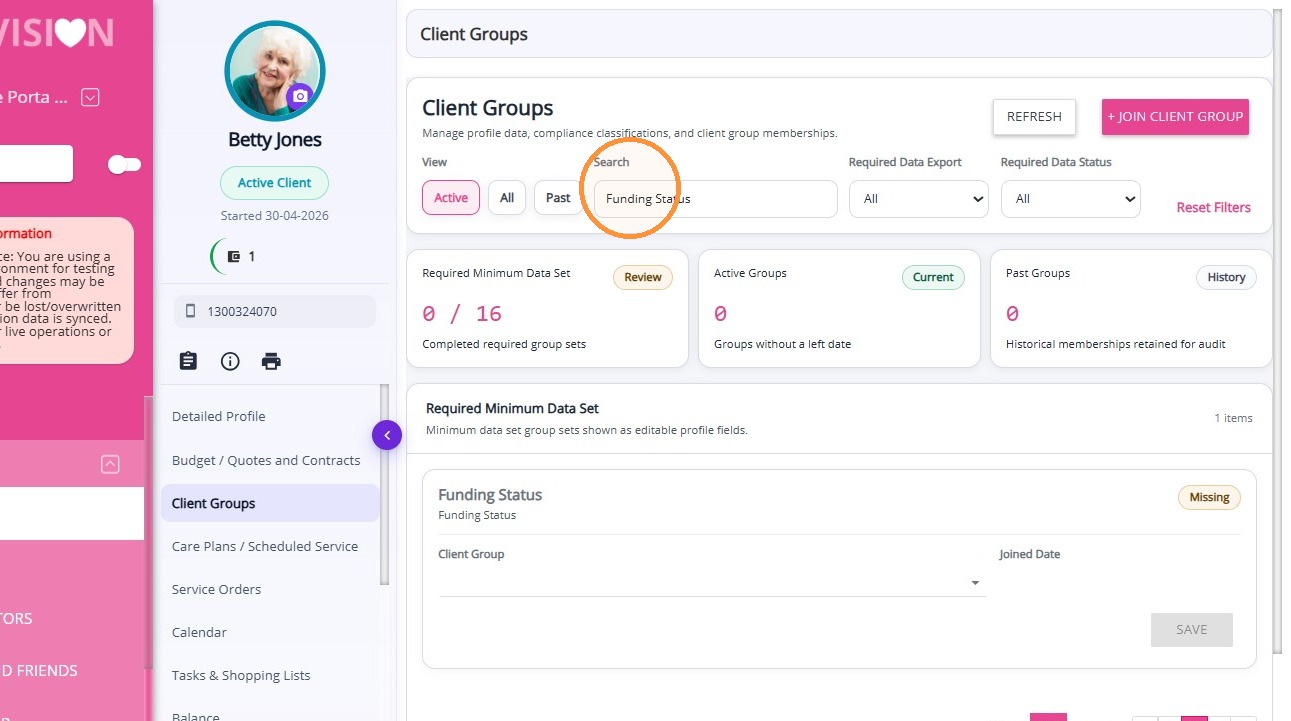
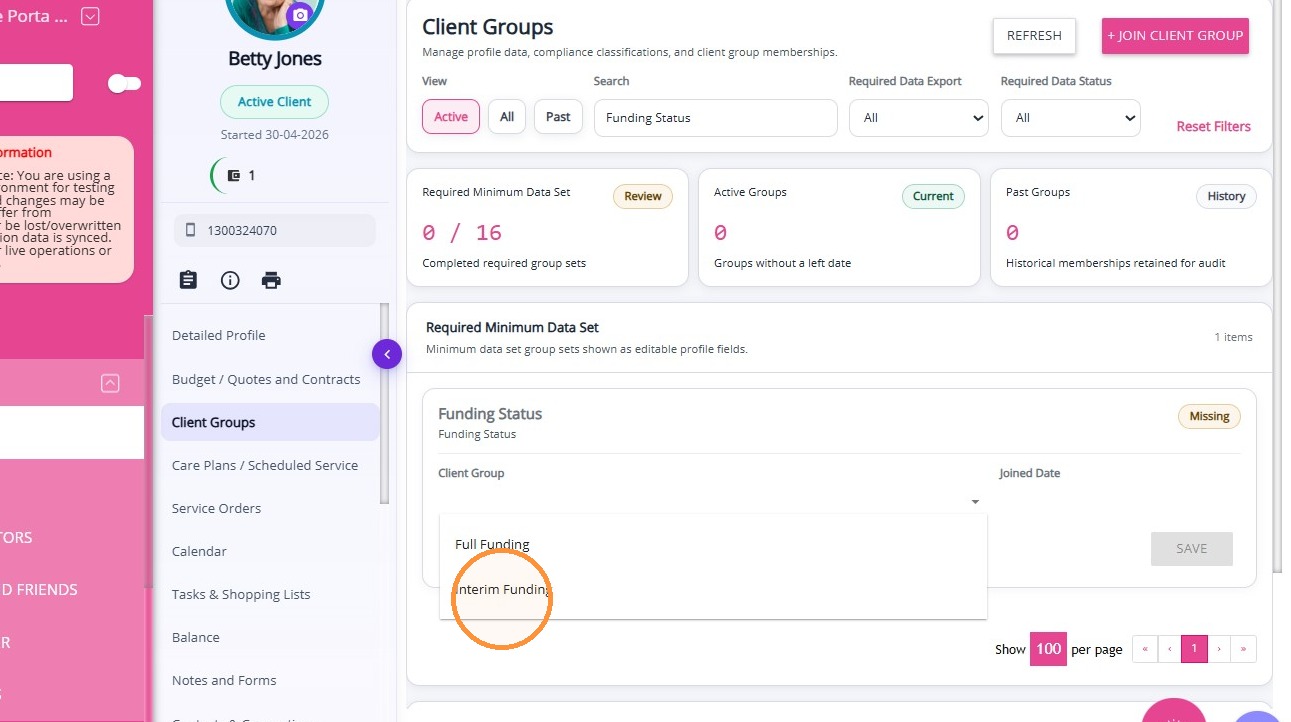
Select the appropriate status (Interim Funding or Full Funding) to indicate the client’s funding type.
Set the Joined Date.
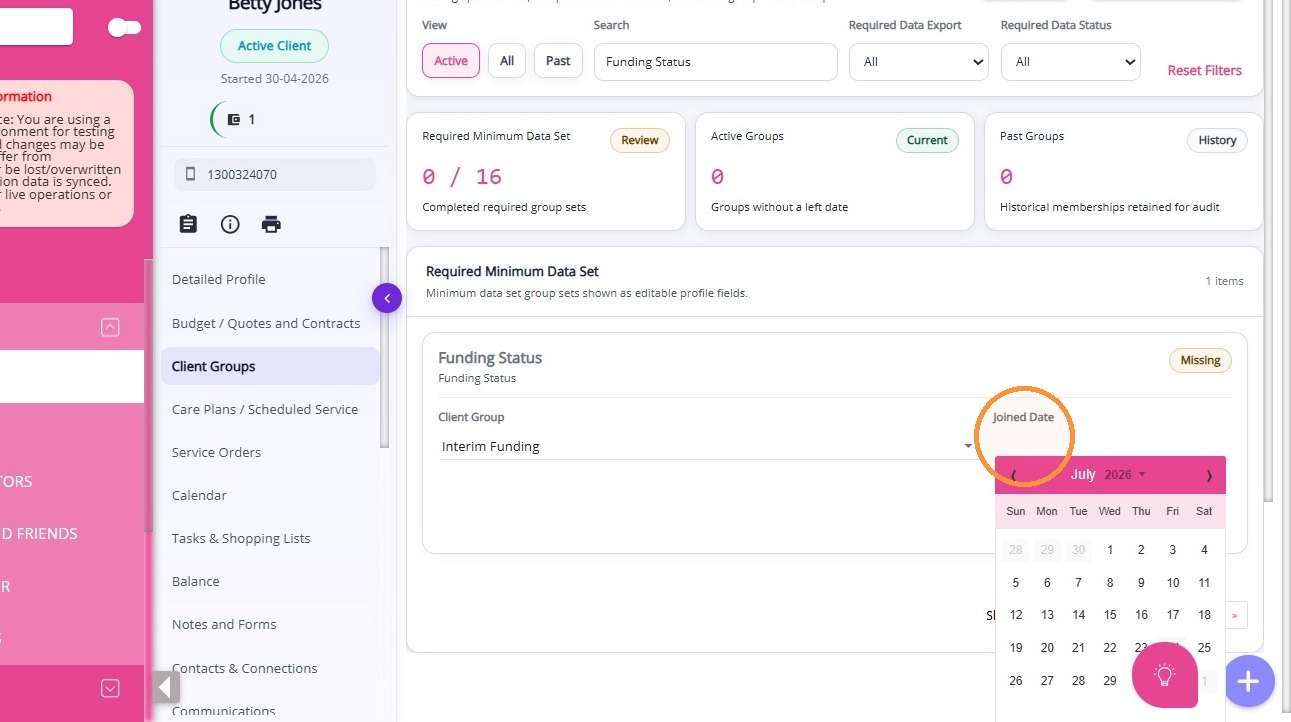
Click Save.
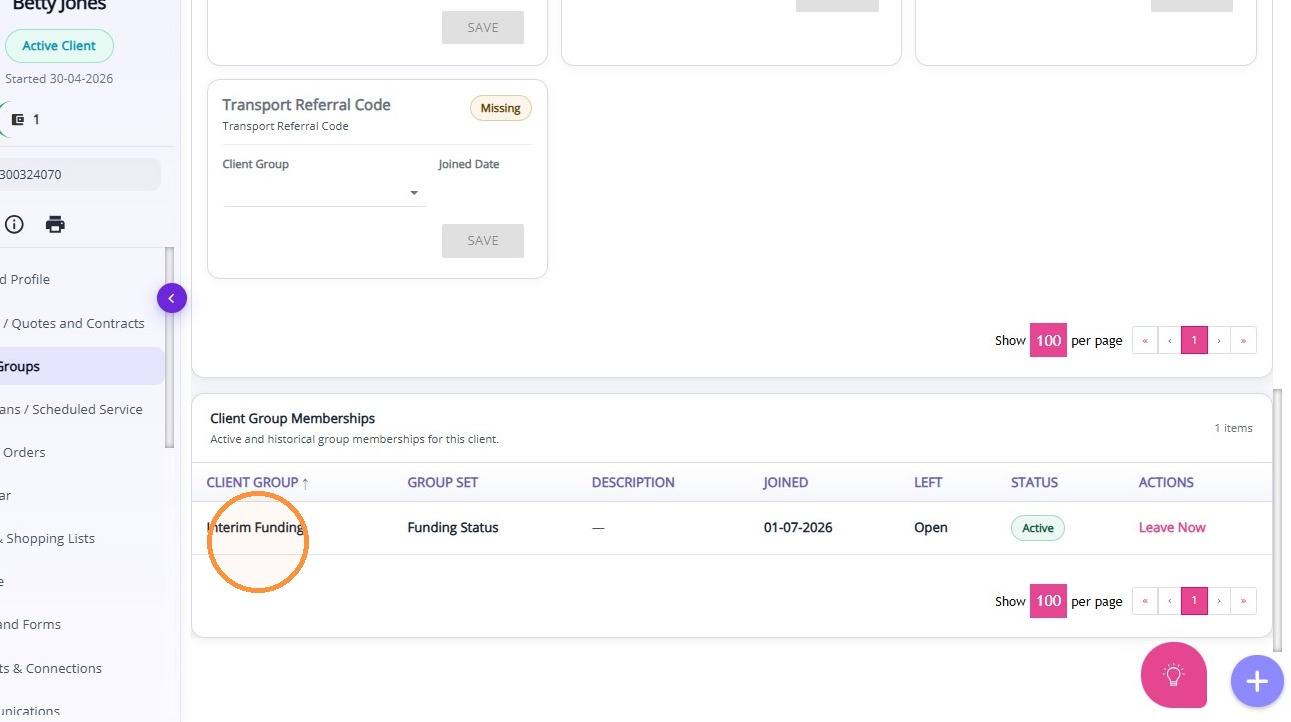
Under the Client Group Memberships section, check that the client has been successfully added to the Interim Funding client group.
This topic described how to set up the Interim Funding client group in the portal to allocate the correct budget percentage for each Support at Home (SAH) participant. For more information about configuring client groups, contact the CareVision Support Team.
Related Articles
How to Set Up the Russell Kennedy- Support at Home Agreement
The Russell Kennedy - Support at Home Agreement is an important resource to help your organisation meet legal and regulatory requirements under the Support at Home program. To make your agreement complete and accurate, key settings need to be ...Client Status and Stages
In CareVision, Client Status indicates the current phase of a client’s journey with your organisation, from initial contact through active service and subsequent exit. Keeping client status up to date is important for ensuring that records reflect ...How to Create a Quote for Support at Home Clients
This topic provides a step-by-step guide to quoting for Support at Home clients. Keywords: quote, create quote, sah quote, quoting workflow, support at home quote, funding source, billing contact, co-contribution, recurring services, default funding ...How to Create a Quote for Assistive Technology and Home Modifications Package
Assistive Technology and Home Modifications (AT&HM) provide Support at Home (SAH) participants with equipment and home changes to improve daily living, safety, and independence. Examples of assistive technology include mobility aids, toileting ...Overview of Client Intake Workflow for SAH
This topic describes the data required for Support at Home (SAH) client intake and onboarding. Keywords: sah intake, support at home, client onboarding, my aged care person id, billing contact, billing organisation, co-contribution, client ...