Quoting for Support at Home Clients in Advanced Mode
Step 1: Access Quotes & Contracts Window
The Quotes & Contracts Window brings together all the tools needed to create a client quote, including options for managing income streams, fees, recurring charges, and one-off service charges.
There are several ways to access this window:
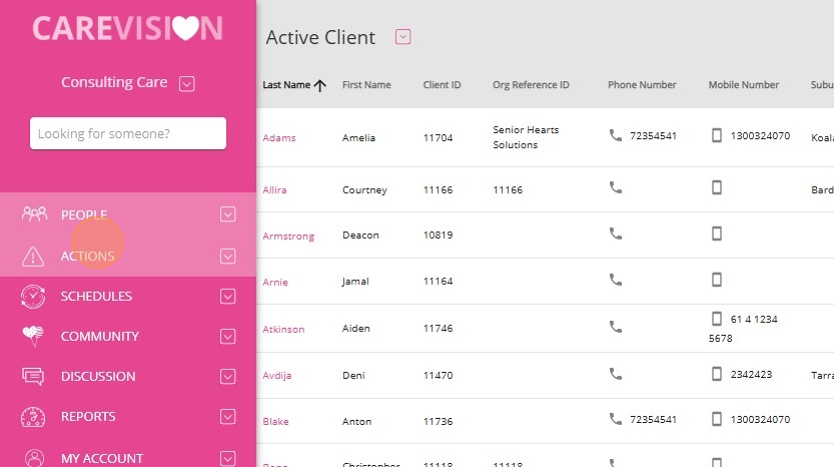
Option 1: Search for the client or lead’s name in the search bar (Recommended)
1. In the search bar, type the name of the lead or client.
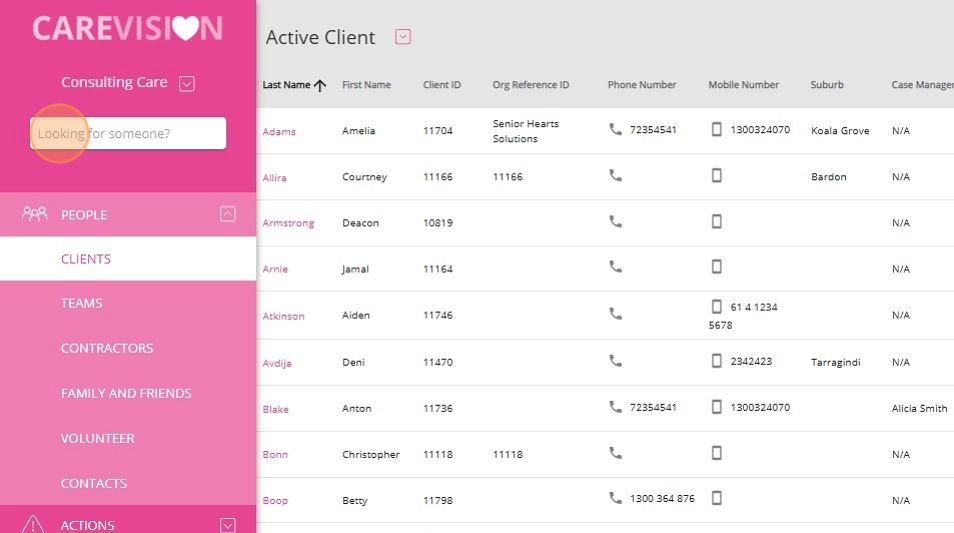
2. From the search results, select the client you want to create a quote for. Clients are identified by a circle (target) icon.
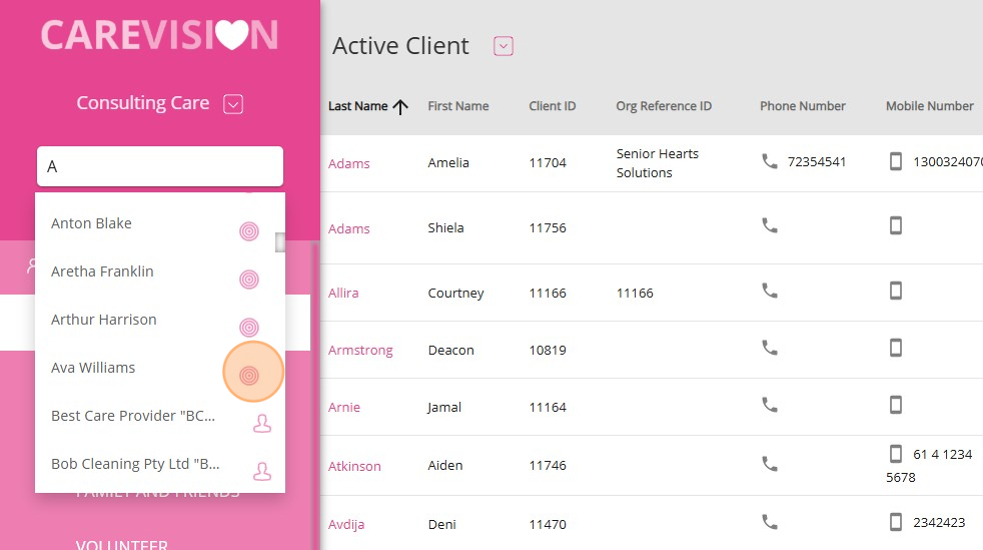
3. Below the client’s profile, click the plus icon, which represents Create Quote/Contract.


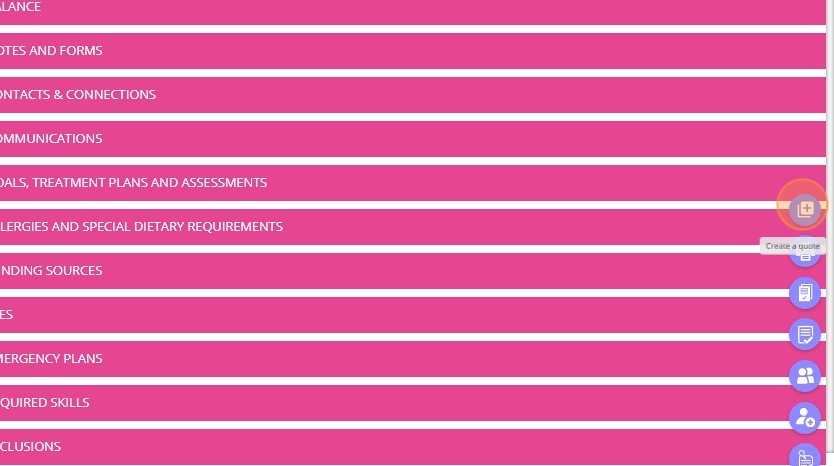
Option 2: Using Quick Actions (fast option)
1. Click the plus or Quick Actions icon in the bottom-right corner of the screen.

2. Click the topmost icon to Create a Quote.
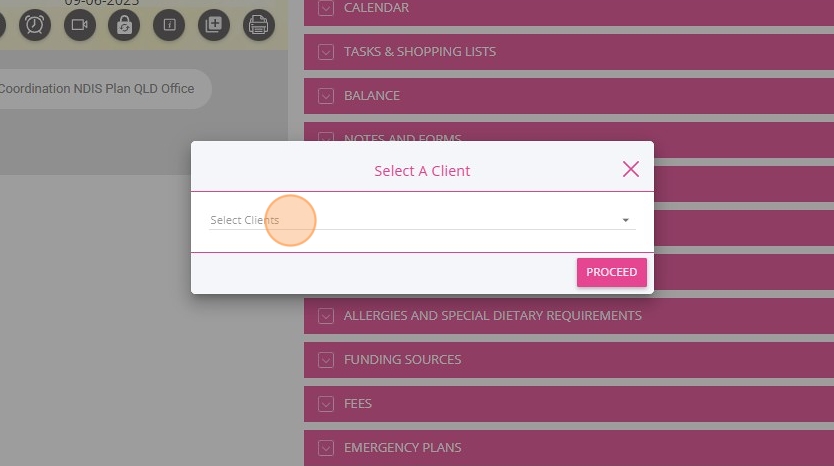


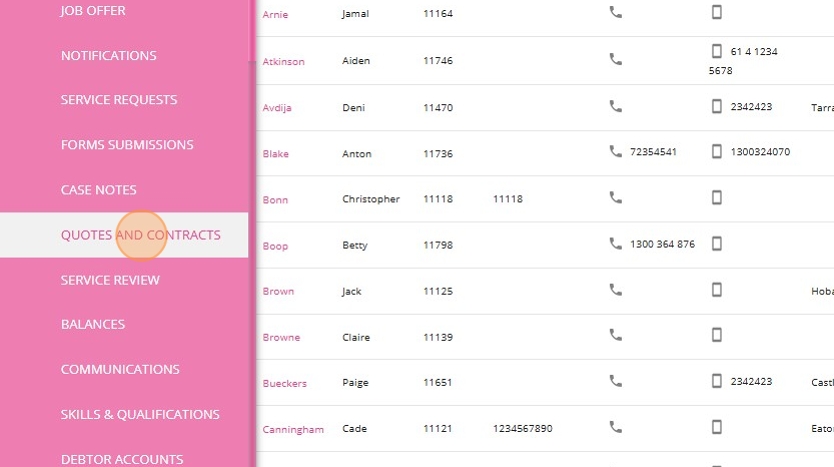
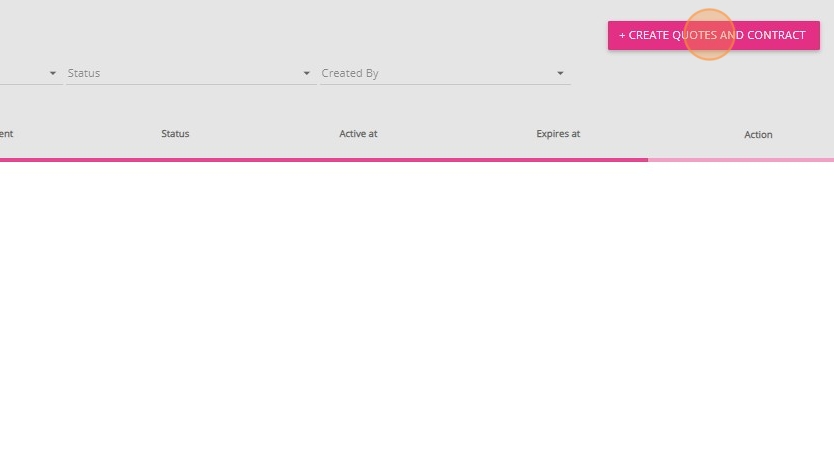
Option 3: From the Quotes & Contracts Action Board
Note: Use this method if you are reviewing or creating multiple quotes across the organization.
1. In the left navigation pane, click Actions.
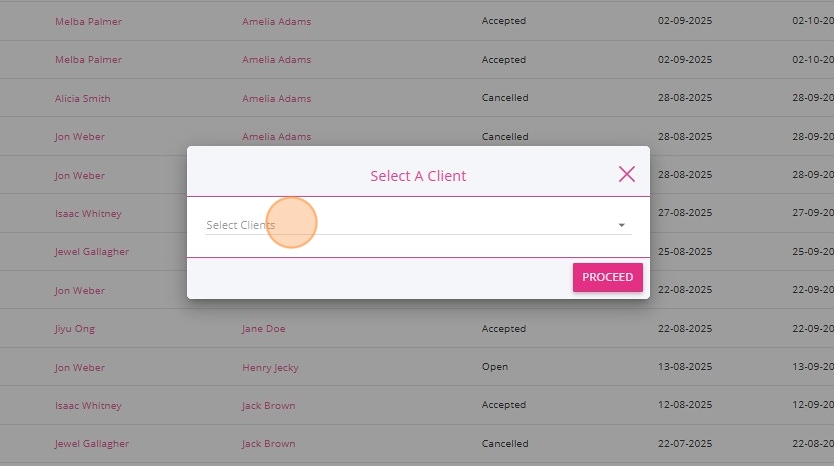
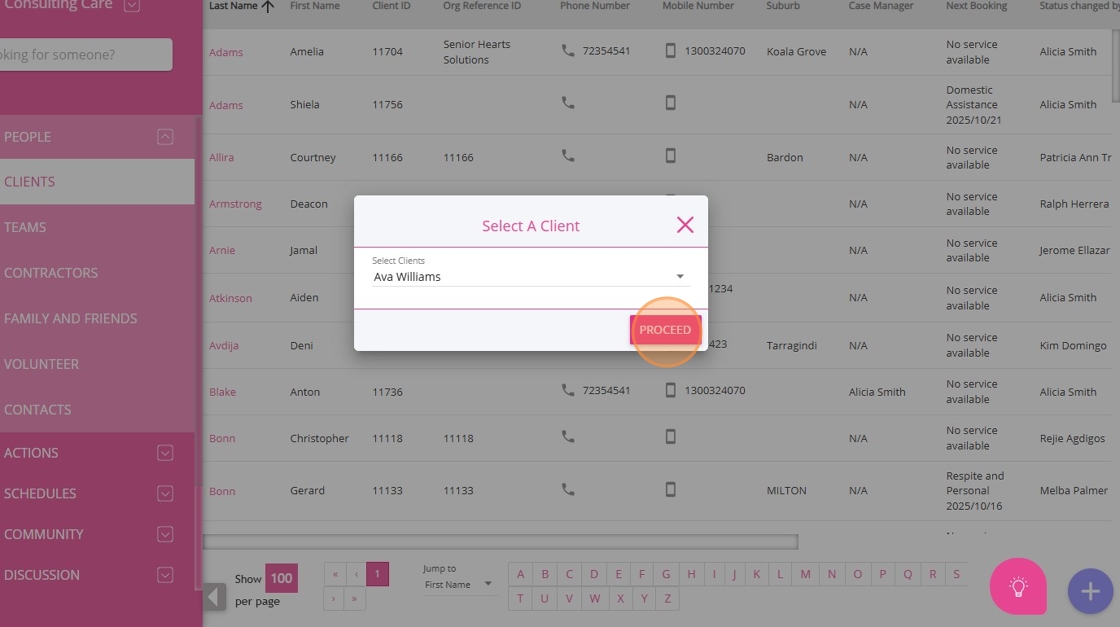
4. In the Select Clients field, either scroll to find the client or type the client’s name in the search bar.

Step 2: Review Quote Header
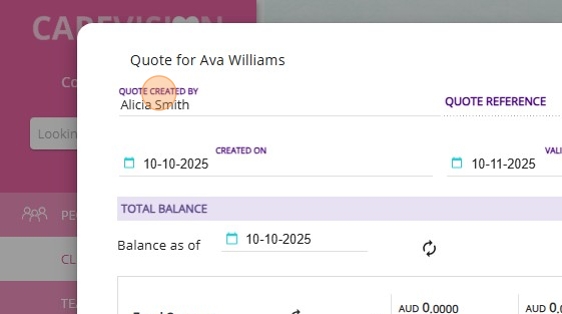
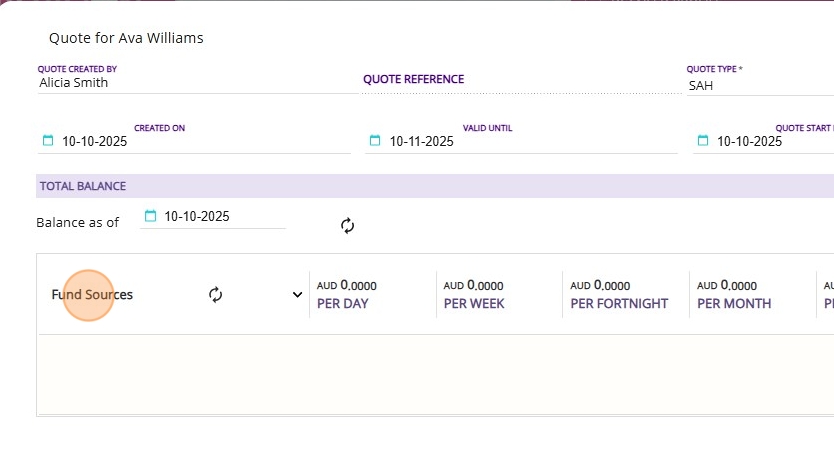
The Quote Header in the Quotes & Contracts Window contains key information at the top of the quote, including the client’s name, the creator of the quote, and several important dates.
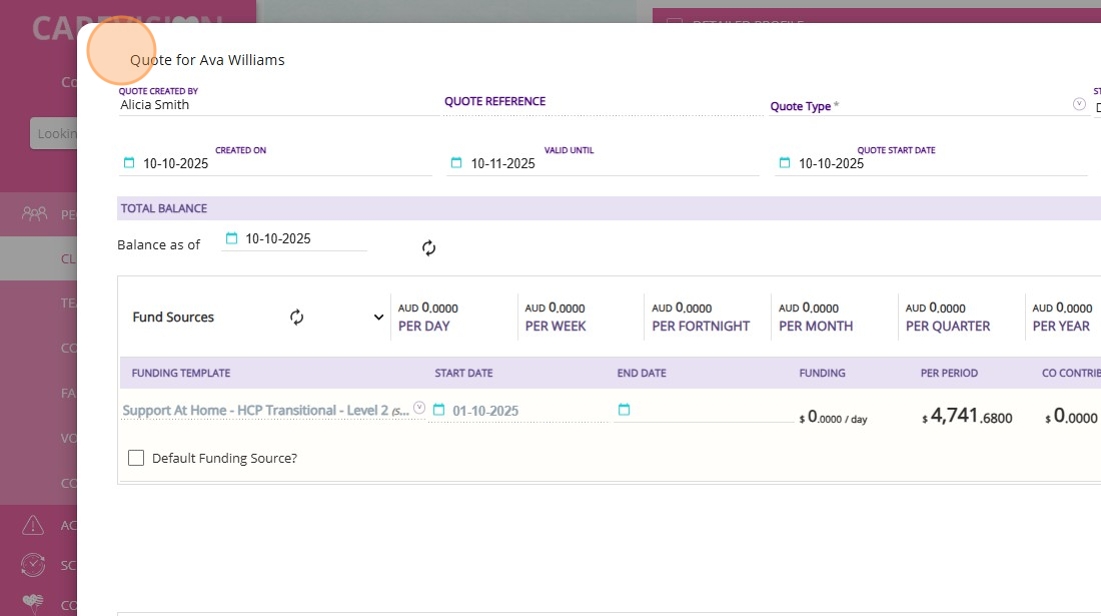
- The Quote created by field shows the name of the person who created the quote. It is automatically populated based on the logged-in user creating the quote. This helps with accountability and tracking, especially when multiple team members are involved in quoting for the same client.
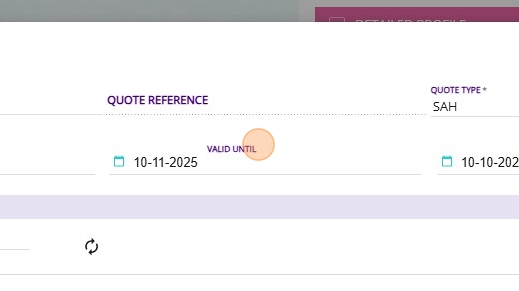
- The Quote Reference is a unique identifier for each quote. It is not visible until the quote is saved for the first time. After saving, it is auto-generated and can be used for tracking, searching, and referencing when discussing quotes with clients, especially if multiple quotes exist for one client.

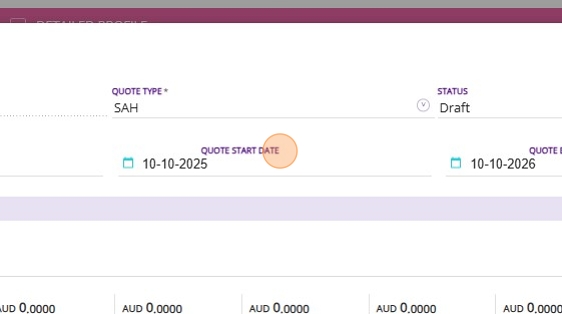
- The Quote Type dropdown allows you to select the type of quote being created. The quote type is associated with the type of agreement or contract that will follow. It also helps filter and organize quotes on the Quotes Action Board.


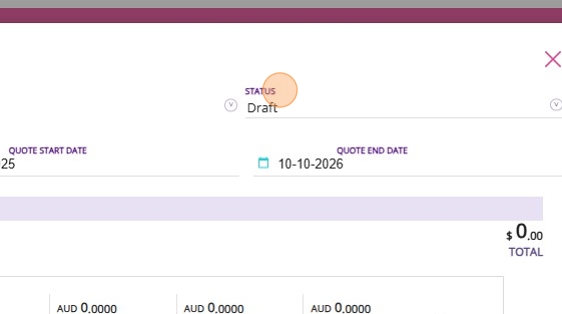
- When a quote is first created, its status is set to Draft. This means the quote is still being worked on and has not been provided to the client. Draft quotes can be edited and updated as needed. Only after moving to Open can the quote be sent to the client for acceptance.
- Created on: The date the quote was initially created.

- Valid until: Defaults to 30 days after creation. This is the period during which the quoted prices and services are guaranteed. It can be adjusted if needed (such as when the client needs more time)
- Quote Start Date: Indicates when the quoted services are intended to begin. This is editable and should reflect the actual planned start of services.
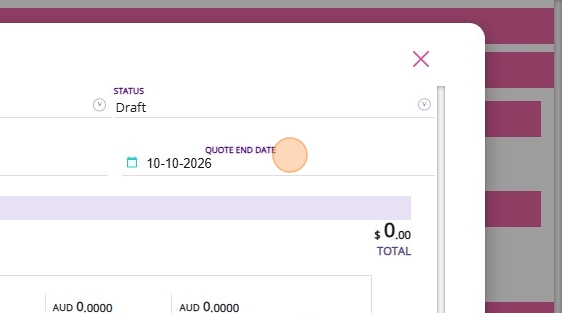
- Quote End Date: Defaults to 12 months from the start date but can be modified. Keeping it at 12 months is recommended for most clients, as it matches standard budgeting and client expectations.
Step 3: Manage the Fund Sources Section
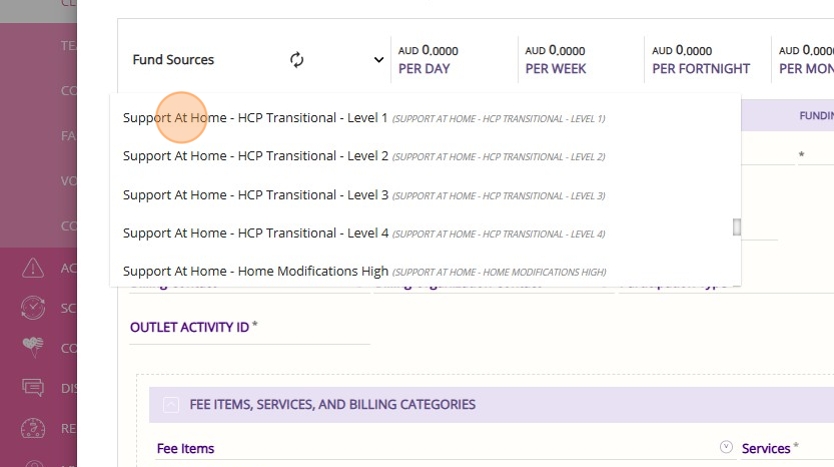
A. Add a Funding Source Template
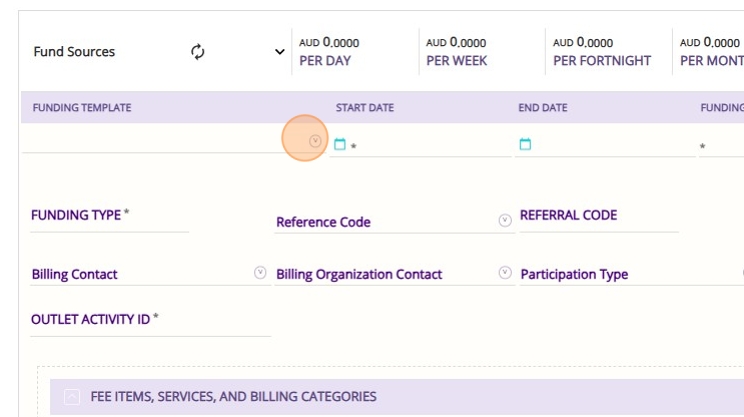
1. Go to the Fund Sources section.
2. Click the plus icon on the right side of the Fund Sources section to start adding a new funding source for the client.


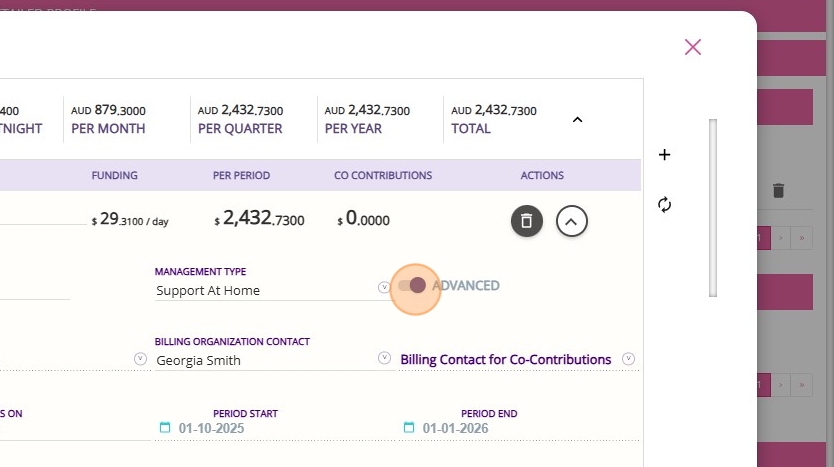
- The Advanced toggle on the client’s quote indicates that the funding source is Support at Home enabled. Once this is set, it cannot be changed from Advanced to Basic funding. Compared to basic funding, Advanced Mode provides enhanced features such as budget tracking, live budget updates, and the ability to split transactions between funded amounts and co-contributions.
Fields You Must Complete
You only need to complete the following fields, as they may differ for each client.
- Funding Template
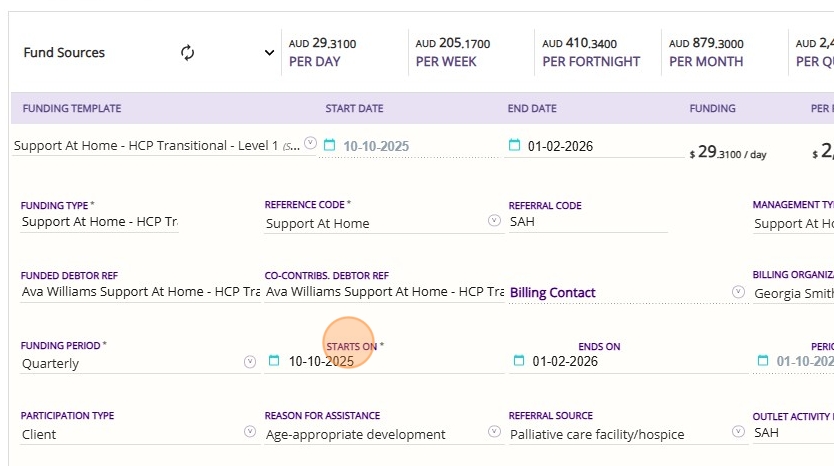
- Starts On
- Billing Contact
- Billing Organisation Contact
- Billing Contact for Co-Contributions
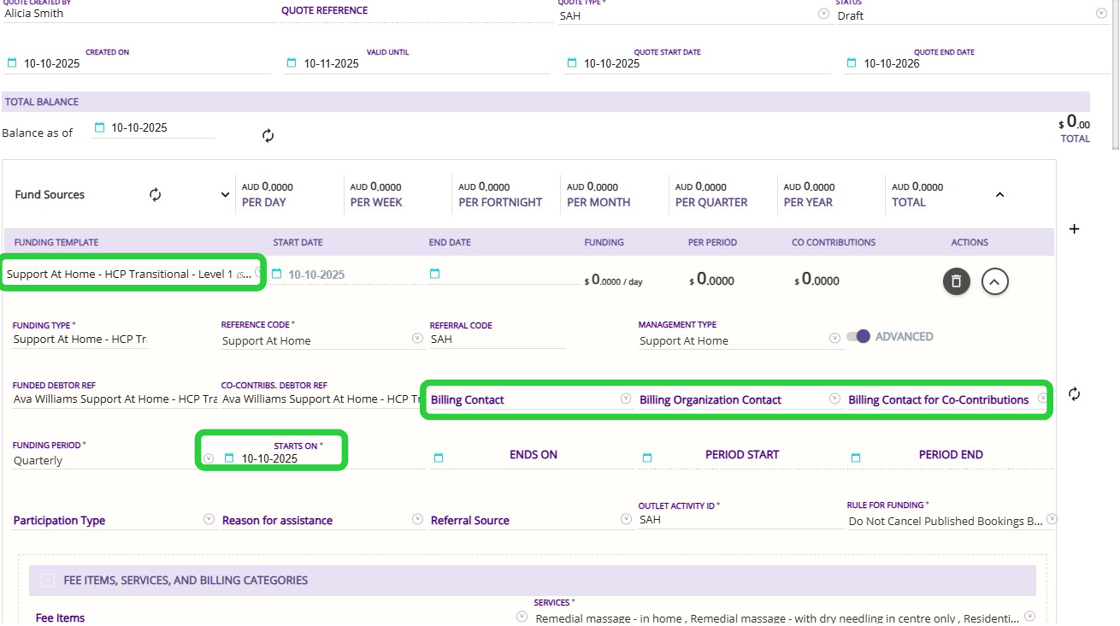
- Starts On is the date when the client’s Support at Home package funding begins. For new clients, this is usually the day they are first given funding. For all clients transitioning, the start date for the new funding source will be 1 November 2025.

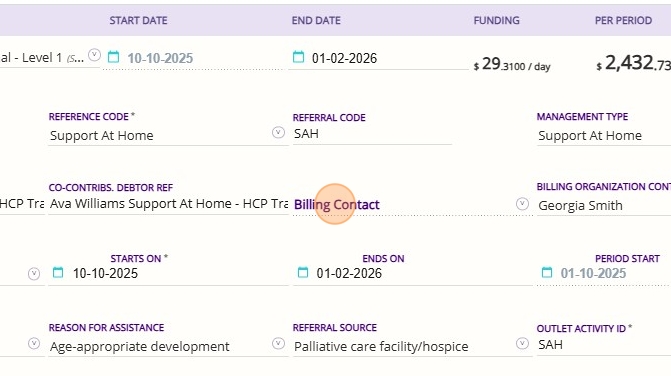
- The Billing Contact is a person known to the client, such as a family member who will be the main recipient of statements and billing information. This contact must be added to the client’s profile before you can select them in a quote.
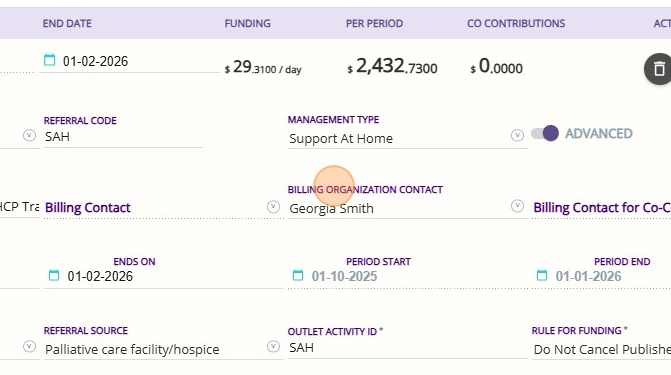
- A Billing Organisation Contact is a generic organization or third party, such as a plan manager or an entity that receives invoices or statements on behalf of the client. This could also include a shared contact, such as an enduring power of attorney, who manages billing for multiple clients. A billing organisation contact is used when an external organization or representative is responsible for handling the client’s billing matters.
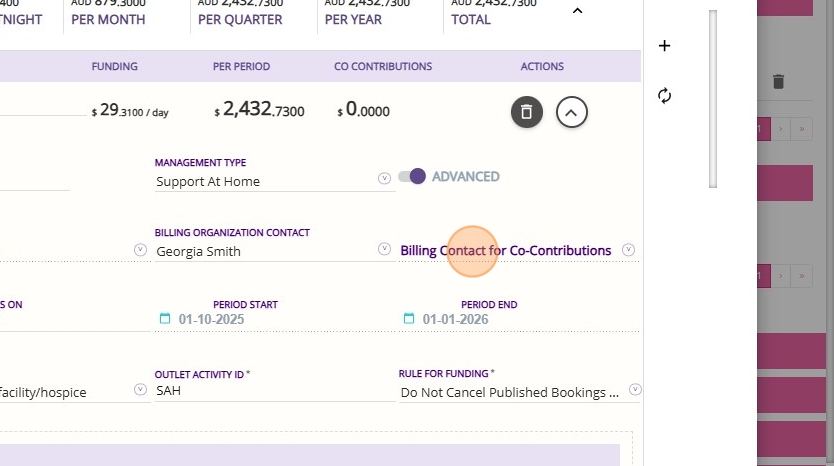
- The Billing Contact for Co-Contributions is a specific person designated to receive invoices related to the client’s co-contribution payments. This could be a different individual from the main billing contact, such as a family member or representative responsible for paying the co-contribution portion.
Optional Fields
- Participation Type indicates whether the funding is directly for the client or for a support person.
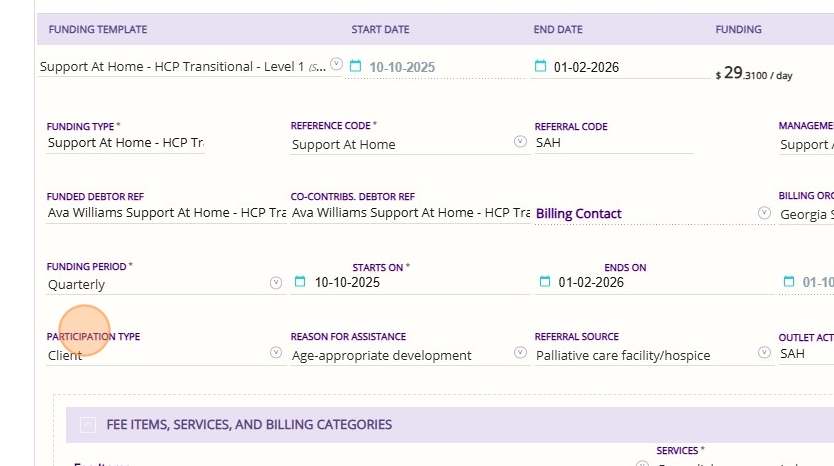
- Reason for Assistance indicates the main reason the client is seeking support or services. Set this field to the relevant option, such as personal and family safety, permanent and significant disability, age appropriate development, or another relevant reason.
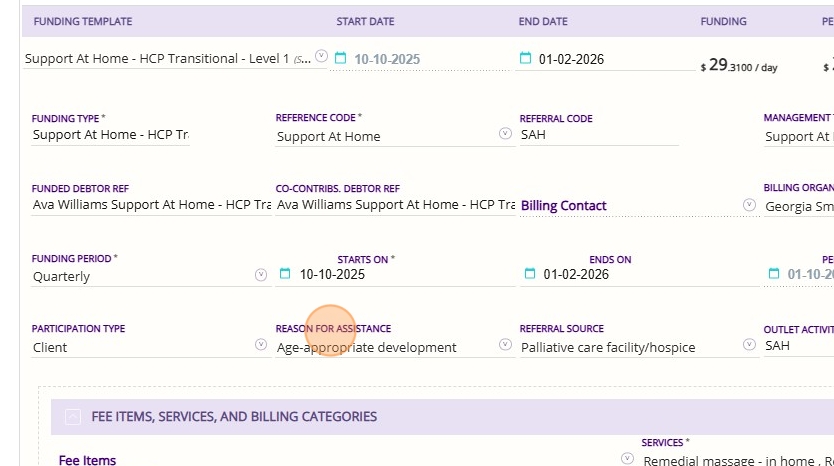
- Referral Source is the origin of the client referral. Select the appropriate source, such as hospital, agency, accommodation provider or another relevant reason.

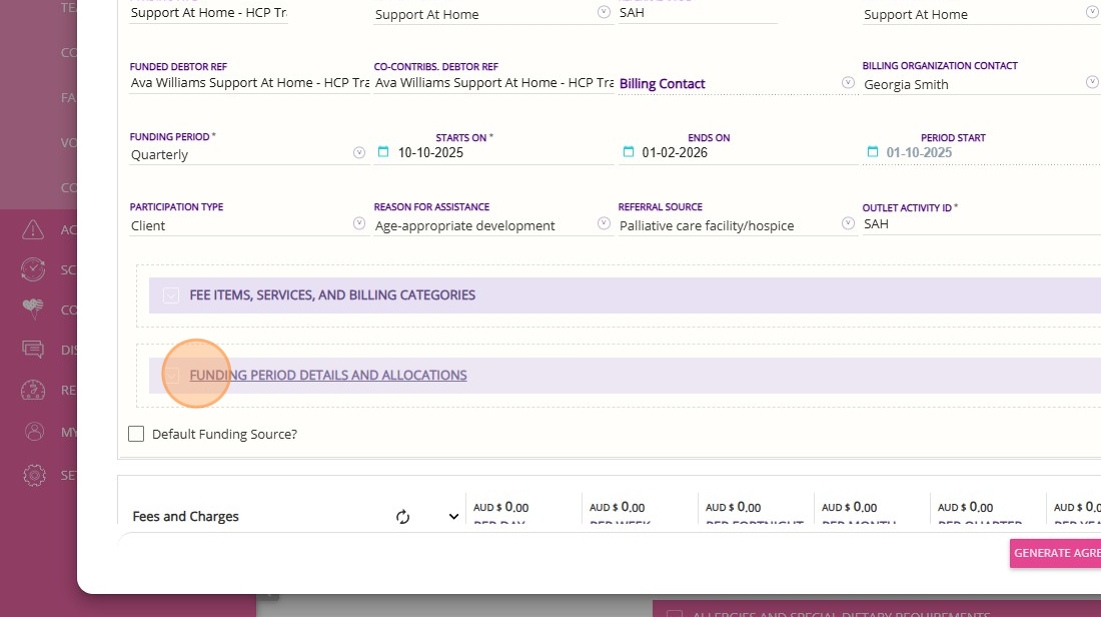
Other Funding Template Fields Explained
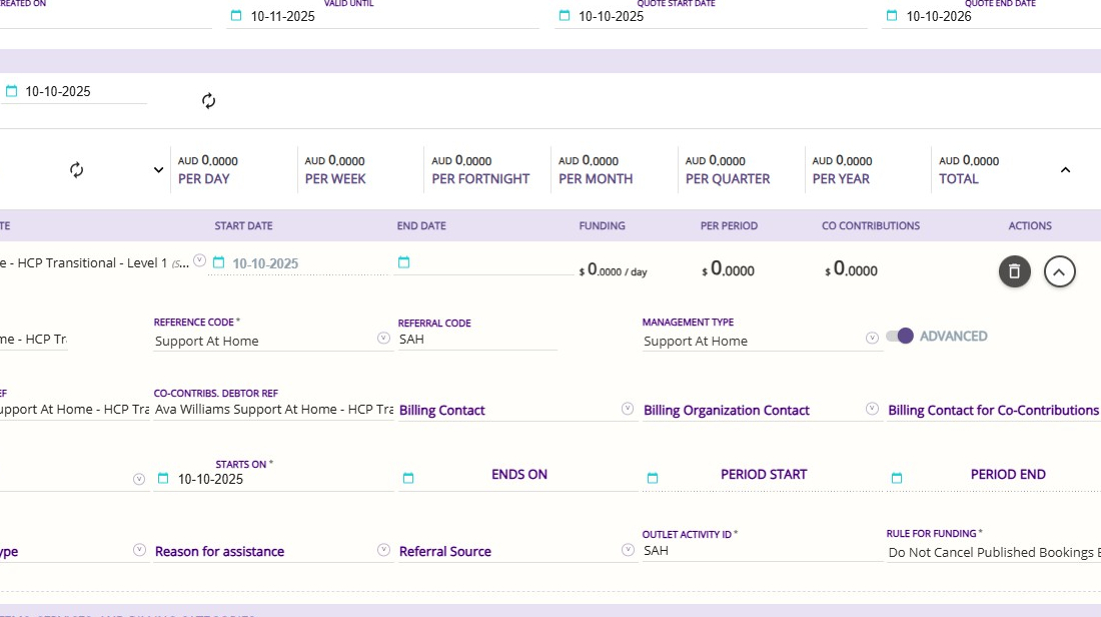
- The Start Date field is the date when funding is awarded or when the client transitions to the program. The date you enter as the Starts On field will appear here at the top for easy reference and will be greyed out.
- Starts On is the date when the client’s Support at Home package funding begins. For new clients, this is usually the day they are first given funding. For all clients transitioning, the start date for the new funding source will be 1 November 2025.
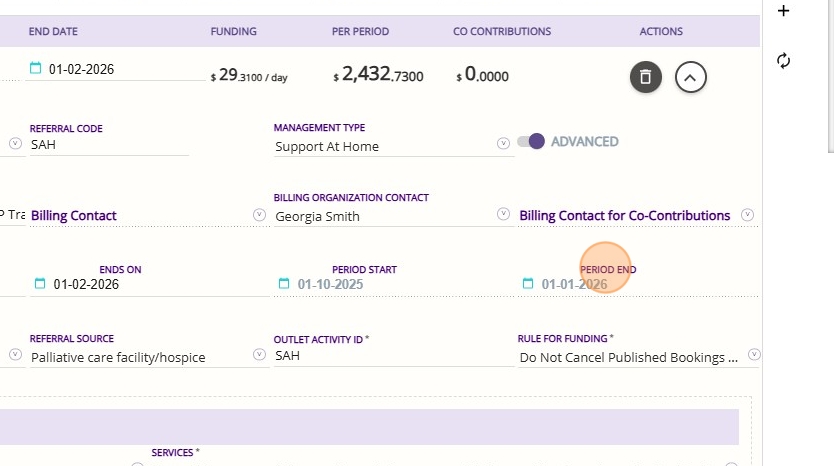
- The End Date field is the date when the funding is expected to end. The date you enter in the Ends On field will appear here at the top for easy reference and can be edited whenever the expected end date of the funding is known.

- Ends On is the date when the client’s current package funding finishes. For example, if the client gets a new package, the Ends On date marks when the old one ends.

- Period Start is the first day of the current funding period. This field is automatically generated by the system and cannot be edited. It is calculated based on the Starts On date and the current period.

- Period End is the last day of the current funding period. This field is also automatically generated by the system and cannot be edited. It is calculated based on the Starts On date and the current period.
- The Funding Type field is used to categorize and group funding sources. In most cases, this field is the same as the template name for the funding source.

- The Reference Code is typically set to values like Support at Home and allows you to assign all related funding sources to a common reference.
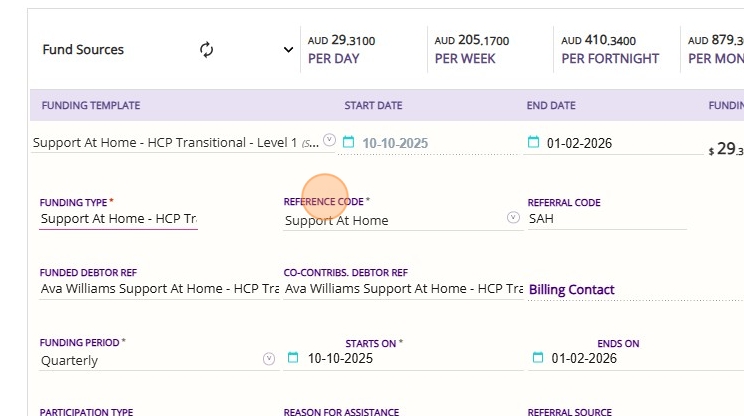
- Organizations may use the Referral Code to enter codes such as service provider IDs, government-issued funding references, or custom referral codes required for reporting or billing.
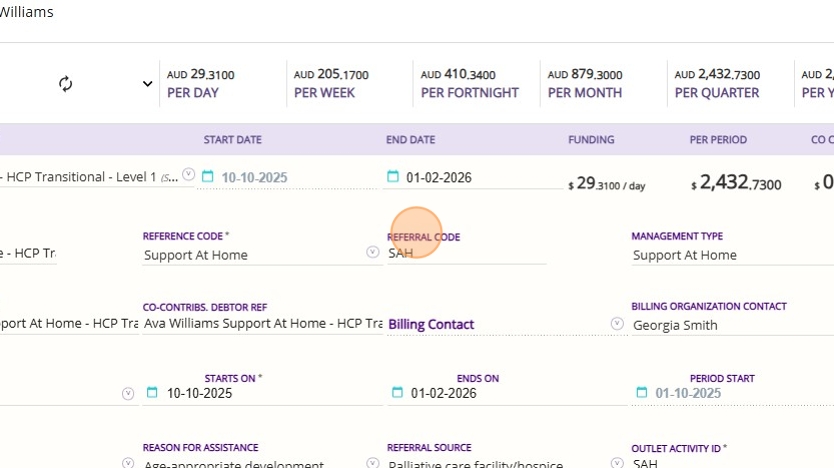
- The Management Type field will default to Support at Home based on your selected funding template. This field is used internally to distinguish between different types of funding sources in the system and supports downstream processes such as billing, claiming, and budget management.

- The Funding Period field is set by the funding source template and indicates how the funding is managed over time. For Support at Home, this typically means the funding is managed on a quarterly basis.
While the overall funding may be calculated using daily or yearly rates, budgets and spending are tracked and controlled within each quarter. This ensures that clients do not exceed the allocated budget for any given quarter, even if the total funding covers a longer period.

- The Outlet Activity ID field is automatically populated from the template and will be set to SAH for Support at Home funding sources. This field is used internally for downstream reporting and tracking purposes.

Debtor References
Under Support at Home, every funding source requires two debtor references:
- Funded Debtor Reference
- Co-Contribs Debtor Reference

1. Funded Debtor Reference
This field captures the account that will receive invoices for the government-funded portion of the client’s funding.
By default, this is set to the client’s first name, last name, and funding type. This ensures that payments from the government are directed to the correct account. Your organization may have specific naming conventions for this field based on your accounting system.

2. Co-Contribs Debtor Reference
This field designates a separate account for invoicing the client’s co-contribution amounts. It is used to identify which account should receive invoices for the client’s share of funding, separate from the government-funded portion.
The default structure includes the client’s name, funding type, and an indication that it is the co-contribution account. Your organization may have specific naming conventions for this field based on your accounting system.

Rules for Funding
The rules for funding field allows you to set controls and guidelines for what should happen if a client’s funding runs out before the end of the quarter. This new functionality helps providers manage financial risk under Support at Home by letting you define specific actions or restrictions, either at the organization level or for individual client funding.

Options for billing when funding expires:

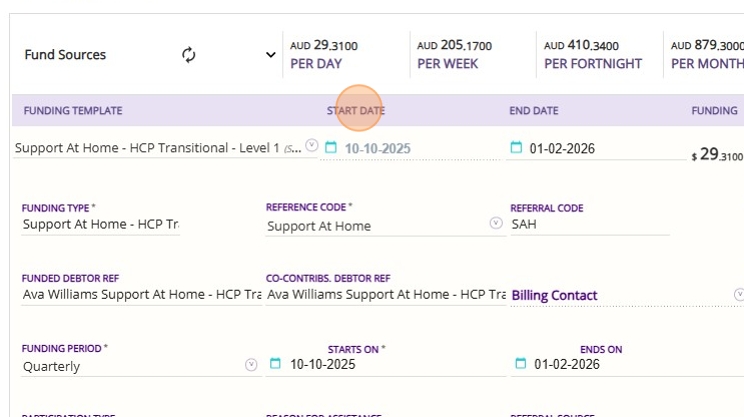
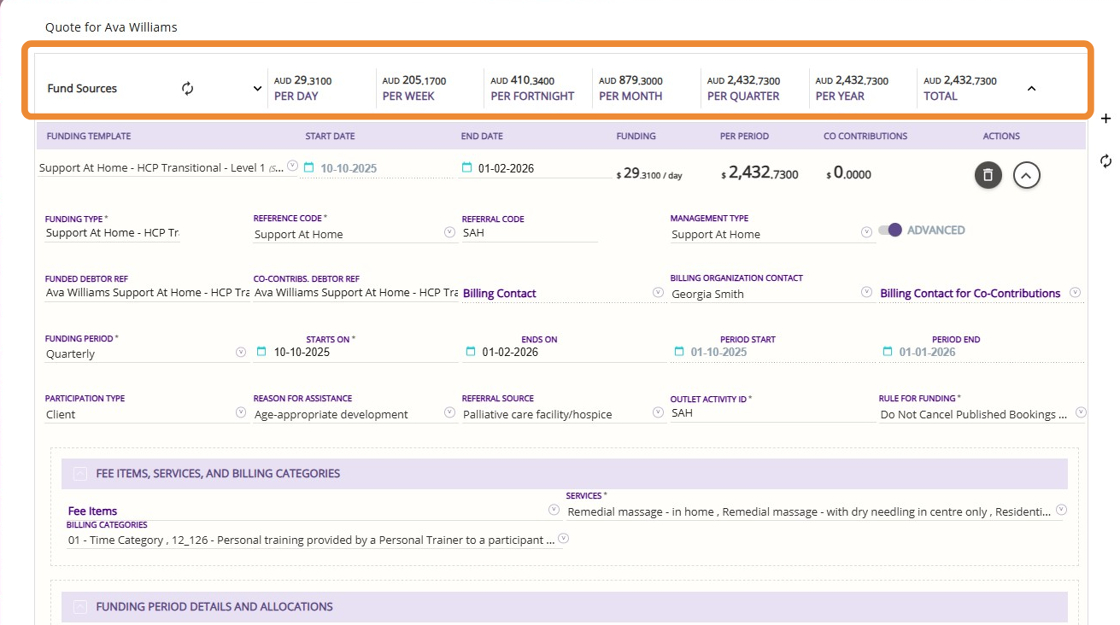
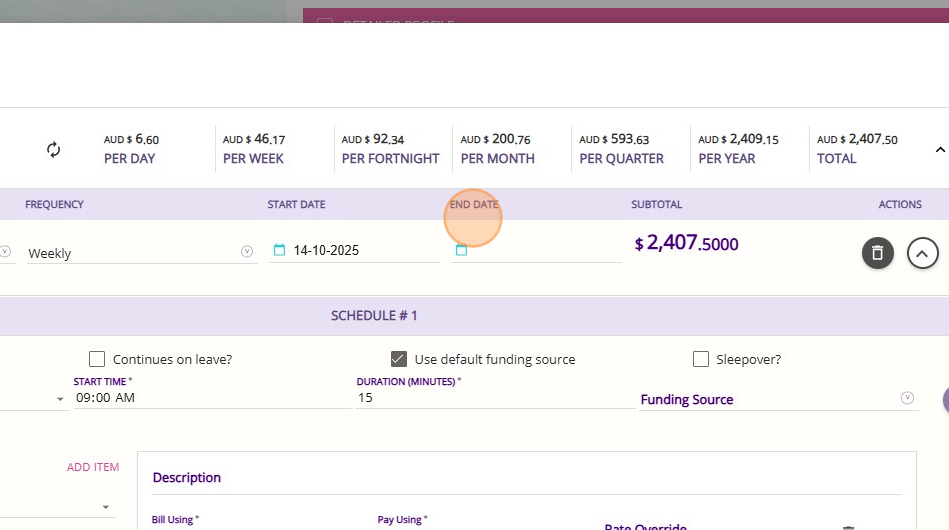
Fund Sources Summary
The Fund Sources Summary displays the total funding available to a client, broken down:
- Per Day
- Per Week
- Per Fortnight
- Per Month
- Per Quarter
- Per Year and
- Total
1. Go to the Fee Items, Services, Billing Categories, and Line Items section. The settings in this section come from your templates, so you usually don’t need to change them. They show the rates for support at home and help prevent selecting old home care rates by mistake.
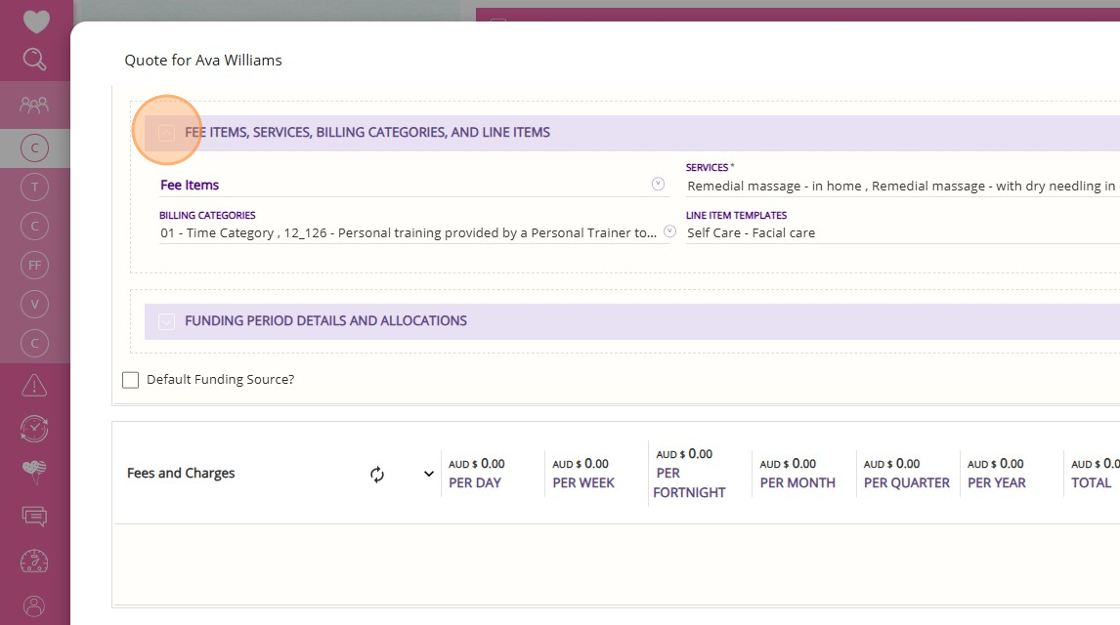
2. Fee items typically represent outgoing funds or charges to customers. Most organisations will no longer include fees such as package management, as these are generally not charged in this model.

3. In the Services field, you can select the services that are available for the specific type of funding you have added.
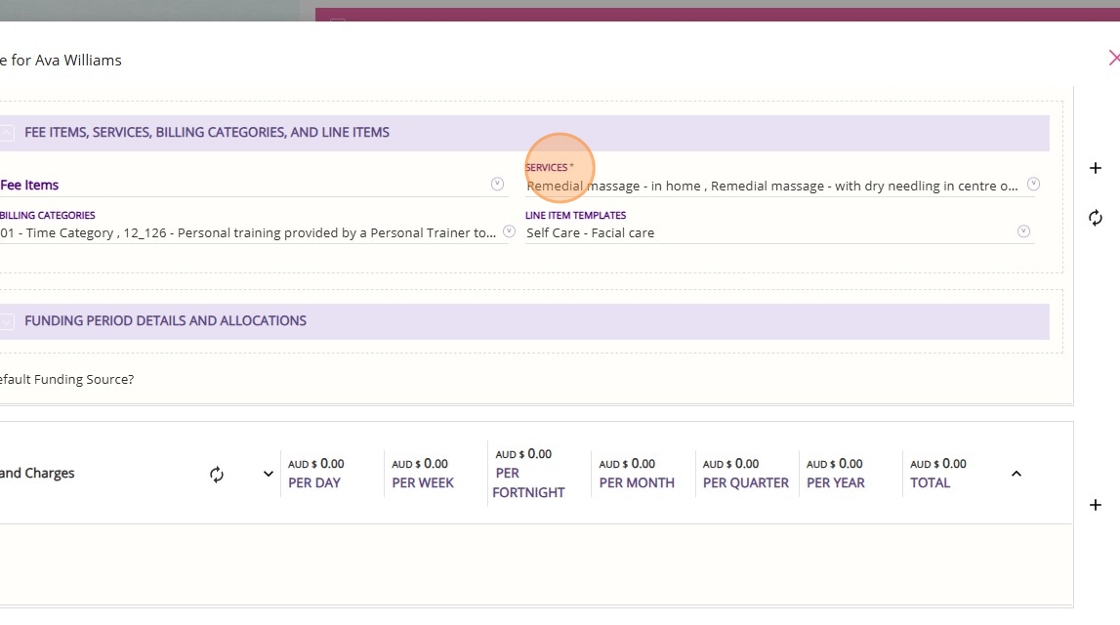
4. In the Billing Categories field, you can select which billing categories are available for the specific type of funding you have added.

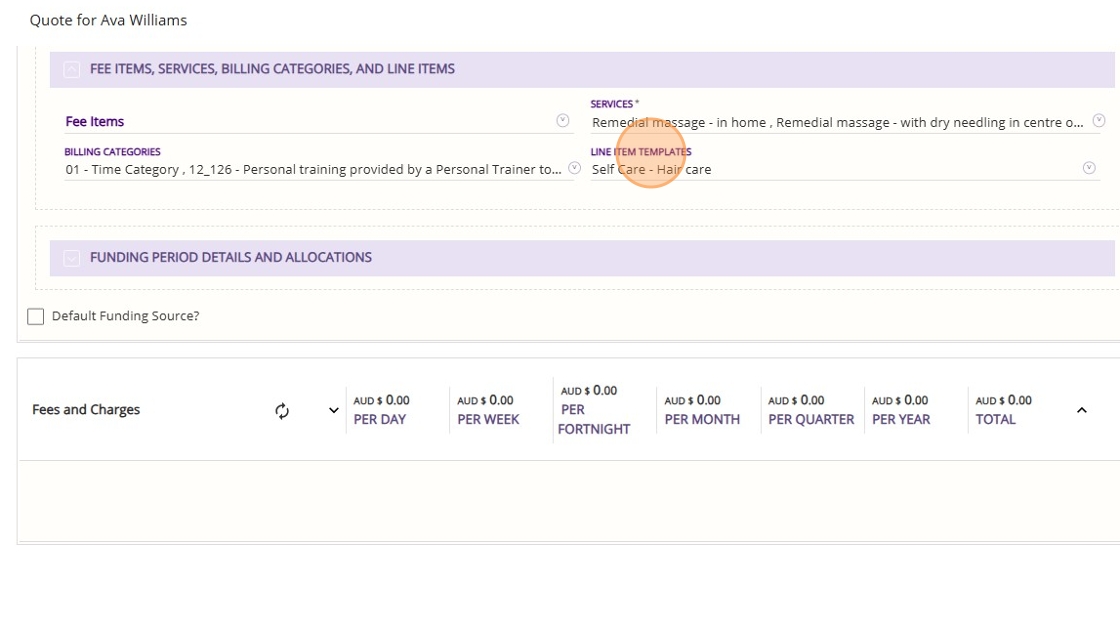
5. Line Item Templates are pre-configured entries that define the details of specific services or items that may need to be added to a client’s billing record. Templates can be tailored to organizational needs, but must be set up in advance and aligned with the Config Workbook.
6. We recommend that you use line item templates rather than creating manual entries. This is to ensure all necessary information is included and to prevent issues downstream in the claiming process.
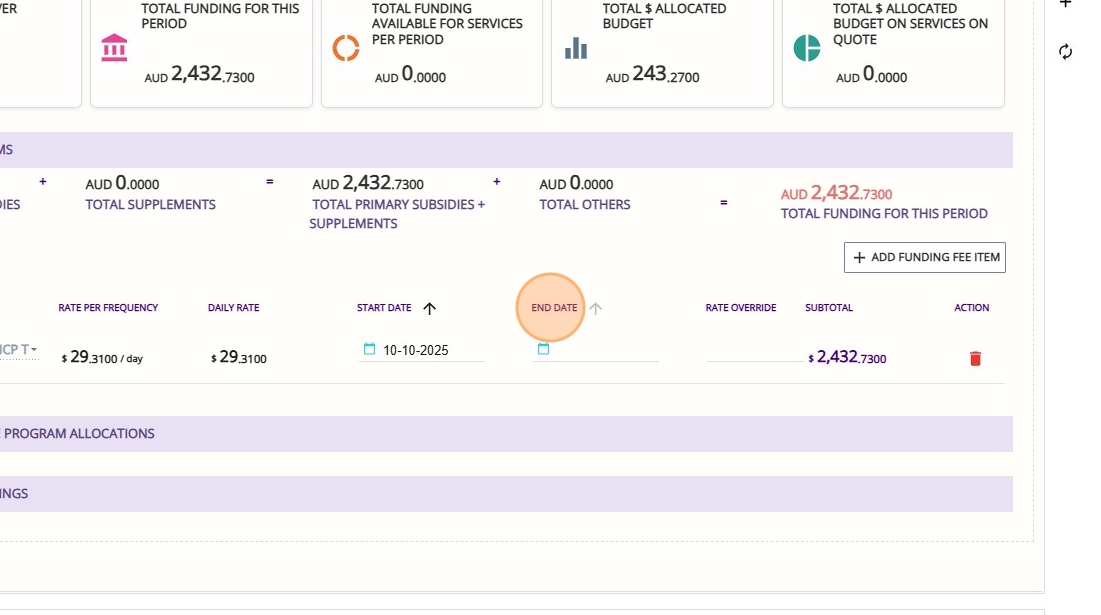
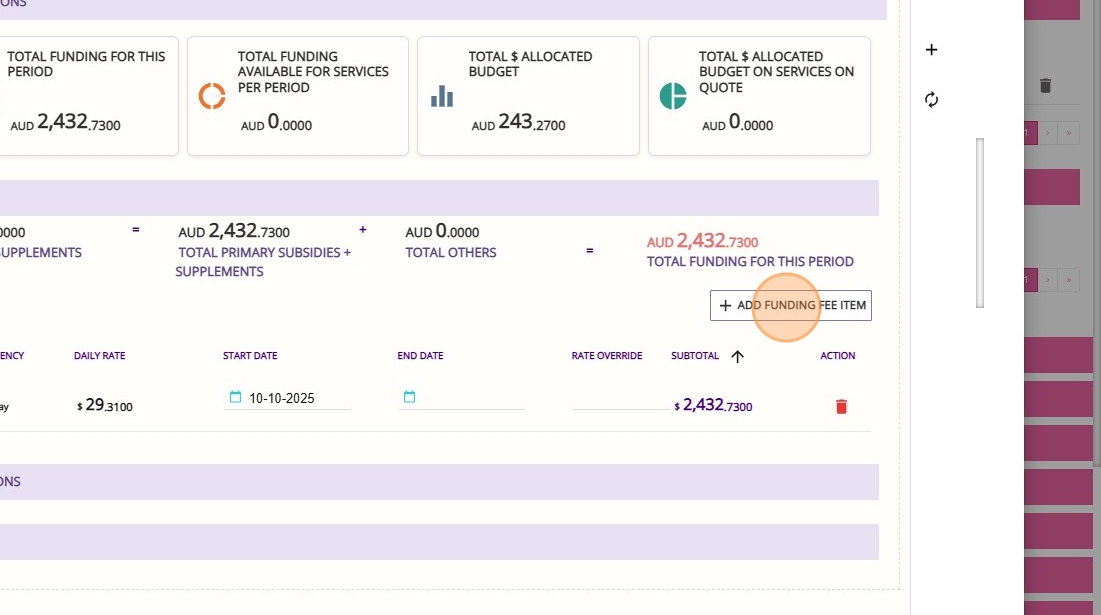
c. Add Funding Fee Items That Apply to the Client’s Funding Source


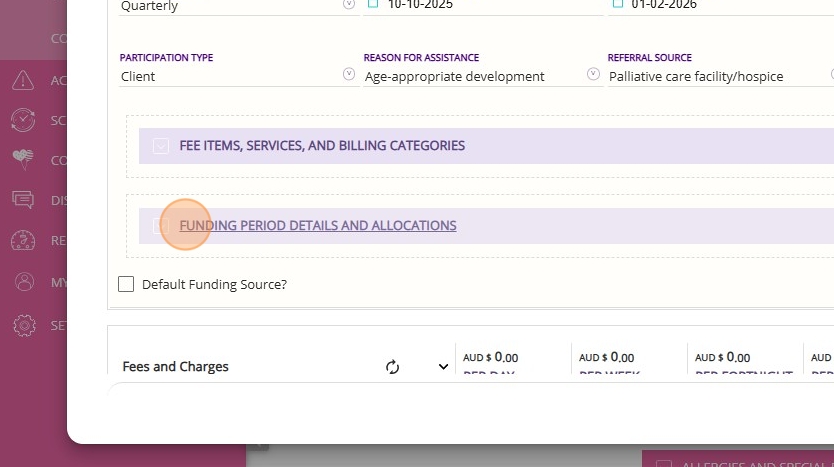
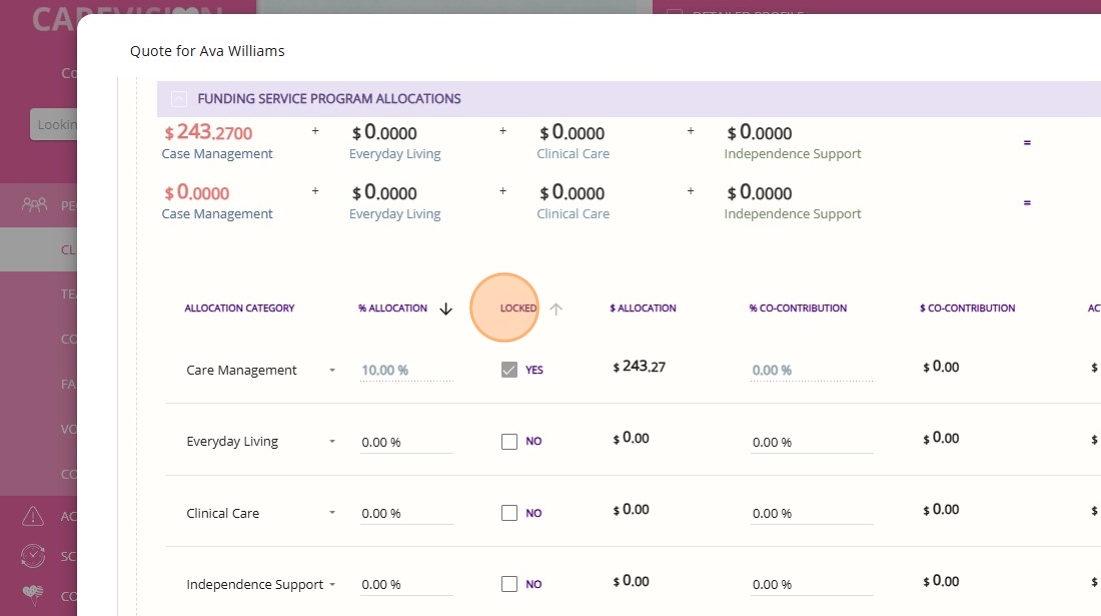
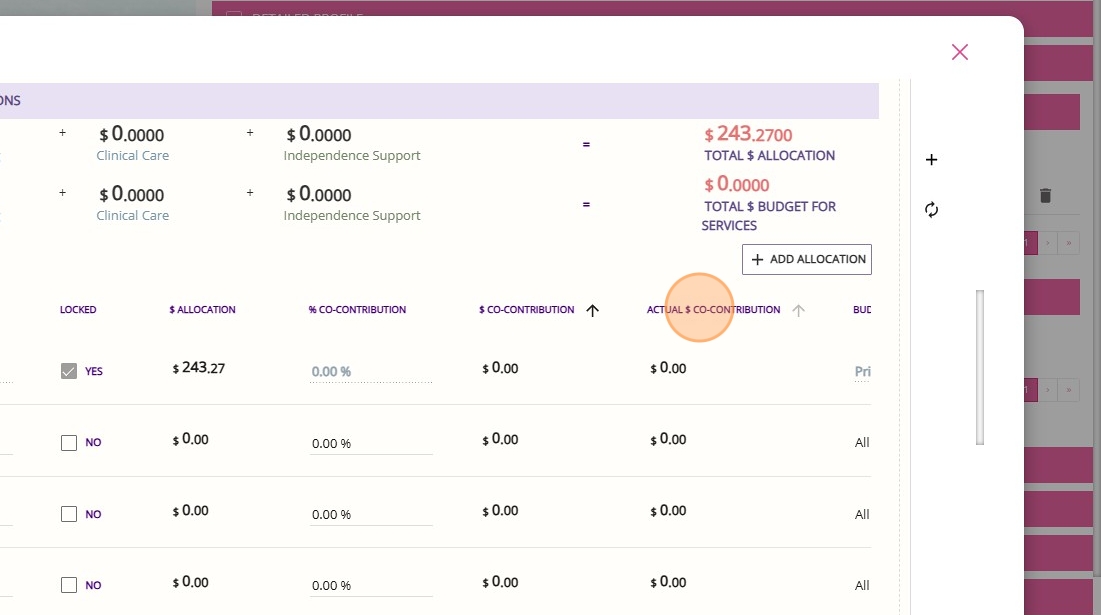
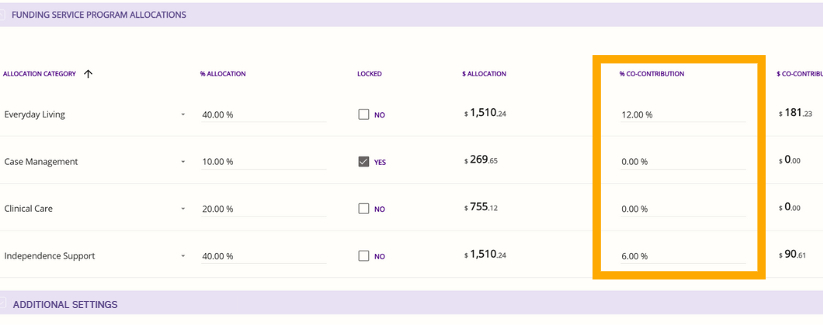
d. Manage Funding Allocations and Co-Contributions
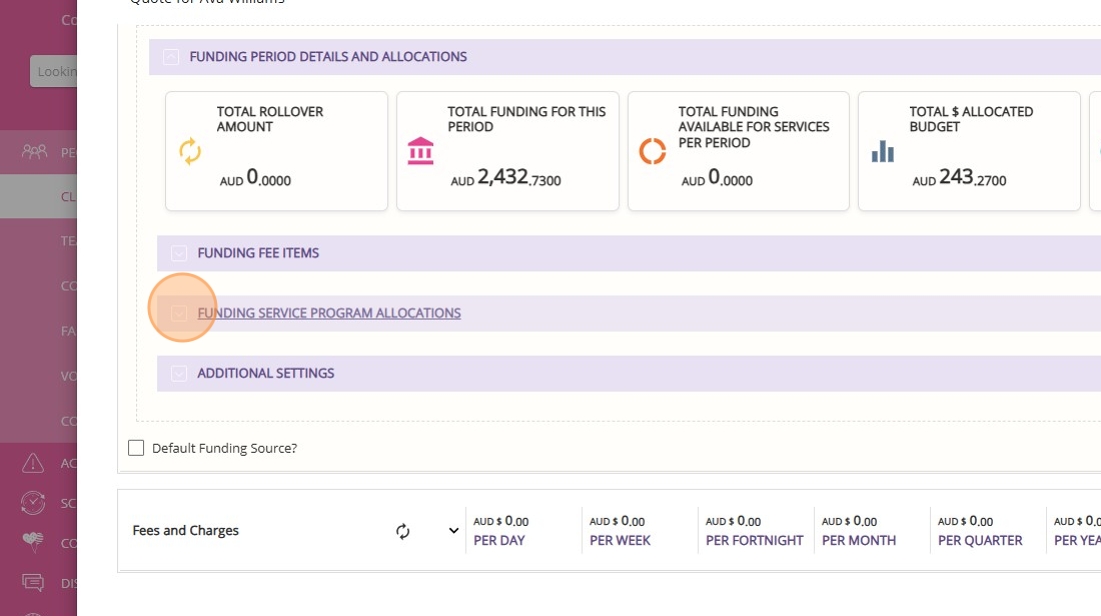
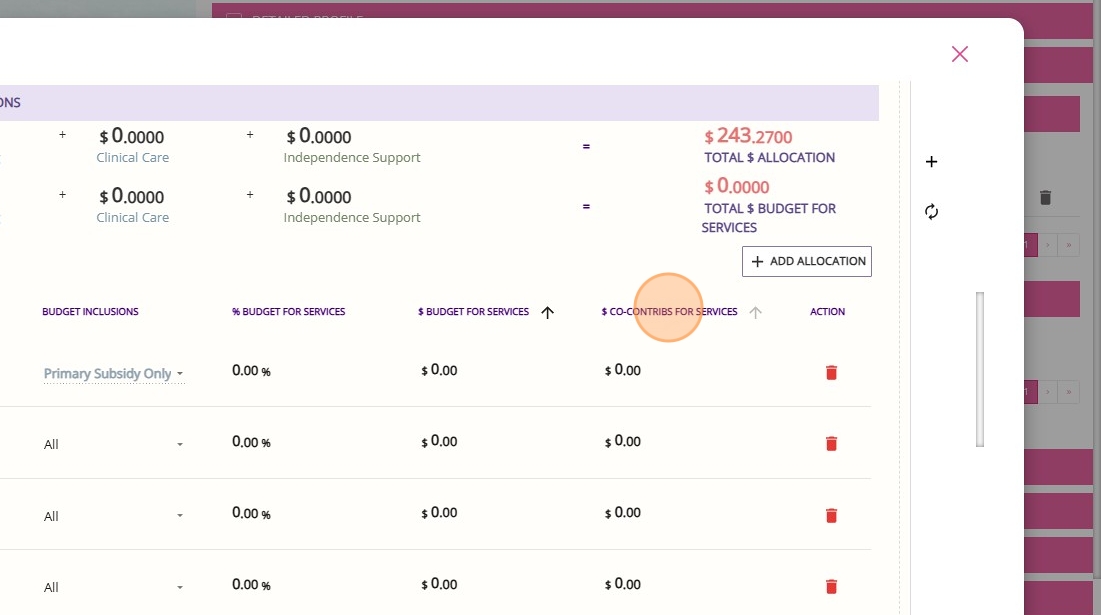
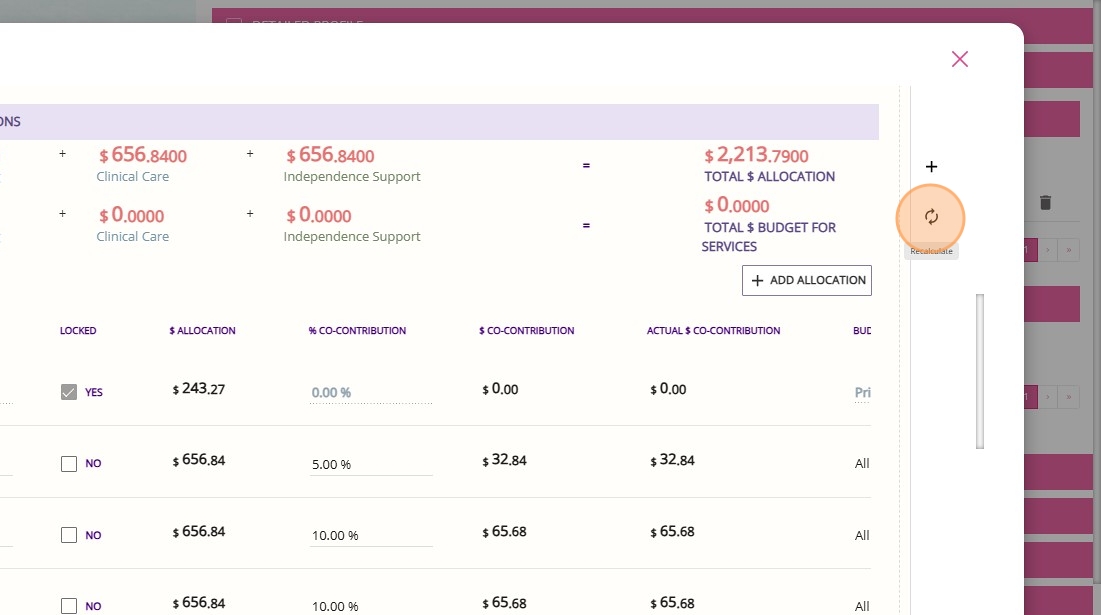
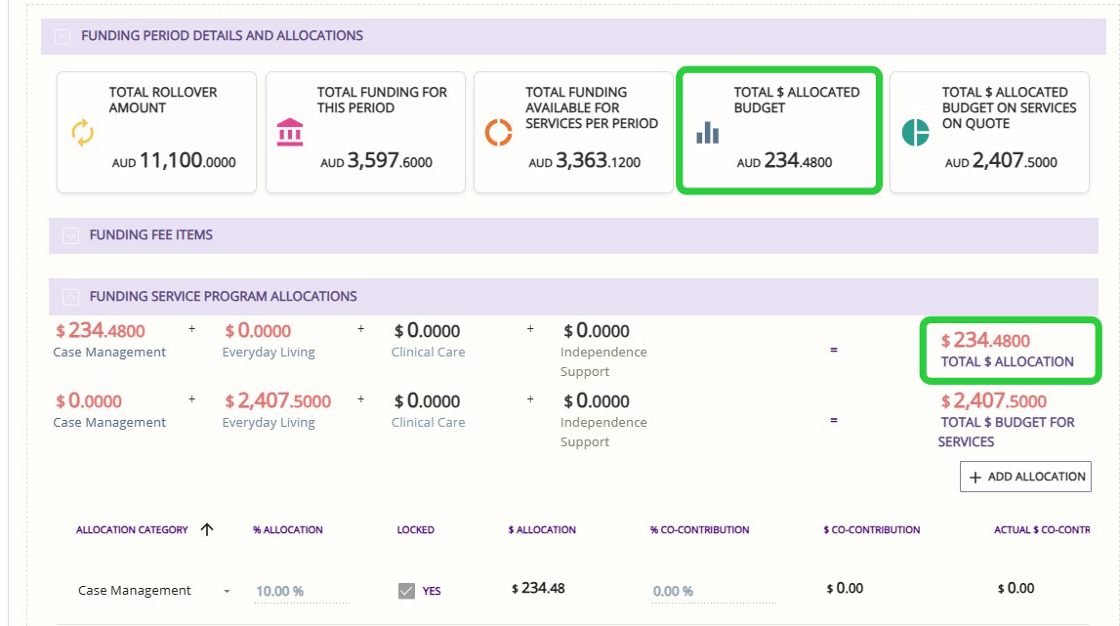
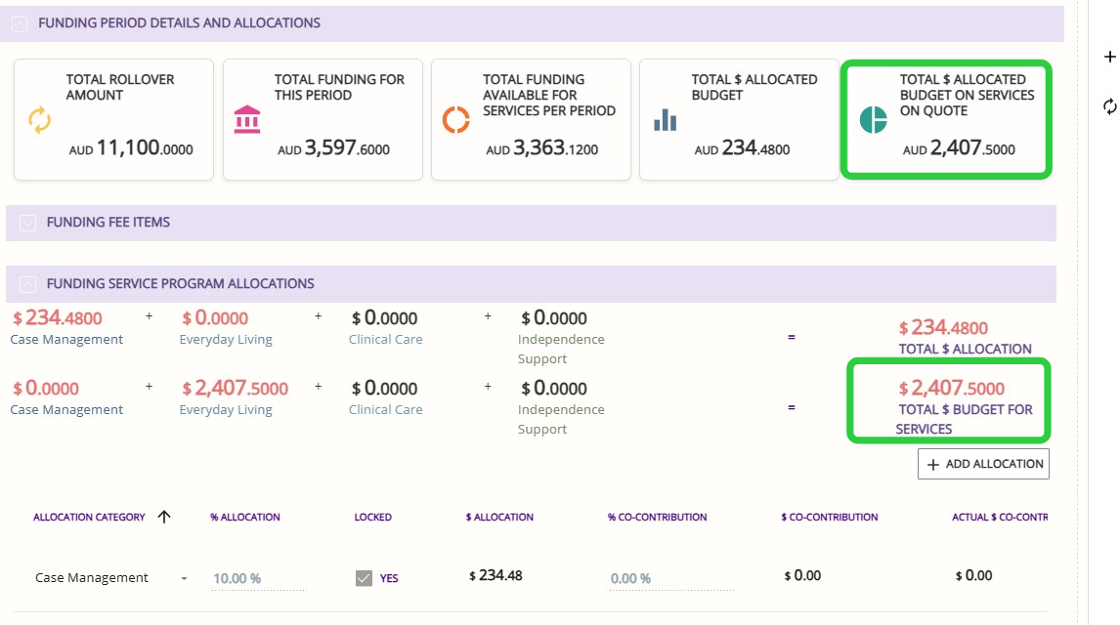
1. Go to the Funding Period Details and Allocations section.
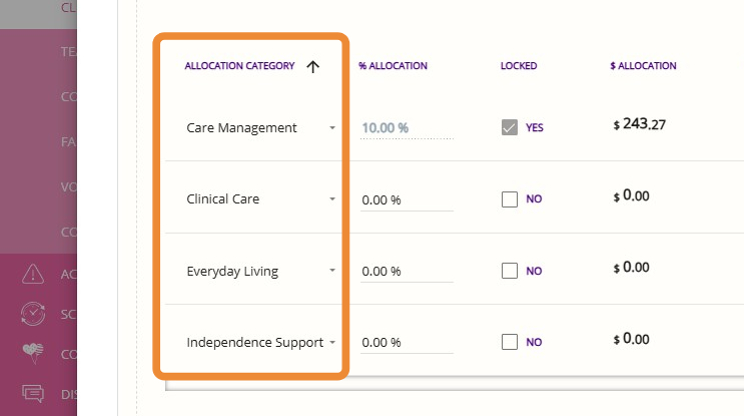

5. Care Management is set to 10% by default and cannot be changed at the client level.
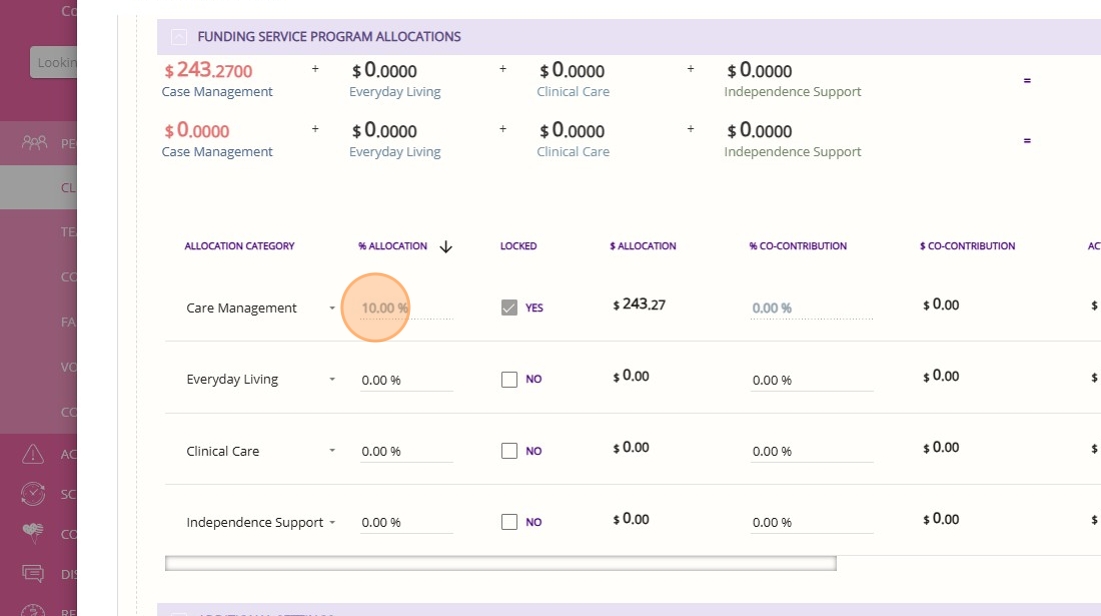
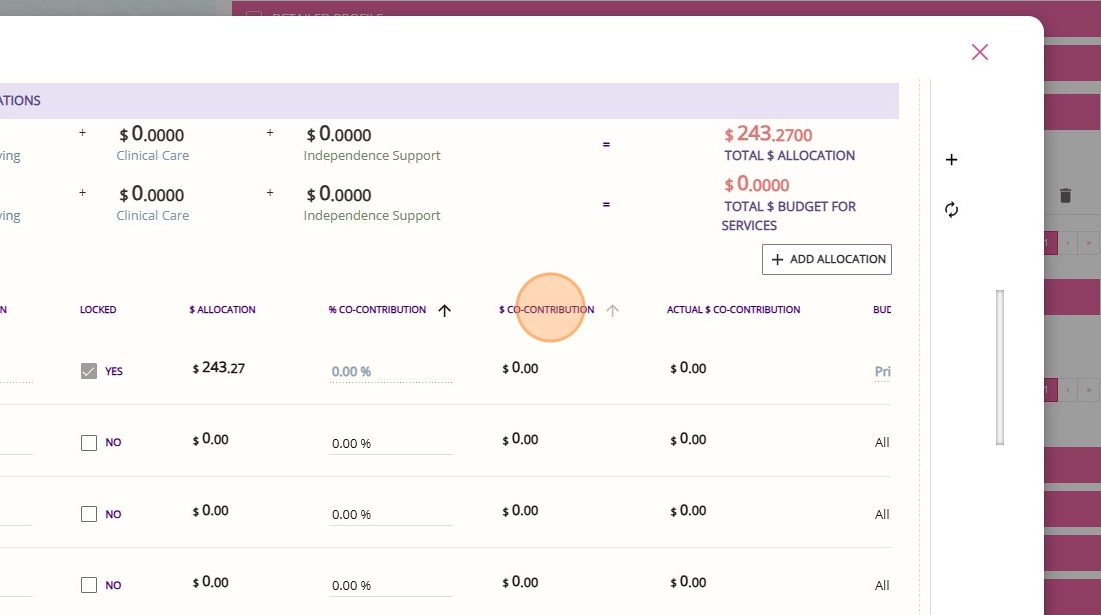
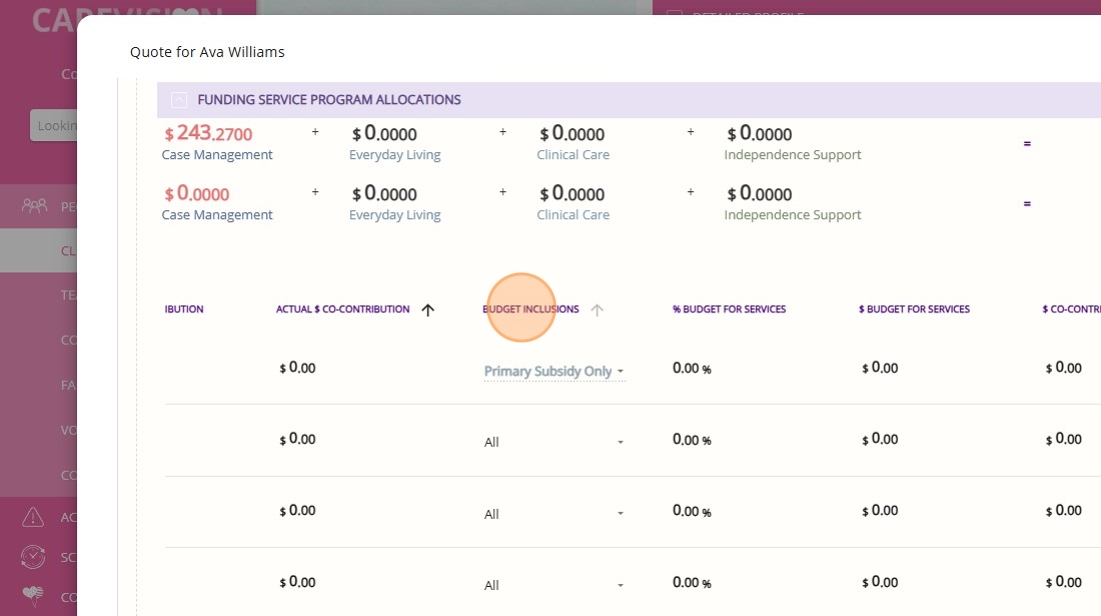
- For example, Care Management include only the Primary Subsidy. If Care Management is allocated 10% and the Budget Inclusion is Primary Subsidy only, the 10% is taken from the primary subsidy amount.
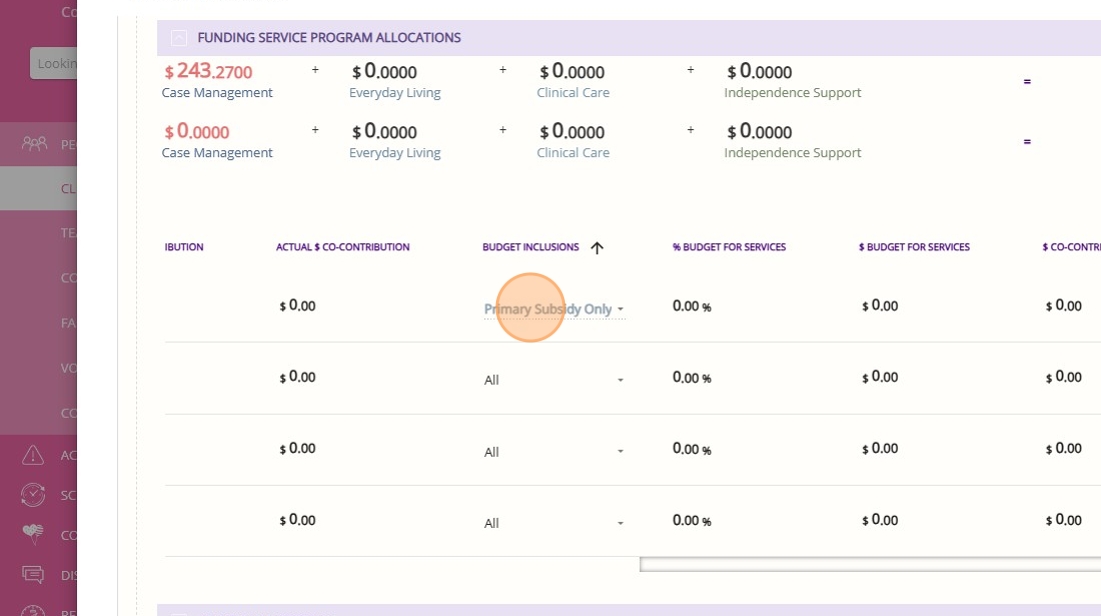
- Other categories, such as Everyday Living or Clinical, might include both the Primary Subsidy and any Supplements in their Budget Inclusion, so their allocations are calculated from a larger funding base.


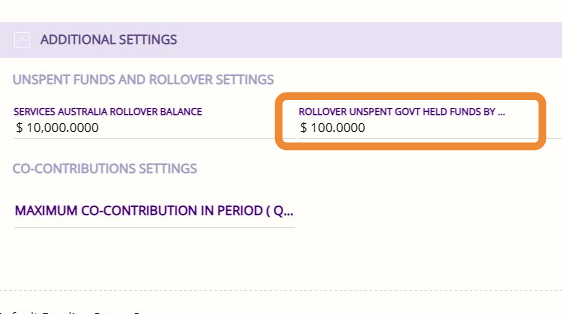
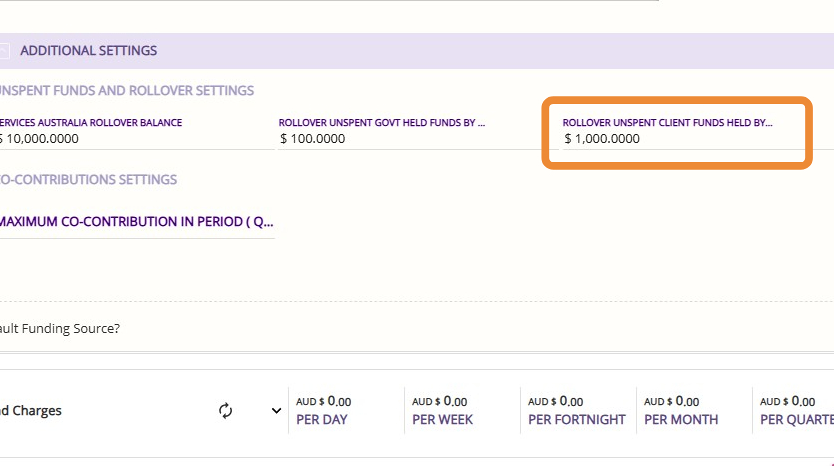
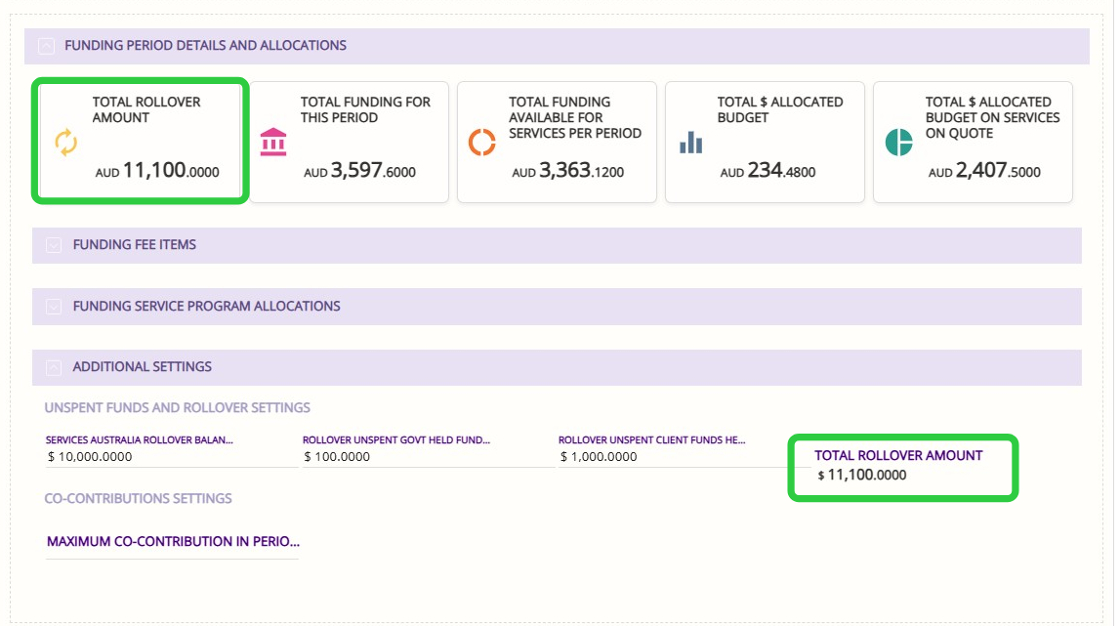
E. Manage Rollover Balances and Maximum Contribution
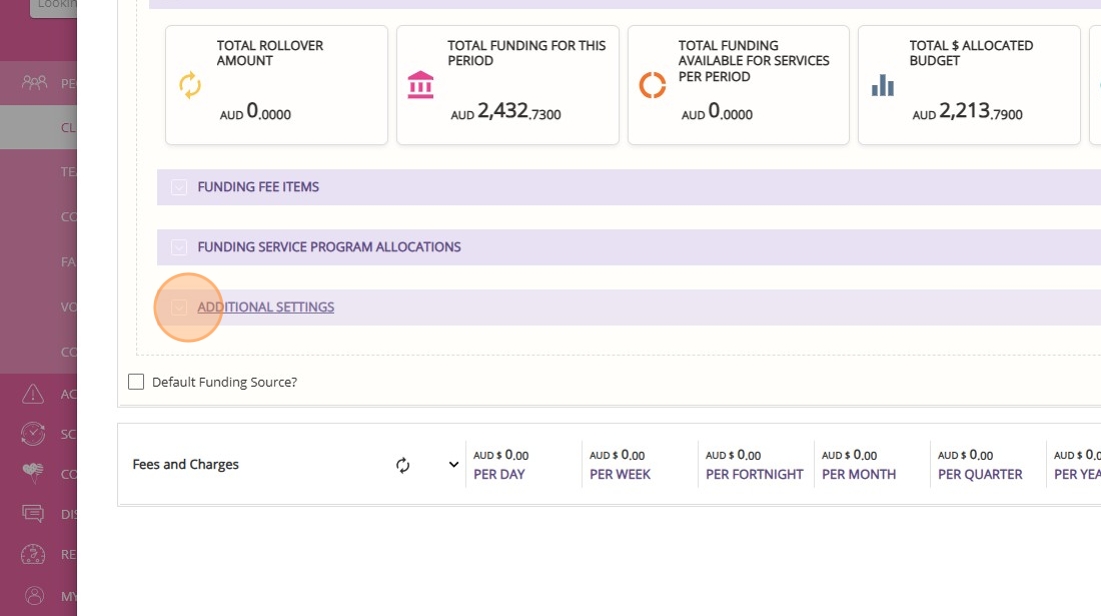
1. Go to the Additional Settings section.
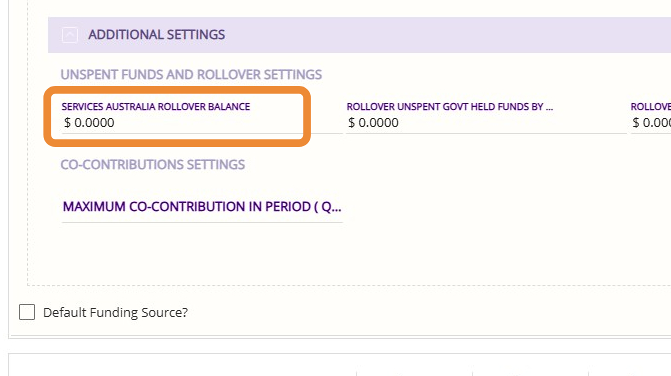
The system will track co-contributions as services are delivered, and once the client reaches the maximum set in this field, no further co-contributions will be charged for that period.
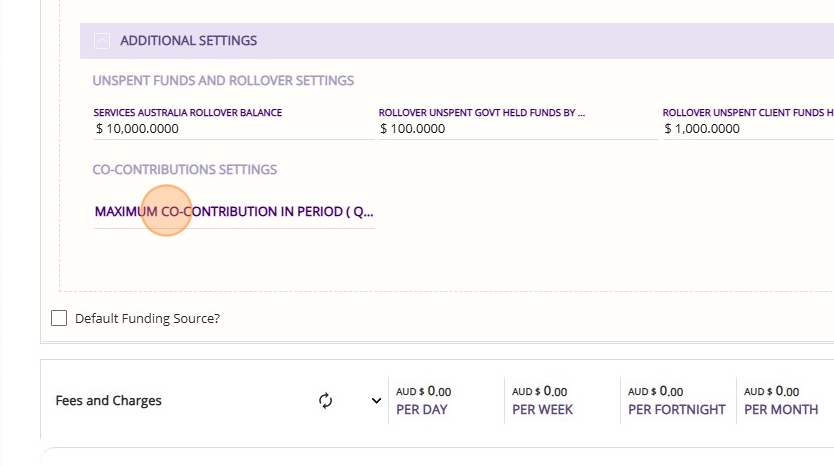
If a client has a co-contribution rate of 12% and the maximum co-contribution per period is set at $100, the client will be charged 12% per booking until their total co-contributions reach $100.
After reaching this cap, no further co-contributions will be collected for the remainder of the period, even if 12% of their total funding would exceed $100. The maximum is calculated as the ITF daily rate of the home care package multiplied by the number of days in the period.
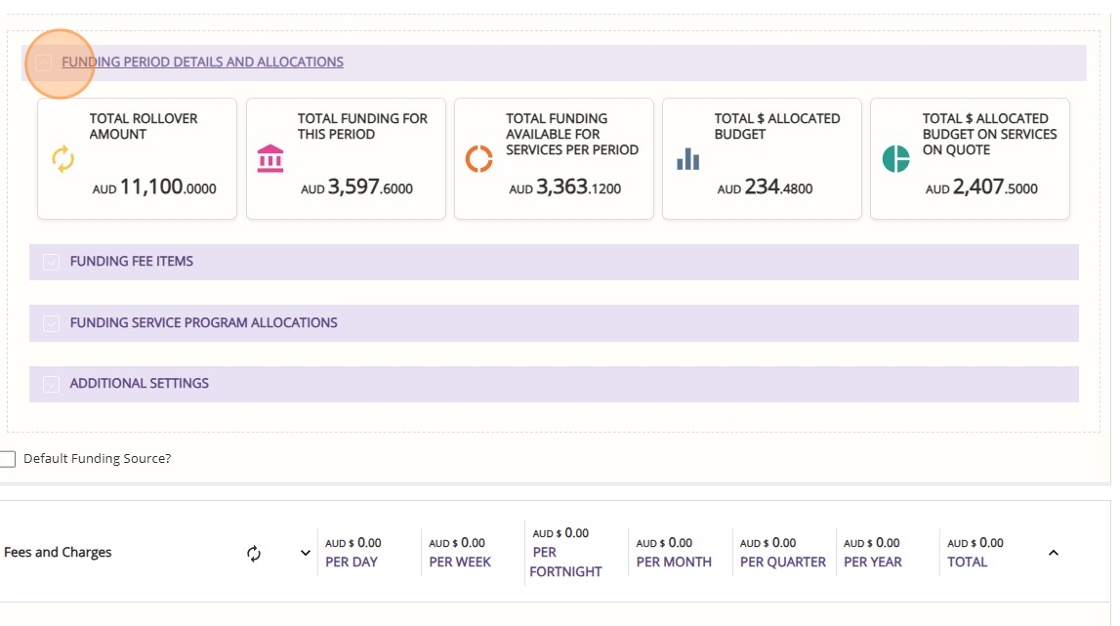
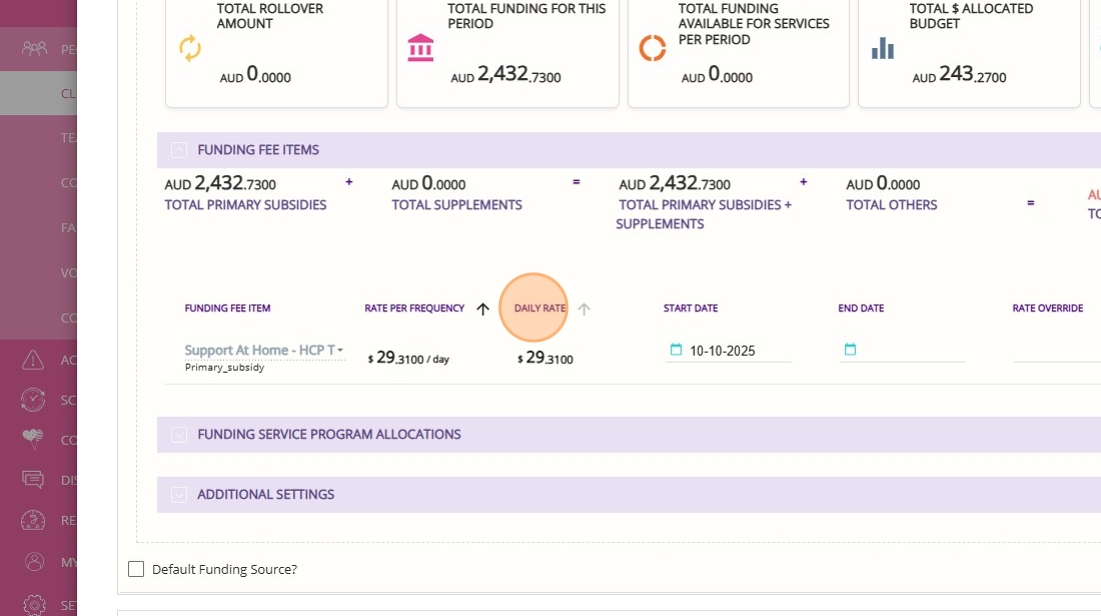
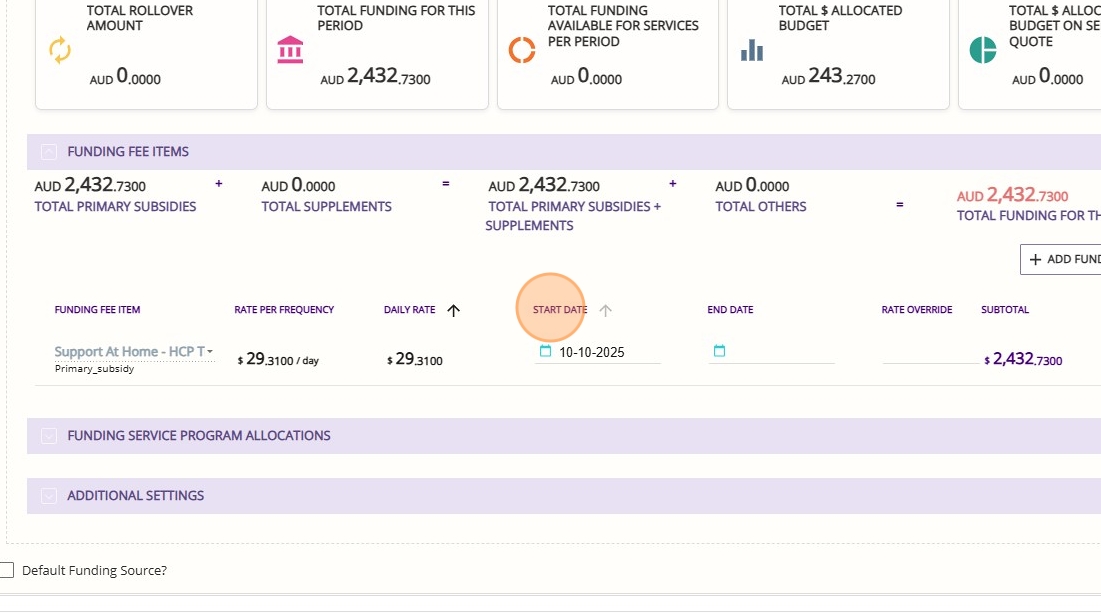
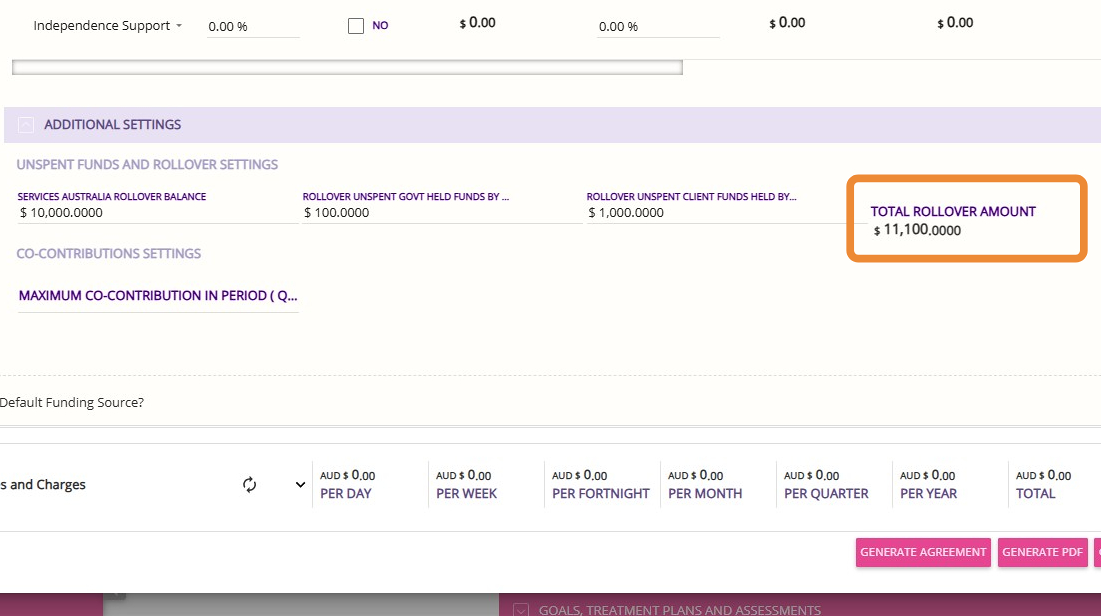
- Total Rollover Amount
This figure represents any unspent funds from a previous Home Care Package period that are carried over into the current period. It includes rollover amounts from prior periods or previous funding arrangements. This is the amount of additional funding available to use in the current period, on top of new funding allocations.
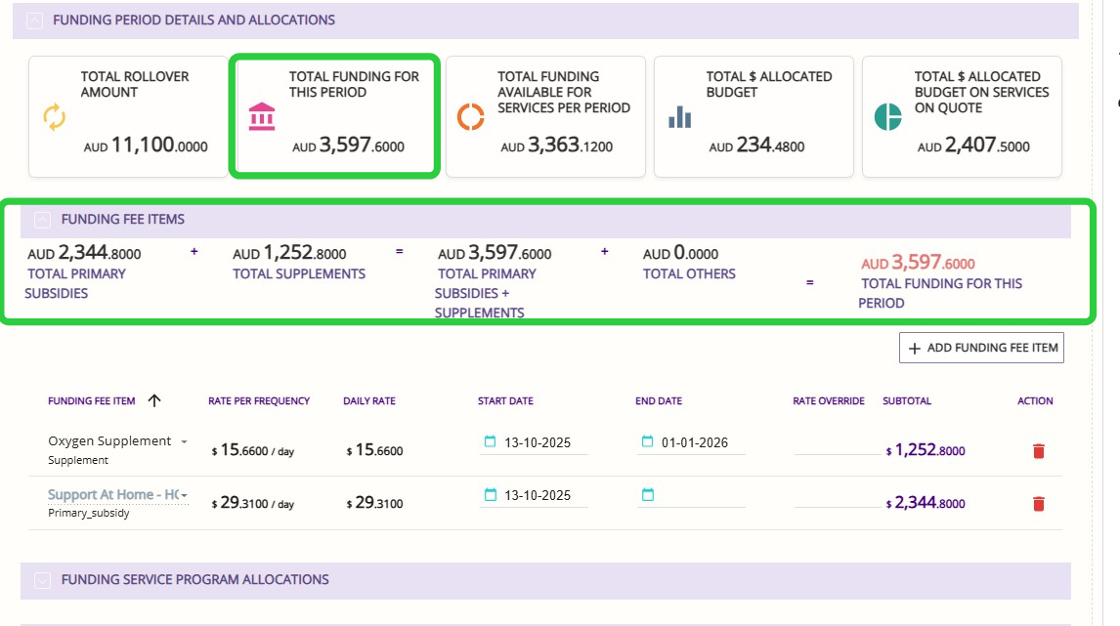
- Total Funding for the Period
This is the overall funding allocated for the current period, as reflected on the quote. It includes the primary subsidy, any supplements, and other relevant funding items for the client for the entire period. - How it’s calculated?
Total Funding for the Period= Primary subsidy + Supplements + Other funding items (as specified in the client’s funding template)
- Total Funding Available for Services per Period
This figure shows the portion of the total funding that is actually available to be spent on services during the period. It is calculated by subtracting the pooled funding amount (such as a set-aside for care management or other locked allocations) from the total funding for the period. - How it’s calculated?
Total Funding Available for Services per Period= Total funding for the period − Pooled funding amount (Example: care management allocation).
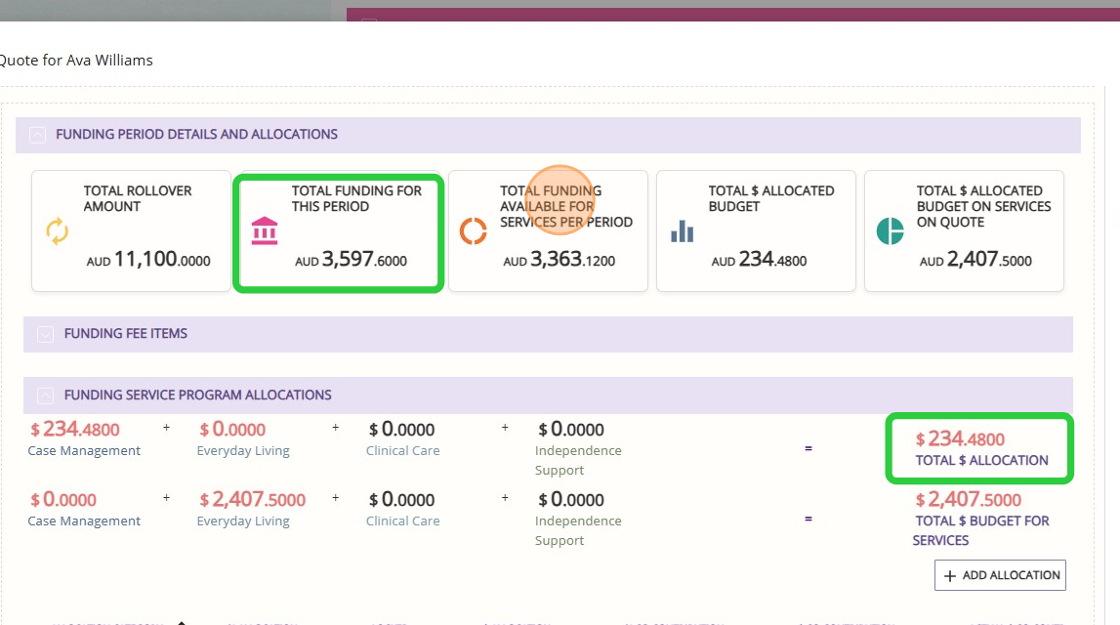
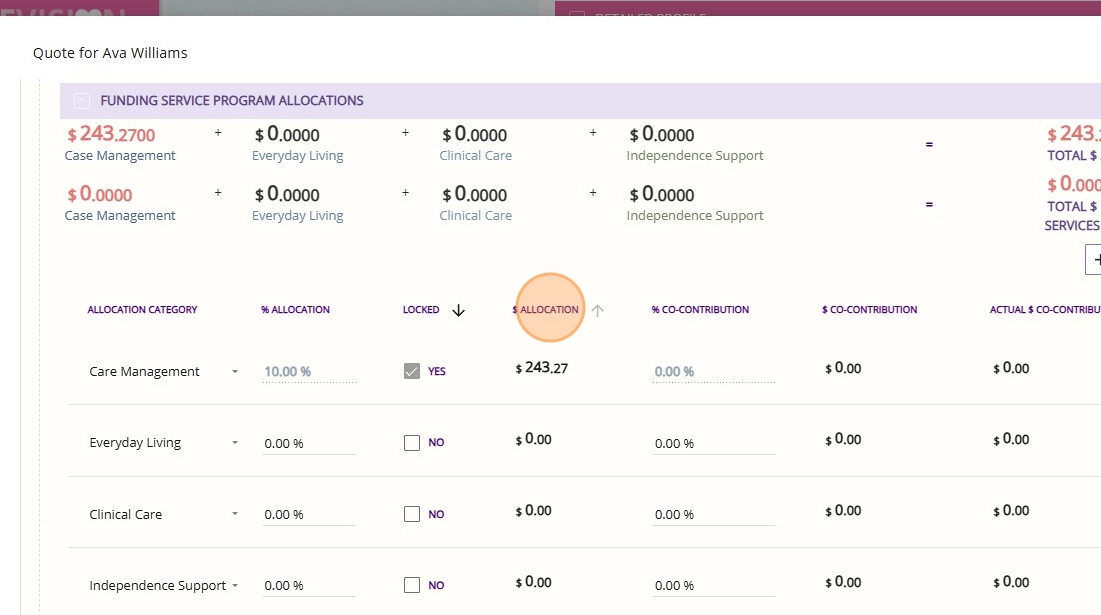
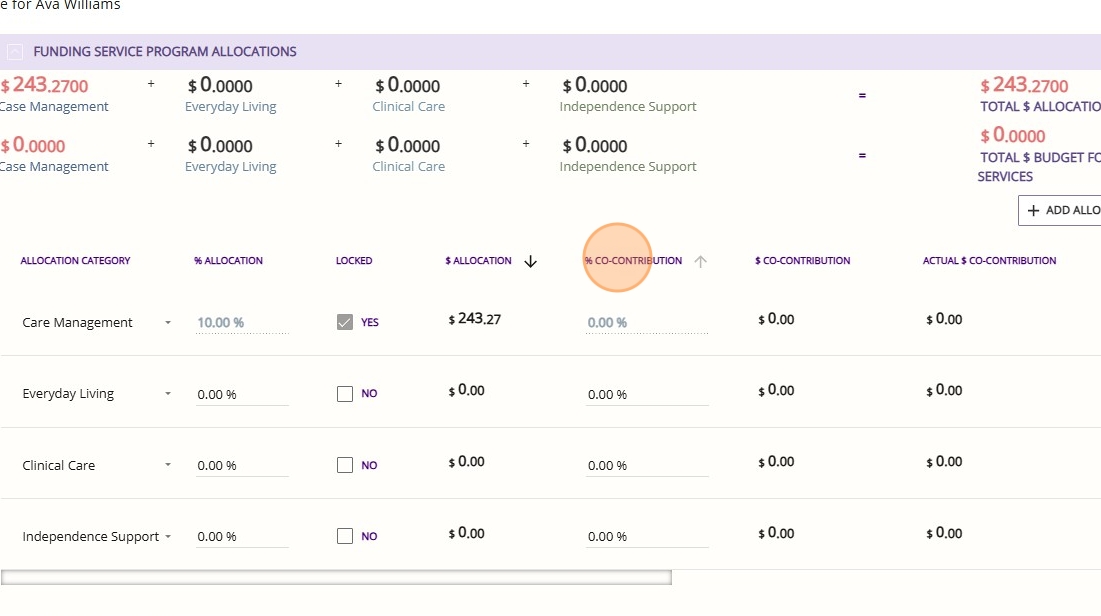
- Total Dollar Allocated Budget
This is the sum of all amounts that have been reserved or allocated in the budget for specific purposes, based on the planned allocations (such as a fixed percentage for care management or other restricted categories). These allocations are often set by the funding template and may be locked to prevent changes. - How it’s calculated?
Sum of all reserved amounts in the budget, as defined by allocation rules or template restrictions (such as 10% of the primary subsidy for care management).
- Total Dollar Allocated Budget on Services on Quote
This figure reflects the total value of service allocations that have been planned and included in the current quote. It is based on the actual services listed on the quote, such as respite or social services, and is automatically calculated according to the services’ frequency and cost. - How it’s calculated?
Total Dollar Allocated Budget on Services on Quote= Sum of the costs of all services included in the quote, calculated based on service frequency, duration, and rates.
Step 4: Add Fees and Charges (Optional)
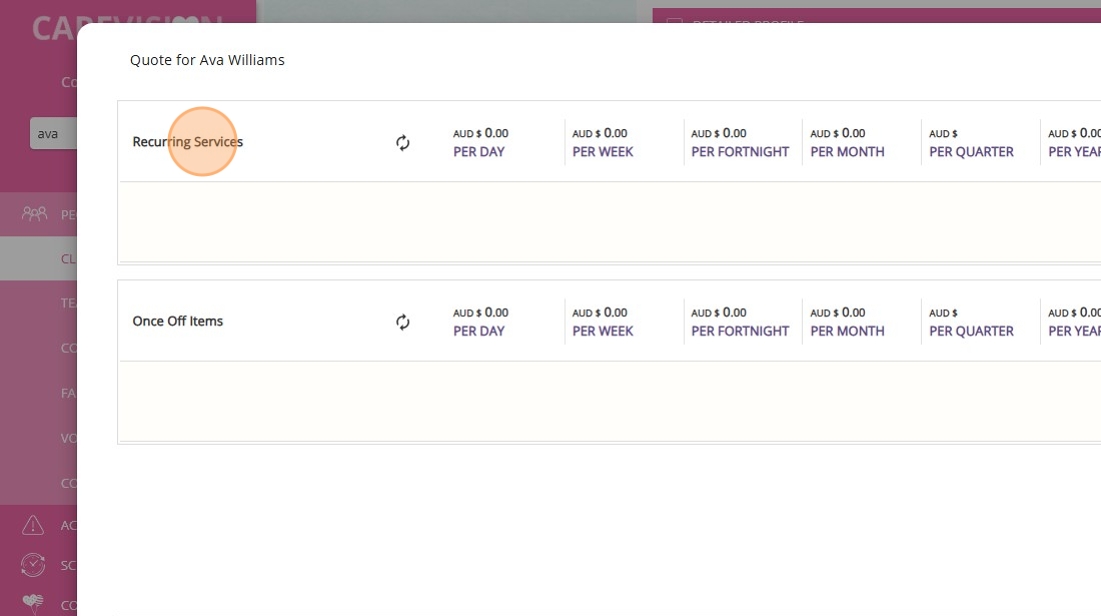
Step 5: Add Recurring Services
A. Specify Details for the Recurring Service
1. Go to the Recurring Services section.
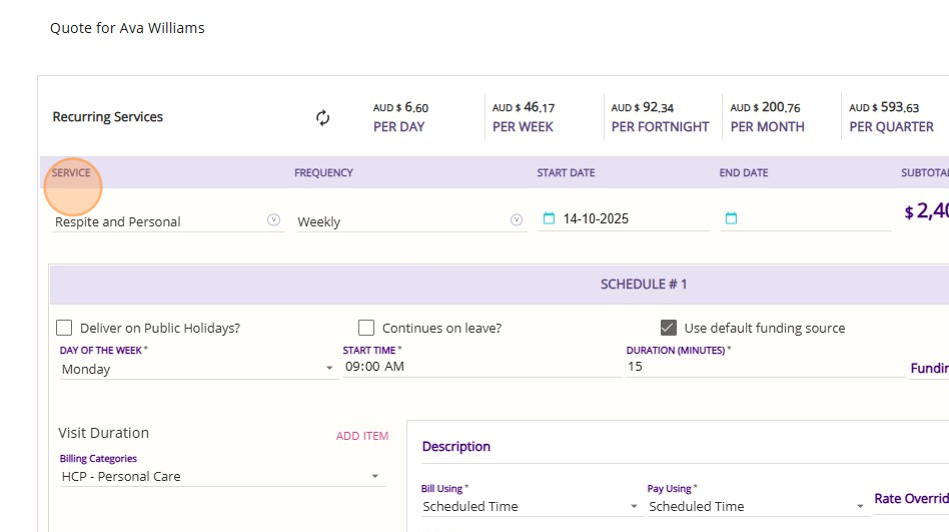

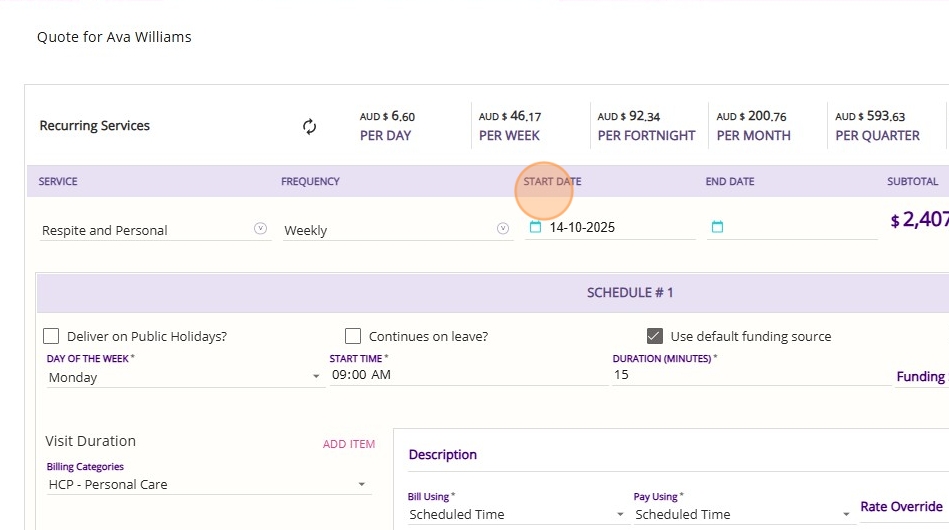


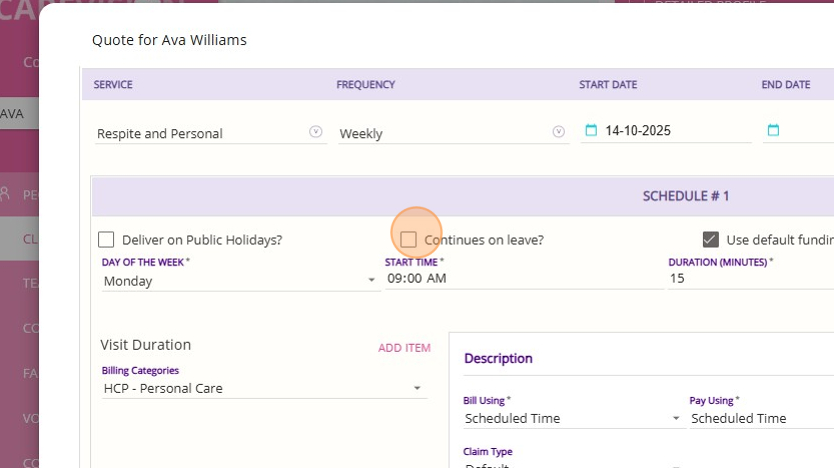
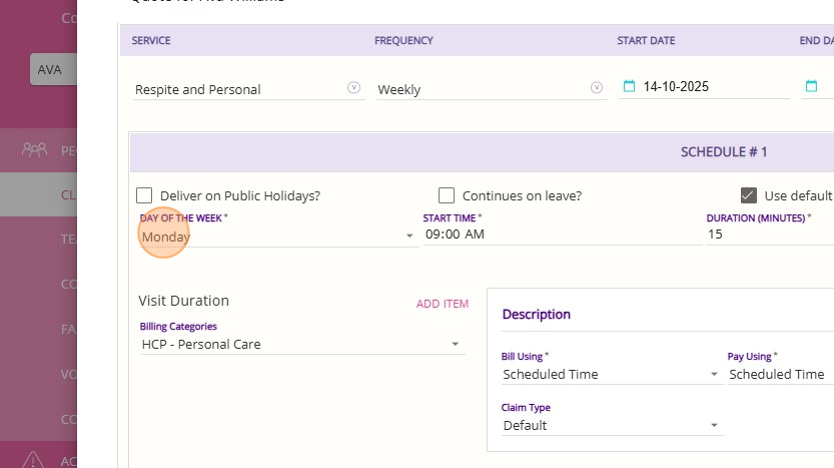
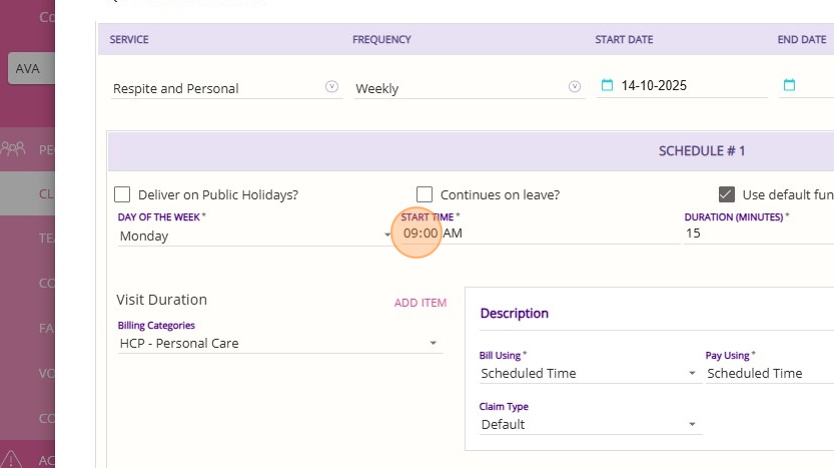
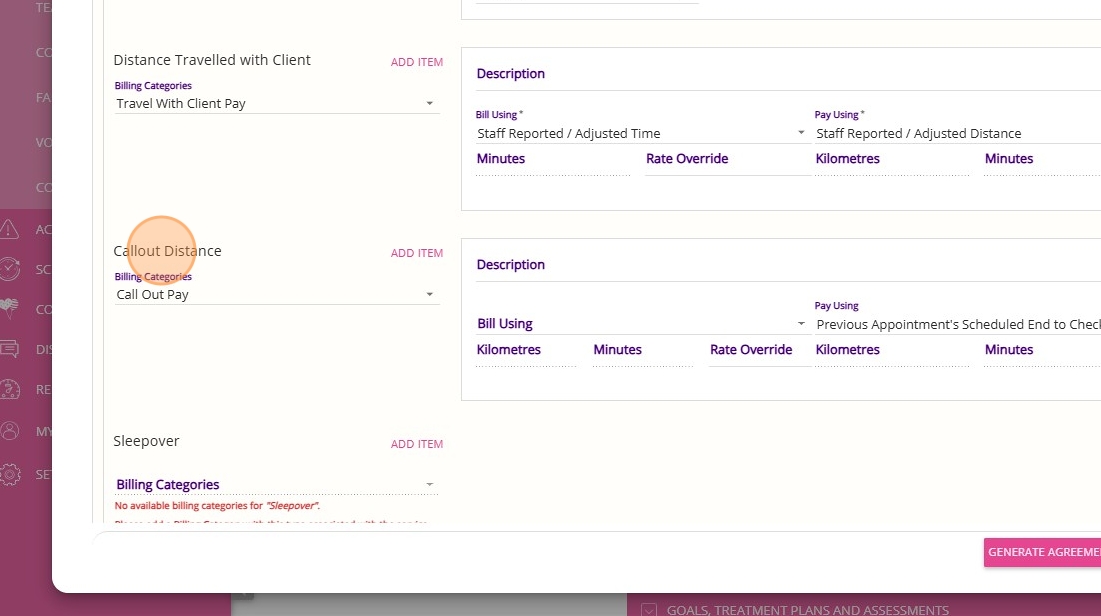
B. Add Billing Categories for the Recurring Service
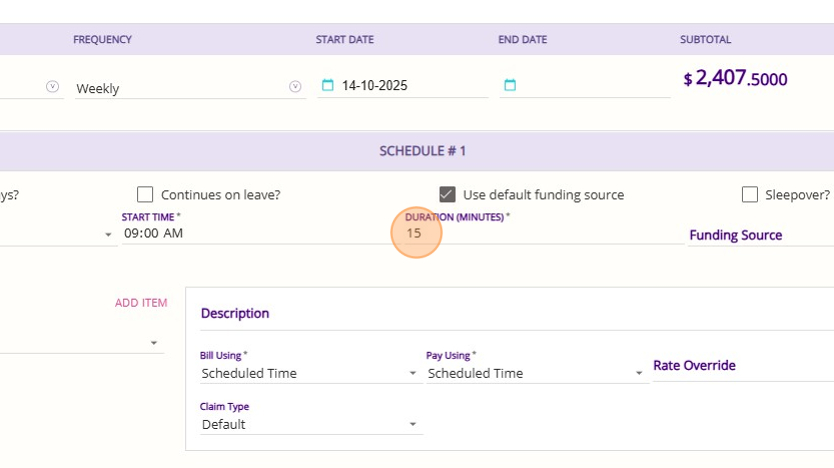
- Visit Duration refers to the total amount of time a staff member spends at a client’s location to deliver a service. This duration is used to determine both how the client will be billed and how the staff member will be paid for the service provided.
- You must select the appropriate billing rates and ensure they Support at Home ones.

- Distance Travelled with Client refers to the total distance a staff member travels while accompanying a client during a service.
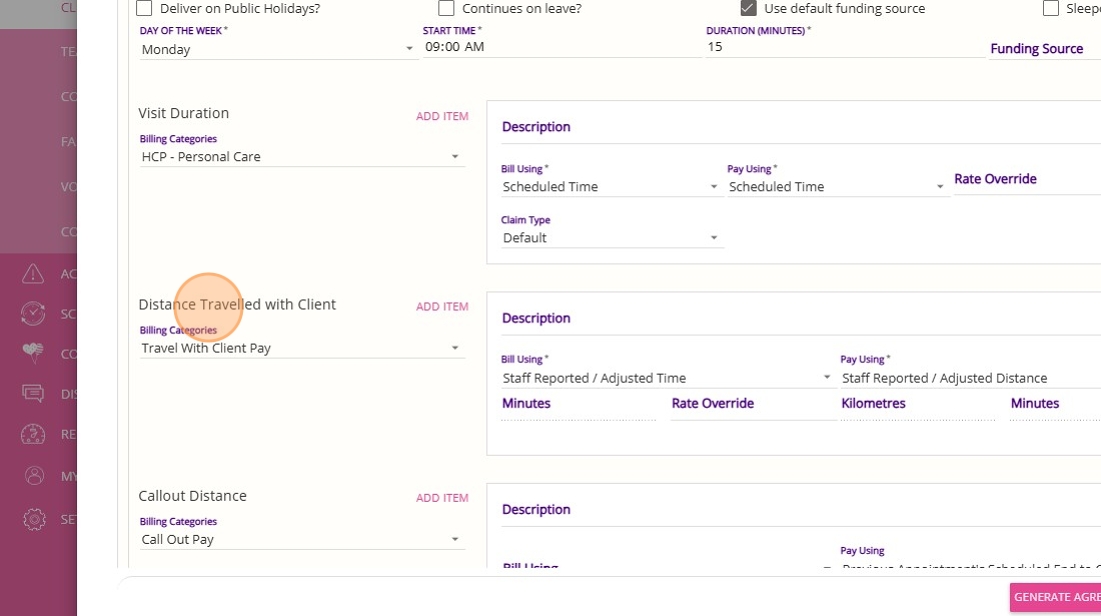
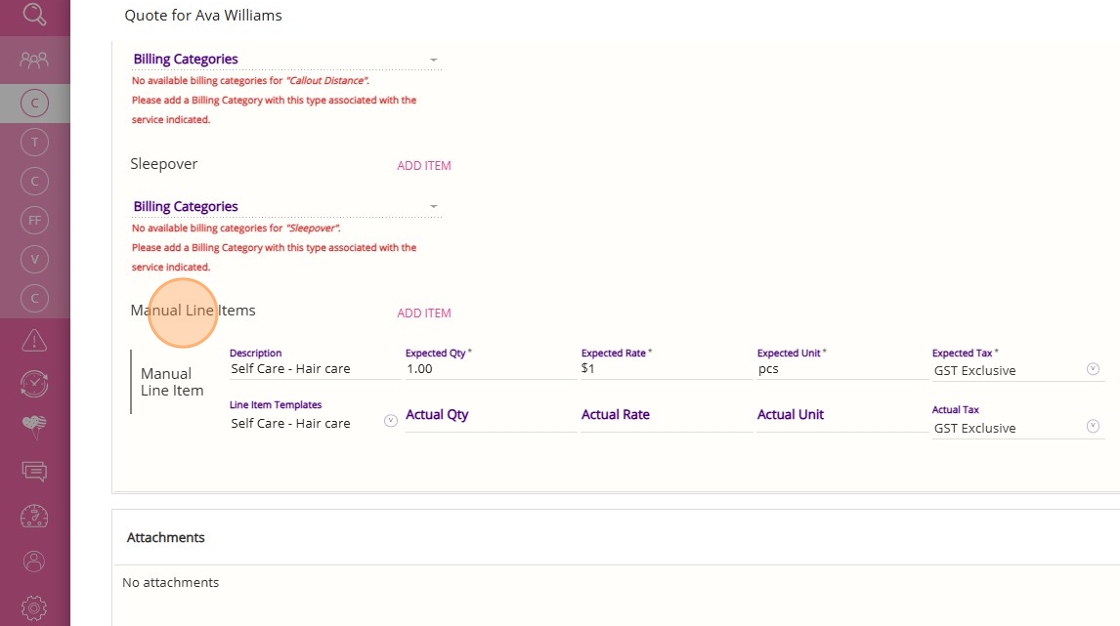
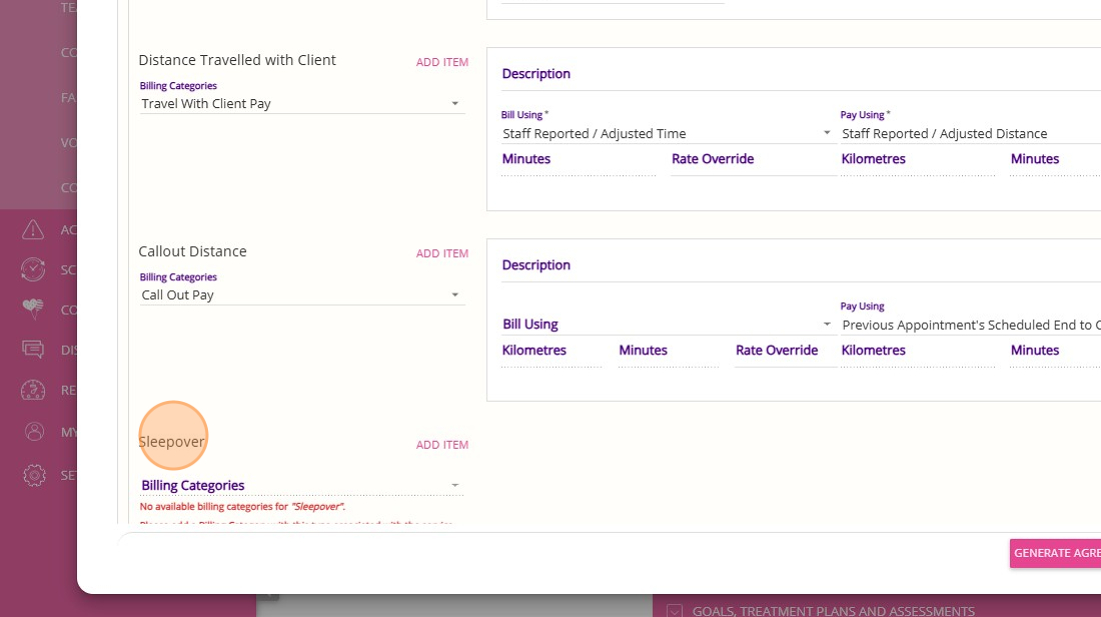
- Callout Distance is the distance a staff member travels from their location (such as their office or home) to the client’s location, and/or returning after the service.
- Sleepover: If your organisation provides sleepover services, include the sleepover details as part of your recurring items. A staff member may be scheduled for a sleepover booking when a client requires overnight supervision or support.
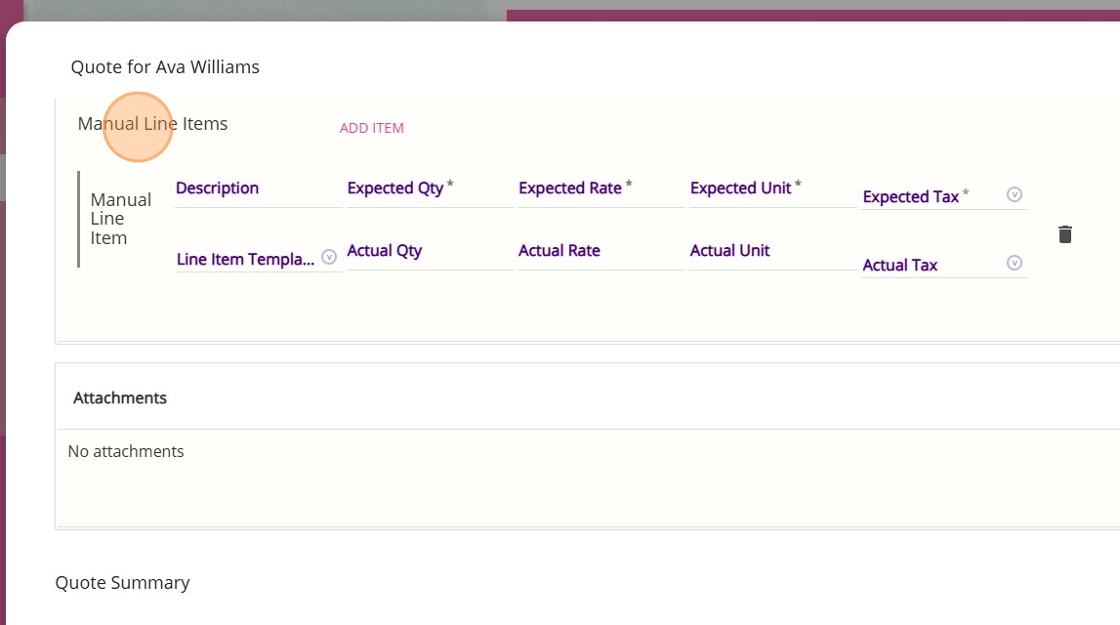
- Manual Line Items are additional charges that can be added to a recurring service, typically for extra costs such as consumables used during service delivery.
C. Manage Service Schedules
To copy the recurring service schedule, click Copy Schedule. This will duplicate the recurring service details and billing categories, making it easy to set up daily services without manual data entry.

Alternatively, click Add Schedule to create a new schedule. Use this option if you need to enter different information for the service on different days

Step 6: Add Once-Off Services
Step 7: Upload Attachments
1. Go to the Attachments section.


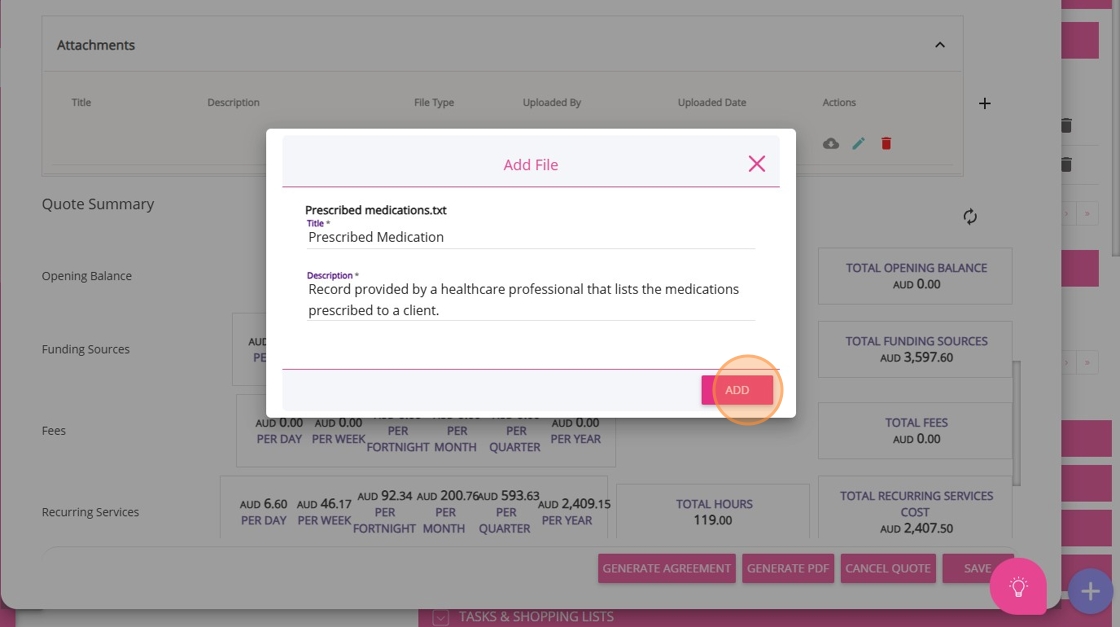
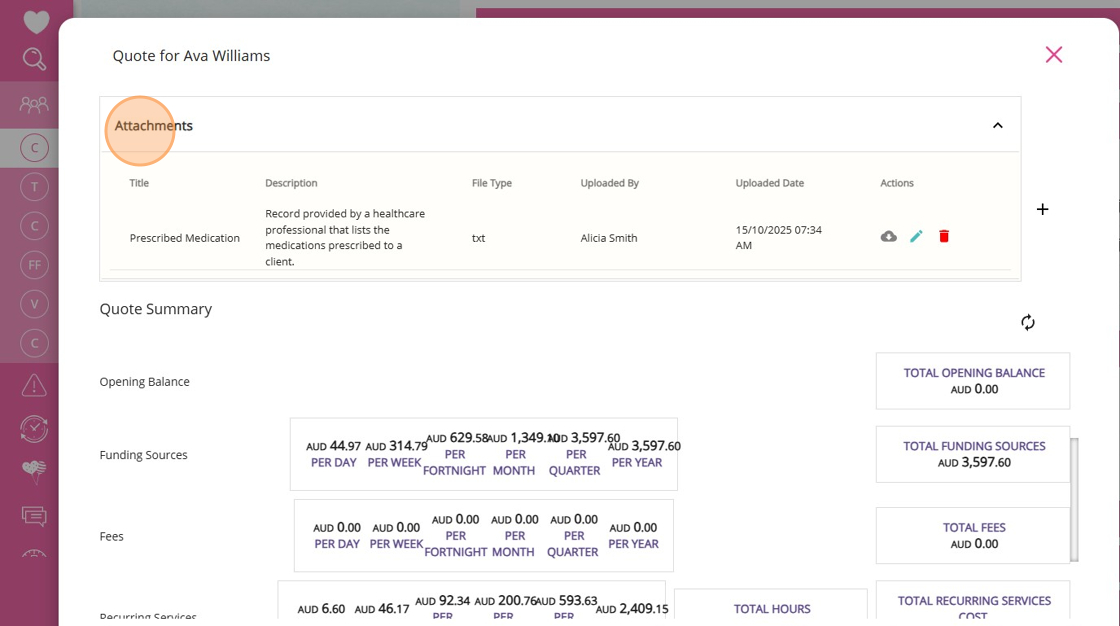
Step 8: Review and Calculate Quote
You can view the quote summary, which includes the opening balance, funding sources, fees, recurring services, and once-off items. Adjust funding amounts or service details as needed.
- You can view the quote summary, which includes the opening balance, funding sources, fees, recurring services, and once-off items. Adjust funding amounts or service details as needed.
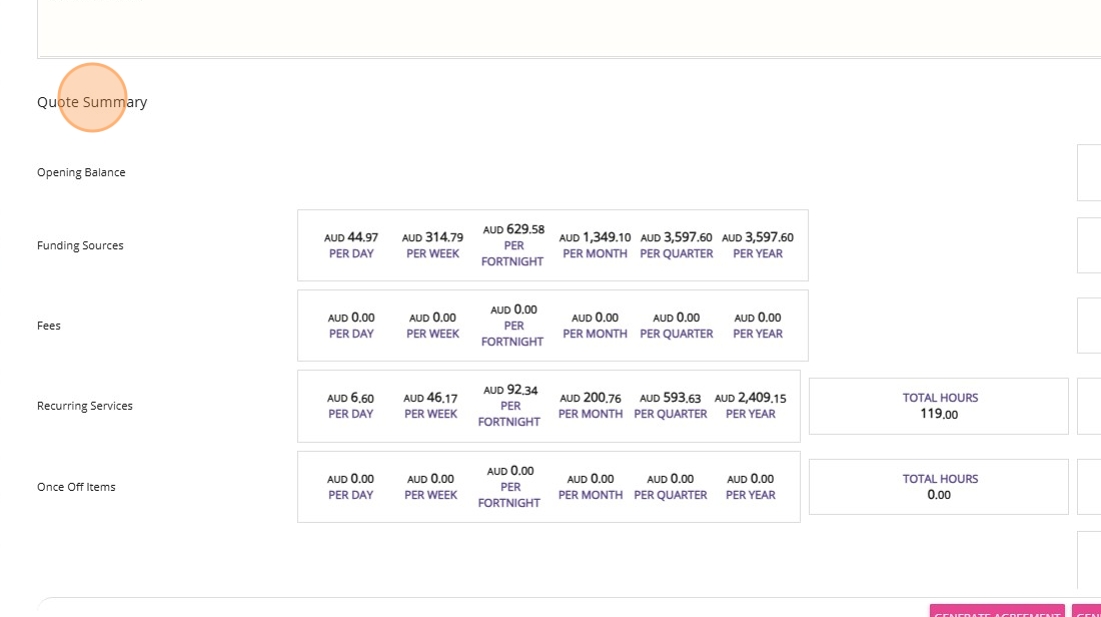
- In the lower section of the quote, click the Calculate button to determine the total amount the client will be charged for the quoted service.

Quote status indicates the current stage or progress of a quote, such as draft, open, accepted, or rejected.
- Save as the Quote as Draft: When you create a quote, it is automatically saved in Draft status. This allows for editing and internal review before presenting it to the client.
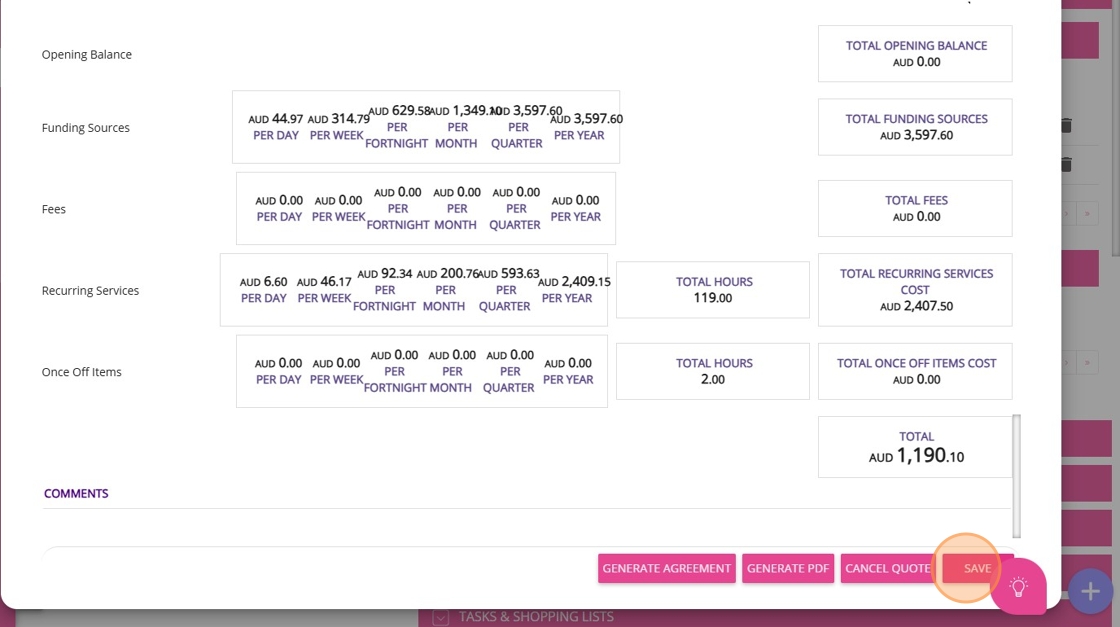
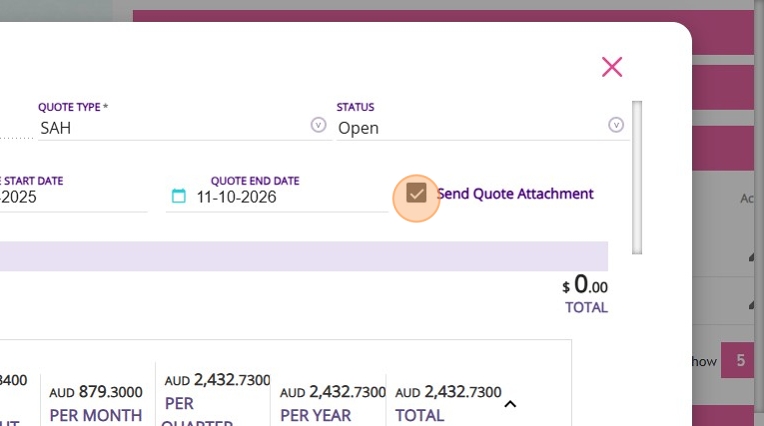
- Change Status to Open: Once the quote is ready for the client, update its status to Open.

- Send Quote Attachment checkbox:
When you set the quote status to Open, a checkbox labeled Send Quote Attachment appears. If you check this box before saving, a PDF copy of the quote will be automatically emailed to the client when you Save the quote.
Step 10: Generate Quote
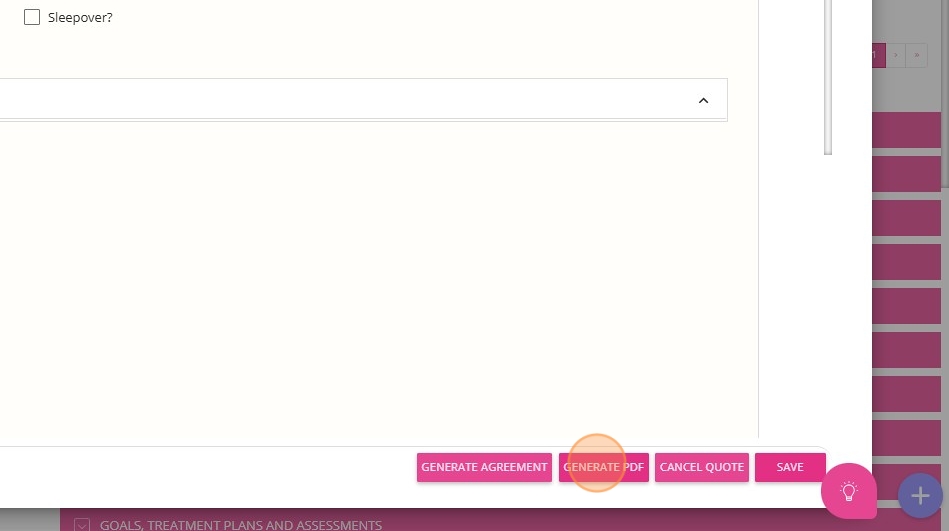

Sample Quote
The quote layout has changed from portrait to landscape to support the advanced quote format and advanced funding sources. This improves the presentation of information and helps reduce the amount of paper needed.
Related Articles
Support at Home Q&A
This document compiles questions submitted by participants in the Q&A box during Support at Home Training Sessions and provides corresponding answers. For each training session, click the topic to expand. Questions and answers are organised under ...How to Requote Clients for Rolled-Over SAH Funding Sources
This topic describes the re-quote process to reflect rolled-over balances and support continuity of services in the new quarter. Keywords: support at home requote, sah funding rollover, client requote process, carevision quotes, funding source ...How to Set Up the Russell Kennedy- Support at Home Agreement
The Russell Kennedy - Support at Home Agreement is an important resource to help your organisation meet legal and regulatory requirements under the Support at Home program. To make your agreement complete and accurate, key settings need to be ...Handling Claims with Underpayment (With Co-Contribution)
The system handles claims where the payment is less than the claimed amount and a co-contribution applies. Question Answer How does CareVision handle scenarios where Services Australia returns a claim with a payment less than the claimed amount and a ...How to Create Quotes Using the Mobile App
As part of the Support at Home transition, CareVision helps you manage client transitions smoothly on the go with the mobile app. This guide shows you how to create and manage quotes for Support at Home clients using the CareVision Mobile Plus App. ...