Support at Home Billing and Claiming Workflow
Step 1: Service Review Process Completed
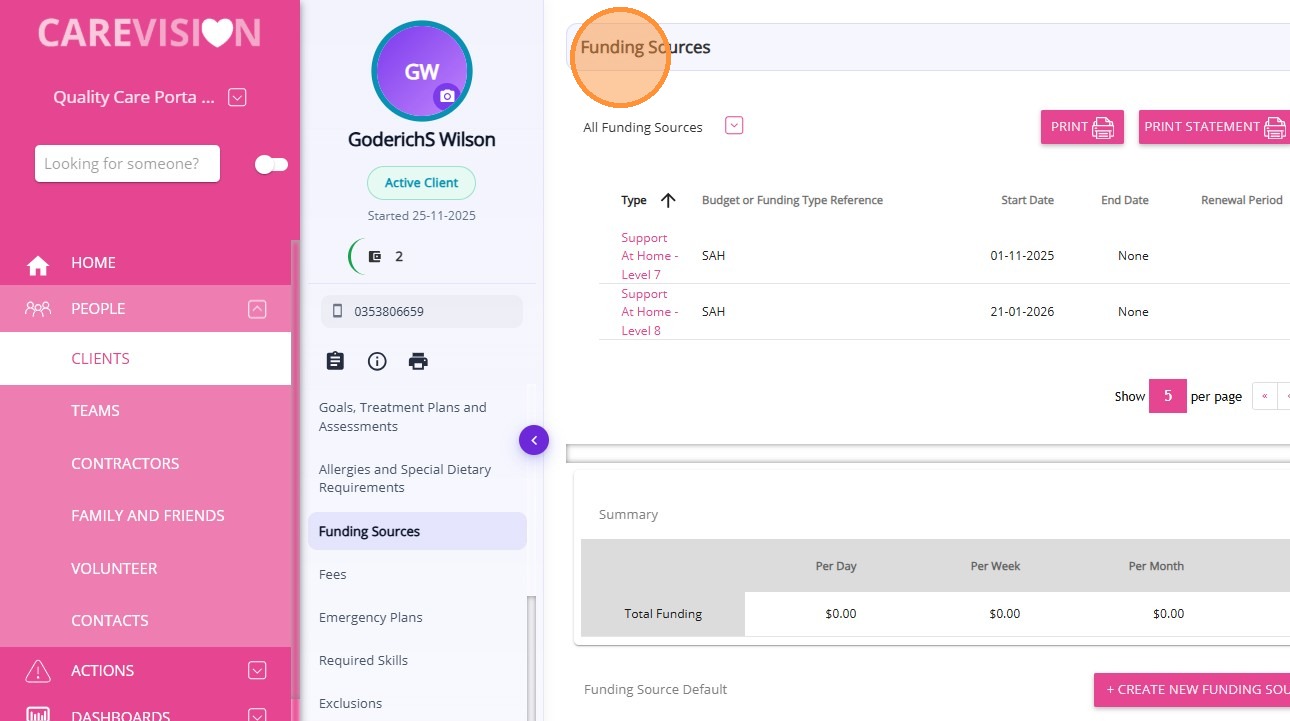
Under Support at Home, you will continue to follow the service review process. Make sure all services for the claim period are reviewed and approved, and resolve any warnings flagged by the system. For more information, see Service Review.
Filter your data for the correct date range and criteria so only valid items are included in your claim. See Filters on the Service Review Board.
Resolve all flagged warnings before proceeding, as these indicate issues that could disrupt billing or claiming. See Resolve Warnings in the Service Review Board.
Use bulk approval for efficiency, but carefully review and resolve any warnings before approving items in bulk.
Reviewing Adjustments: Check the Service Review Adjustments board and approve any adjustments made during the period.
Step 2: Run the Claim File for the Same Period
Run the Claim File for the Same Period


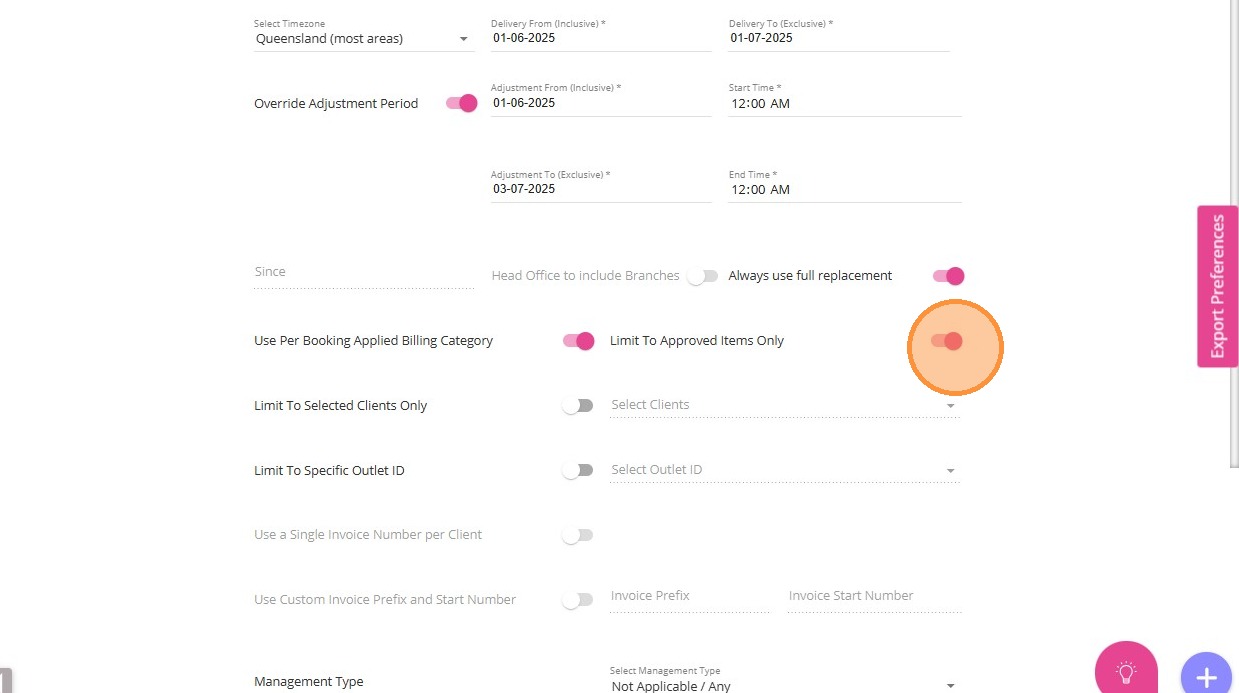
- Turn on the Override Adjustment Period toggle to allow extra days after your export period for capturing late changes. This ensures all updates up to your selected Adjustment To date are automatically included, keeping your reports accurate and complete.
- Specify the Adjustment From (Inclusive) and Adjustment To (Exclusive) fields, along with the appropriate start and end times.
 Note: Always set the Adjustment From (inclusive) date and time for the new billing period to exactly match the Adjustment To (exclusive) date and time from the previous billing period. This ensures seamless billing with no gaps or overlaps, preventing both missed charges and double billing.


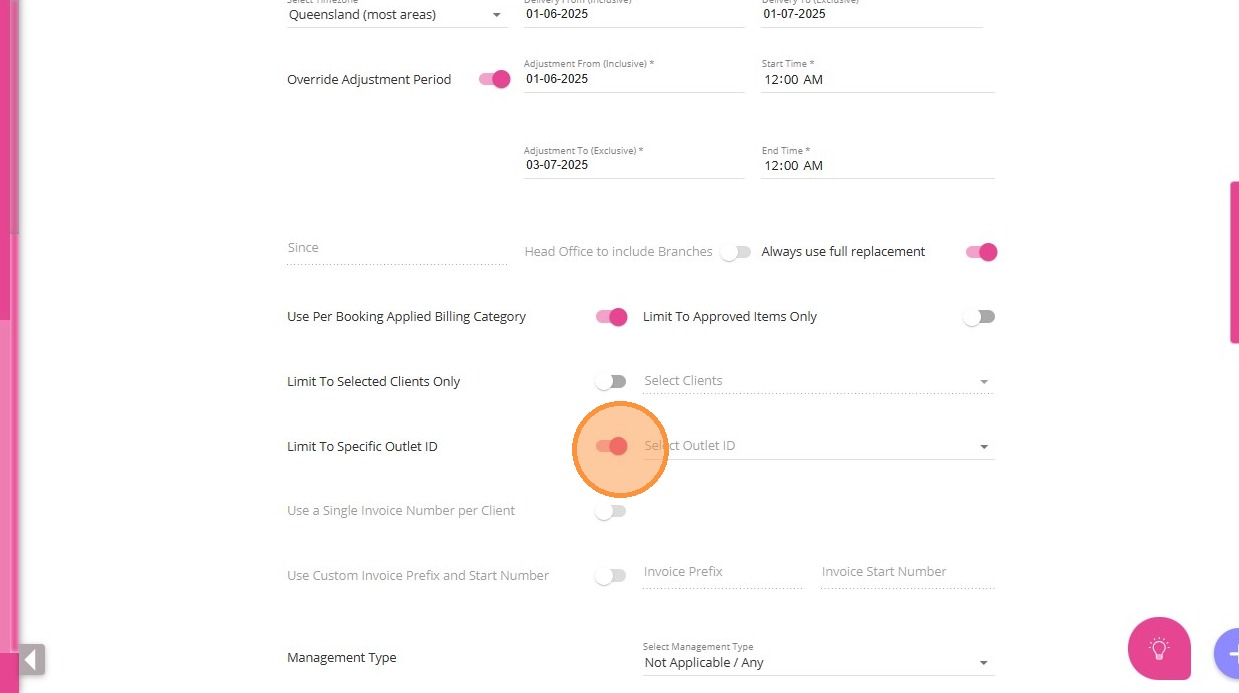
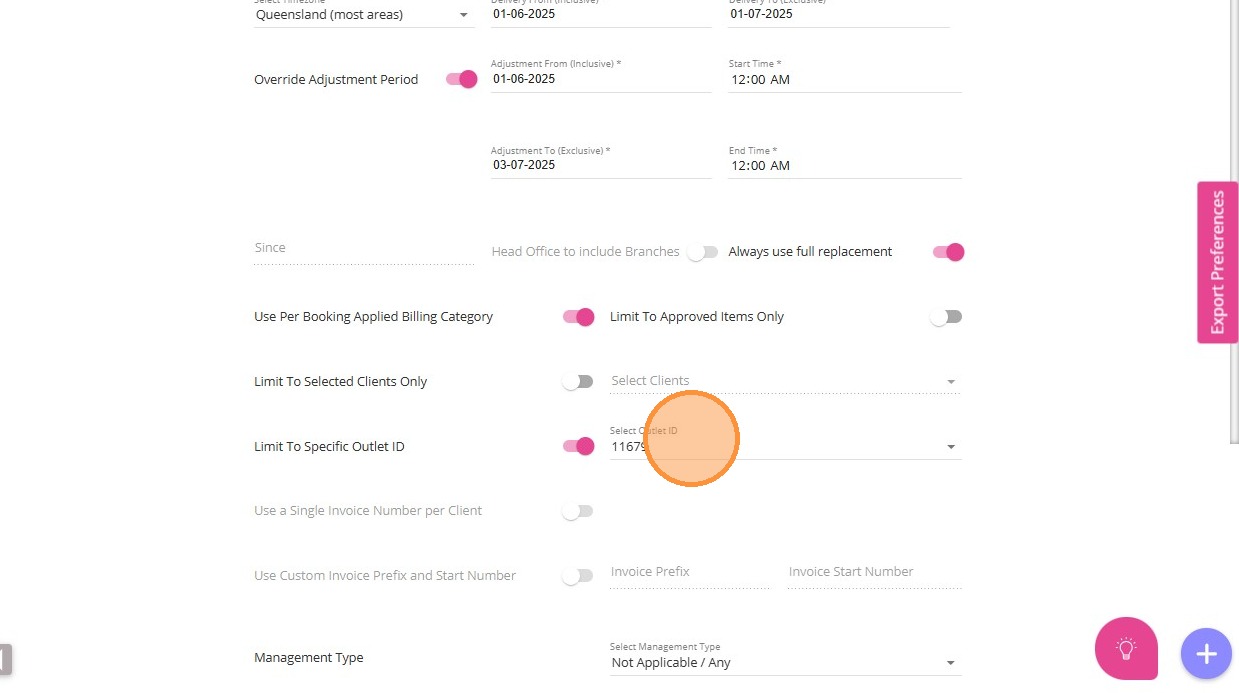
13. Then, select the desired outlet ID in the Select Outlet ID field.
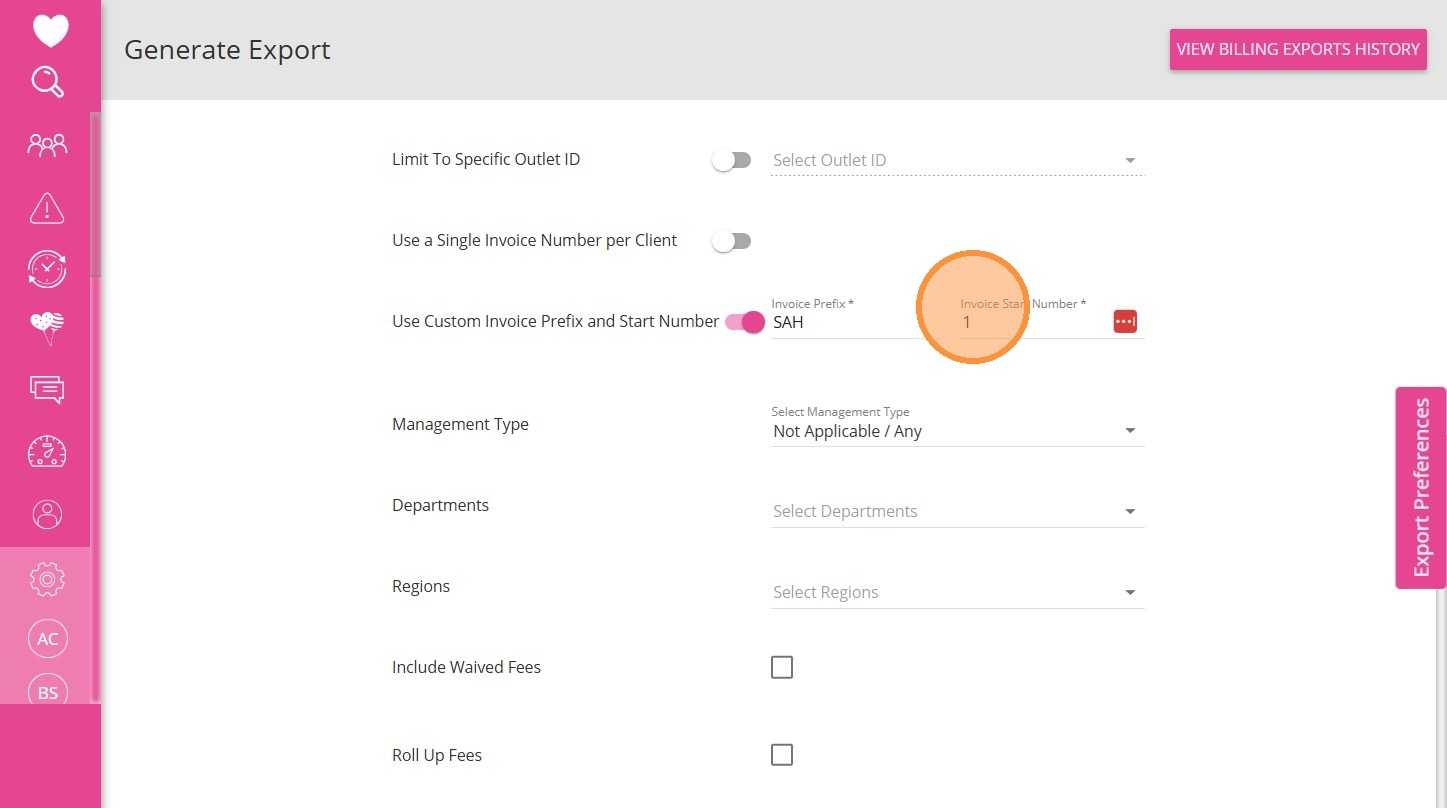
 If you want to save your export settings, click Save Export Preference.
Step 3: Data Sanitation Checks and Corrections
- Review the client file and note any errors flagged by the system.
- Correct all identified errors directly in CareVision.
- Once all errors are resolved, export the claim file again.
- Perform a new export using the adjustment period to capture any recent changes.
- Turn on the Override Adjustment Period toggle to allow extra days after your export period for capturing late changes. This ensures all updates up to your selected Adjustment To date are automatically included, keeping your reports accurate and complete.
- Specify the Adjustment From (Inclusive) and Adjustment To (Exclusive) fields, along with the appropriate start and end times.
Note: Always set the Adjustment From (inclusive) date and time for the new billing period to exactly match the Adjustment To (exclusive) date and time from the previous billing period. This ensures seamless billing with no gaps or overlaps, preventing both missed charges and double billing.Step 4: Download the Claim File
Notes:- After exporting, remove column A from the file, as it contains error information.
- An error related to missing Ref 29 is acceptable for services set up as line items (Example: Transport, Meal Delivery).
Notes:- After exporting, remove column A from the file, as it contains error information.
- An error related to missing Ref 29 is acceptable for services set up as line items (Example: Transport, Meal Delivery).
Submit your claims through the Services Australia Aged Care Provider Portal (ACPP).
 For detailed instructions, refer to Submit a Support at Home Claim
In the Claim confirmation screen, make sure that you:
- Check the I confirm box if the services you are claiming are accurate and complete.
- Click the Claim invoices button to submit all invoices for approval by Services Australia before payment can be made to your account.
Note: If you open the CSV file before uploading it to Services Australia Aged Care Provider Portal, you must format the date as yyyy-mm-dd.Step 6: Mark the Final Claim File as "Final"
Mark the Final Claim File as "Final"


Step 7: Receive the Services Australia CSV Statement
Step 8: Upload the CSV to CareVision
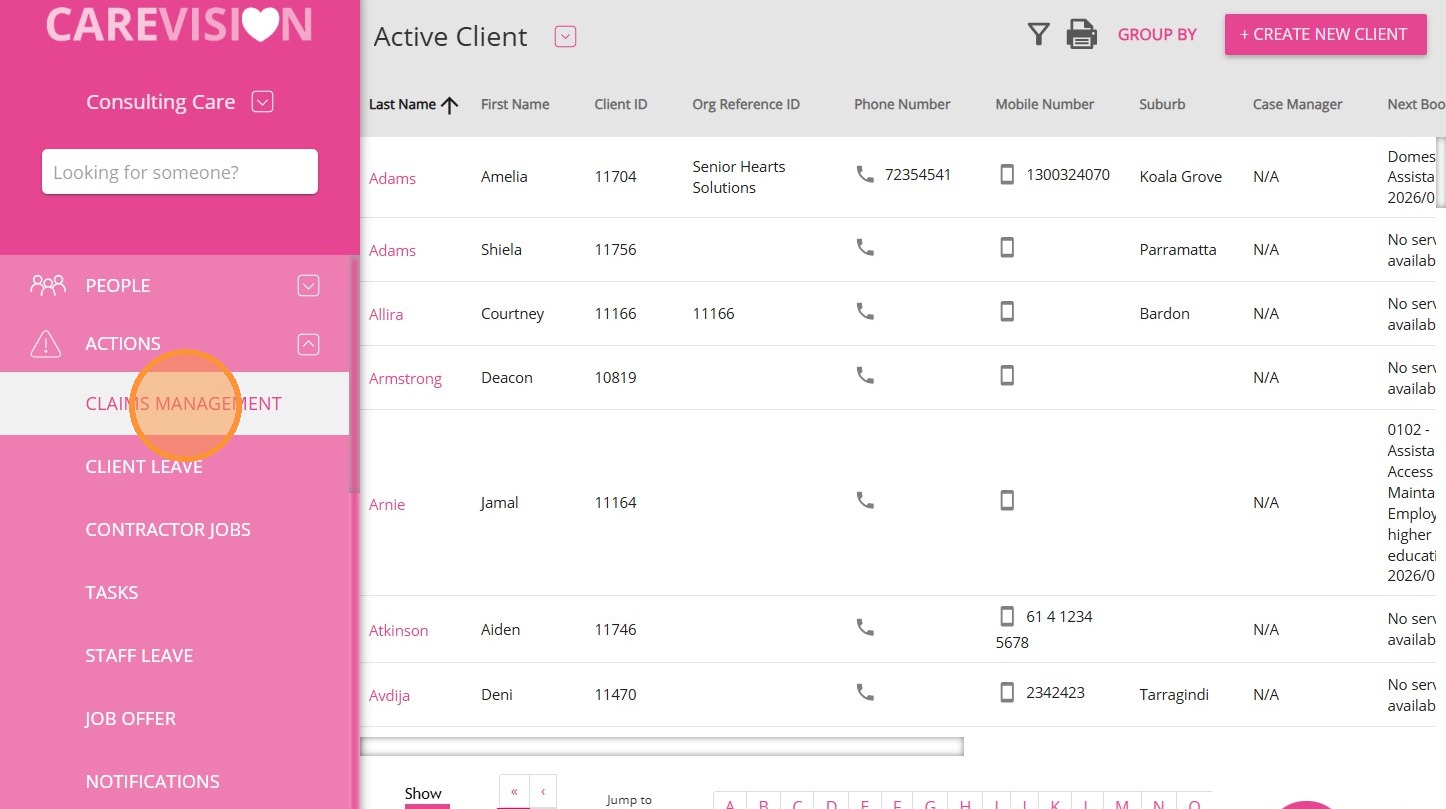
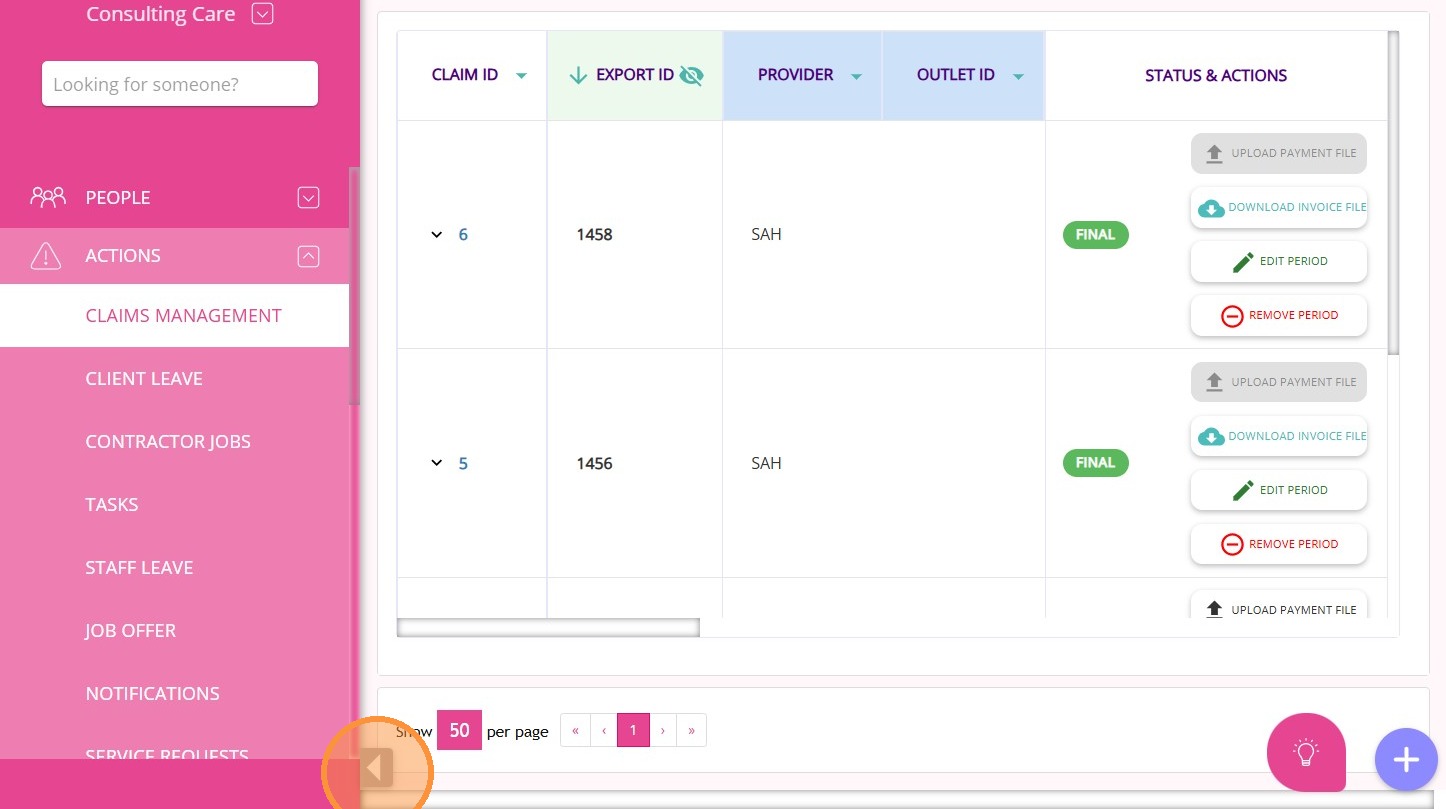
2. In the lower left, click the arrow to expand the Claims Management dashboard for easier viewing.


Then, it will open in a new tab for you to process the items. See Step 10 for more details.

Step 9: CareVision Processes and Runs Data Checks
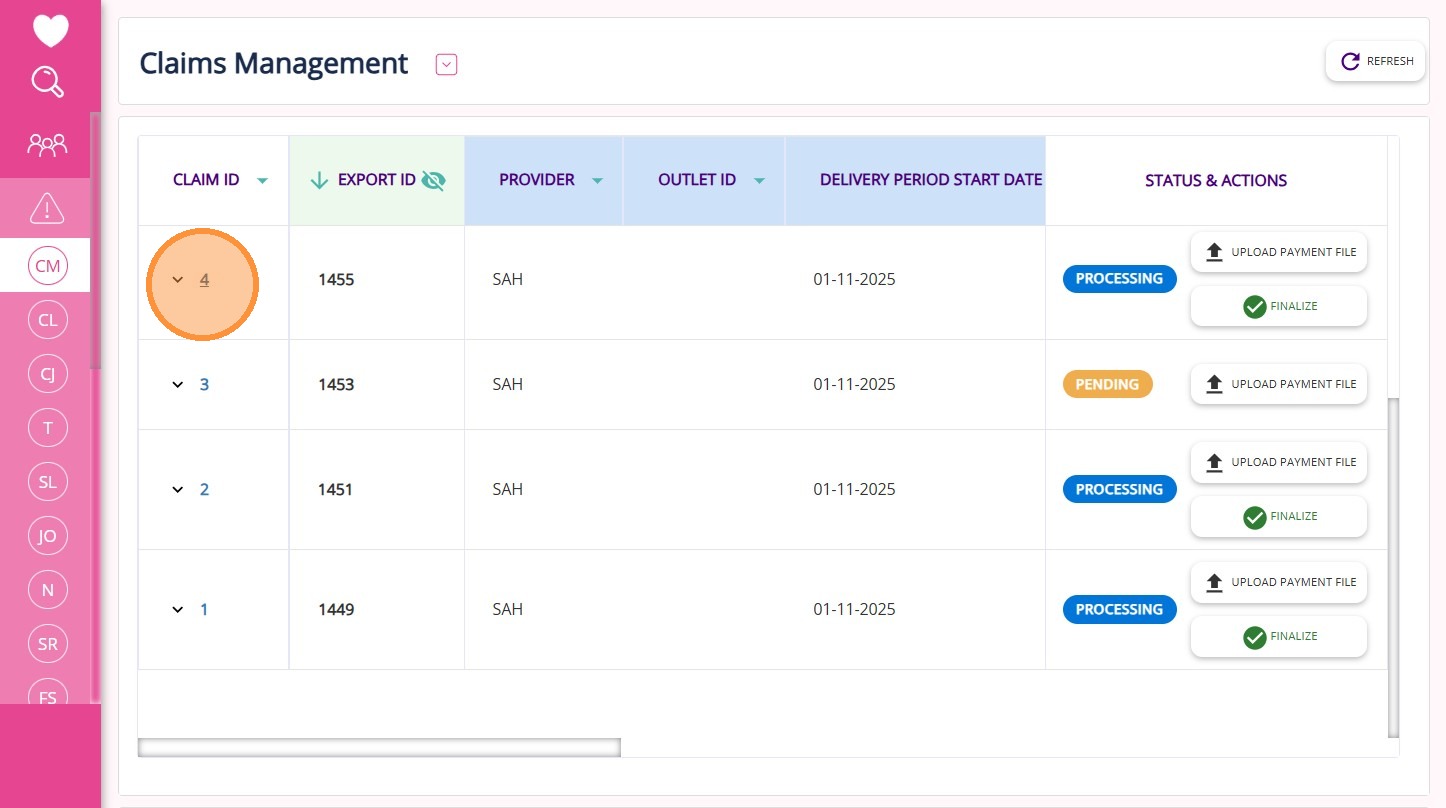
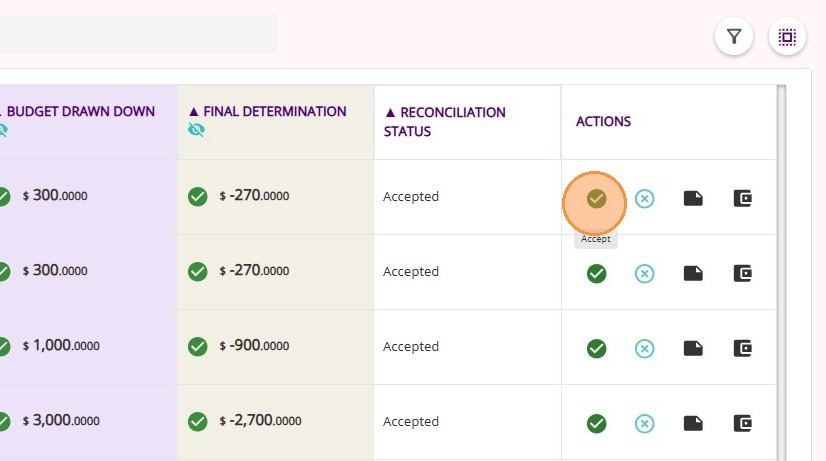
Step 10: Review the Claim Validation
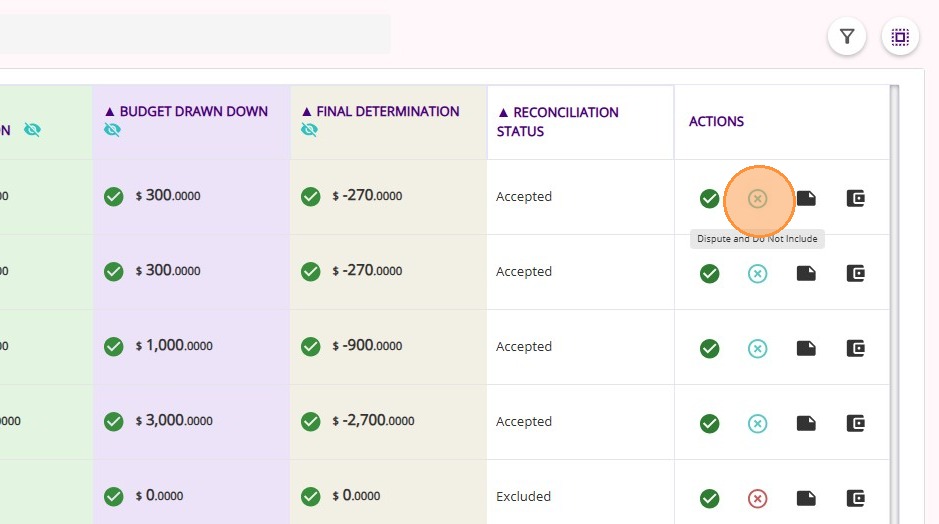
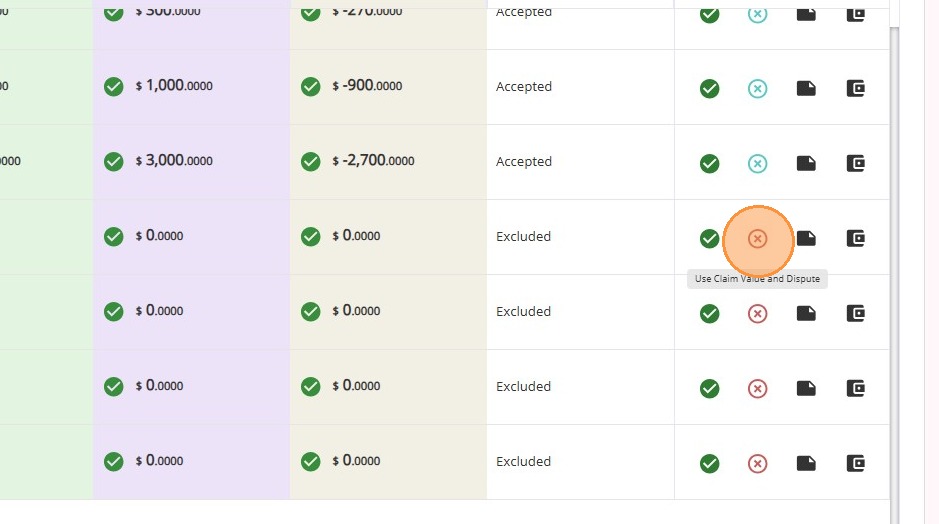
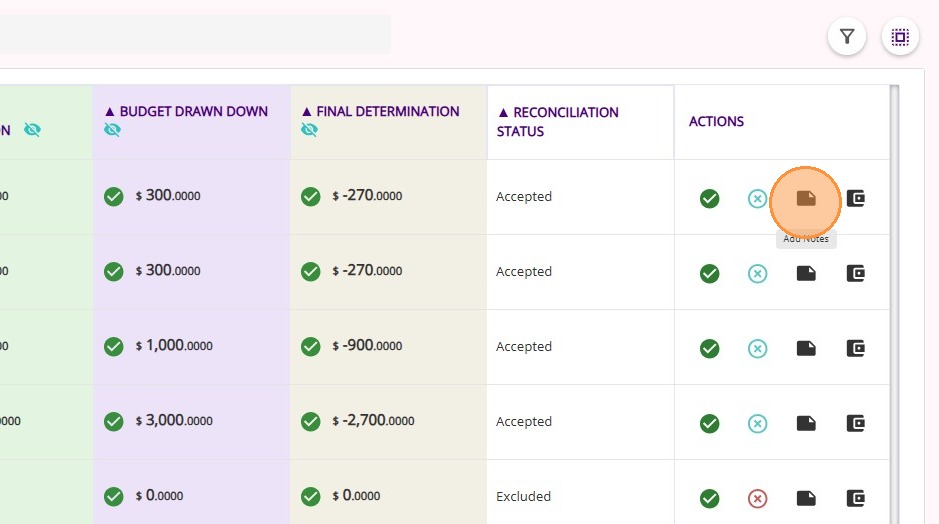
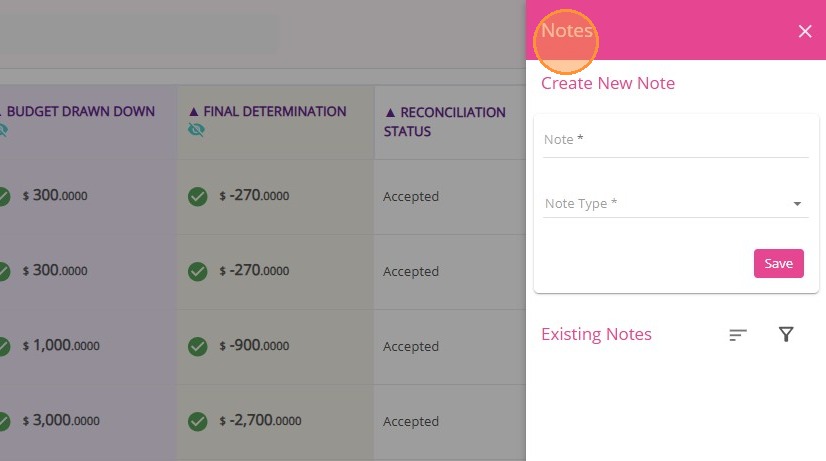

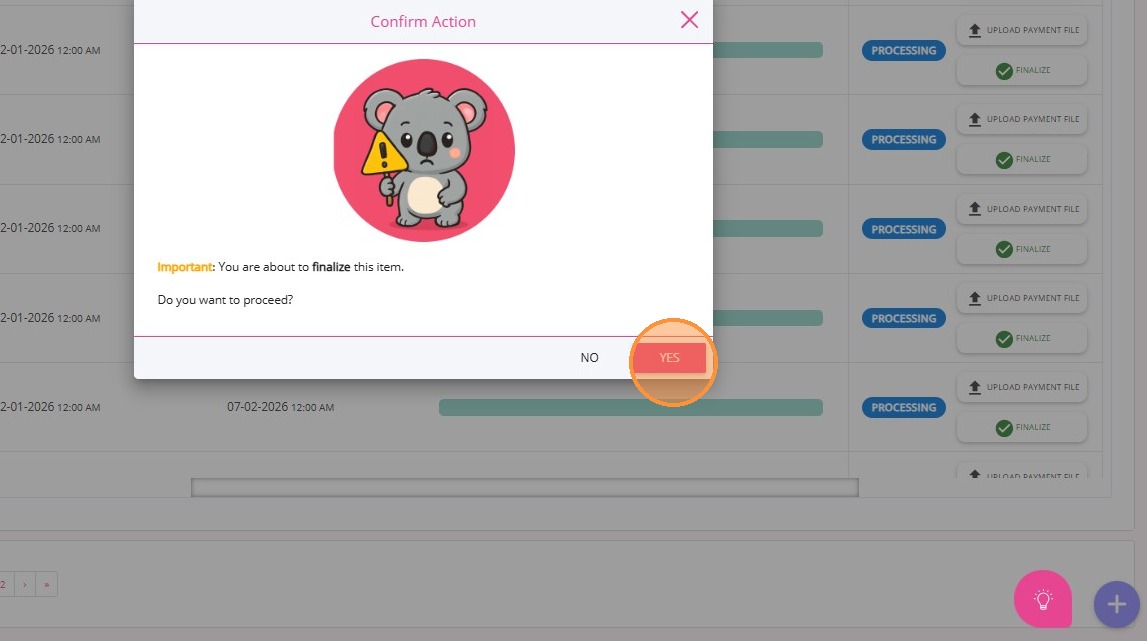
Finalize a Claim
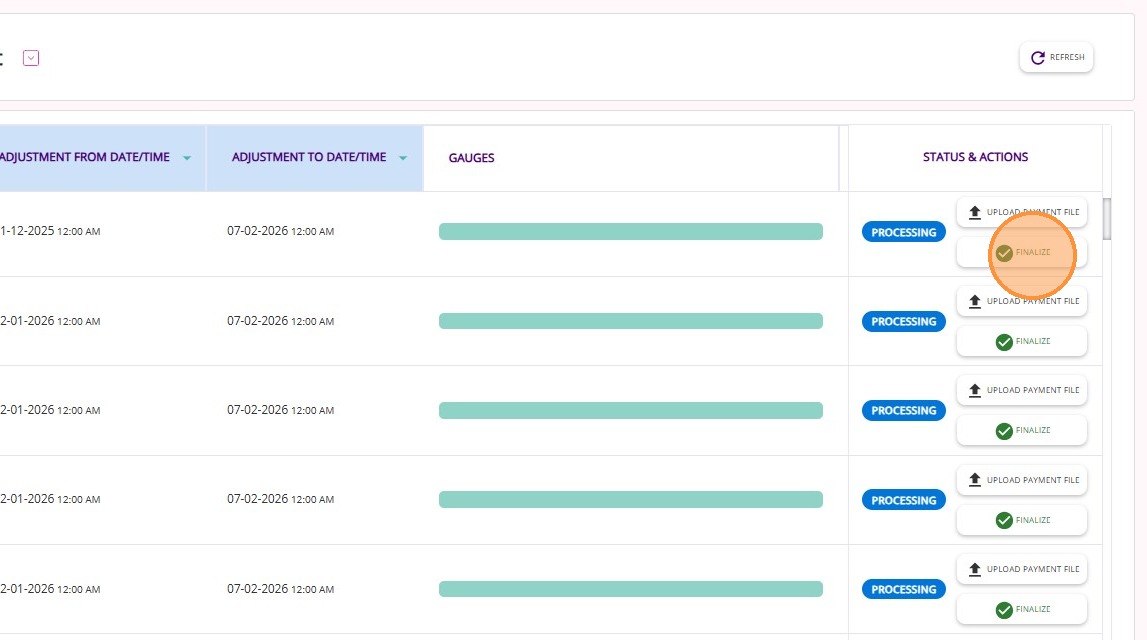
3. Click Yes to confirm. This action will mark the claim as final.
Step 11: Correct and Recalculate as Needed
Step 12: Send Invoices to Finance Systems and Customers
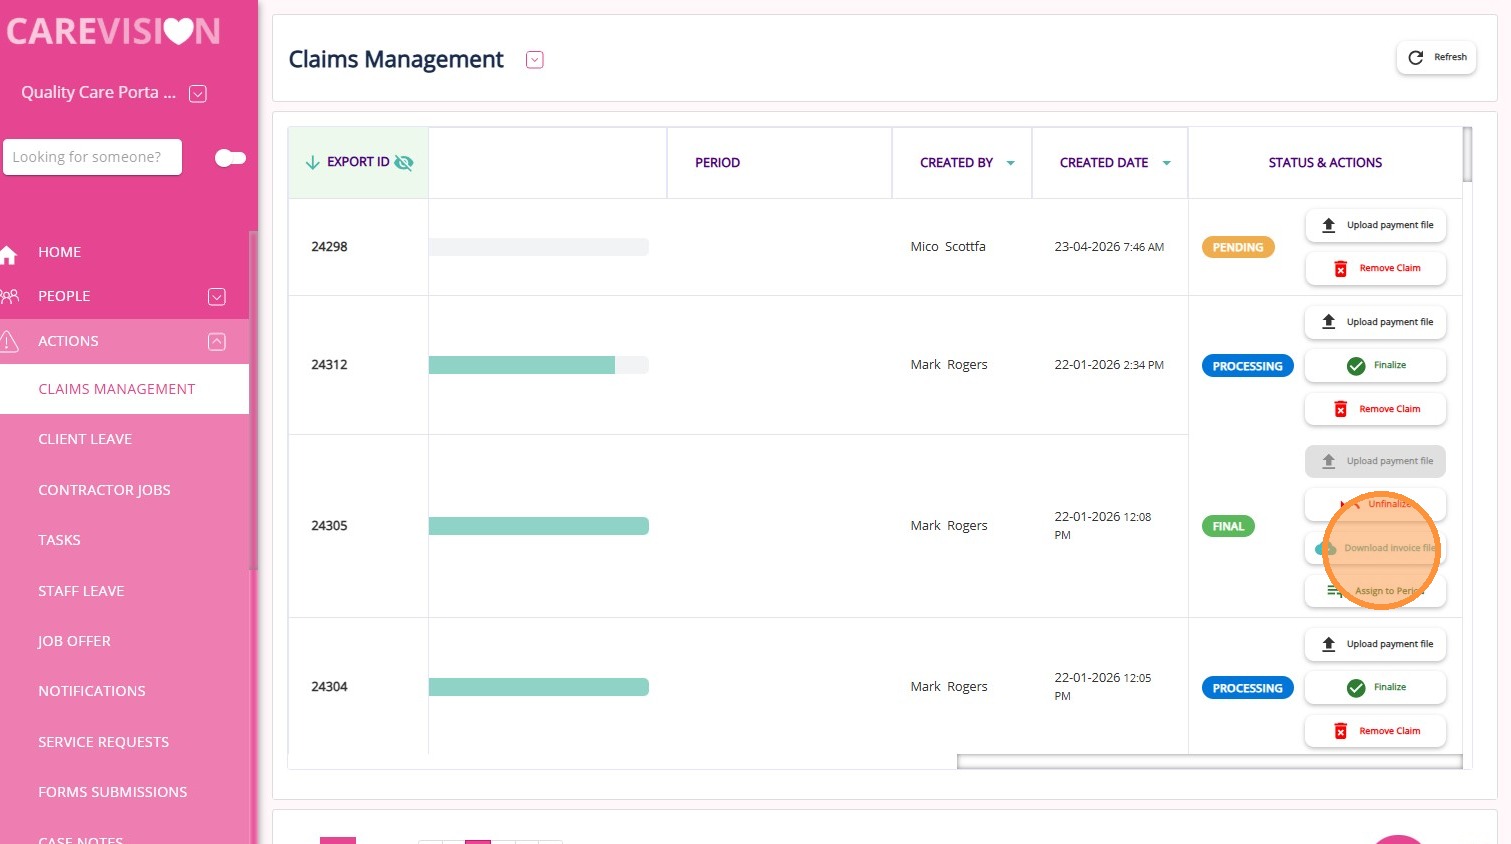
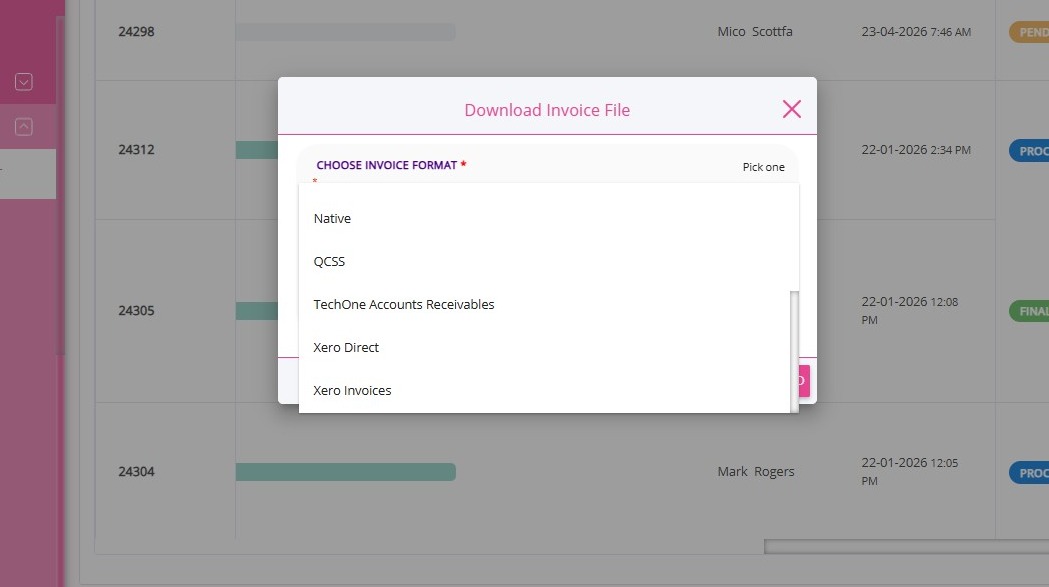
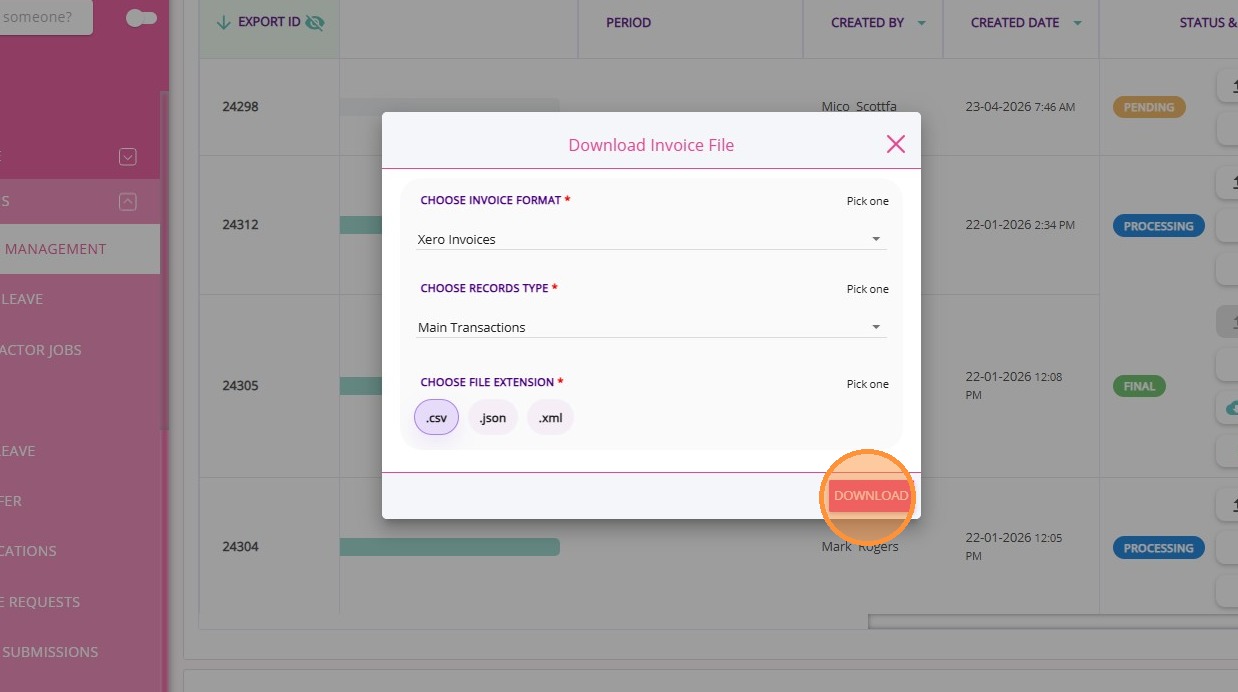
5. Select Main Transactions.
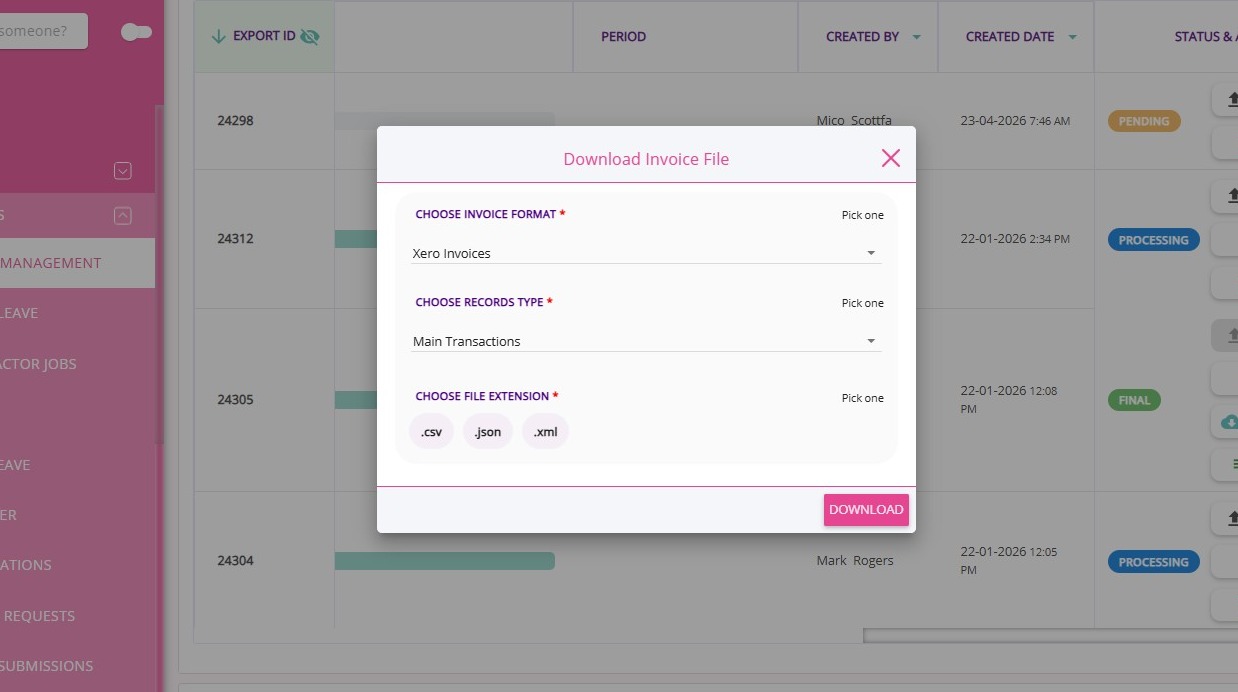
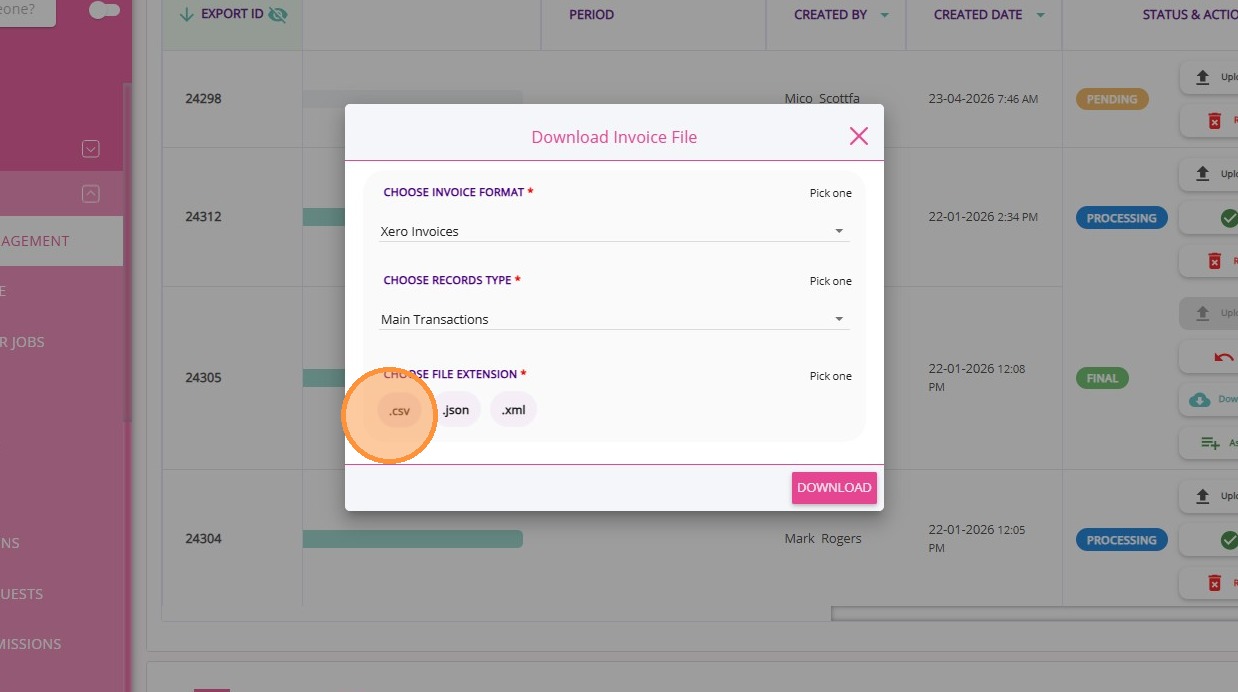
7. Click Download
Step 13: Produce Statements
Related Articles
- FAQs: Support at Home Rollover Funding
- FAQ: Why are two invoices generated under Support at Home?
- Claims Management
- How to Generate SAH Statements
- Handling Negative Claim Adjustments from Service Cancellations
- Handling Claims with Multiple Budget Allocations and Contributions
- Handling Claims with Underpayment (With Co-Contribution)
- Handling Claims with Underpayment (No Co-Contribution)
Related Articles
How to Generate SAH Statements
Once you have finalized a claim, you are ready to generate statements. At this stage, all finalized claims are assigned into a statement period, funding is recalculated, and official statements are produced for distribution. This topic describes the ...Handling Negative Claim Adjustments from Service Cancellations
This scenario occurs when services that were previously scheduled or already claimed are later cancelled. These changes create adjustment transactions (credits), which appear as negative line items in the SAH Claim File generated from CareVision. Why ...Key Sections of the SAH Statements File
It is important to review and understand the statement file to check that all details are accurate and to identify any potential issues. This topic describes the key sections in the statement file for Support at Home. Keywords: support at home ...Manage Transport Services for Support at Home
This topic describes how to configure and manage transport services for Support at Home. It explains how to correctly set up and link billing categories, services, and funding source templates to support a smooth quoting and export process. Keywords: ...Handling Claims with Underpayment (No Co-Contribution)
The system handles claims where the payment is less than the claimed amount and no co-contribution applies. Question Answer How does CareVision handle scenarios where Services Australia returns a claim with a payment less than the claimed amount and ...