Purchase Import Process
Your organisation may receive a high volume of invoices from external suppliers. Manually entering each purchase into CareVision is time-consuming. To make this easier, CareVision provides the Purchase Import feature so you can bulk upload purchase files and reduce manual work. This helps you easily claim expenses, generate statements, and meet funding requirements.
Since accounting systems use different export file formats, this documentation shows you how to convert your external purchase data into the required format before uploading it to CareVision.
Keywords: purchase import, bulk upload, carevision, mapping, ref codes, validation
- All debtor accounts in the organisation’s finance system must match CareVision’s records.
- Each transaction must reference a valid price guide item (SERV code, NDIS support item, or CHSP service type ID).
- Make sure clients have addresses recorded on their profile.
- Purchases are correctly mapped to the appropriate reference codes used in your organization. This is important to ensure that the correct billing categories are applied to services, so they are imported accurately as bookings. For more information, see Carevision Reference Codes Table.
- Access to the CareVision portal as a Coordinator Admin
- Purchases Extract_Import Template (see attached file below)
- Microsoft Excel
- Notepad
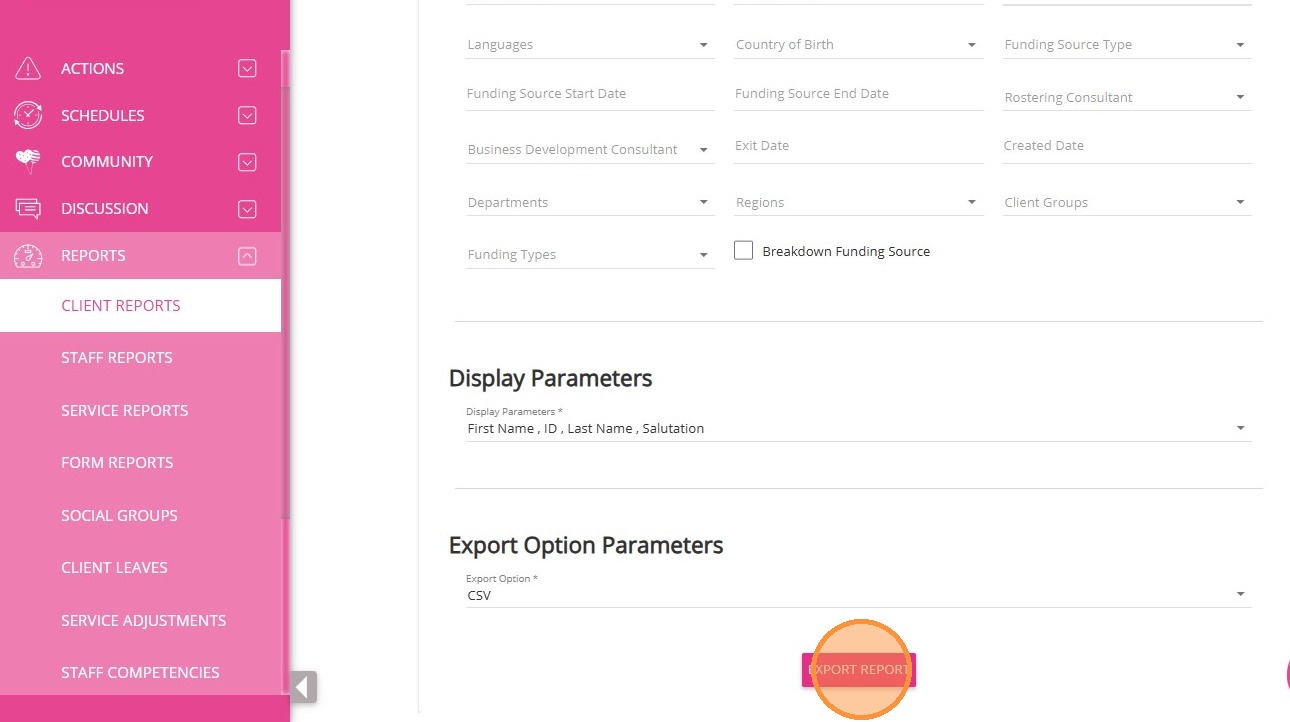
- In the left navigation pane of the portal, go to Reports > Client Reports.
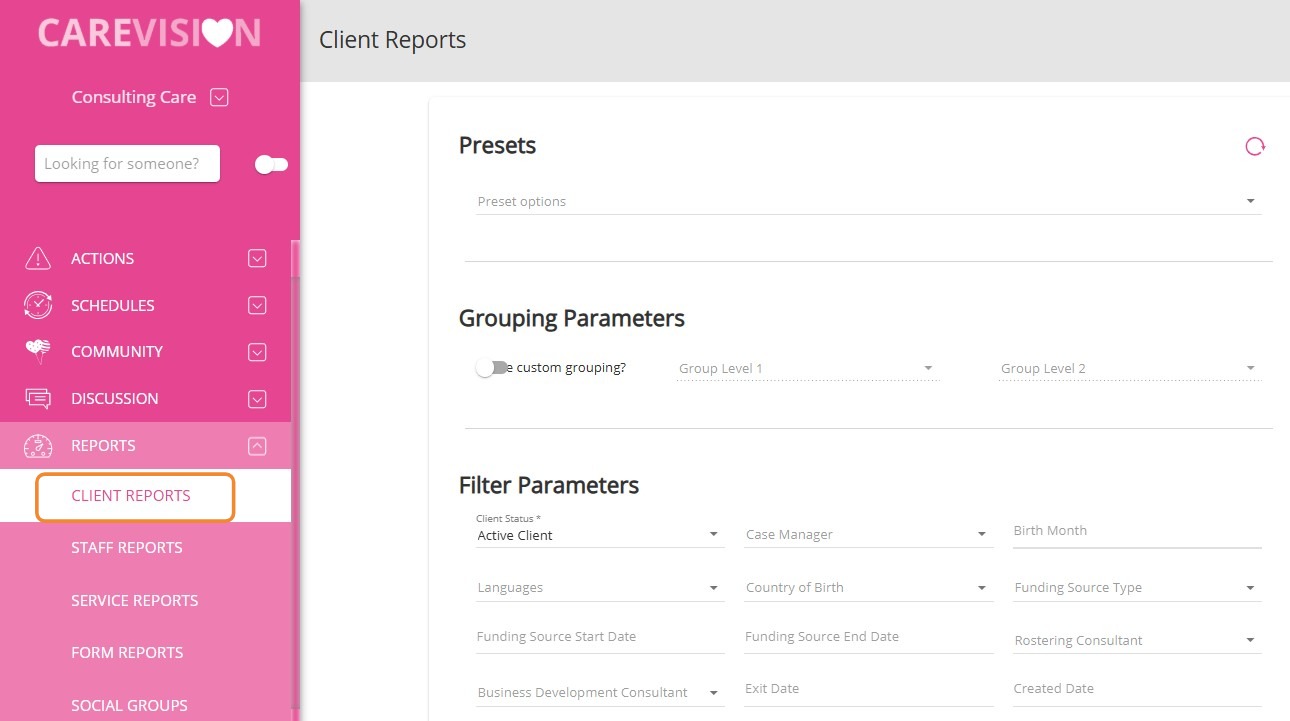
- In the Filter Parameters section, set the Client Status field to Active Client. Apply any additional filter parameters as required by your organisation.
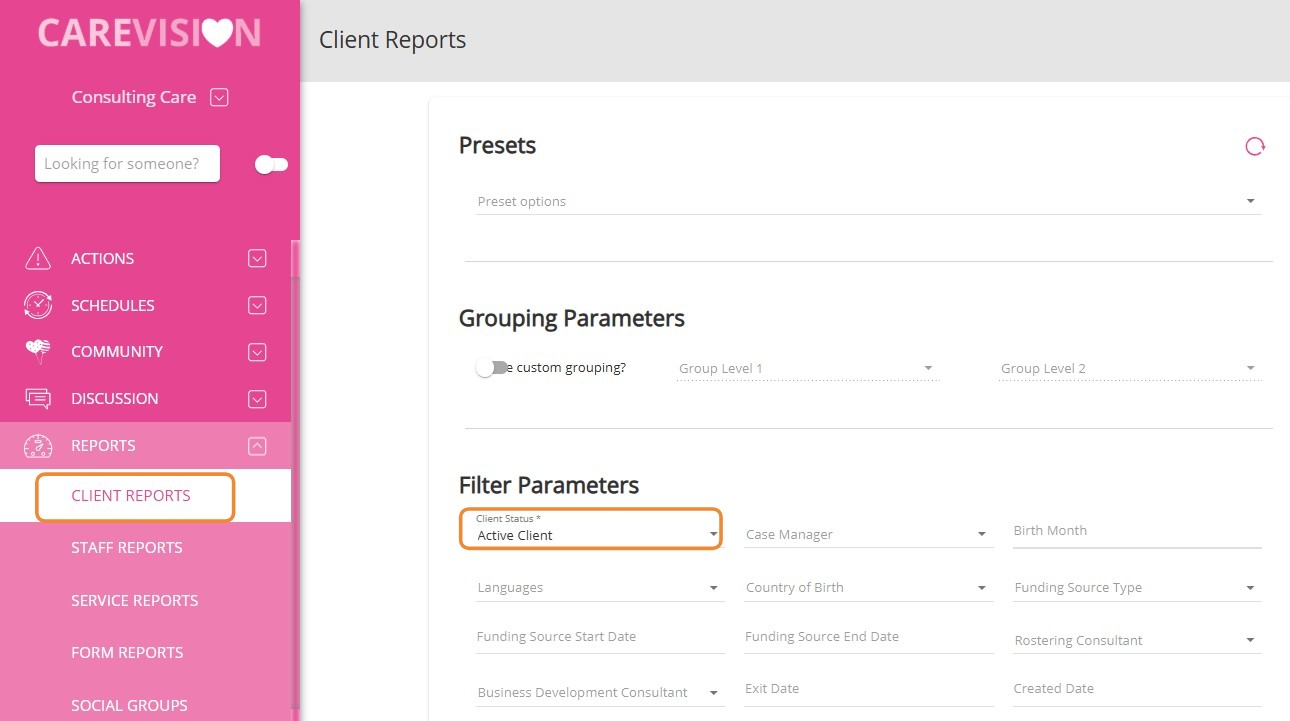
- In the Display Parameters field, select First Name, Last Name, ID, and Salutation.
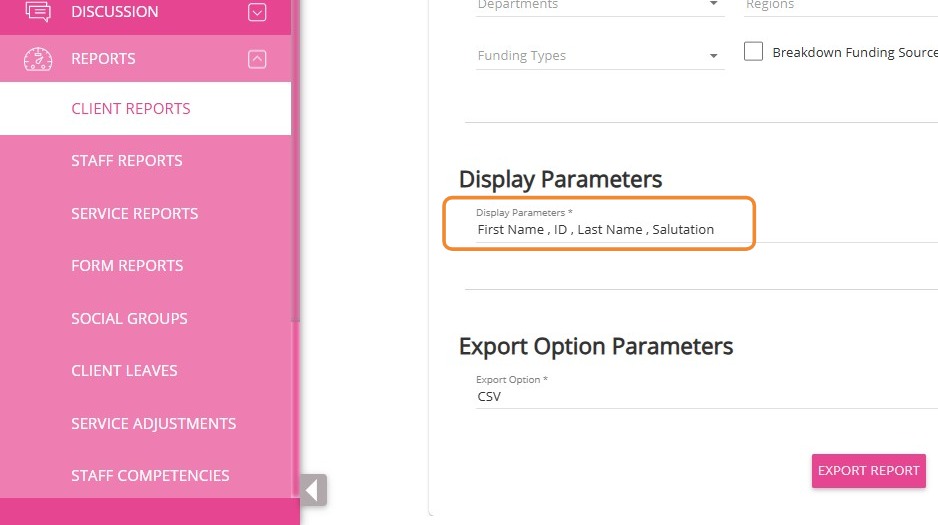
- Set the Export Option field to CSV.
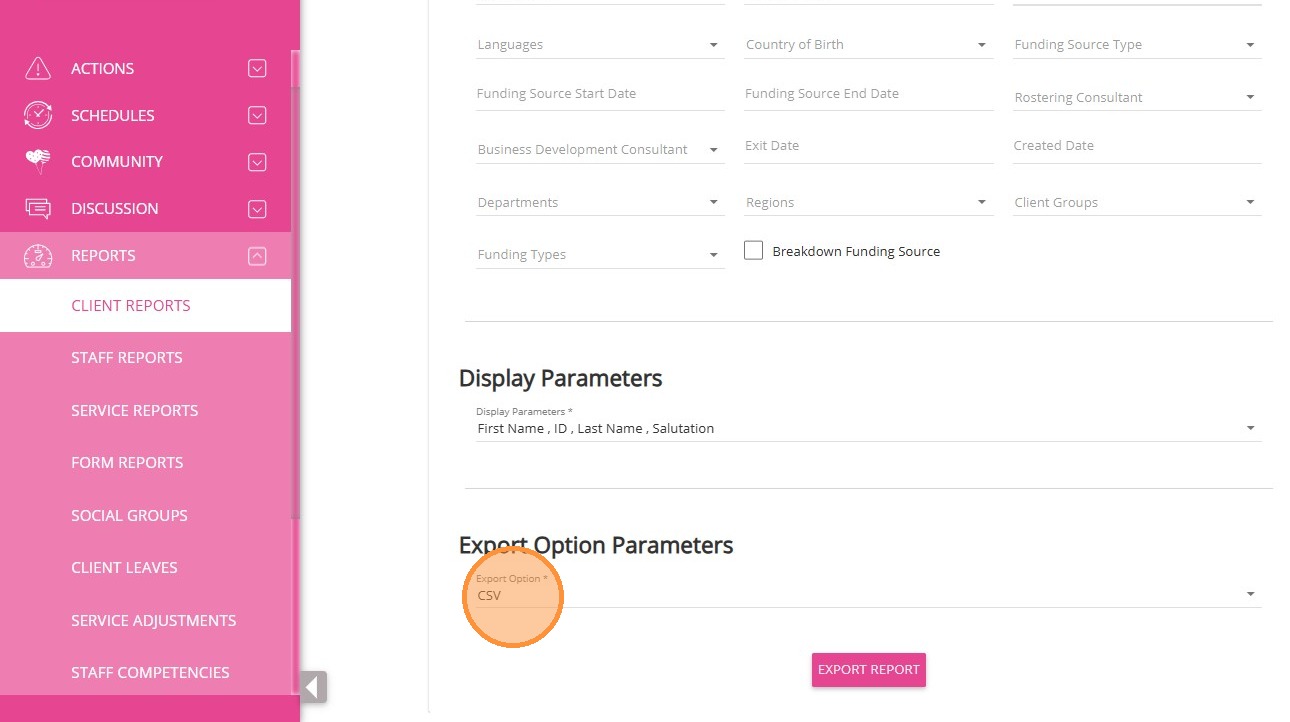
- Click Export Report.
3. Prepare the Data- Open the downloaded CSV file in Excel.
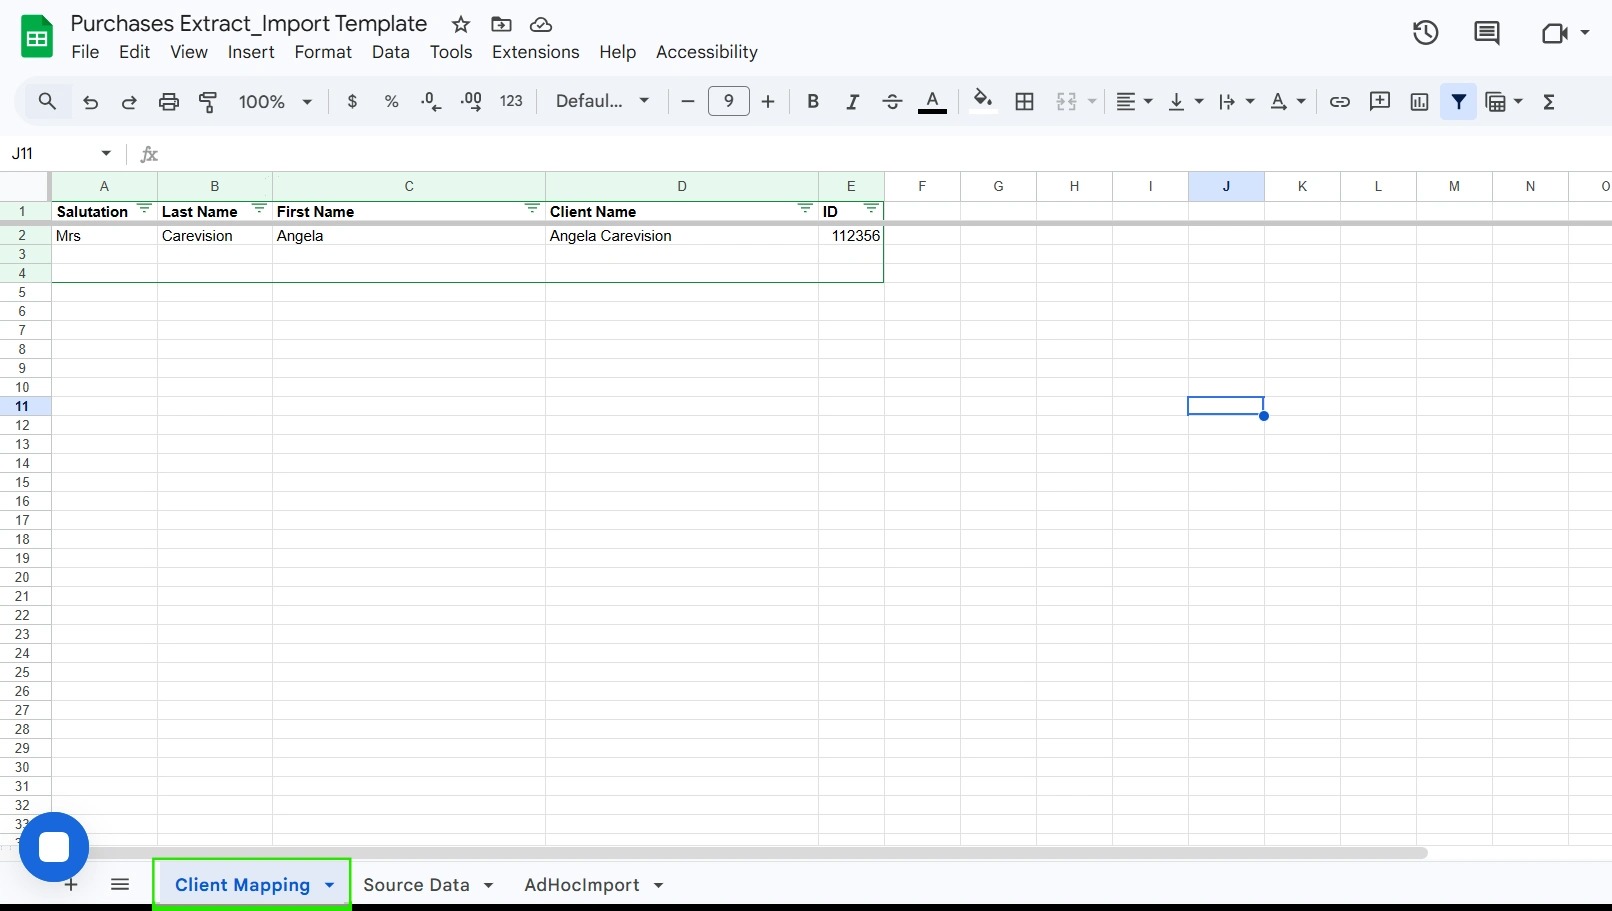
- Navigate to the Client Mapping tab of the Purchases Extract_Import Template.
4. Map Client Data
- Copy the Salutation, Last Name, First Name, and ID from the CSV file.
- Paste each value into the relevant columns in the Client Mapping tab.
- Open the downloaded CSV file in Excel.
- Navigate to the Client Mapping tab of the Purchases Extract_Import Template.
- Copy the Salutation, Last Name, First Name, and ID from the CSV file.
- Paste each value into the relevant columns in the Client Mapping tab.
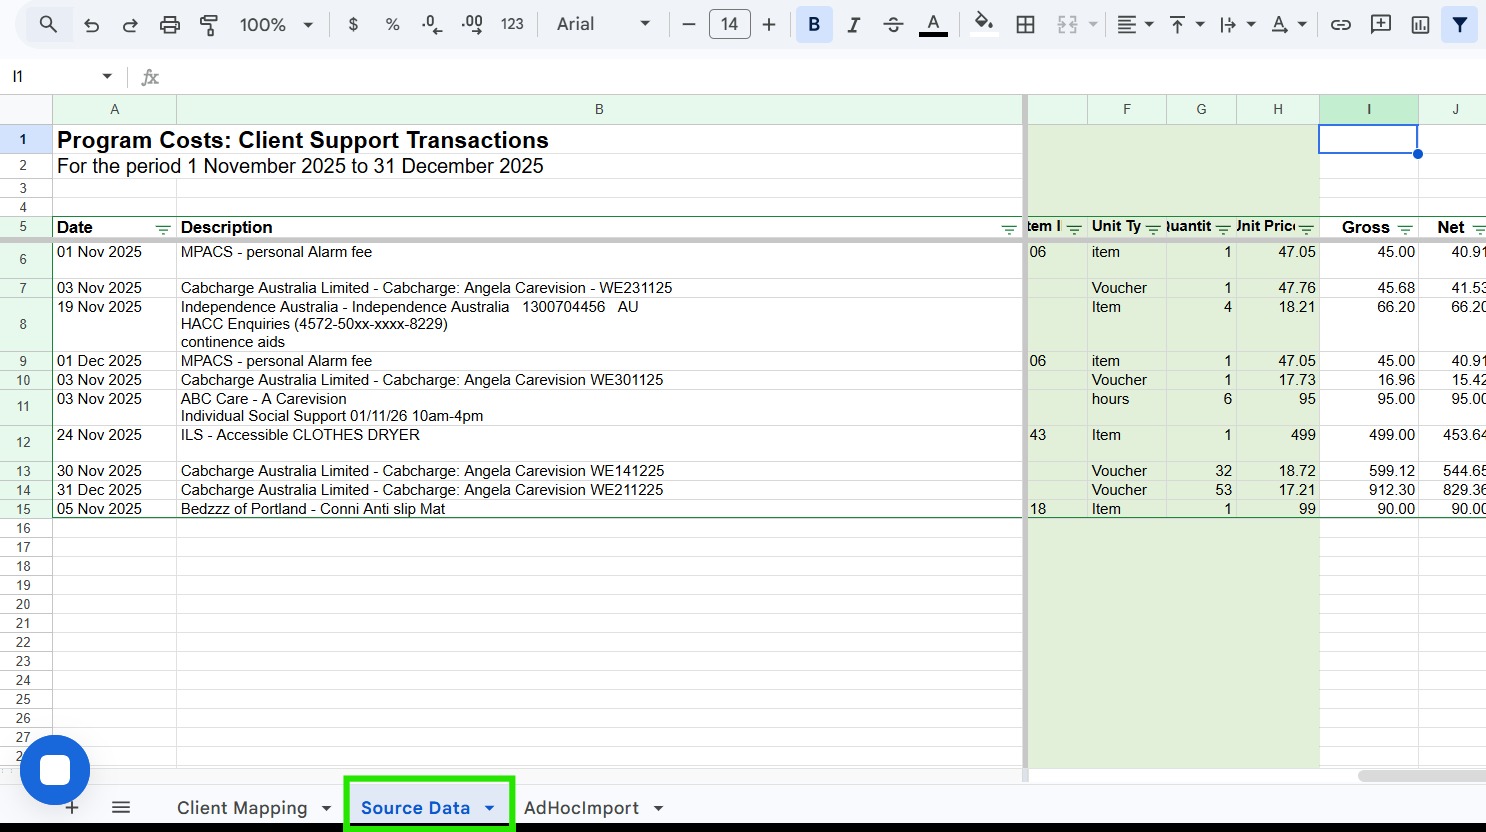
In the Purchases Extract_Import Template, go to the Source Data tab.
3. For columns D, E, F, and M:
- Ensure the values match the references provided in the SAH Reference Data document.
- You can find this document by searching for "Support at Home eKit" on Google.
Review all details in the AdhocImport tab.

2. If you need to change any services, descriptions, or values, make these changes in the Source Data tab only.
3. The last line of data in the AdhocImport tab should match the last line in the Source Data tab.
4. Delete any rows that contain only #REF!
5. Format columns as follows:
- Column H: Date format must be YYYY-MM-DD
- Column I: Time must include leading zeros and follow HH:MM:SS format
- Column AY (if data is present): Use the format HH:MM:SS

Make sure you are on the AdhocImport tab.
Save the file as CSV (Comma Delimited).
Name the file according to your naming convention.
Open the CSV file in Notepad.
Click on "View" and remove the tick from "Word Wrap".
Check the end of the file for any extra lines containing only commas (e.g., ,,,)
If you find any such lines at the end, delete them and save the file again.
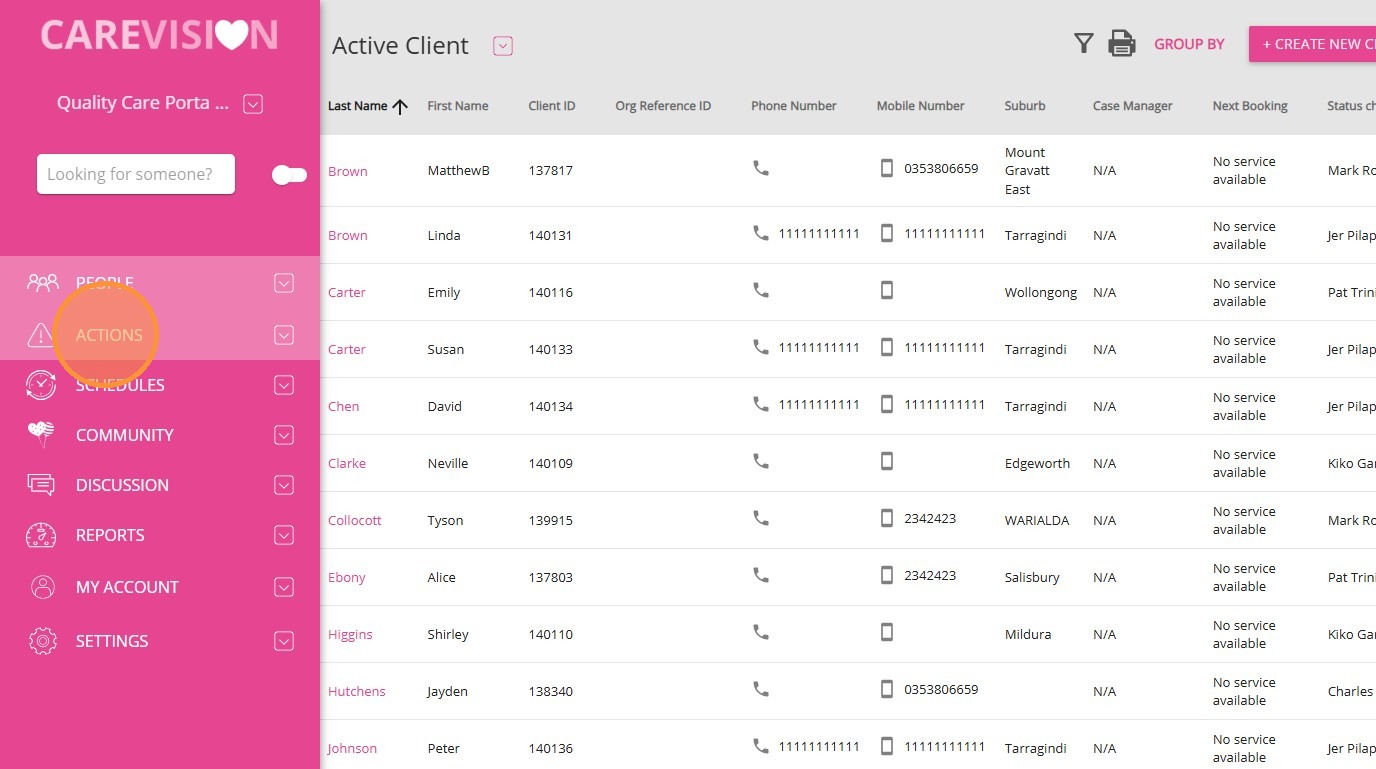
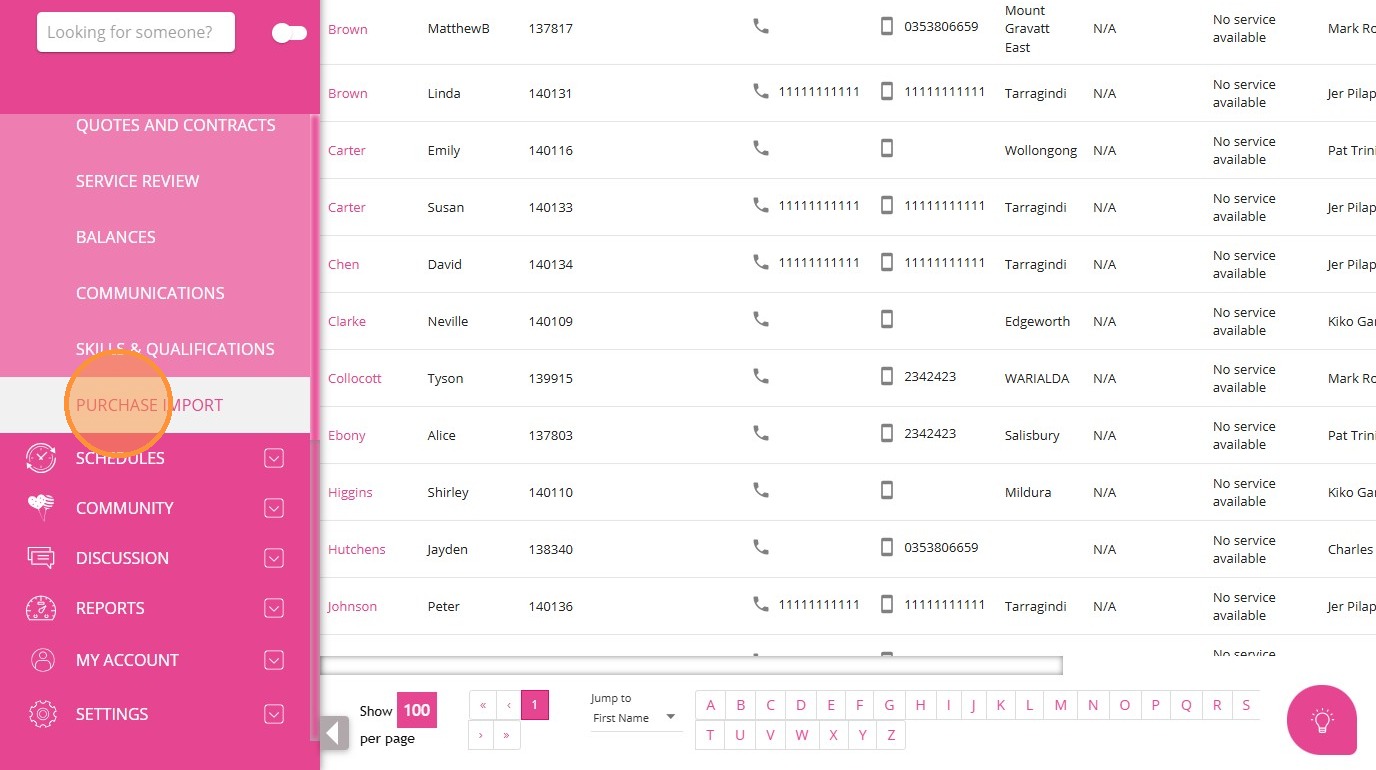
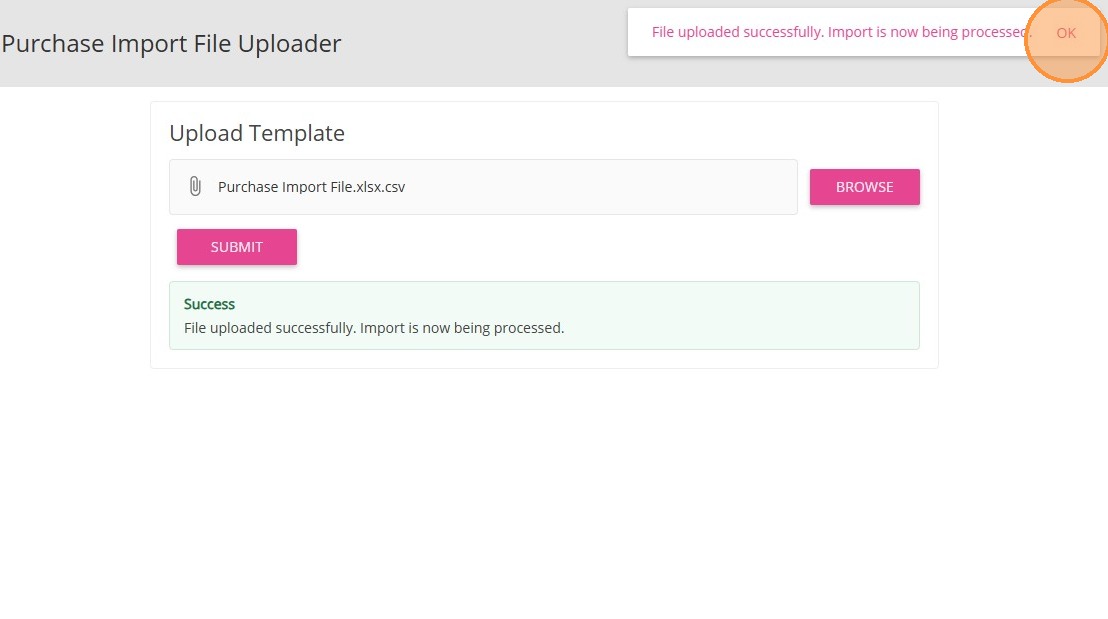
1. Log in to the CareVision portal as a Coordinator Admin.
3. Next, select Purchase Import.
4. Click Browse.
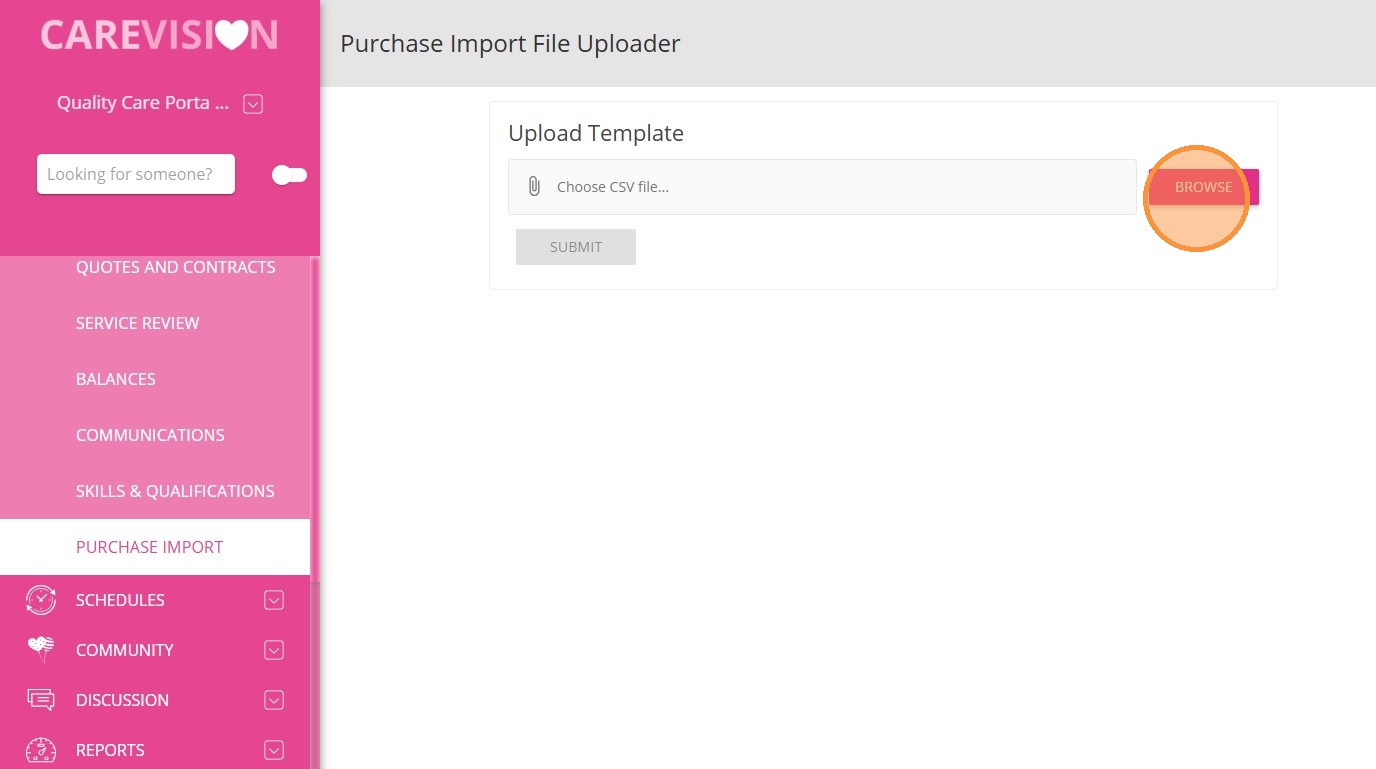
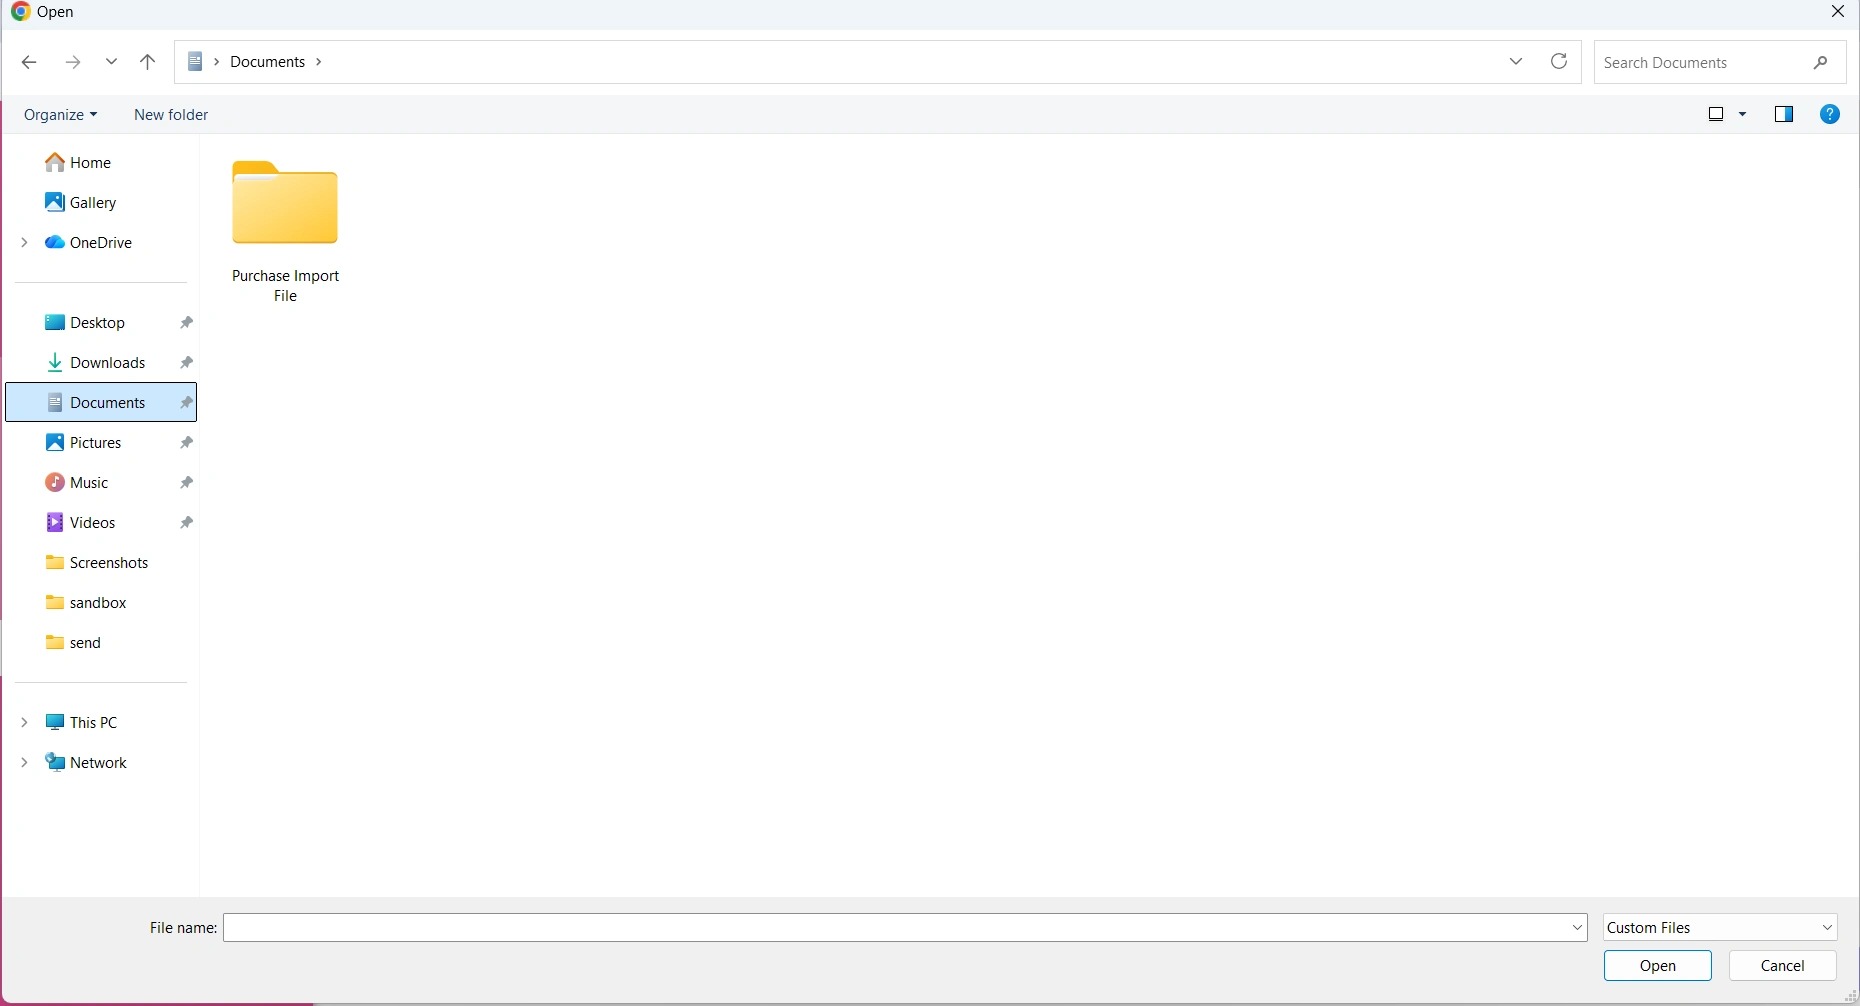
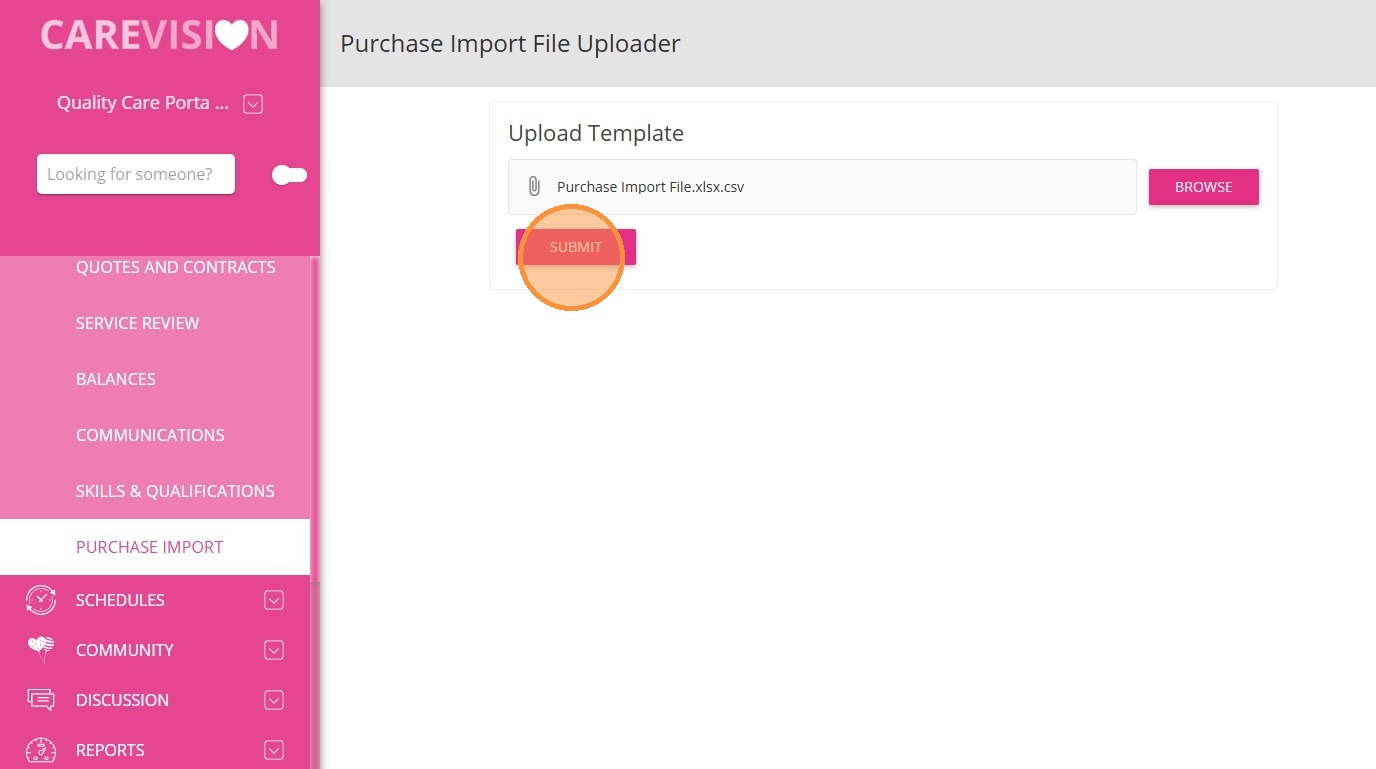
5. Browse your computer and select the relevant CSV file.
6. Click Submit.
7. A success message will appear if your file is uploaded successfully. Your import will then be processed. Click OK.
Notes:- If errors occur (such as invalid input, date/time format issues), correct the CSV and retry.
- Make sure all time formats have leading zeros (09:00:00, not 900).
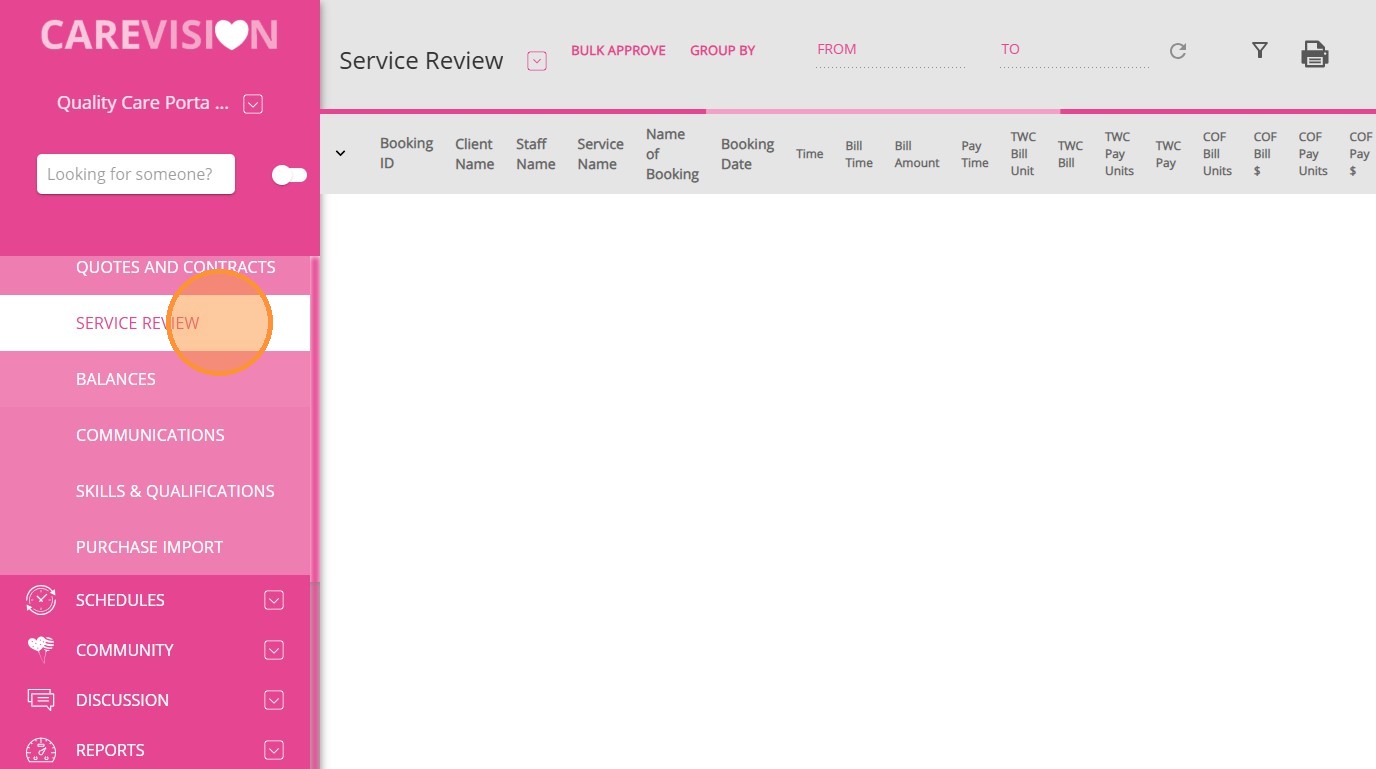
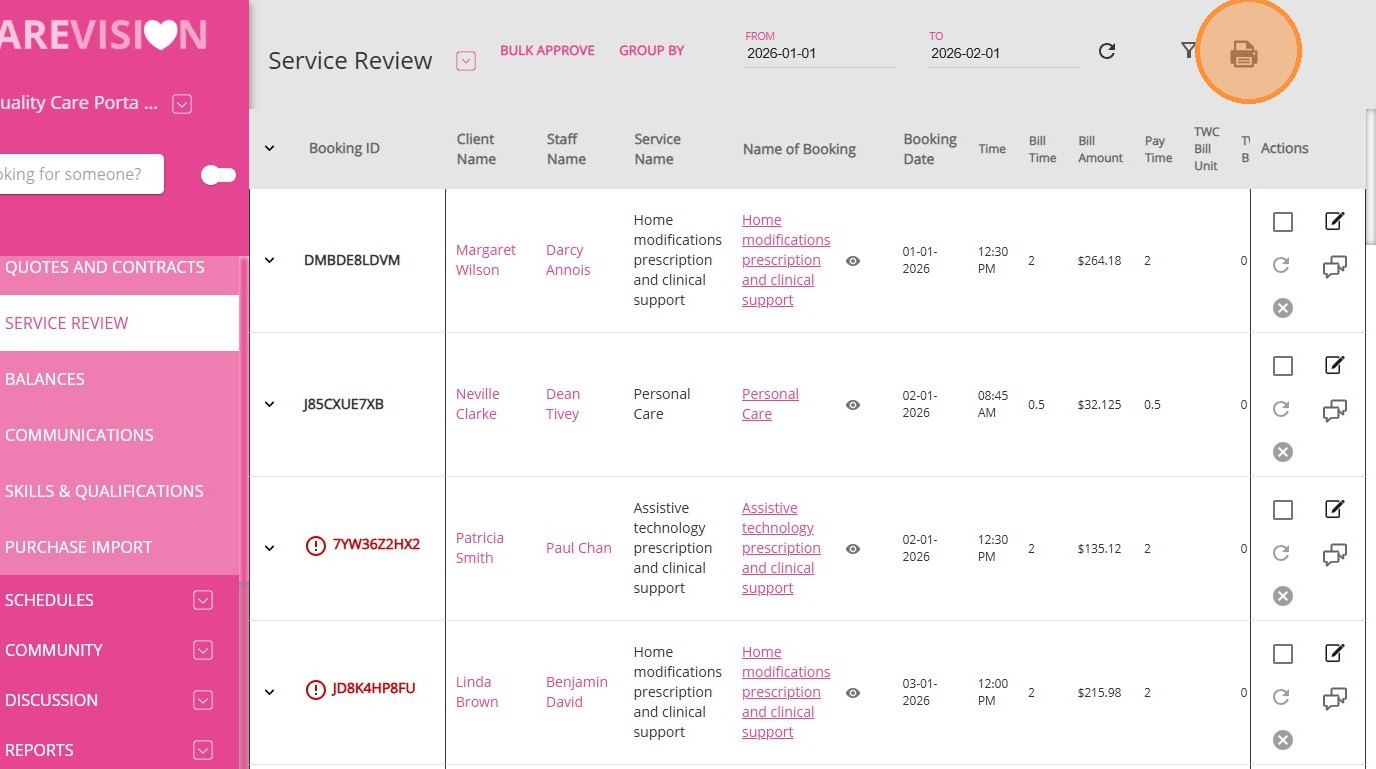
After successfully importing, follow these steps in the portal:
2. Set the From and To date fields to the relevant period.
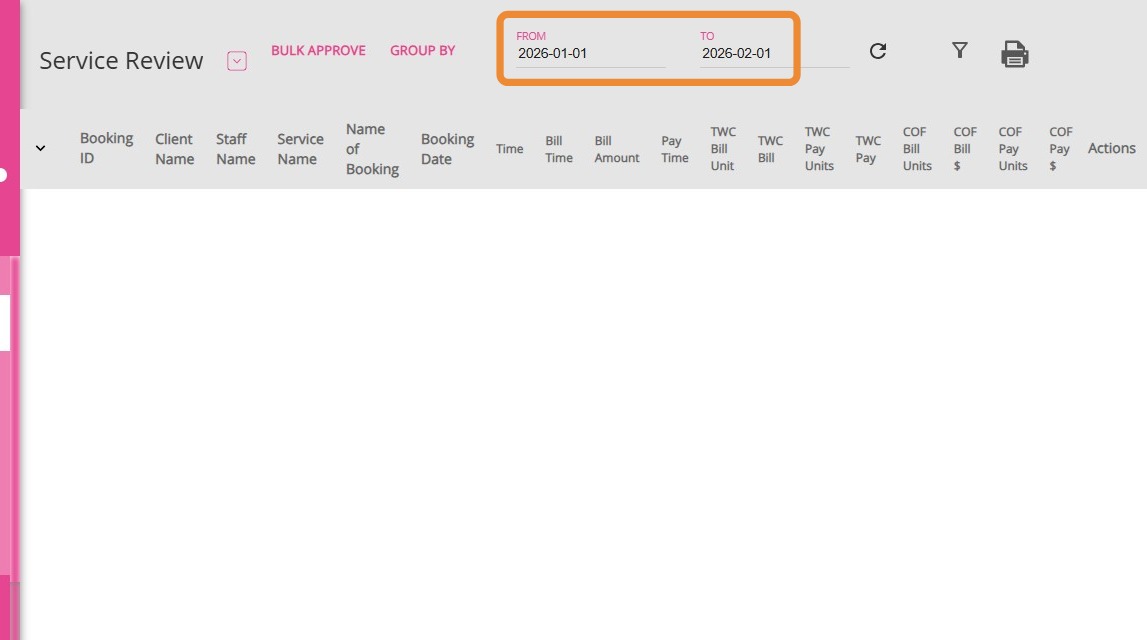
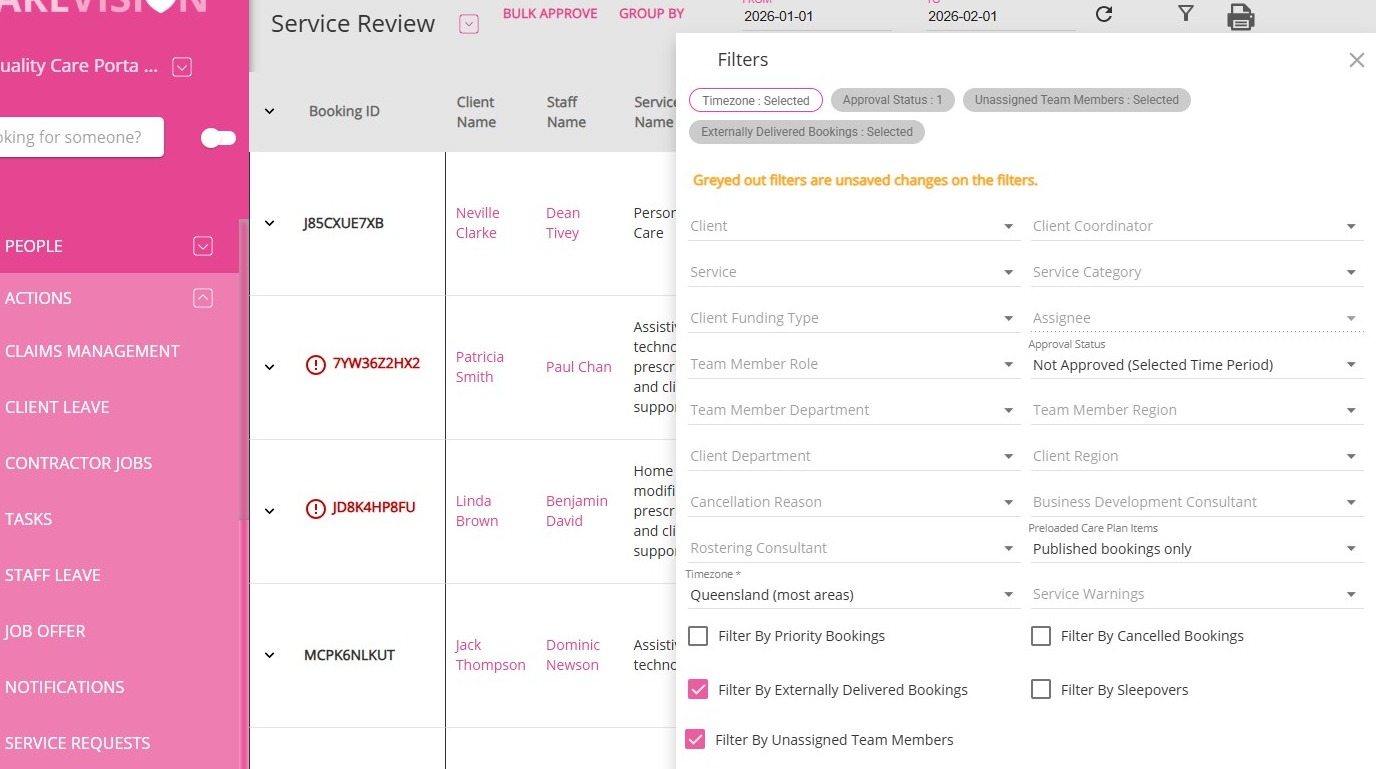
3. Apply any necessary filters. Make sure to filter for externally delivered bookings.
4. Click the Print icon.
5. Select CSV as the file format and generate the service review report.
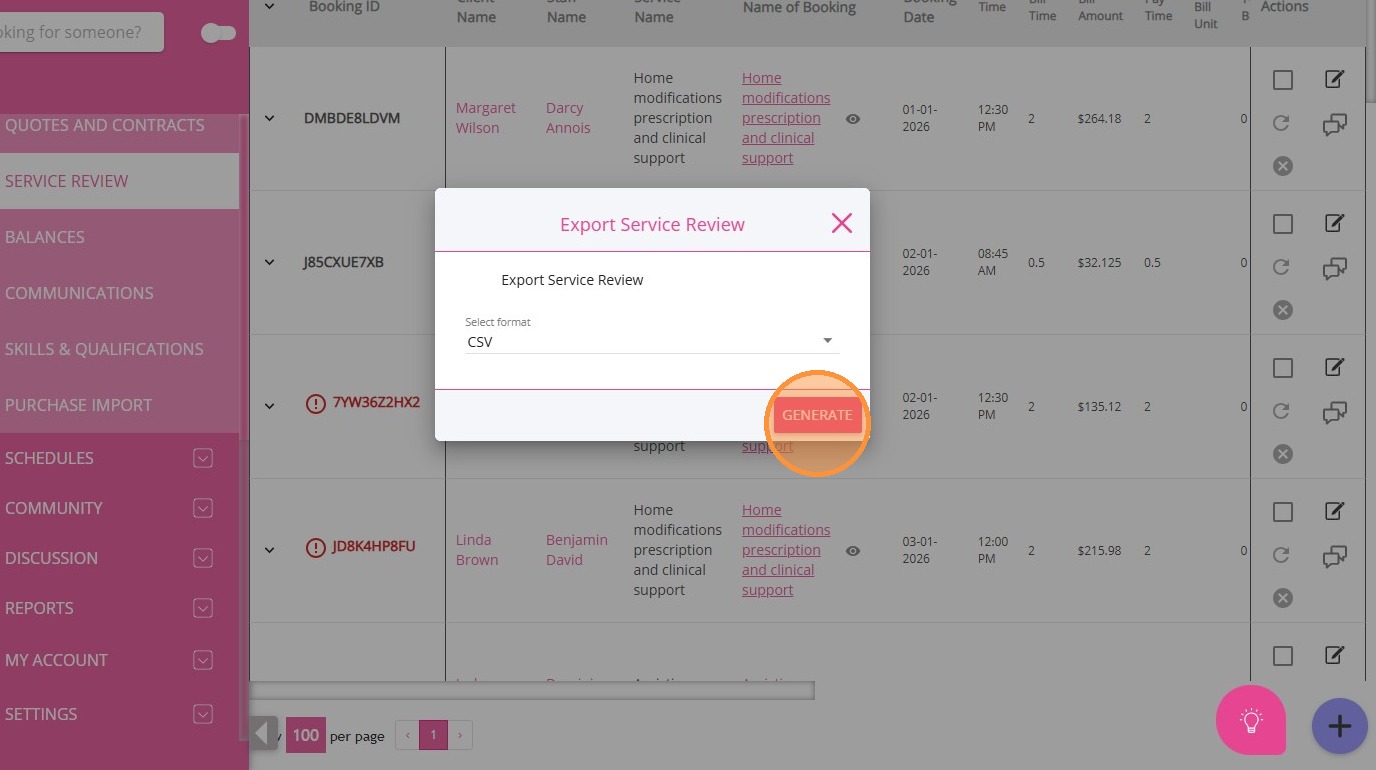
6. Cross-check the records between the file you used for import and the file generated in Service Review.
- Confirm the number of imported records matches expectations.
- Once validated, the process is complete. Repeat for subsequent months as required.
Related Articles
How to Finalize a Period
Finalizing a period is a process where all claims are processed and CareVision and Services Australia data has been reconciled, after which the period is locked and ready for funding source generation and rollovers. This topic describes how to ...How to use the Close Quarter Button
This topic explains how to use the Close Quarter button to calculate and roll over remaining SAH balances. Keywords: close quarter sah, support at home rollover, sah remaining balance, claims management carevision, finalize period, statement periods ...Service Review
Service Review is a section in the left navigation pane of the CareVision portal, found under Actions > Service Review. In this section, teams handle all service processing and approvals. Users often refer to this area as the Service Review Board or ...Filters on the Service Review Board
You can use filters on the Service Review Board to quickly narrow down your results and find the information you need as you process bookings before export. This topic describes the available filter options on the Service Review Board. Keywords: ...Create Staff Leave in Bulk
A new feature has been added to support bulk creation and approval of staff leave. This feature is designed to streamline leave management, especially for public holidays or other scenarios requiring leave entries for multiple staff members at once. ...