Pausing Client Services & Client Leave
Client leave occurs when a client cannot receive services for a period of time due to reasons such as social leave, respite, hospital stays, transition care, or other circumstances. During client leave, services are suspended, which may affect funding, subsidies, fees, and scheduled services.
Managing leaves helps meet client needs, comply with funding requirements, and keep services on track.
This topic describes how to add client leave in CareVision, and outlines how to manage service delivery and scheduling during client leave.
Keywords: client leave, add client leave, ndis client leave, home care packages leave, service suspension carevision, care plan suspension, manage client leave, scheduling client leave, action board carevision, client leave policy
I. Step-by-Step Process for Adding Client Leave in CareVision
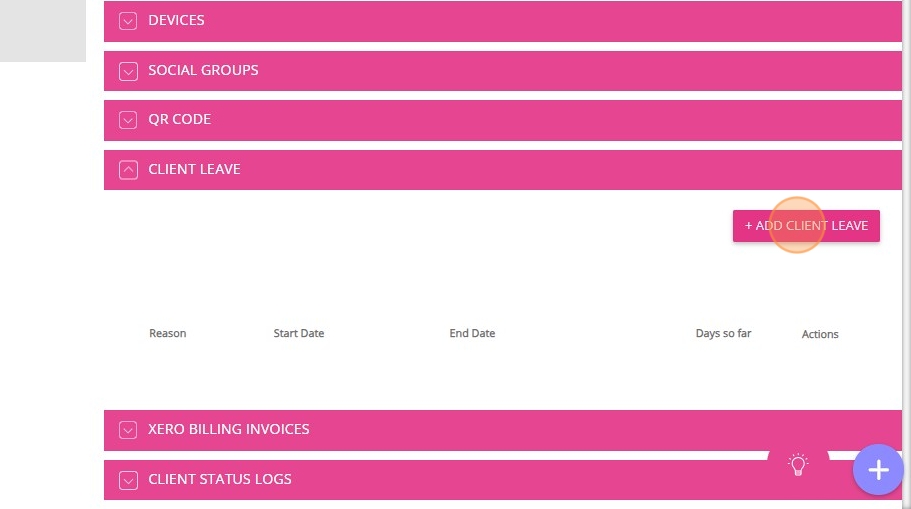
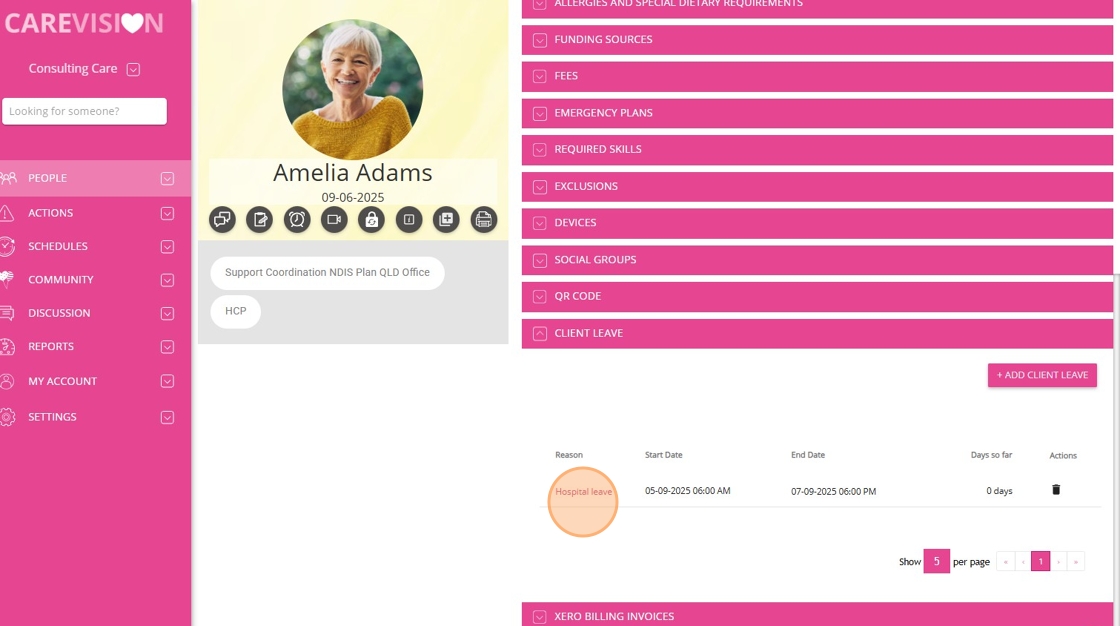
1. In the client’s profile, scroll down to the Client Leave section.
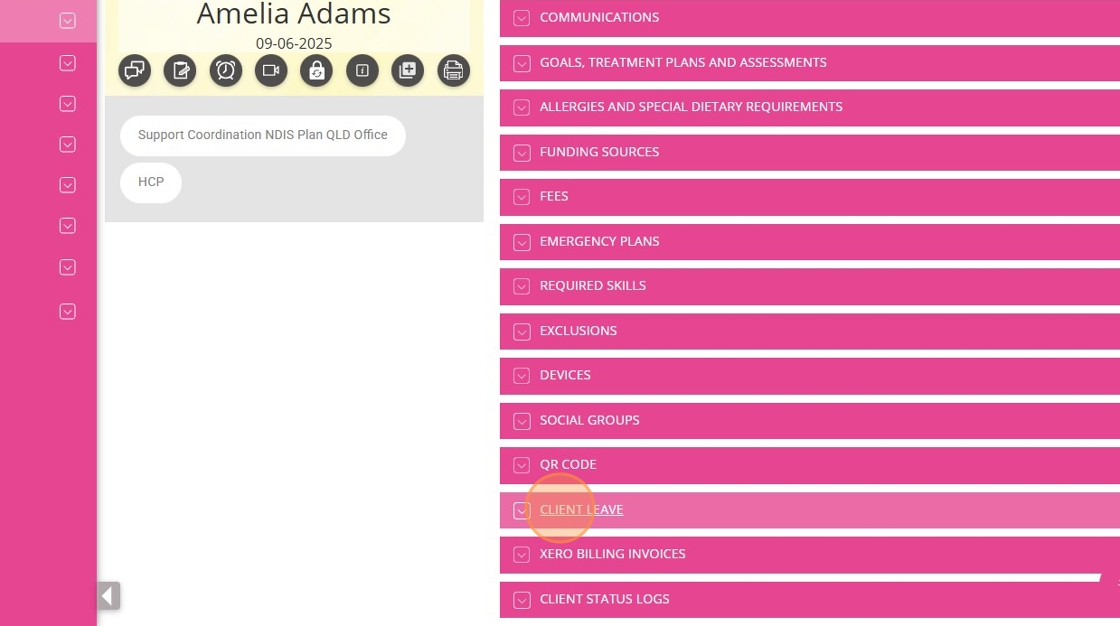
2. Click +Add Client Leave.
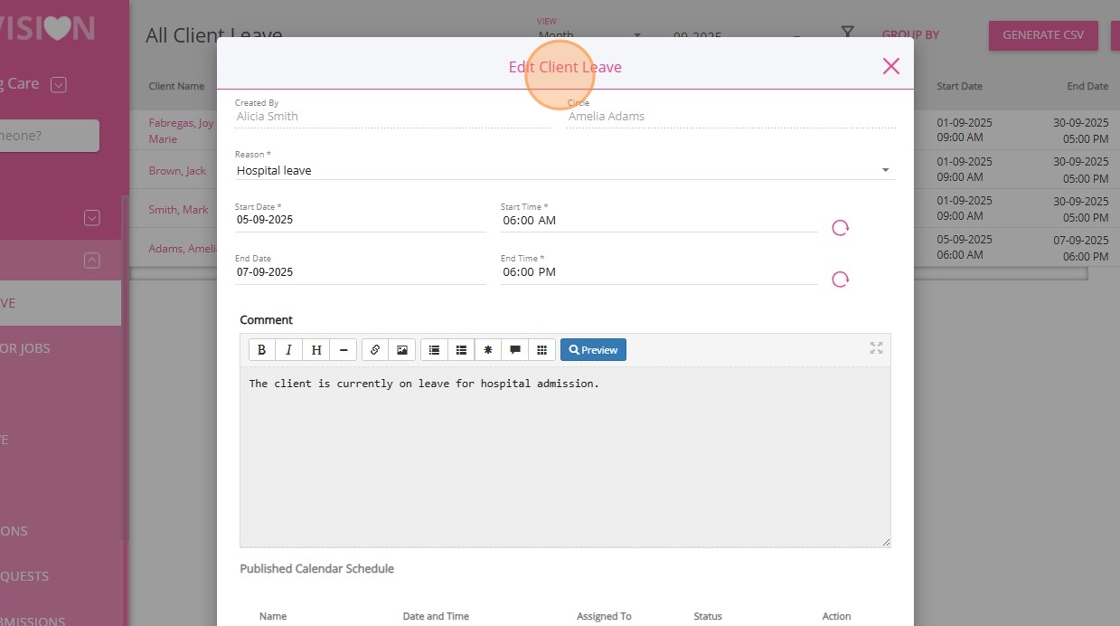
3. Complete the fields in the Create Client Leave form.
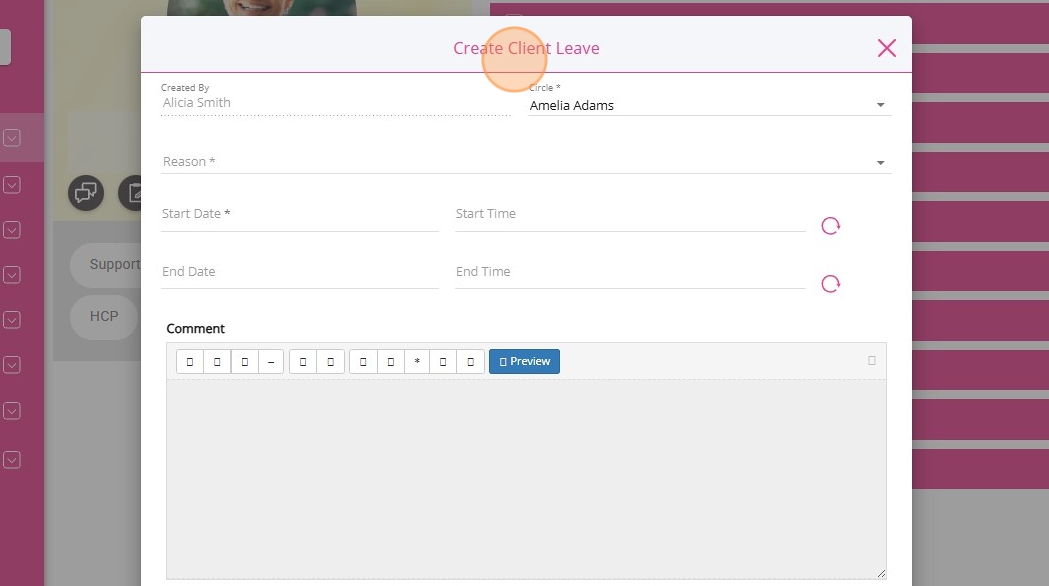
Refer to the following table for a description of each field.
Field | Description |
Created By | Automatically populated with the name of the staff member who created the client leave. |
Circle | Automatically populated with the name of the client for whom the leave is being added. |
Reason | Select the reason for leave from the dropdown menu. |
Start Date | Enter the date the client leave will begin. |
End Date | Enter the date the client leave will end. |
Start Time | Enter the time the client leave will begin. |
End Time | Enter the time the client leave will end. |
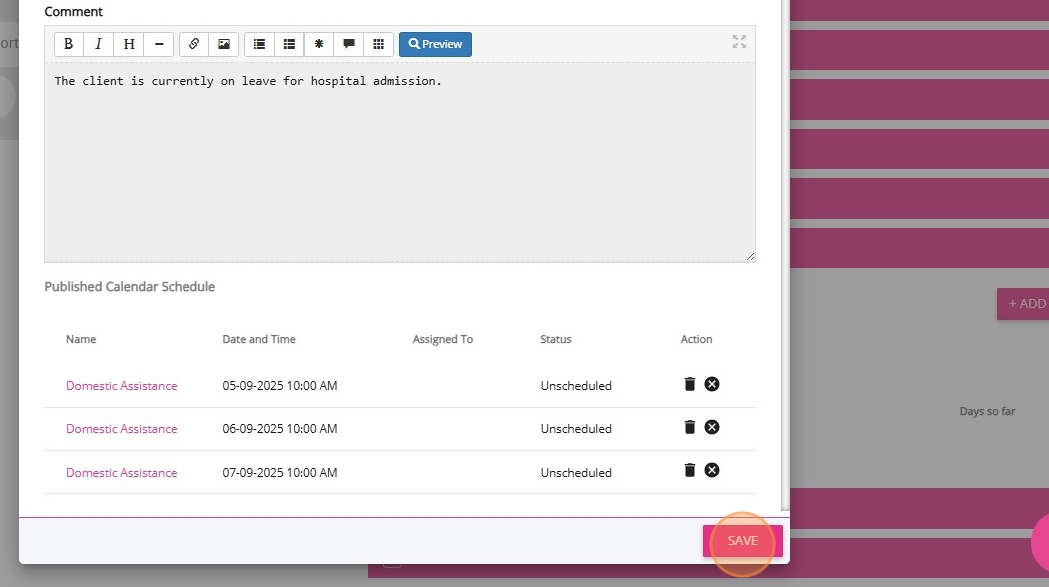
Comment | Add details or notes about the client leave. |
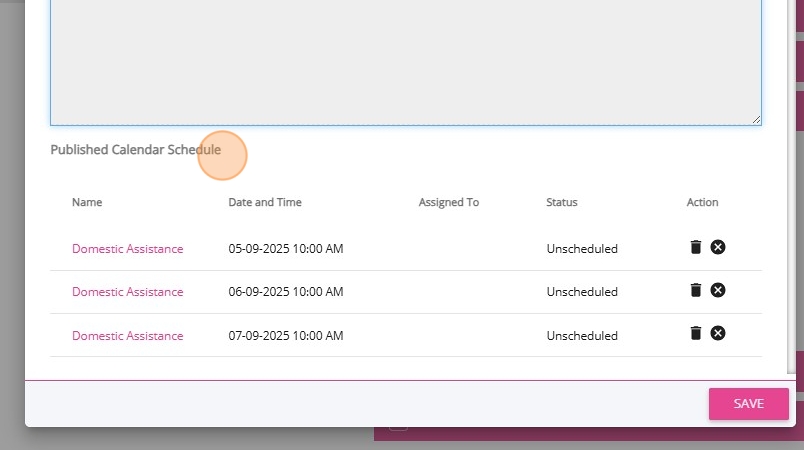
5. To manage affected bookings within the leave range:
- Click the trash icon to delete and unschedule the published booking.
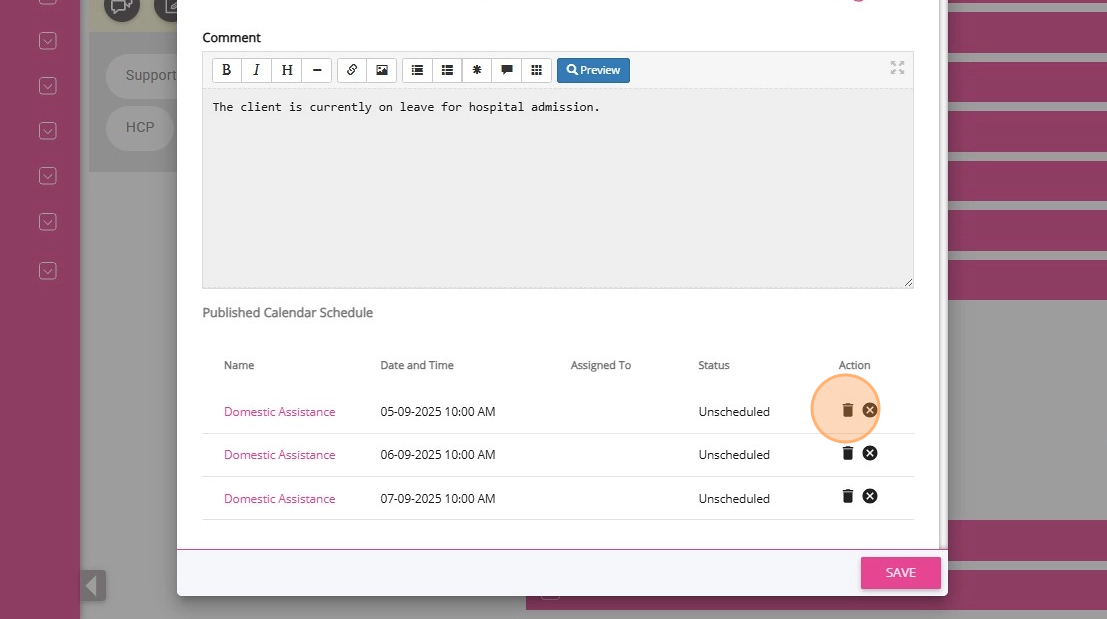
- Click X to mark the booking as cancelled.
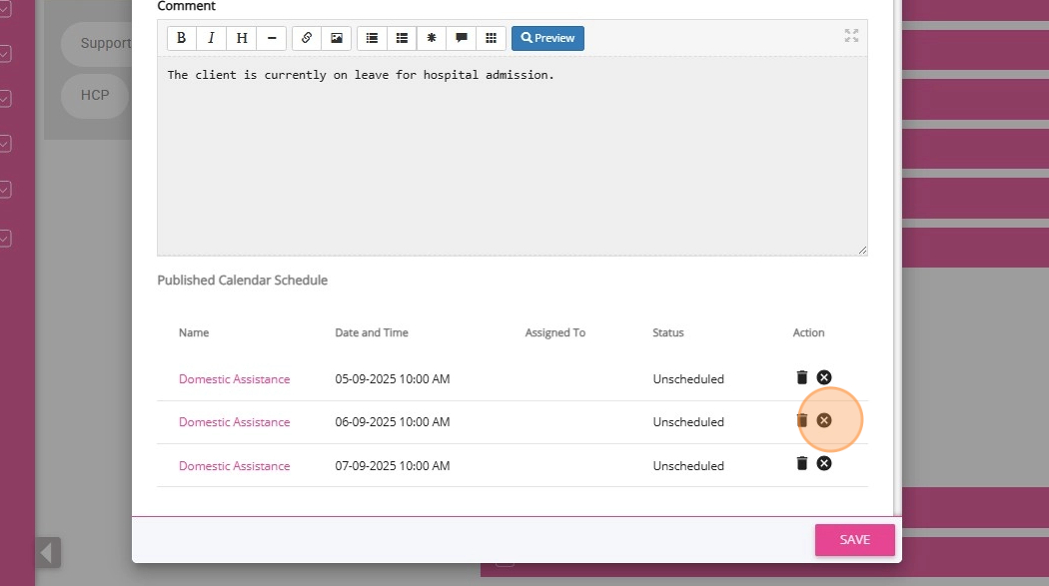
6. Review all client leave details to ensure they are correct, then click Save.
The newly added leave will appear in the Client Leave section, displaying key details, the number of leave days used to date, and an option to delete the leave if needed.
II. Client Leave Differences: NDIS vs Home Care Packages
Client leave is managed differently under NDIS and other programs compared to Home Care Packages. The main differences relate to how leave impacts funding and the specific rules or limits that apply to each program.
Program Type | Leave Policy Overview |
NDIS & Other Programs | Services can be suspended for any period without affecting the client’s funding. There are no specified limits on the duration or reason for leave. |
Home Care Packages | Leave is allowed for a specified number of days per year without impacting funding, with limits and rules depending on the type of leave:
|
III. Manage the Impact of Client Leave on Service Delivery
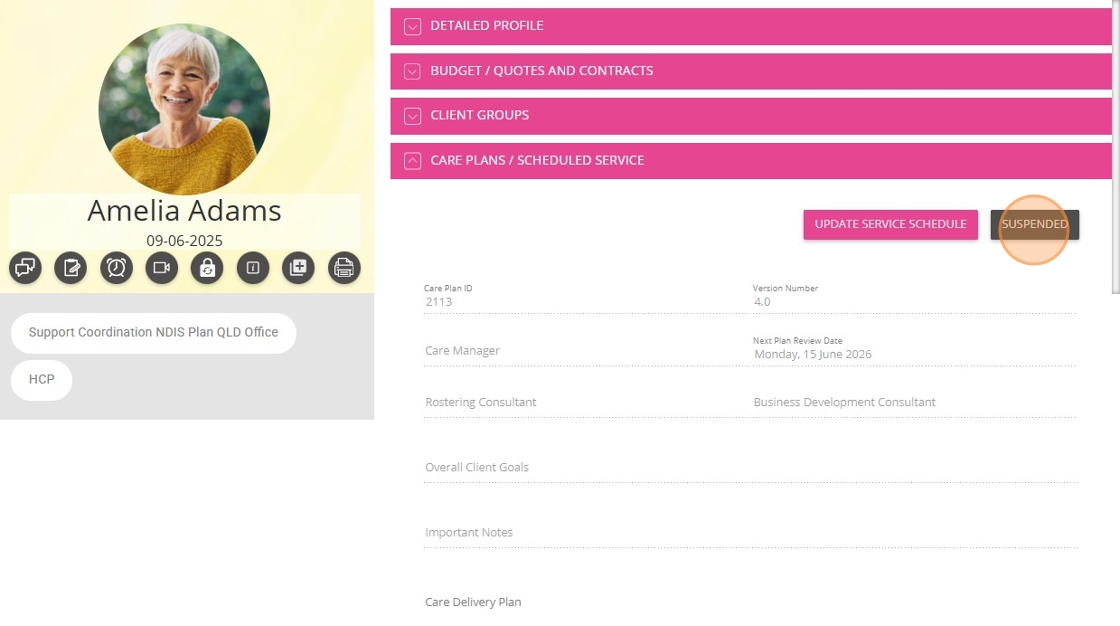
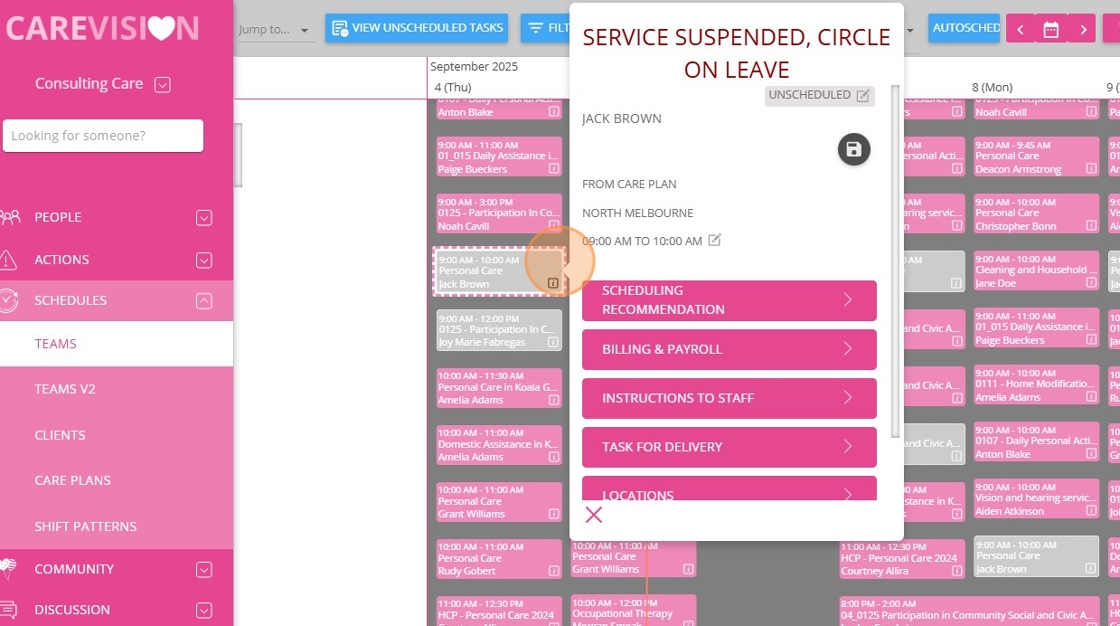
When a client is placed on leave, their Care Plan status changes to Suspended for the duration of the leave (from the start date to the end date).
If you need to continue a service while the client is on leave (such as gardening, home maintenance, pet care, mail collection, or essential cleaning), update the Care Plan:
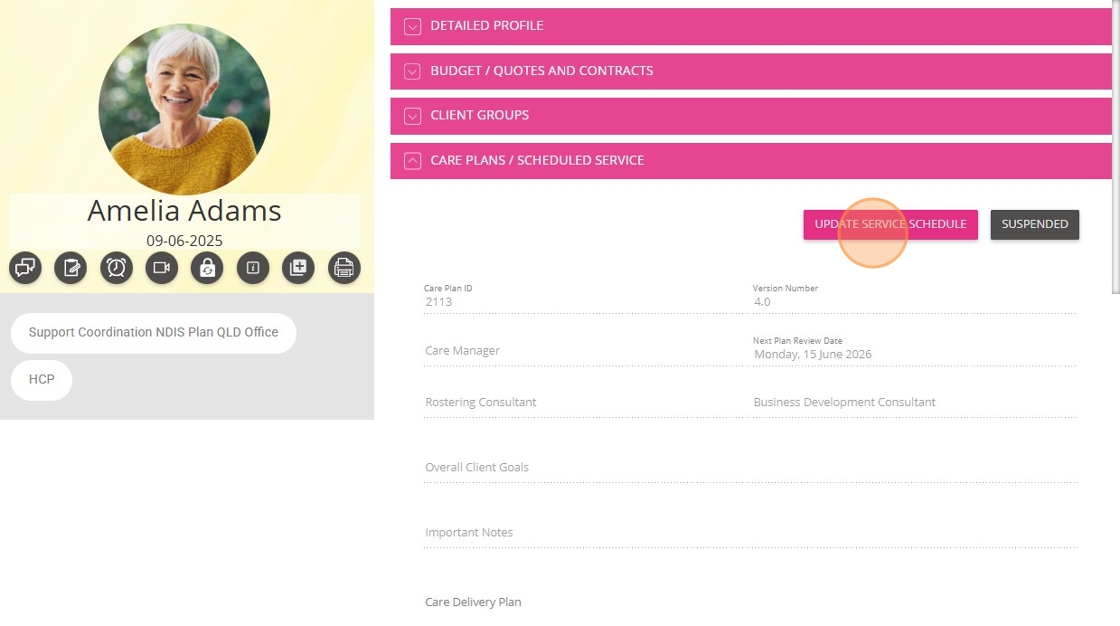
1. In the Care Plans/Schedule Service section, click Update Service Schedule or Update Care Plan.
2. Locate the specific service in the Care Plan and click the downward arrow to expand and view its details.
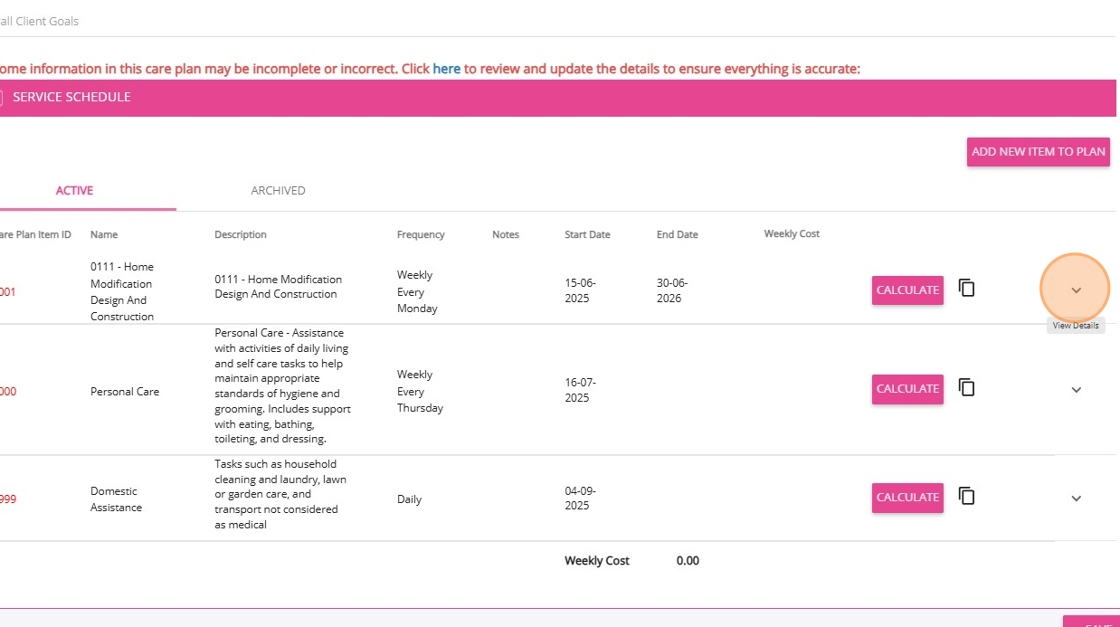
3. Go to the Schedules and Rates section and find the details of the service.
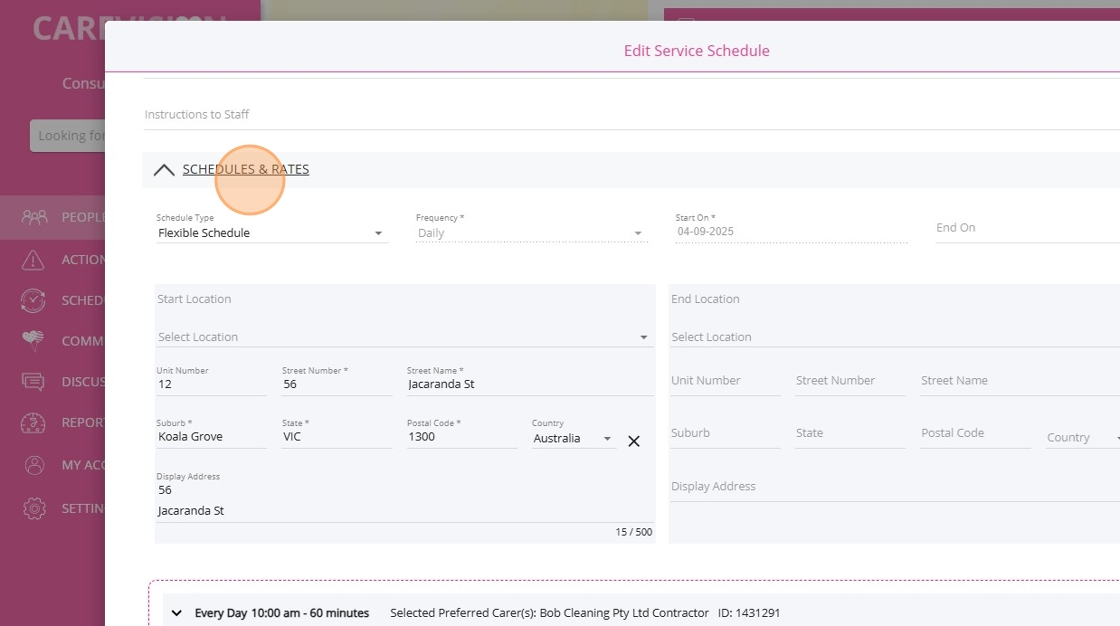
4. Tick the Continues on leave? checkbox to allow the service to continue during the client’s leave.
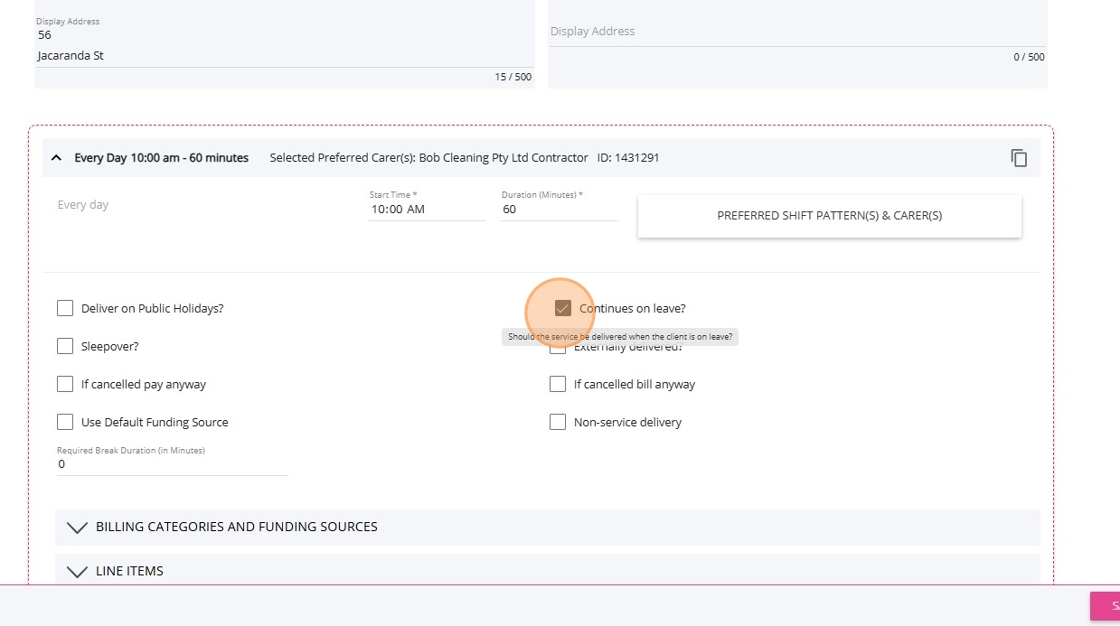
5. Click Save to update the service.
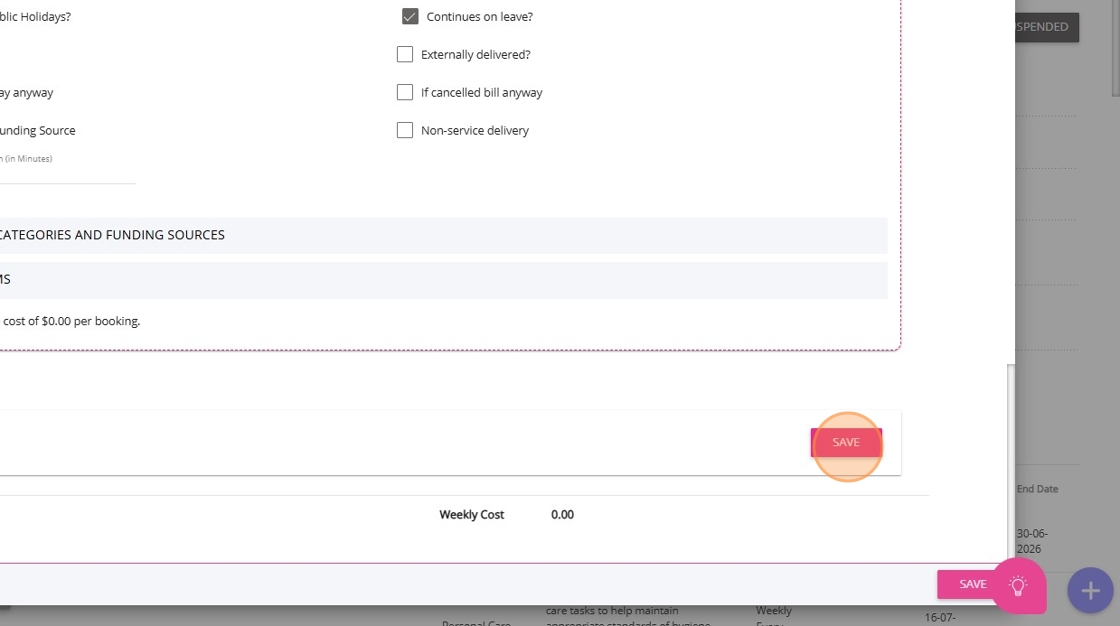
6. Click Save again to update the entire Care Plan. The changes will be reflected in the scheduling system.
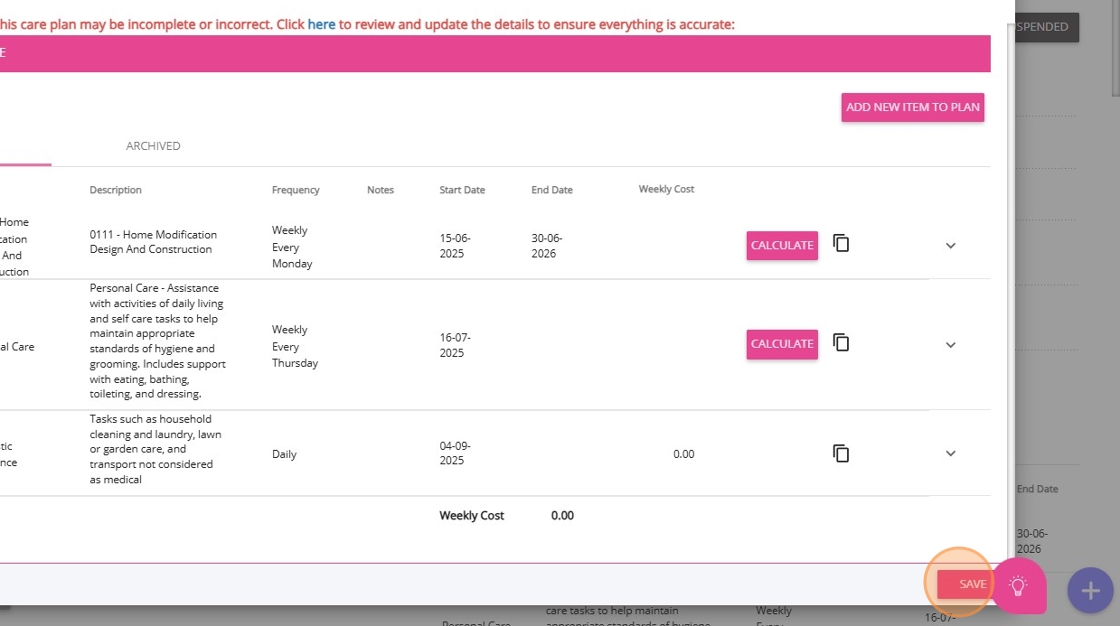
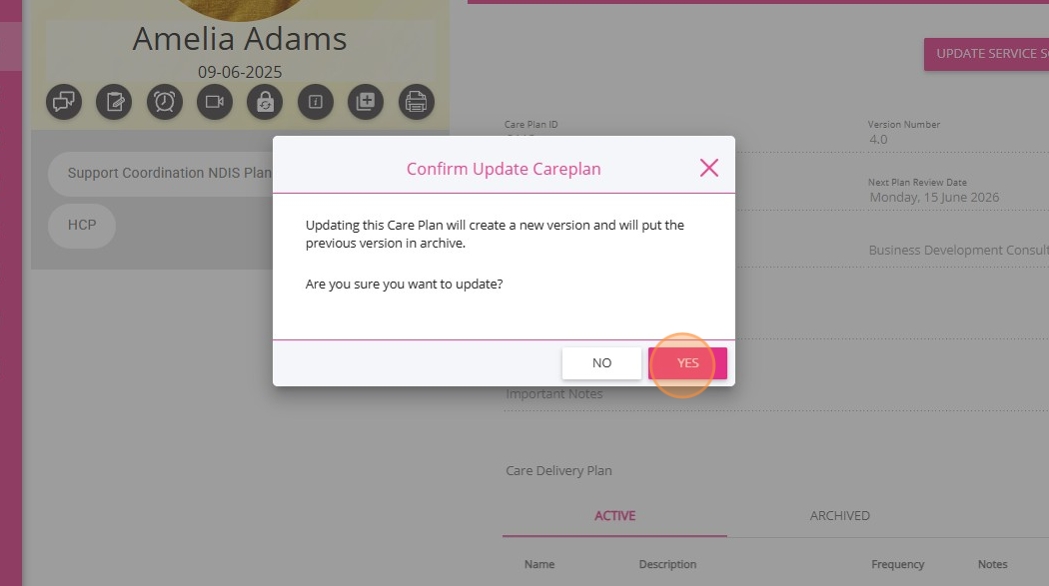
7. Confirm to update the Care Plan. If you click Yes, a new version will be created and the previous version will be archived.
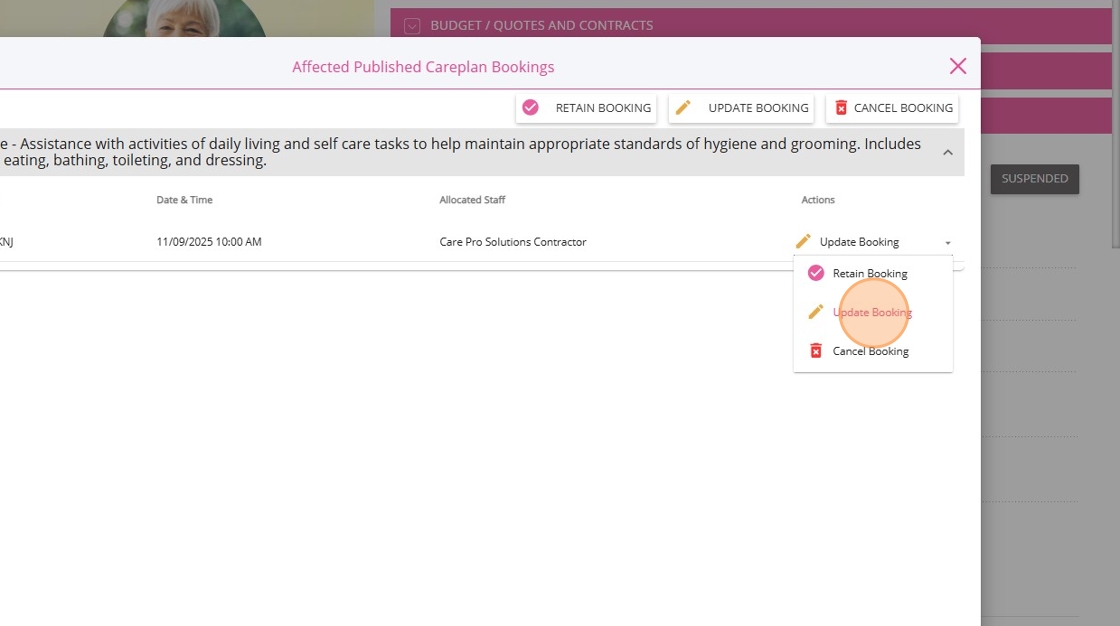
8. A confirmation window appears, listing published bookings impacted by the change.
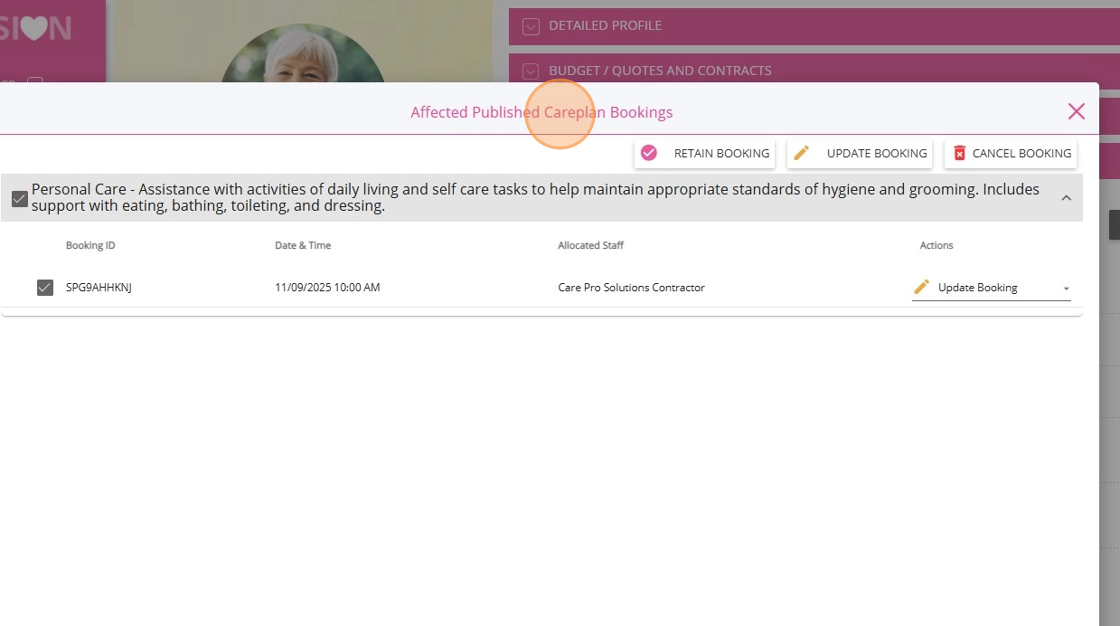
9. If you select Update, the affected bookings will be directly modified so their details such as duration, start time, or services, match the new Care Plan. You can apply specific actions to multiple bookings at once, streamlining the update process.

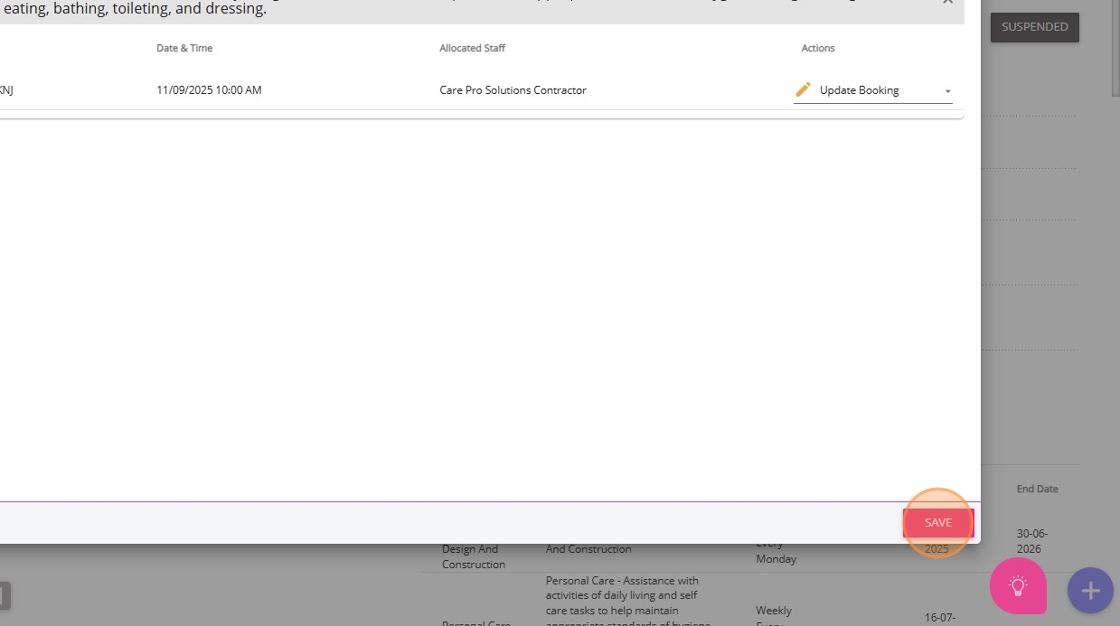
10. Click Save.
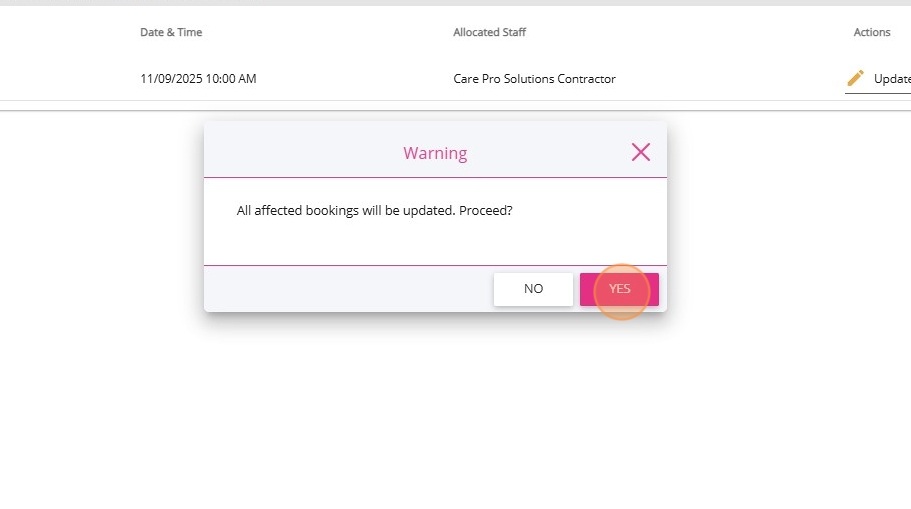
11. A confirmation will appear. Click Yes to confirm and update the bookings.
IV. Manage Services During Client Leave in Scheduling Area
This section explains how to view suspended services and identify which services can be published from the Scheduling Area when a client is on leave.
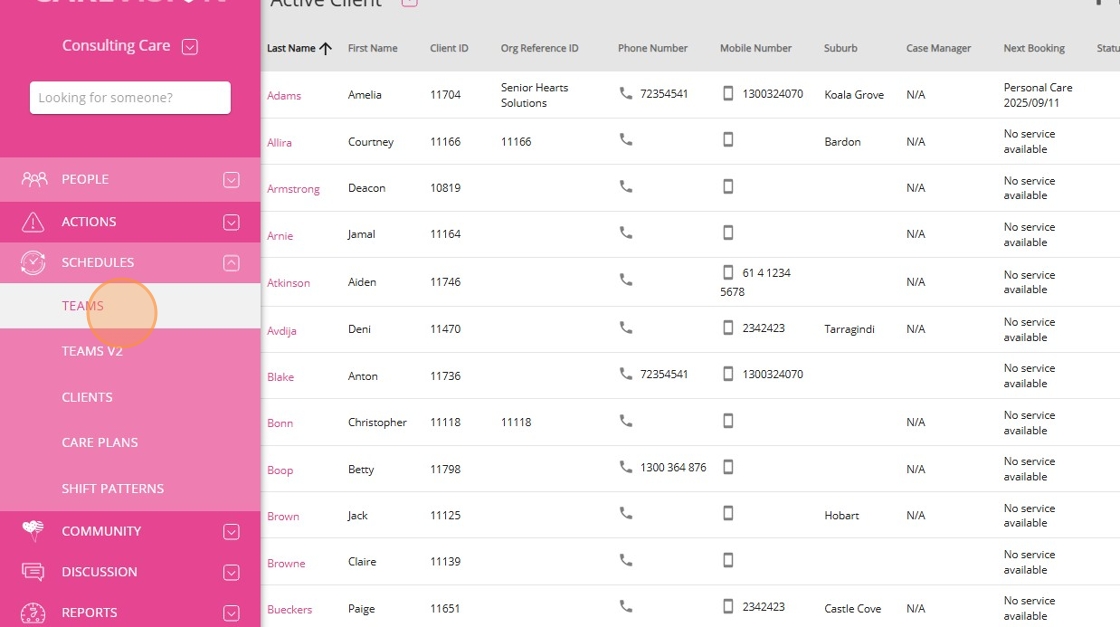
2. Select Teams.
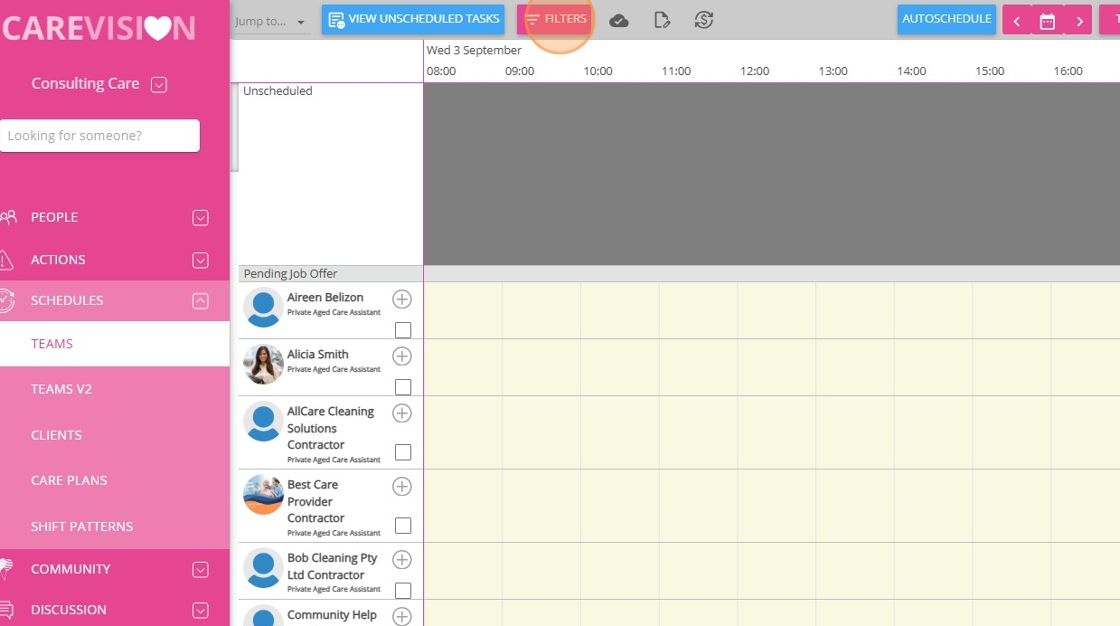
3. Click the filters icon.
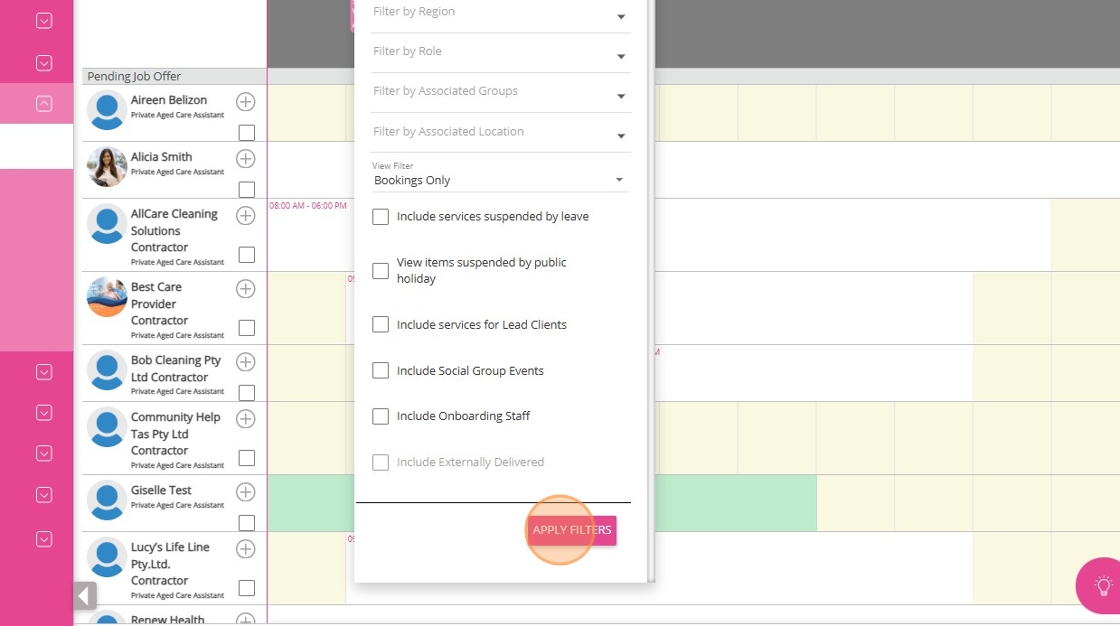
4. Scroll to the tick boxes and select Include Services Suspended by Leave.

5. Click Apply Filters.
6. The Unscheduled area will display suspended services in grey.
7. Services during client leave will show an orange striped pattern. To confirm, click the i icon in the corner, this will indicate the client is on leave at that time.
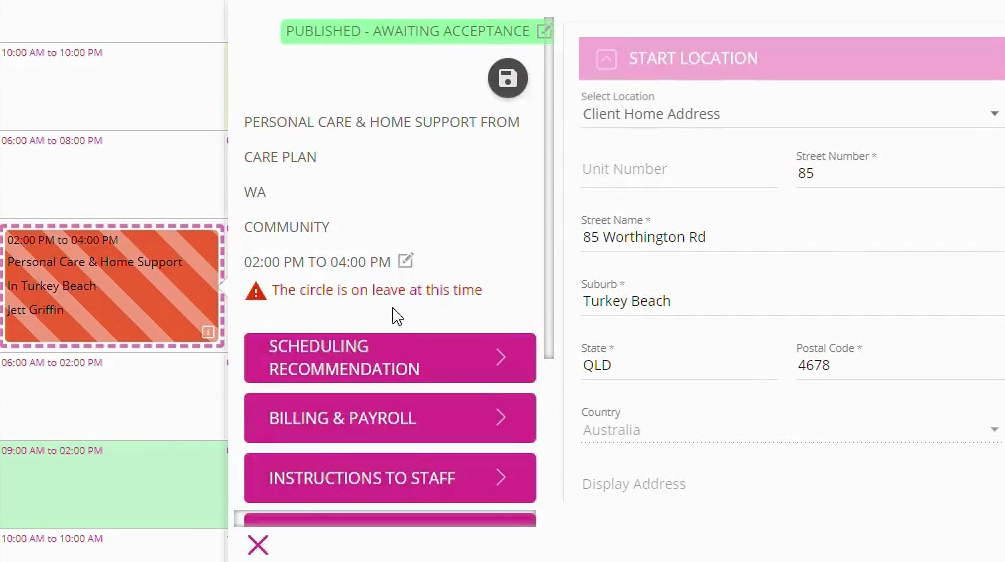
8. To publish a service:
If the service has the Continues on leave? checkbox selected, you can publish the booking directly from the Scheduling Area.
If the service is suspended by leave and is not marked to continue, clicking Publish will not publish the booking.
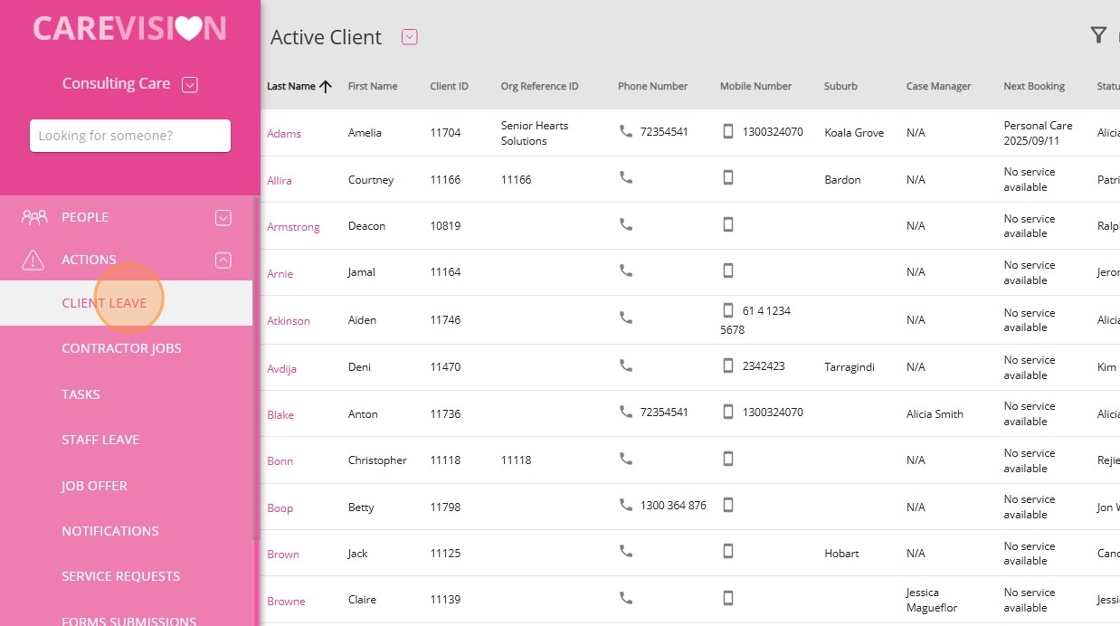
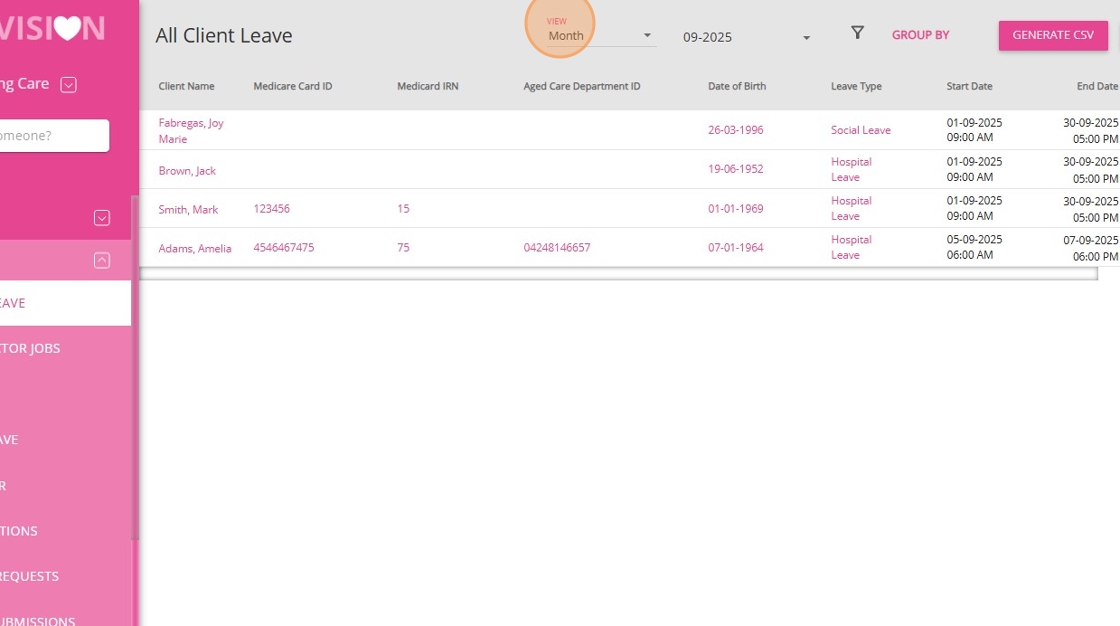
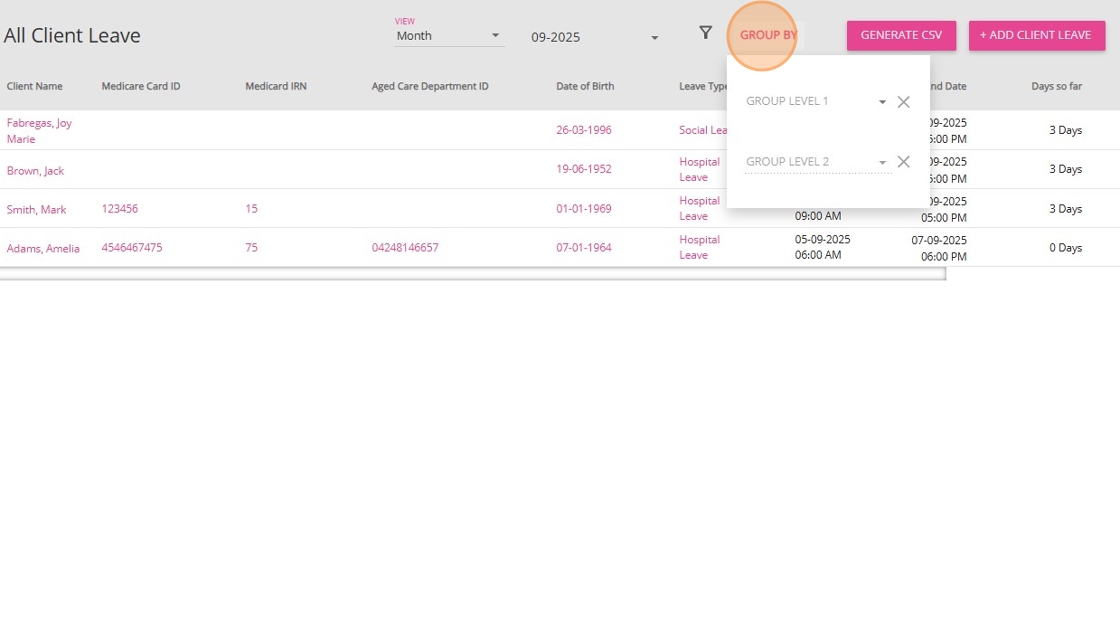
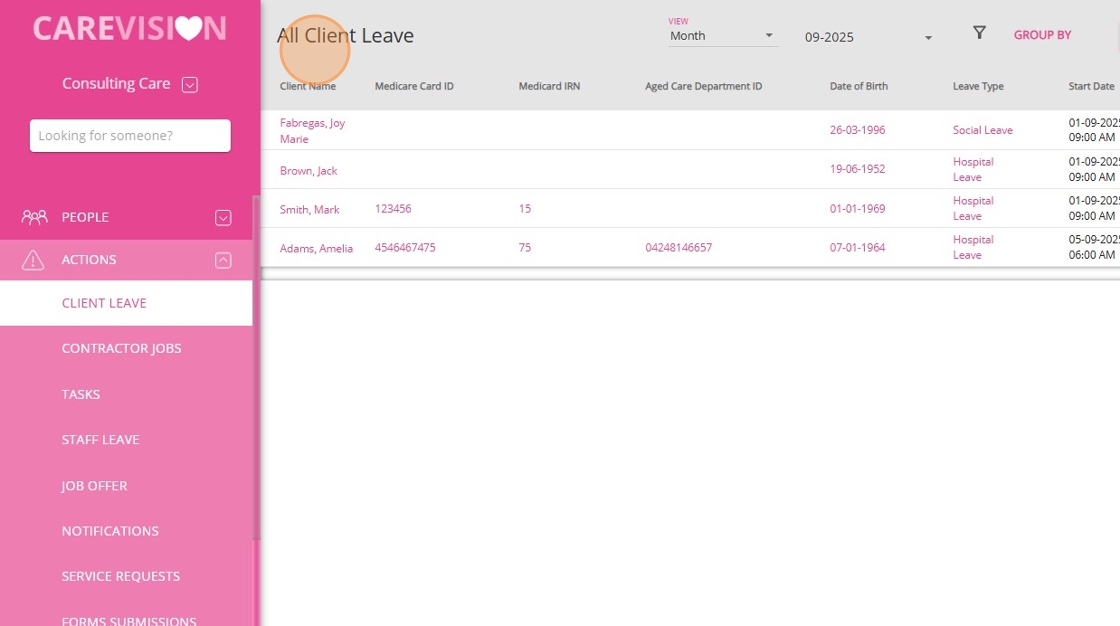
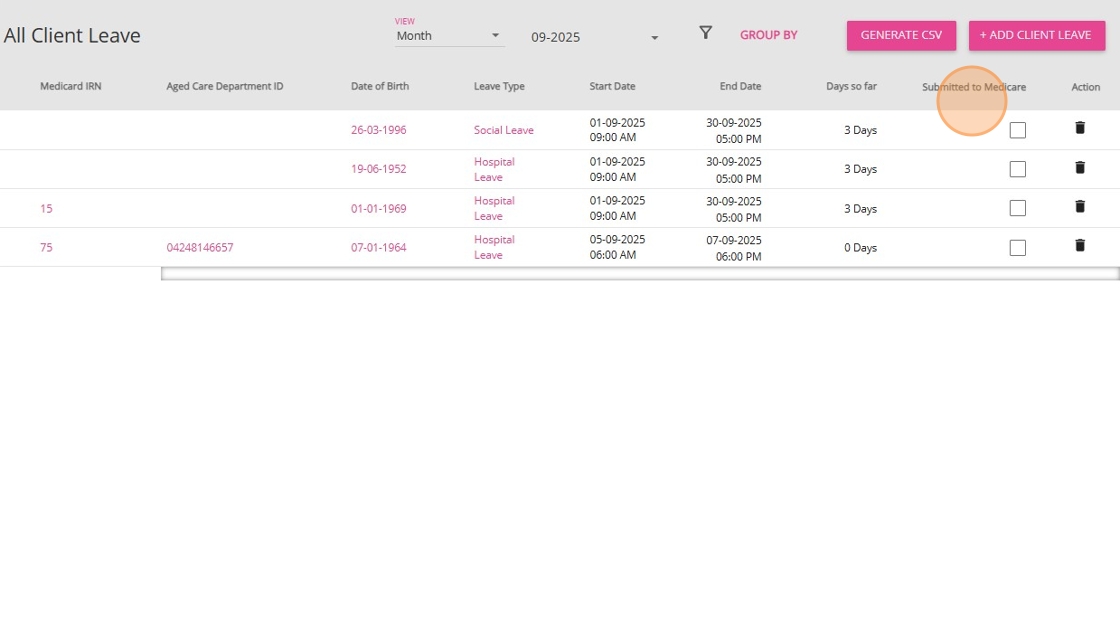
V. Managing Client Leave in the Action Board
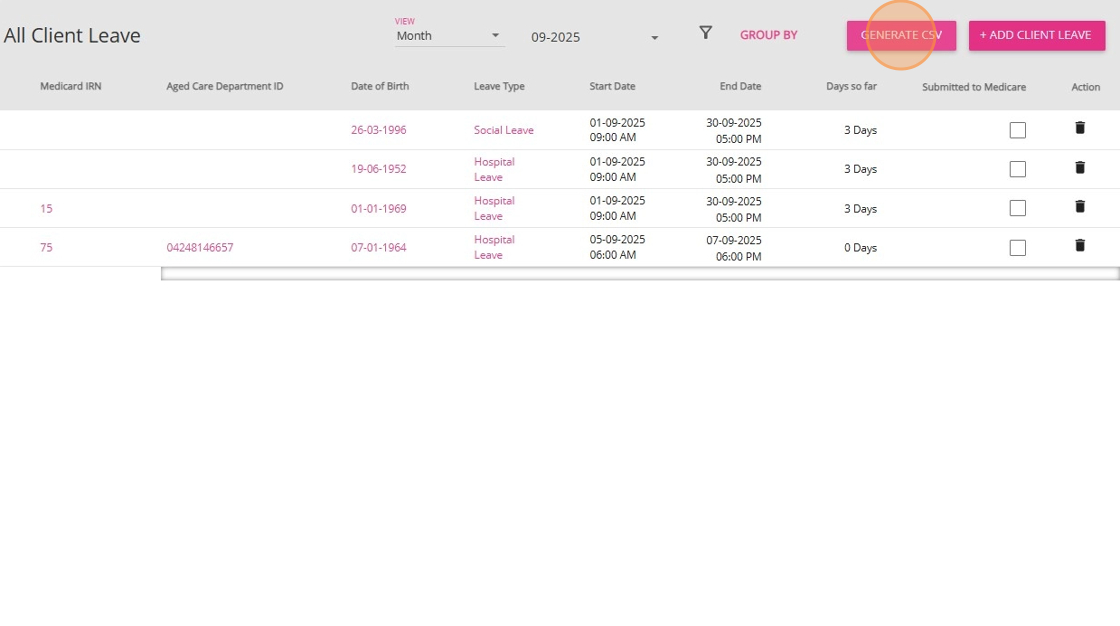
The Client Leave Action Board provides a centralized dashboard to view and manage all client leaves across your organization. You can filter, group, and export data for efficient leave management.
2. Select Client Leave.
3. Use the View field to switch between Month, Day, Date Range, or Month views (default is Month).
4. Click the filter icon to filter by Client, Care Manager, Rostering Consultant, Business Development Consultant, or Leave Type.

5. Use the Group By field to group data by Client, Leave Type, or Care Manager. You can also add a secondary grouping if needed.
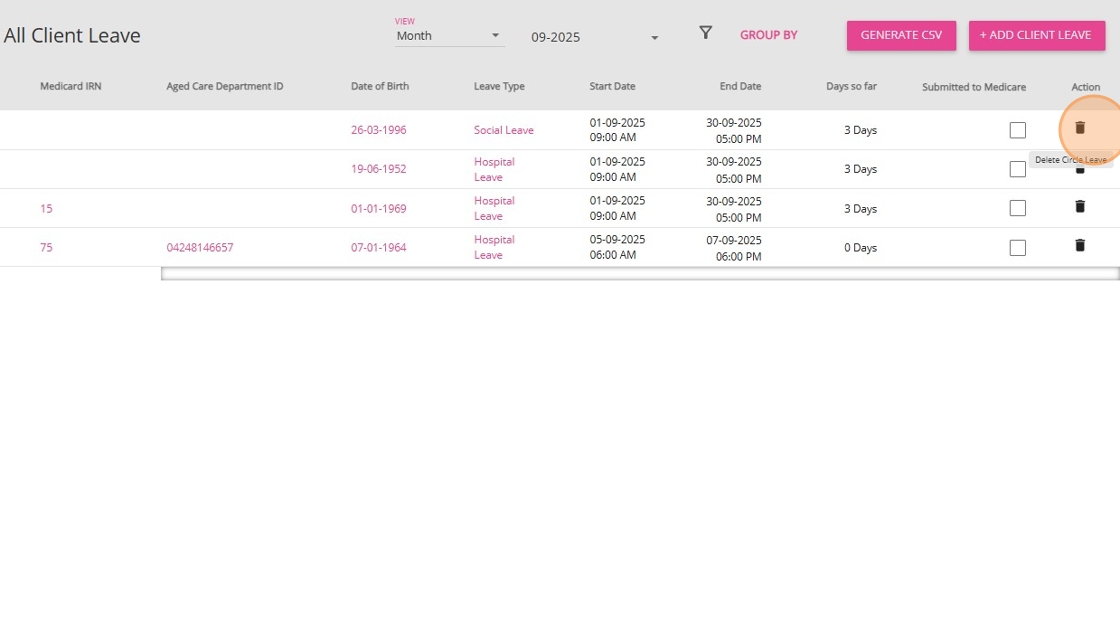
6. Review leave details:
- Each record displays the Client Name, Medicare Card ID, Leave Type, Age, Care Department
- Click the client’s name to view full details.
- Tick the box if the leave has been submitted to Medicare.
- Click the trash icon to delete a leave.
7. To export the leave list, click the Generate CSV button.
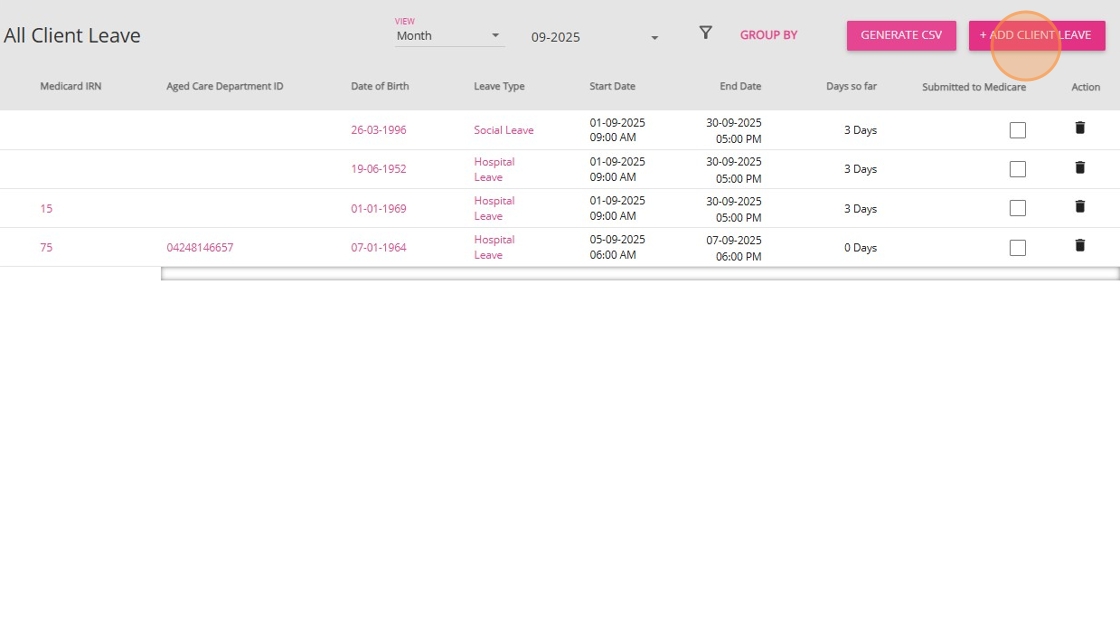
8. To add a new leave, click +Add Client Leave. Select a client, enter the Start Date, Start Time, End Date, and End Time, then click Save.
This topic provides a step-by-step process for adding client leave in CareVision, and outlined how to manage the impact of client leave on service delivery and scheduling. Following these steps helps you manage client leaves, ensure service continuity, and meet funding requirements.
For more information about managing client leave, contact the CareVision Support Team.
Related Articles
Care Plans/Scheduled Service Section in Client Profile
After a quote is accepted, a draft Client Care Plan is automatically created in the Care Plans/Scheduled Service section of the Client Profile. This section is used to set up and manage the client’s service schedule, which is later used for rostering ...How to Set Up the Russell Kennedy- Support at Home Agreement
The Russell Kennedy - Support at Home Agreement is an important resource to help your organisation meet legal and regulatory requirements under the Support at Home program. To make your agreement complete and accurate, key settings need to be ...Service Orders Section in Client Profile
The Service Orders section in the Client Profile displays all ad hoc bookings for the client. Keywords: service orders, client profile bookings, ad hoc bookings, one time service booking, client service orders, care management booking, service order ...Client Status and Stages
In CareVision, Client Status indicates the current phase of a client’s journey with your organisation, from initial contact through active service and subsequent exit. Keeping client status up to date is important for ensuring that records reflect ...How to Create a Quote for Assistive Technology and Home Modifications Package
Assistive Technology and Home Modifications (AT&HM) provide Support at Home (SAH) participants with equipment and home changes to improve daily living, safety, and independence. Examples of assistive technology include mobility aids, toileting ...