How to Generate TechOne Payroll Export Files through Employment Hero Integration
This topic describes how payroll admin users and coordinators can generate TechOne payroll export files through Employment Hero integration. The payroll workflow involves three key systems, each with a distinct role in managing bookings, timesheets, and payroll processing.
Bookings and timesheets are managed in CareVision, which sends timesheets to Employment Hero for verification. Then, Employment Hero verifies the timesheets, processes the pay run, and provides the pay run data for download. Finally, CareVision converts the pay run data for compatibility with TechOne, where payroll is executed.
Keywords: carevision payroll integration, employment hero integration, techone payroll export, generate payroll files, timesheet management, schads award payroll, payroll admin guide, payroll processing workflow, employment hero pay run, carevision timesheet export
Prerequisites
- Complete Initial Setup for CareVision and Employment Hero.
- Link Employment Hero to CareVision.

I. Generate Timesheet Files in CareVision
To generate timesheet files, perform the following steps:
- Prepare Staff Profiles
- Review and Approve Bookings Before Export
- Generate payroll in CareVision.
- Send Timesheets to Employment Hero (KeyPay)
Once staff profiles are complete and bookings have been approved, you can generate payroll in CareVision. This process will produce two files: a Timesheet file, which contains data on hours worked by staff for each shift, and a Mileage file, which includes information on kilometers traveled by staff, including callout distances. Watch the video for a step-by-step guide on how to generate timesheet files in CareVision, or refer to the Employment Hero Integration Guide for detailed instructions.
II. Process Pay Run in Employment Hero
A. Verify Timesheets
1. Log in to Employment Hero using your credentials.
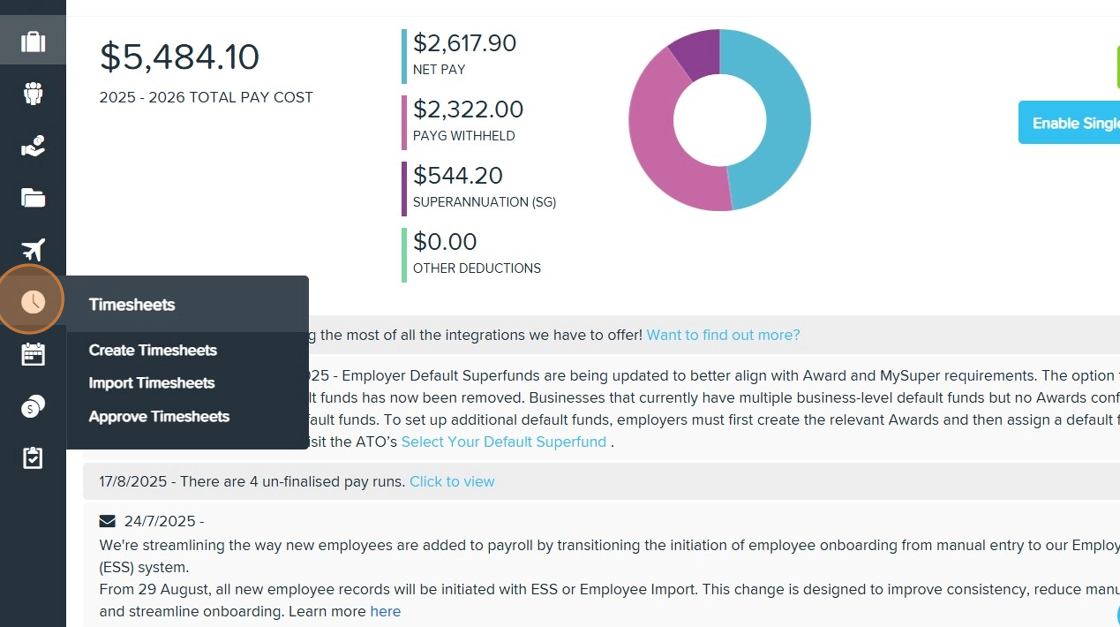
2. In the left navigation pane, click Timesheets.
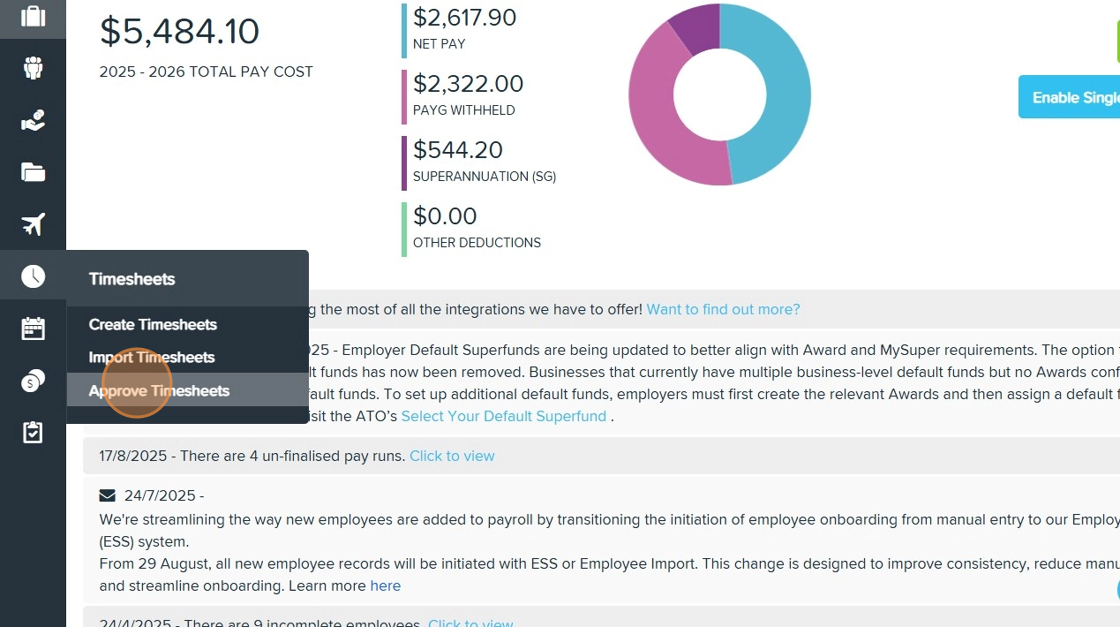
3. Select Approve Timesheets.
4. Review the imported timesheets to confirm all data from CareVision has synced correctly. The data from CareVision timesheet and mileage files should automatically appear in the Timesheet Approval board in Employment Hero. If you want to confirm that everything has synced correctly, you may find the following points helpful for your review:
The Employee External ID column from the CareVision timesheet file should match the Employee Name column in Employment Hero.
Compare the Start Date and Time and End Date and Time columns from the CareVision timesheet file with the Start and End columns in Employment Hero to ensure they match.
Ensure the Location External ID column from the CareVision timesheet matches the Location column in Employment Hero.
Check that the Work Type External ID in the CareVision timesheet matches the Work Type column in Employment Hero. For work types that include distance traveled, confirm that the relevant data from the mileage file is also reflected.
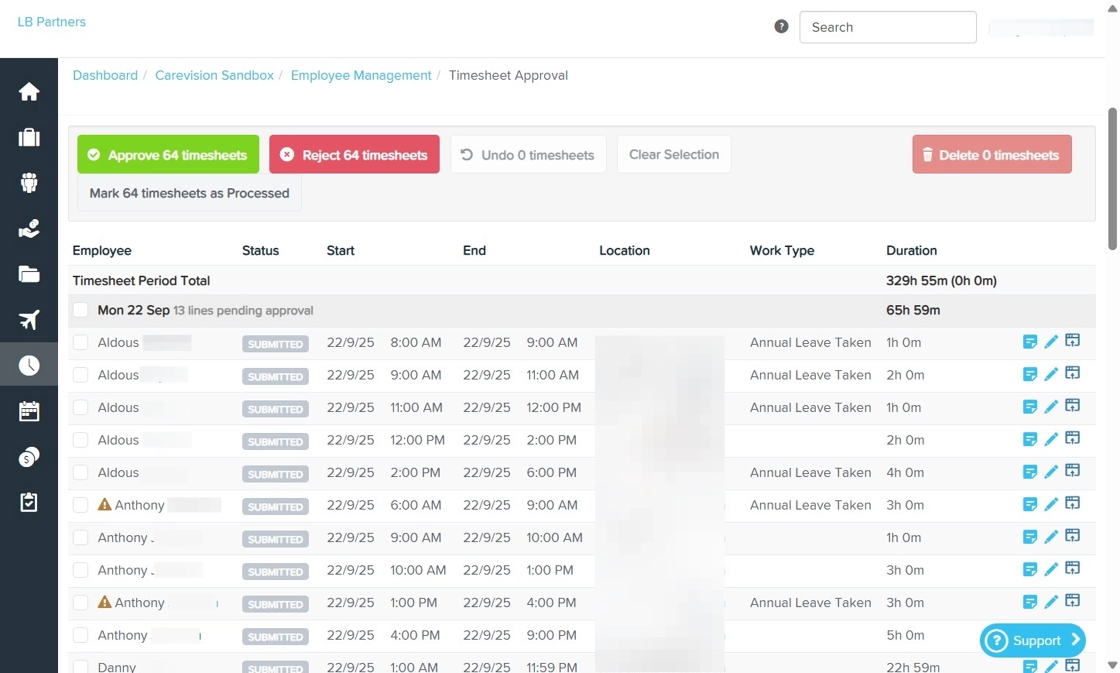
5. Check for any missing, duplicated, or incorrect timesheet entries and resolve any issues as needed.
6. When all timesheets are accurate, continue with your usual approval process in Employment Hero.
B. Process Pay Run
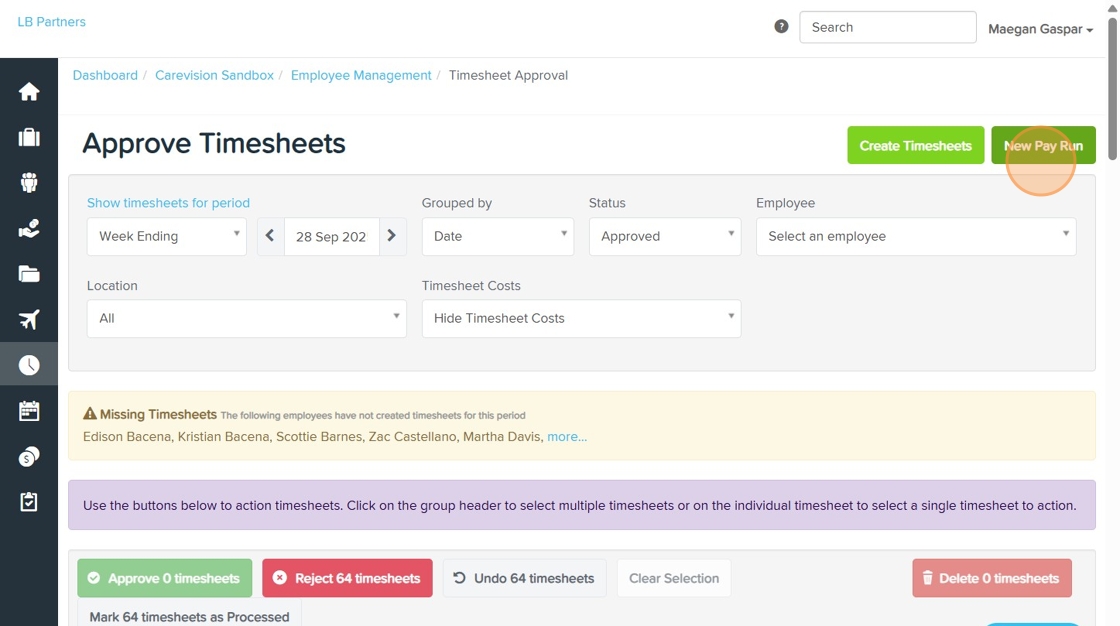
1. Set the Status field to Approved.

2. Click New Pay Run. Then, you will be redirected to the Pay Run section.
3. Complete the required fields based on your business requirements:
- Pay Schedule: Select the appropriate pay schedule for your business.
- Pay Period Starting: Enter the start date for the pay period.
- Pay Period Ending: Enter the end date for the pay period (Example: Set to Jul 20, 2025, to match the sample payroll period in CareVision).
- Date Pay Run Will Be Paid: Specify the payment date. Then, choose whether to manually add payees to the pay run or create pay run with empty pays. In this example, manually add payees to the pay run is selected
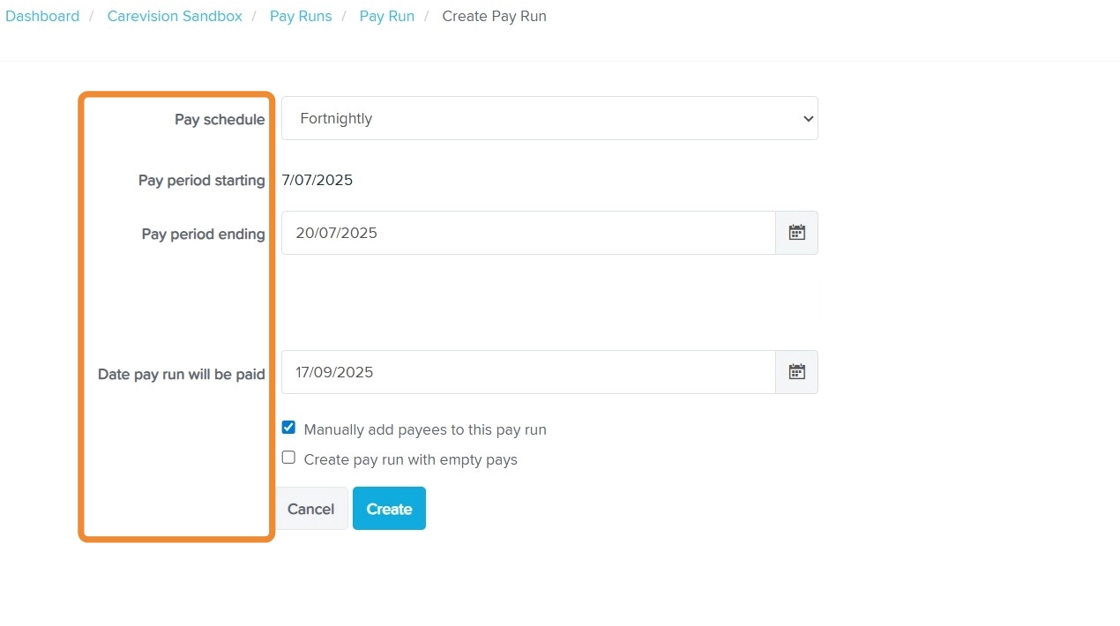
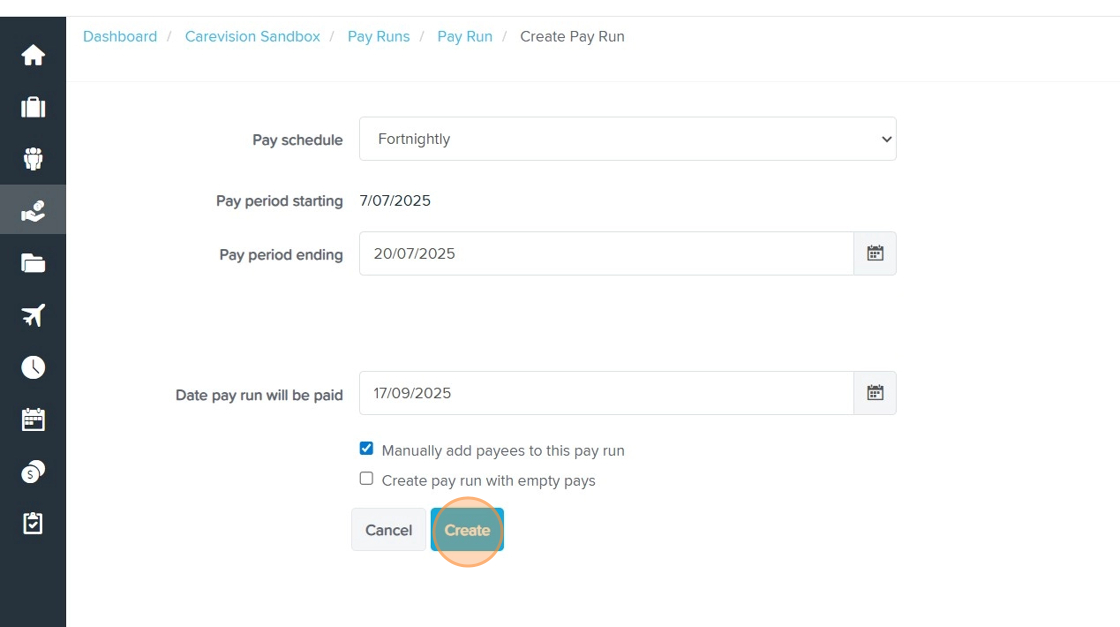
4. Click Create to generate the pay run. Then, you will be redirected to the Pay Run section.
5. Click Pay Run Actions > Add Payees, then select the staff members you want to include.
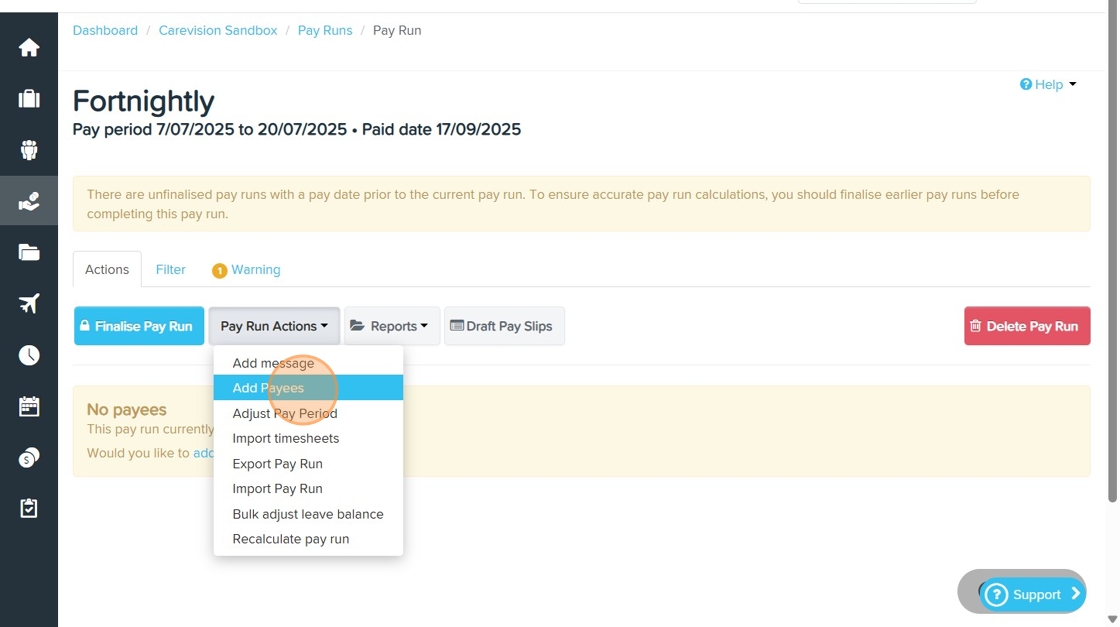
6. Click Pay Run Actions > Import Timesheets.
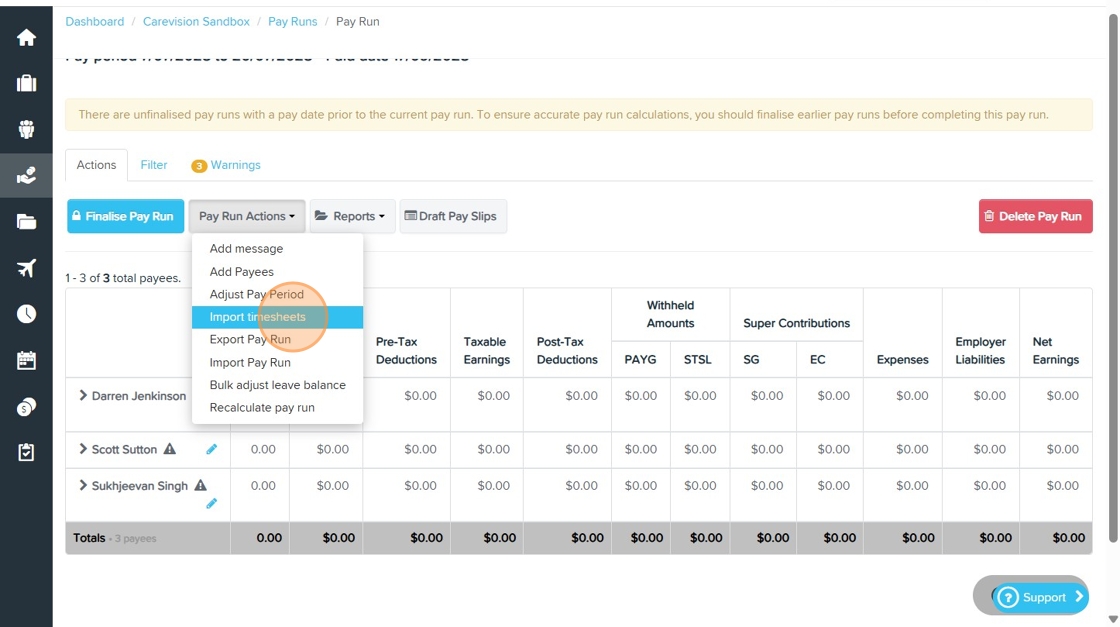
- Choose the timesheets you want to include, such as timesheets for the pay period or all unpaid timesheets.
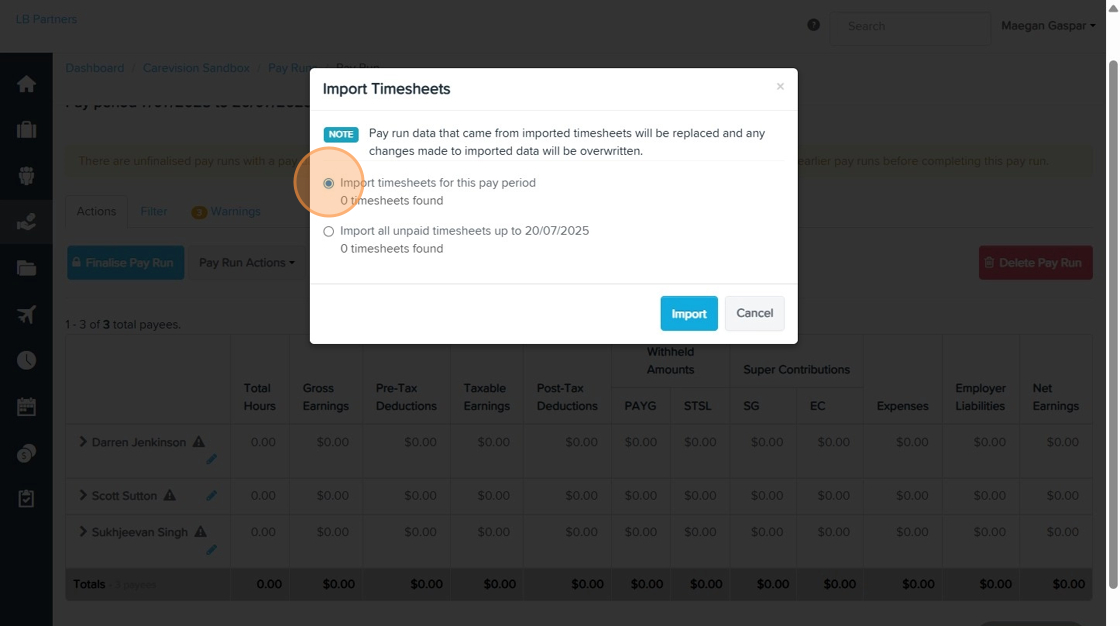
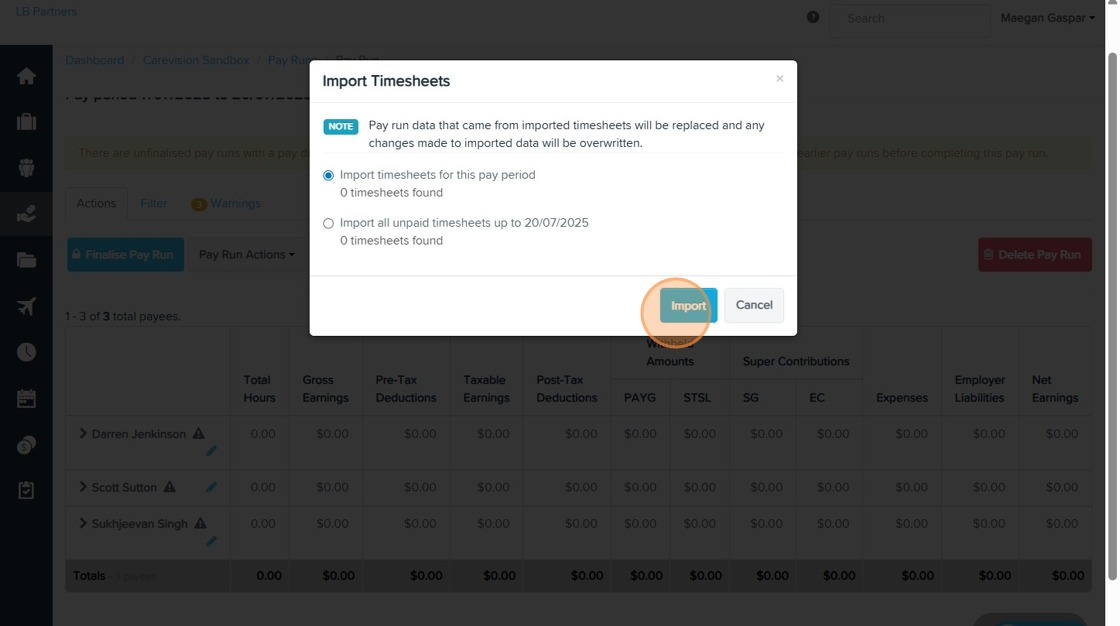
7. Click Import.
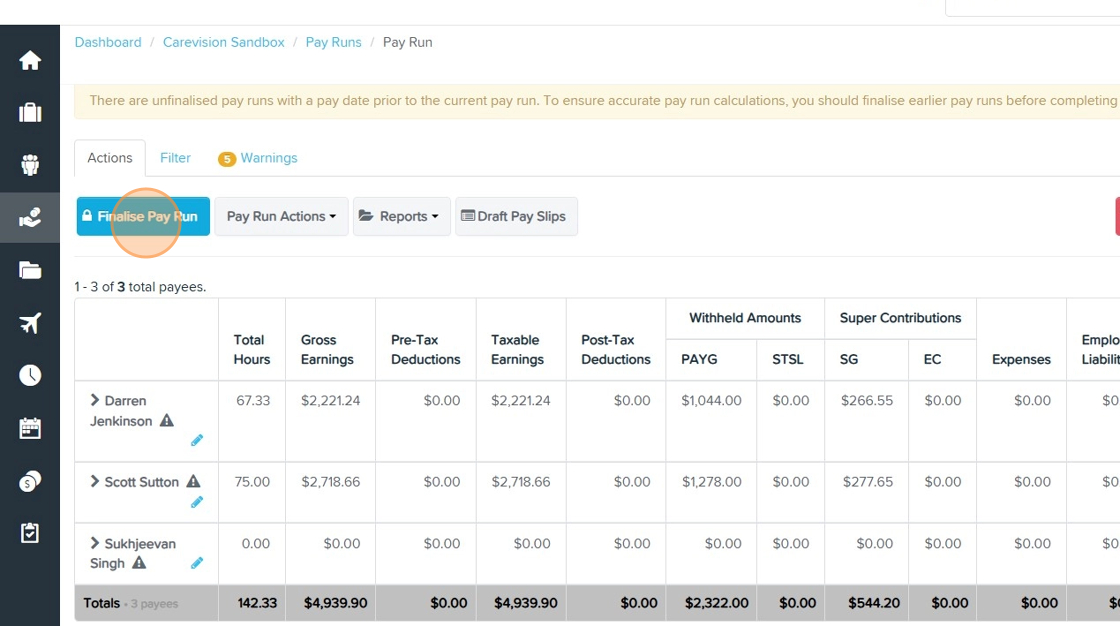
- The relevant columns such as Total Hours, Gross Earnings, Pre-tax Deductions, Taxable Earnings, Post-tax Deductions, Withheld Amounts, Super Contributions, Expenses, Employer Liabilities, and Net Earnings will be automatically populated and calculated.
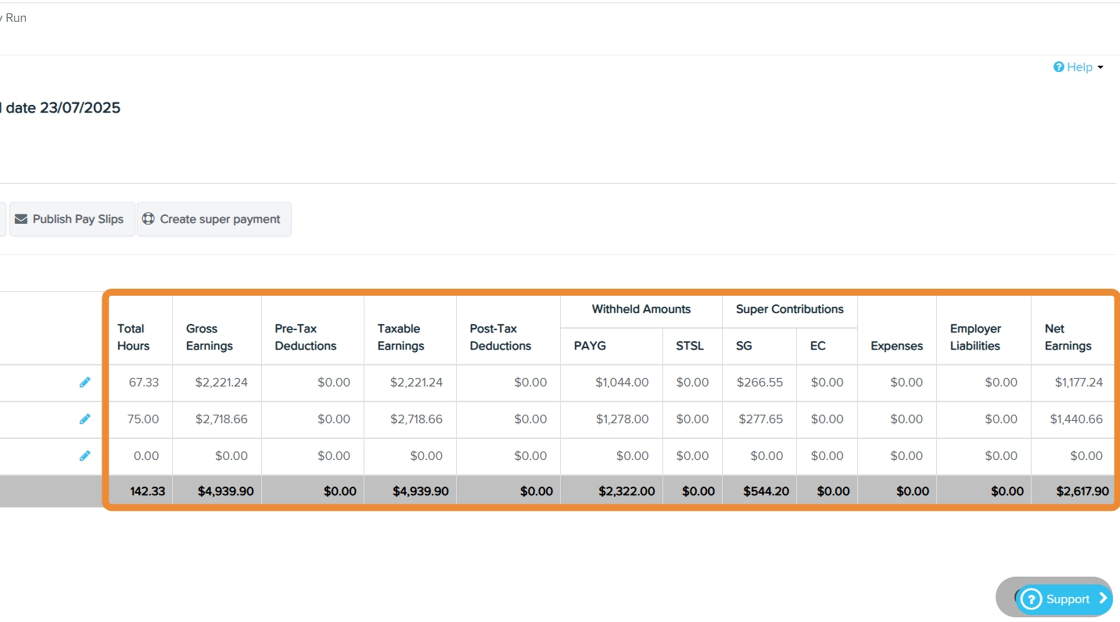
- Under each staff member’s earnings data, the applicable SCHADS Award pay conditions are applied.

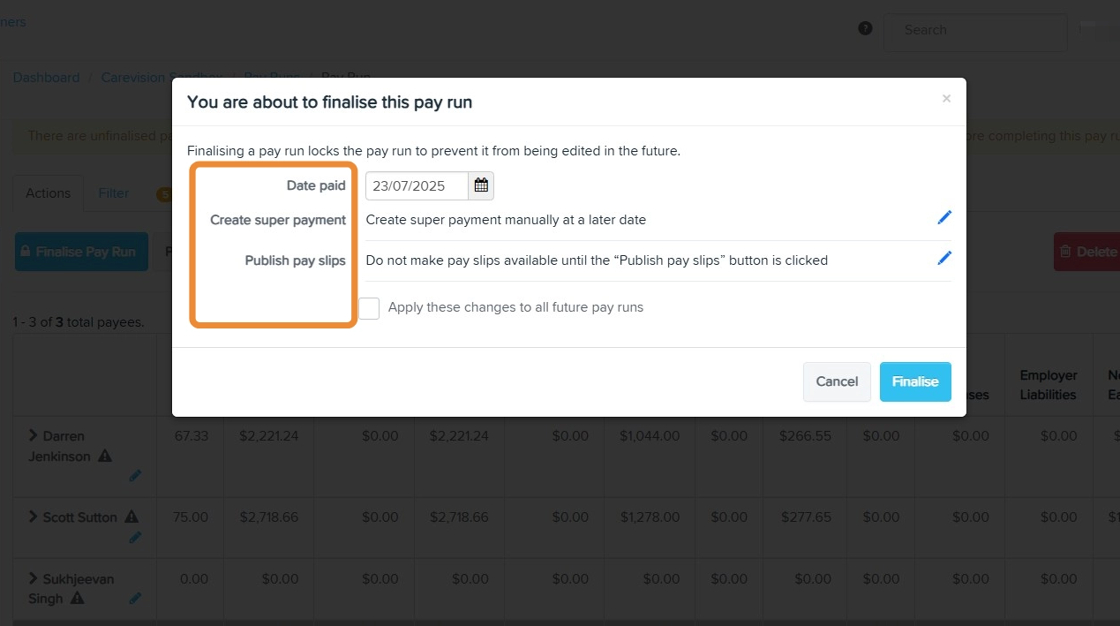
9. Complete Required Fields
- Date Paid: Specify the date employees will receive their payment.
- Create Super Payment: Initiate the superannuation payment process if applicable.
- Publish Pay Slips: Publish pay slips to make them available to employees.
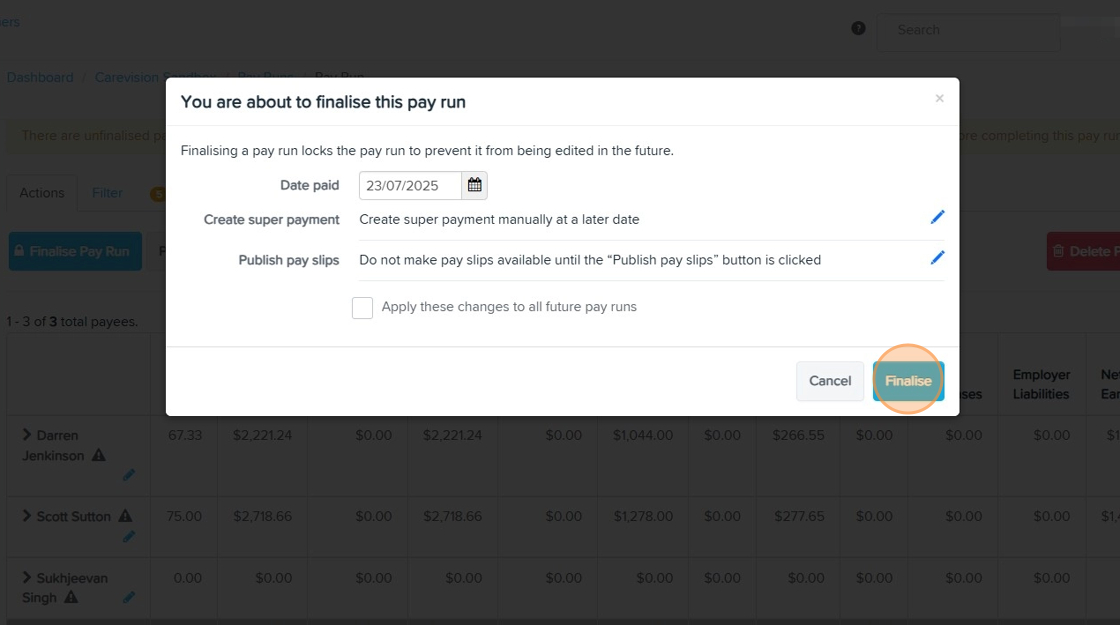
10. Click Finalize to complete the pay run process.
III. Generate TechOne Payroll Export Files
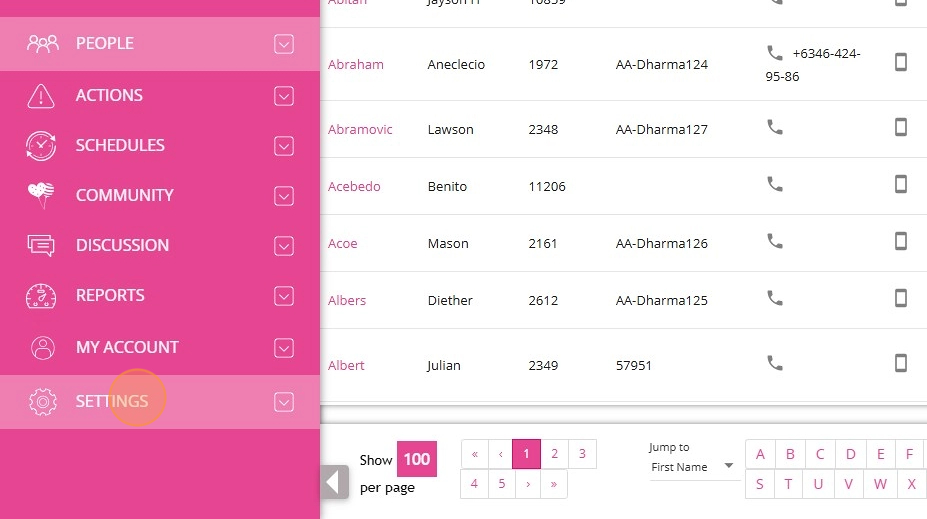
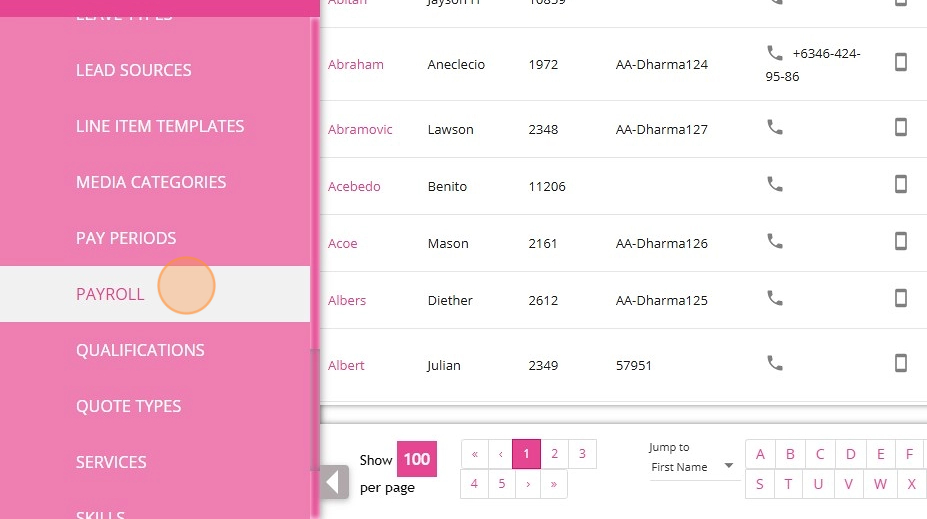
1. In CareVision, click Settings in the left menu bar.
2. Select Payroll.
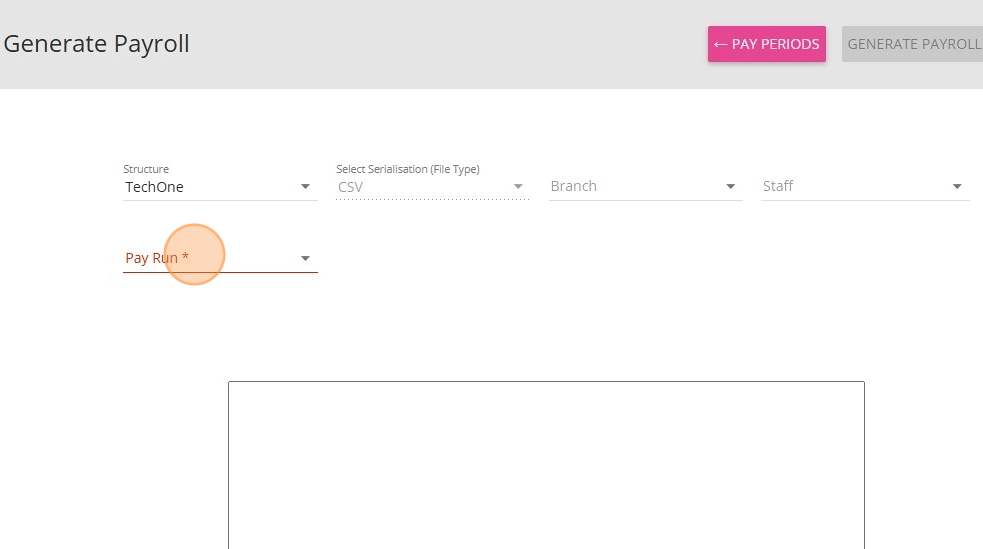
3. Set the Structure field to TechOne.

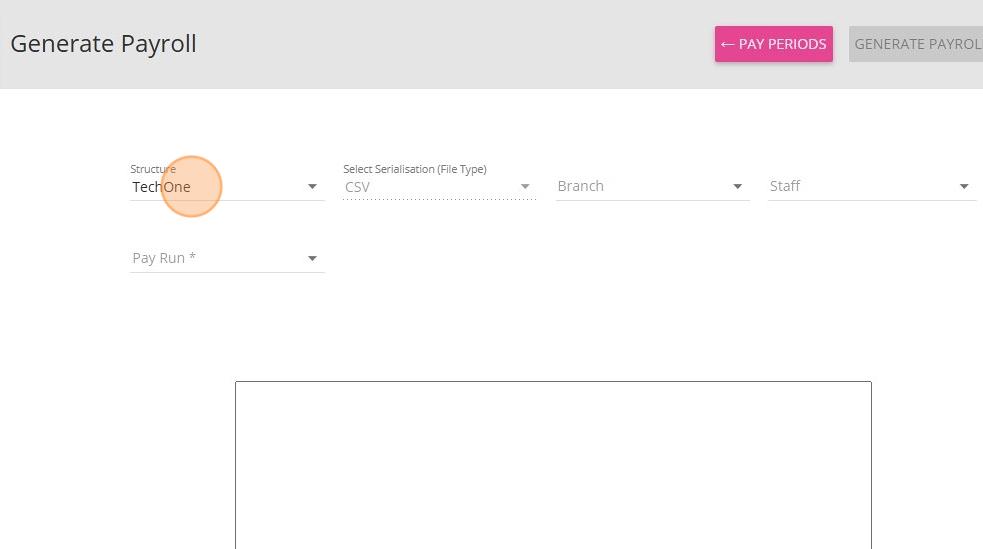
4. Set Pay Run field to the relevant pay run fetched from Employment Hero.
5. Click Generate Payroll.
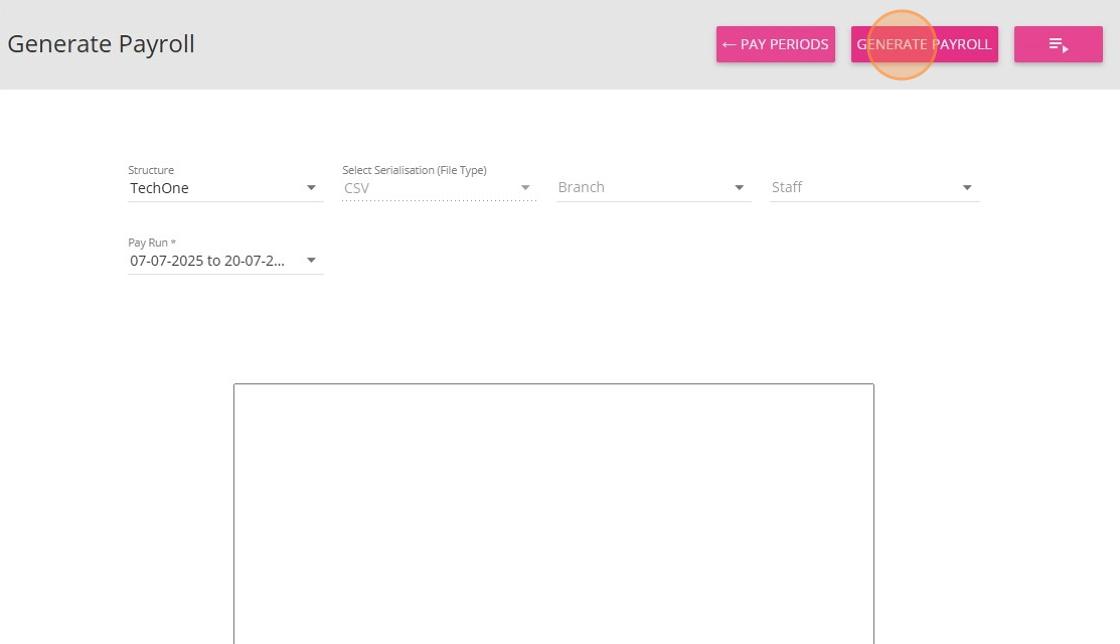
6. The TechOne payroll file will be generated.
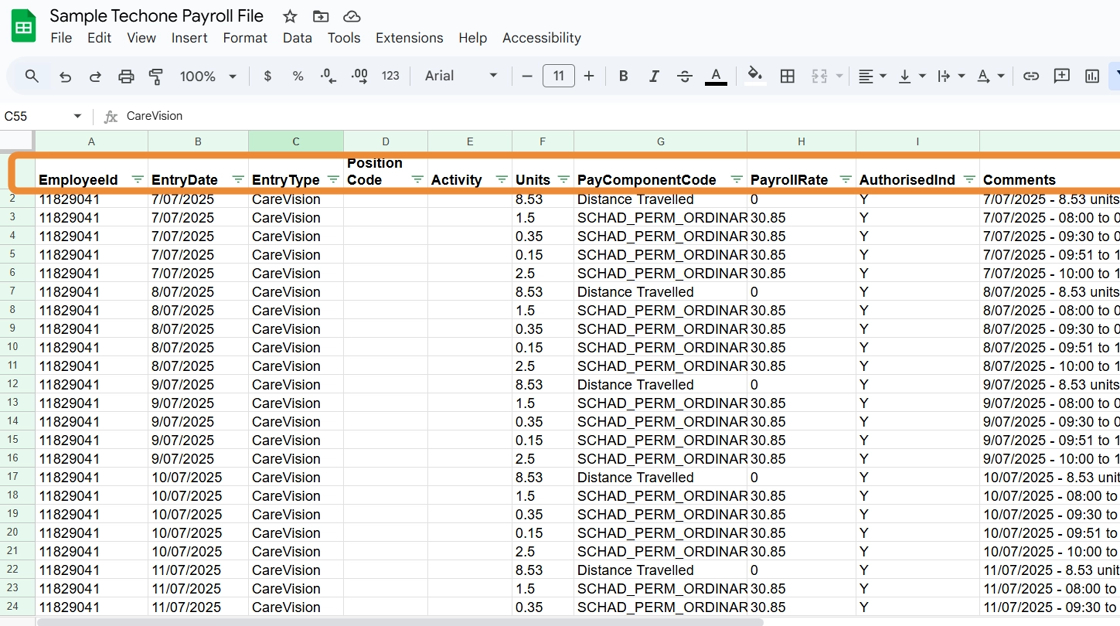
The TechOne payroll file includes the following columns:
Column | Description |
EmployeeId | Staff member ID from Employment Hero. |
EntryDate | Date extracted from the Comments column. |
EntryType | Hardcoded value set to "CareVision". |
PositionCode | Currently left empty. |
Activity | Currently left empty. |
Units | Hours worked or travel data sourced from CareVision timesheet and mileage files. |
PayComponentCode | External ID based on the work type from CareVision and Employment Hero. |
PayrollRate | Pay rate for each pay category, set in Employment Hero based on job classification and SCHADS award. |
AuthorisedInd | Hardcoded value “Y”. |
Comments | Includes comments from both Employment Hero and the CareVision timesheet. |
7. Payroll admin users can review the data and send it to TechOne for processing.
For more information about generating TechOne payroll export files or integrating with Employment Hero, contact the CareVision Support Team.
Related Articles
Employment Hero Integration Guide
The Employment Hero and CareVision integration streamlines payroll processing by automatically transferring employee data, such as timesheets and pay details between systems. Information syncs from CareVision to Employment Hero for employee records. ...Processing Pay Runs to Employment Hero
Before you process a pay run, you must review and approve timesheets in CareVision. Once timesheets have been submitted from CareVision, payroll admin users should complete the required steps in Employment Hero to process the pay run. This topic ...LanternPay (HICAPS) Integration Guide
The LanternPay (HICAPS) integration allows care organisations to submit payment requests directly to the NDIA for services provided to NDIS Agency Managed participants. Registered NDIS organisations can connect their HICAPS account in CareVision to ...TechOne Accounts Receivable Client Sync
This topic describes the client sync between TechOne and CareVision. This allows you to maintain accurate records, ensure correct Debtor Account ID assignment, and reduce manual work across both platforms. This document guides you through the ...LanternPay Integration
Prerequisites Before doing the actual integration to LanternPay, we need to make sure that we have all the required credentials first. We also need to properly set up the client's records within CareVision. Here are some of those requirements: ...