How to Add a Lead
Managing leads is a key step in building strong client relationships and supporting a smooth onboarding process. This topic describes how to add a lead in the portal.
Keywords: lead management, client onboarding, create lead, client profile setup, lead tracking, client data entry, lead source tracking, customer management system
Step 1: Check if the client already exists
Use the Search bar to look for the lead.
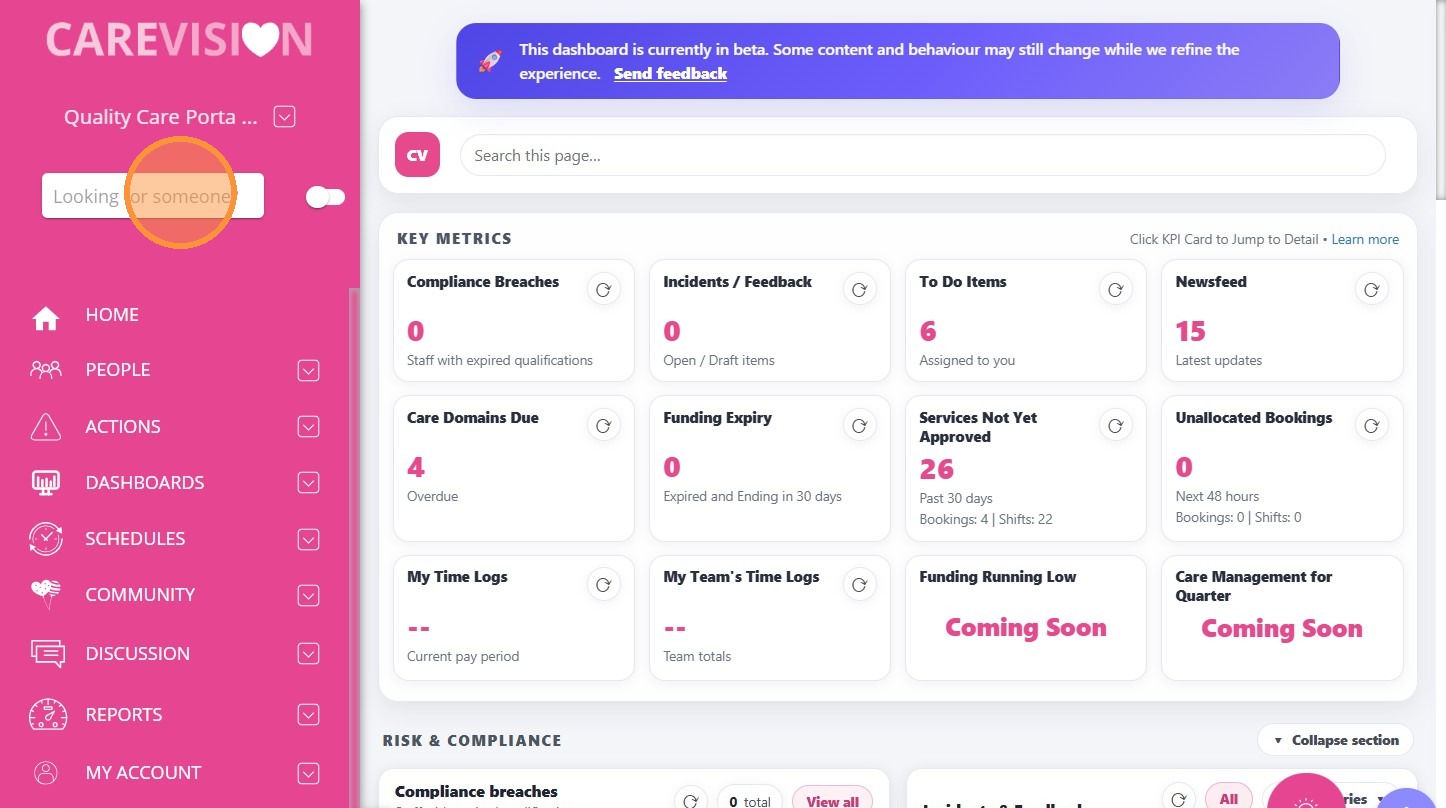
You can enable the Advanced Search toggle to search across branches.
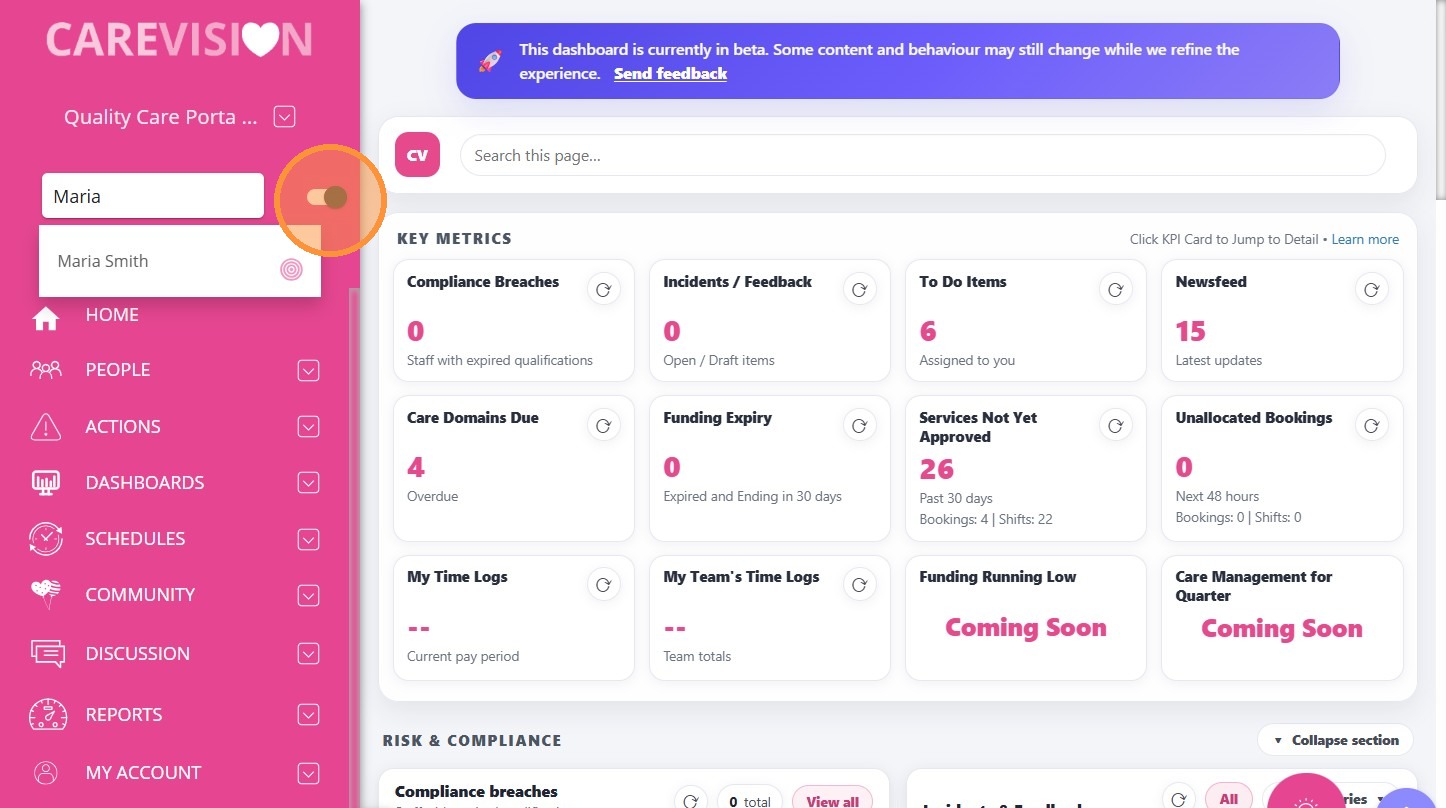
- If the client is found, open the profile and continue updating it.
- If the client is not found, proceed to create a new lead.
Step 2: Create a New Lead Profile
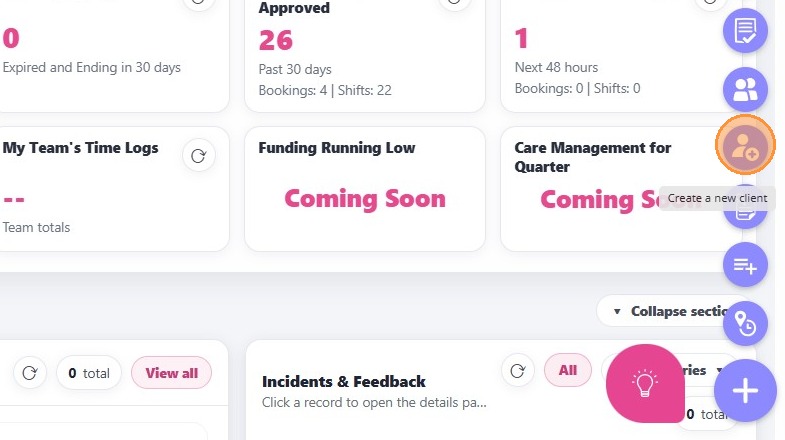
Go to People > Clients.
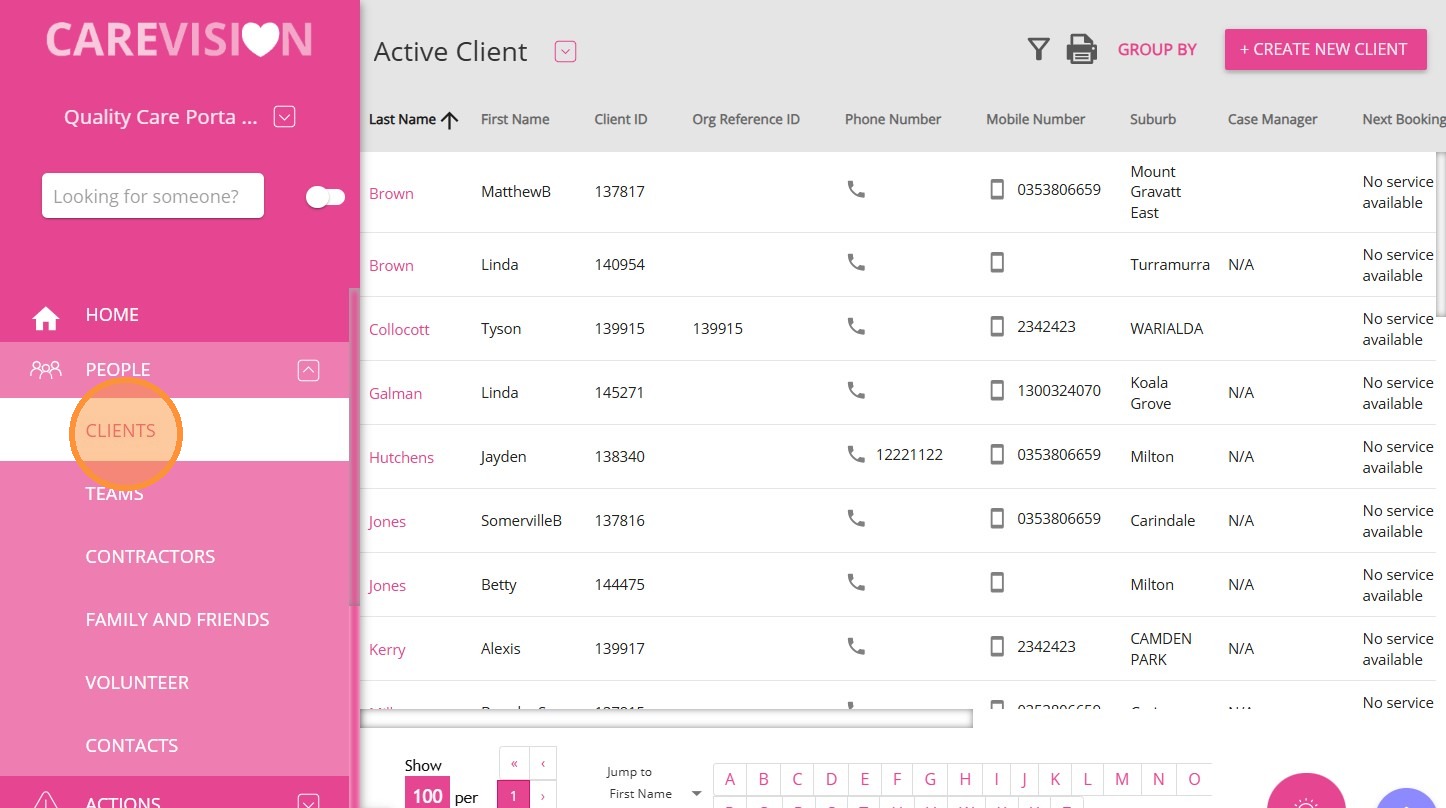
Click +Create New Client.
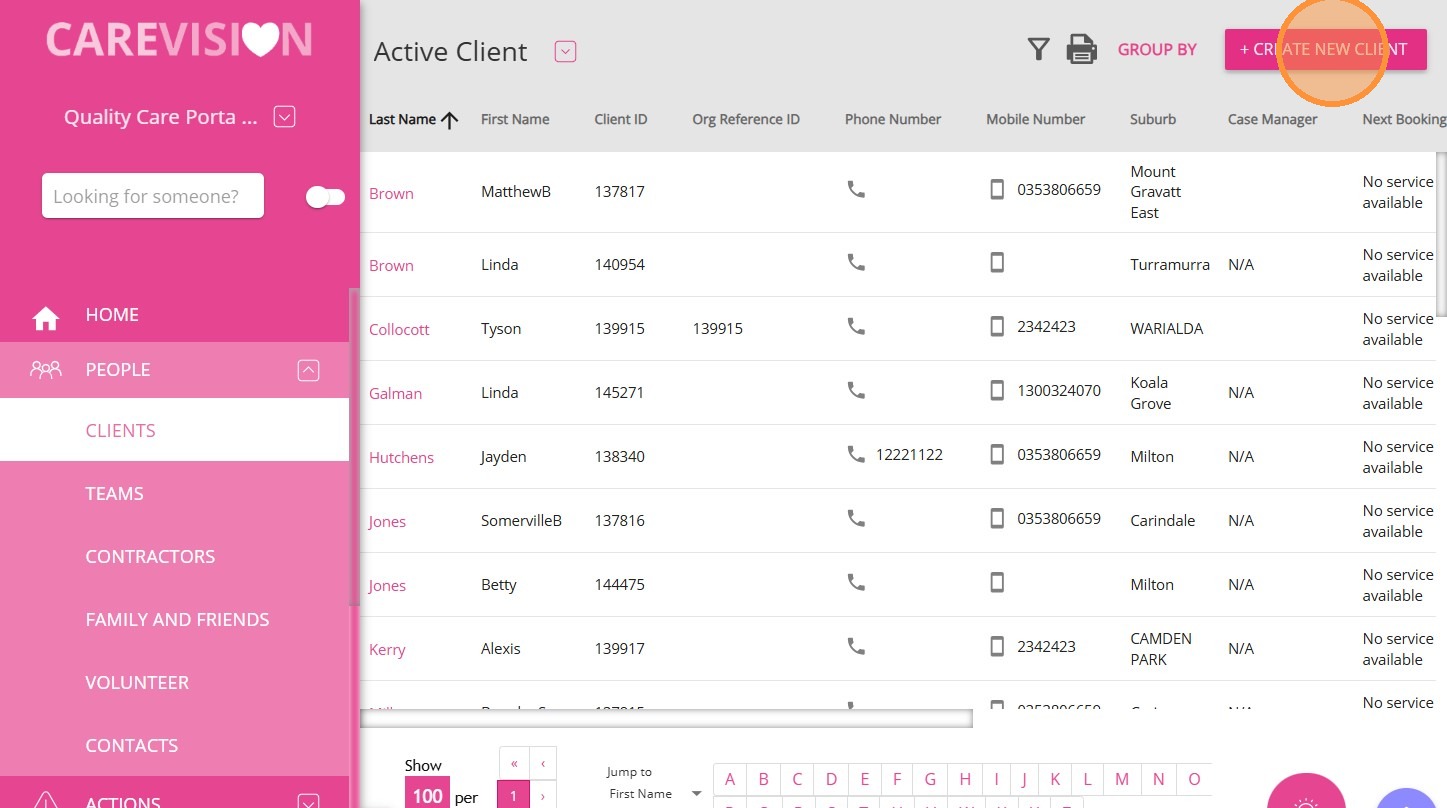
- Alternatively, you can use the quick action button at the bottom right of the screen to create a new client.
Step 3: Complete the Lead Form
A. Required Client Details
Enter the client’s first name, last name, gender, and email if available.
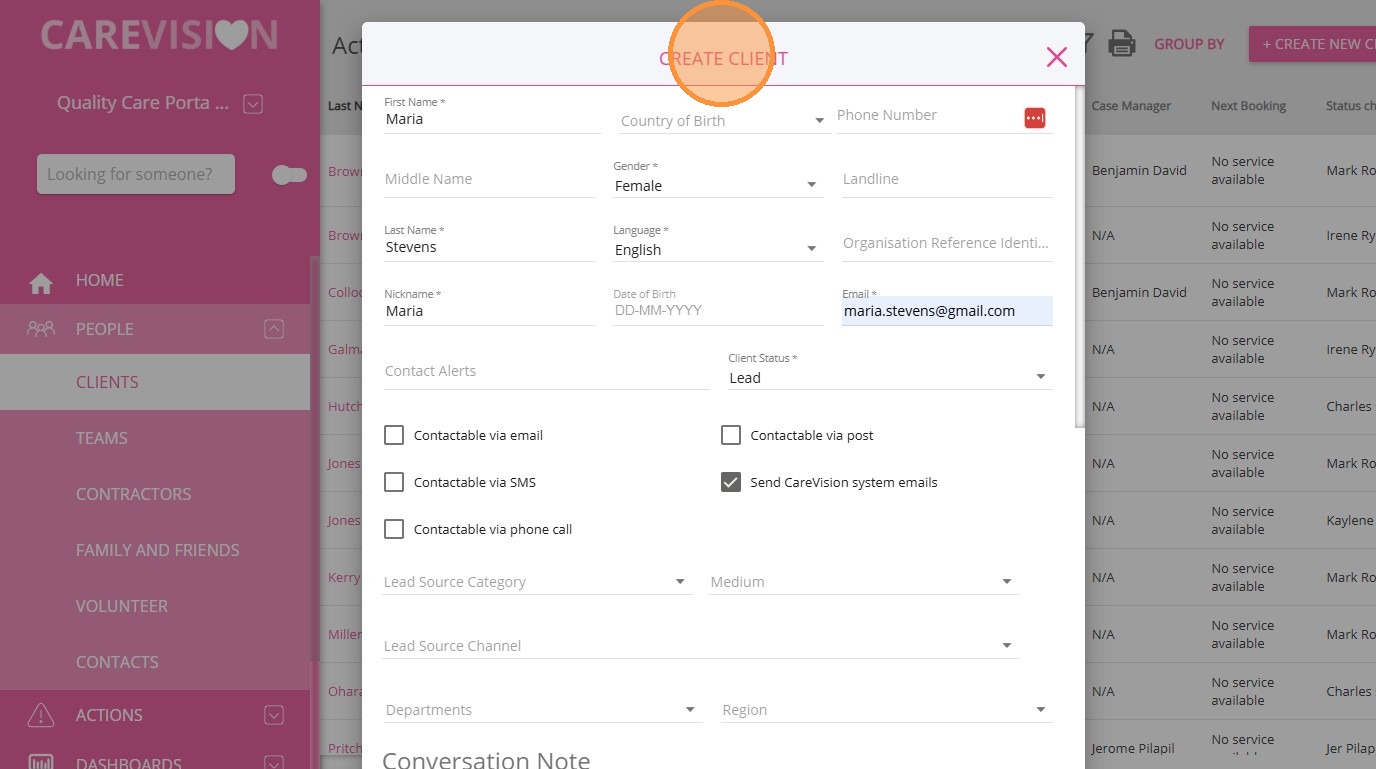

You can add any missing details later if they are not yet known.
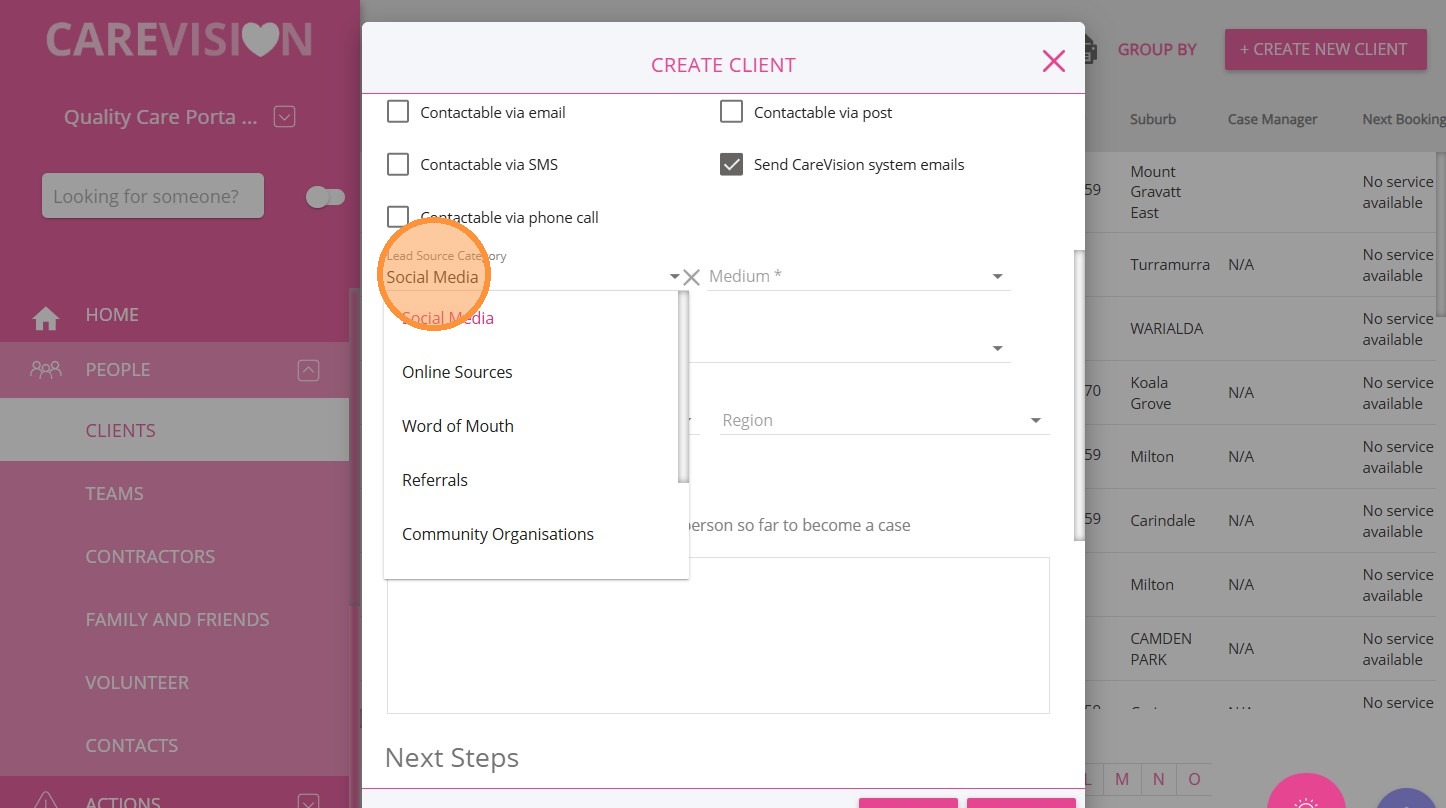
B. Lead Source Details
Provide details about how the client was sourced to support accurate reporting and tracking.
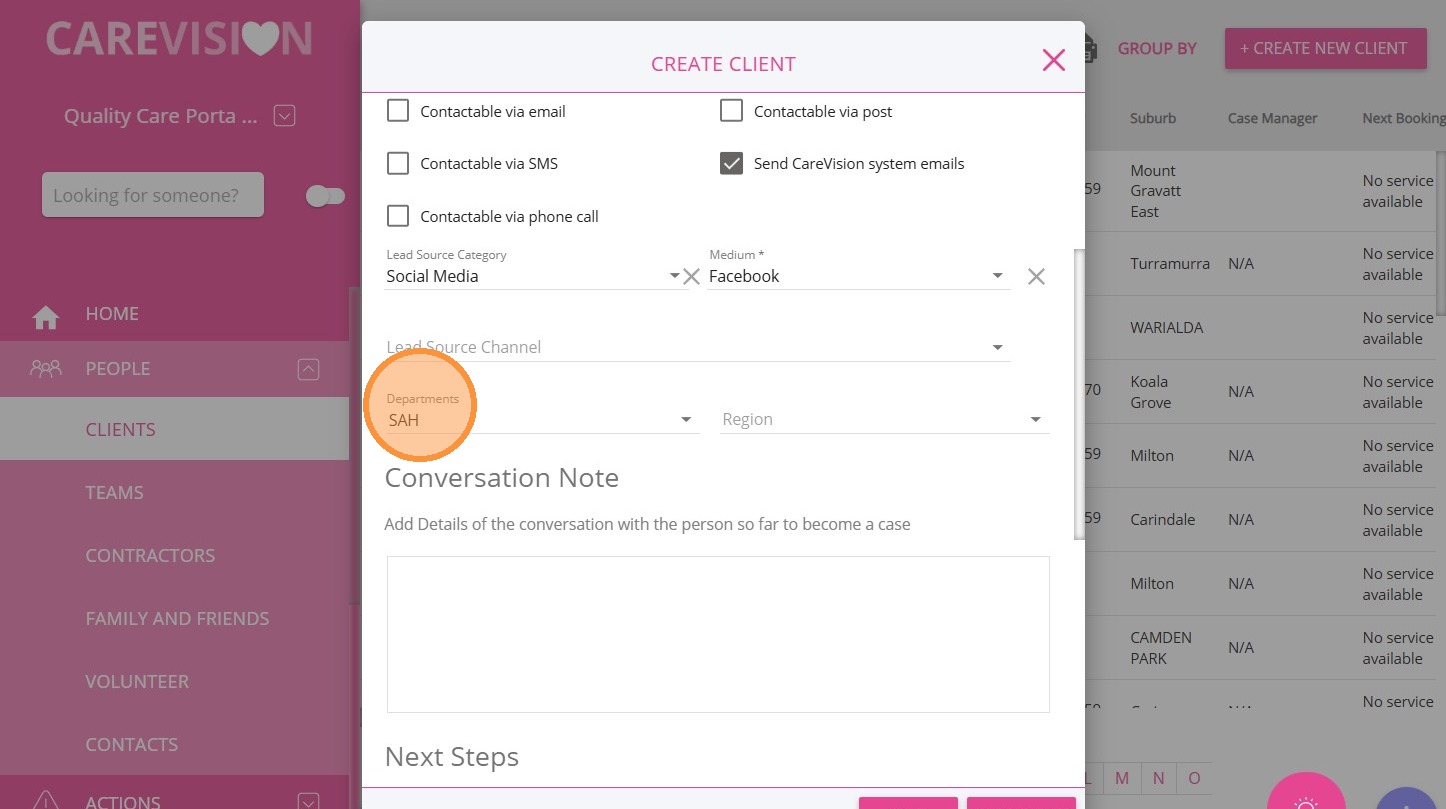
- Lead Source Category: The broad classification of where the enquiry originated (Example: website, referral, or social media).
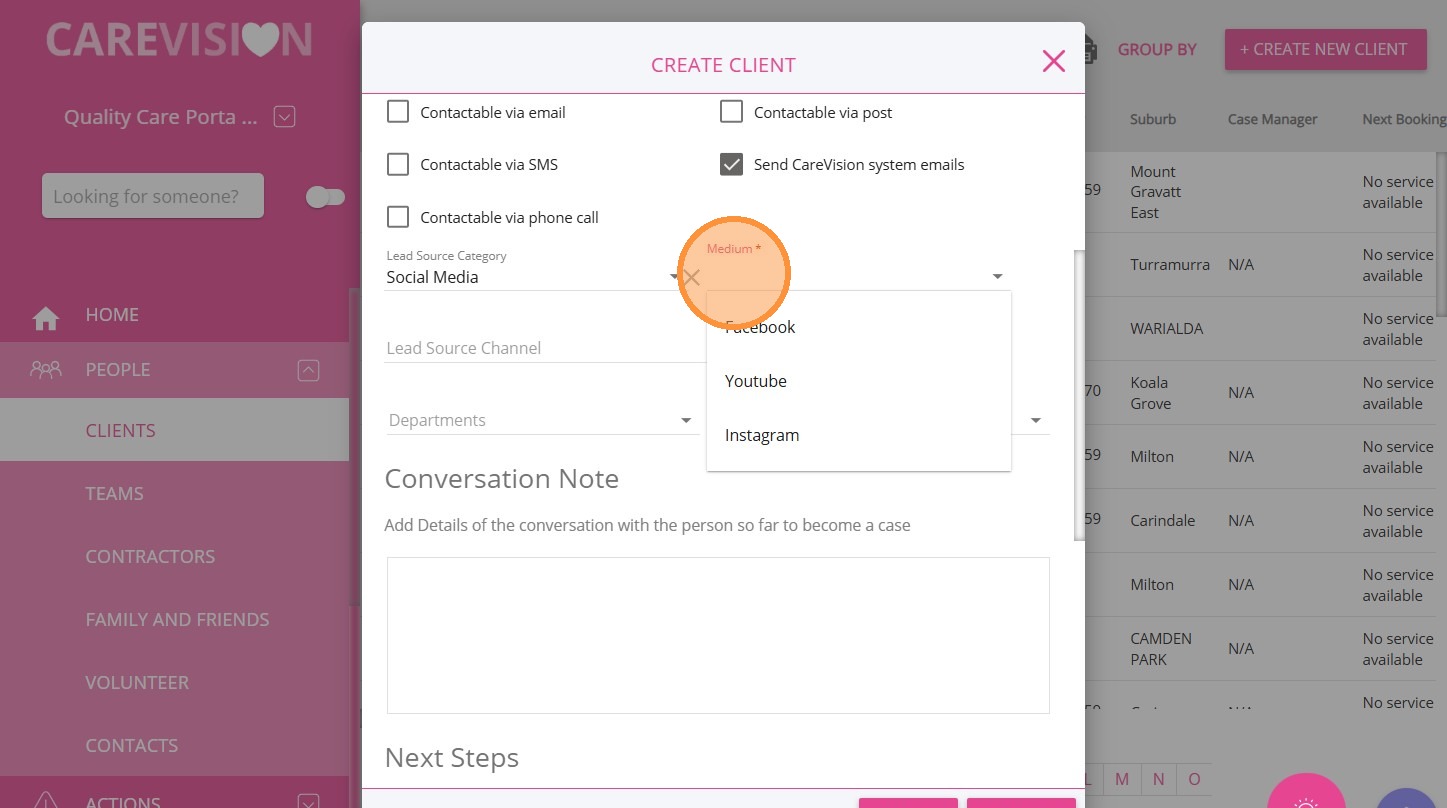
- Lead Source Medium: The specific platform or method through which the client engaged (Example: Facebook or LinkedIn).
- Lead Source Channel: The exact campaign, advertisement, or source detail that generated the enquiry.
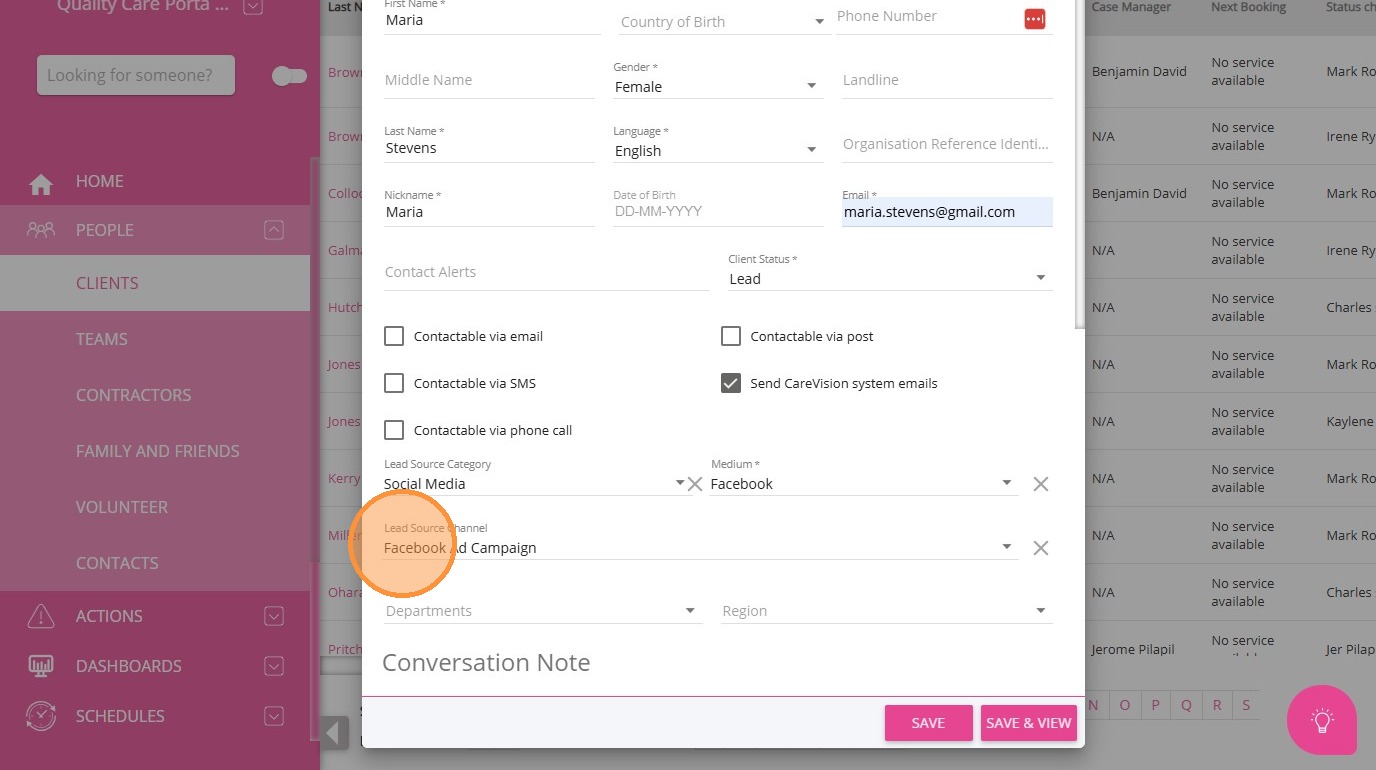
- Fill in the Department field to indicate which department the client belongs to. This typically refers to their funding source (for example, SAH for Support at Home).
C. Conversation Notes
Add notes from the initial contact, such as a phone enquiry, client needs, or concerns.
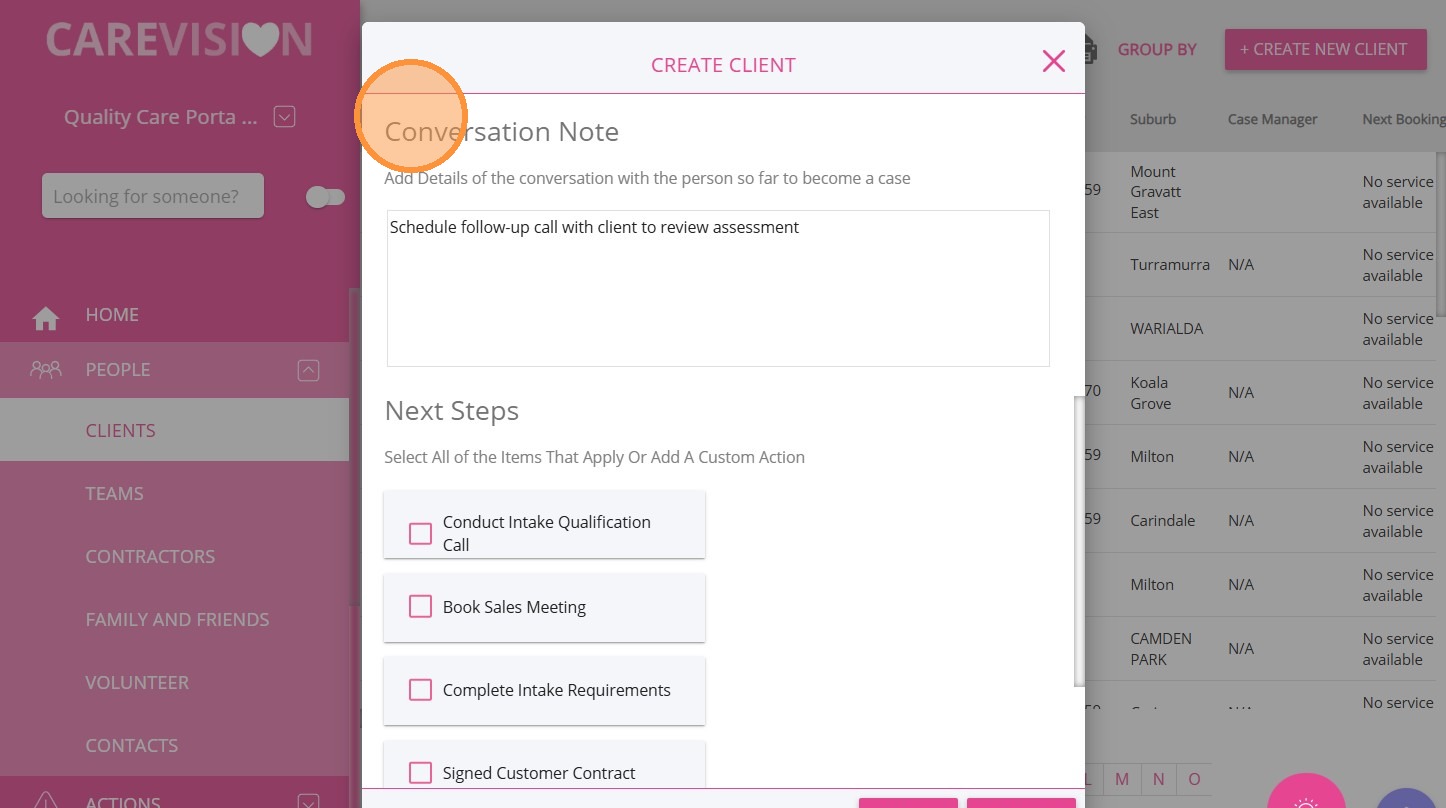
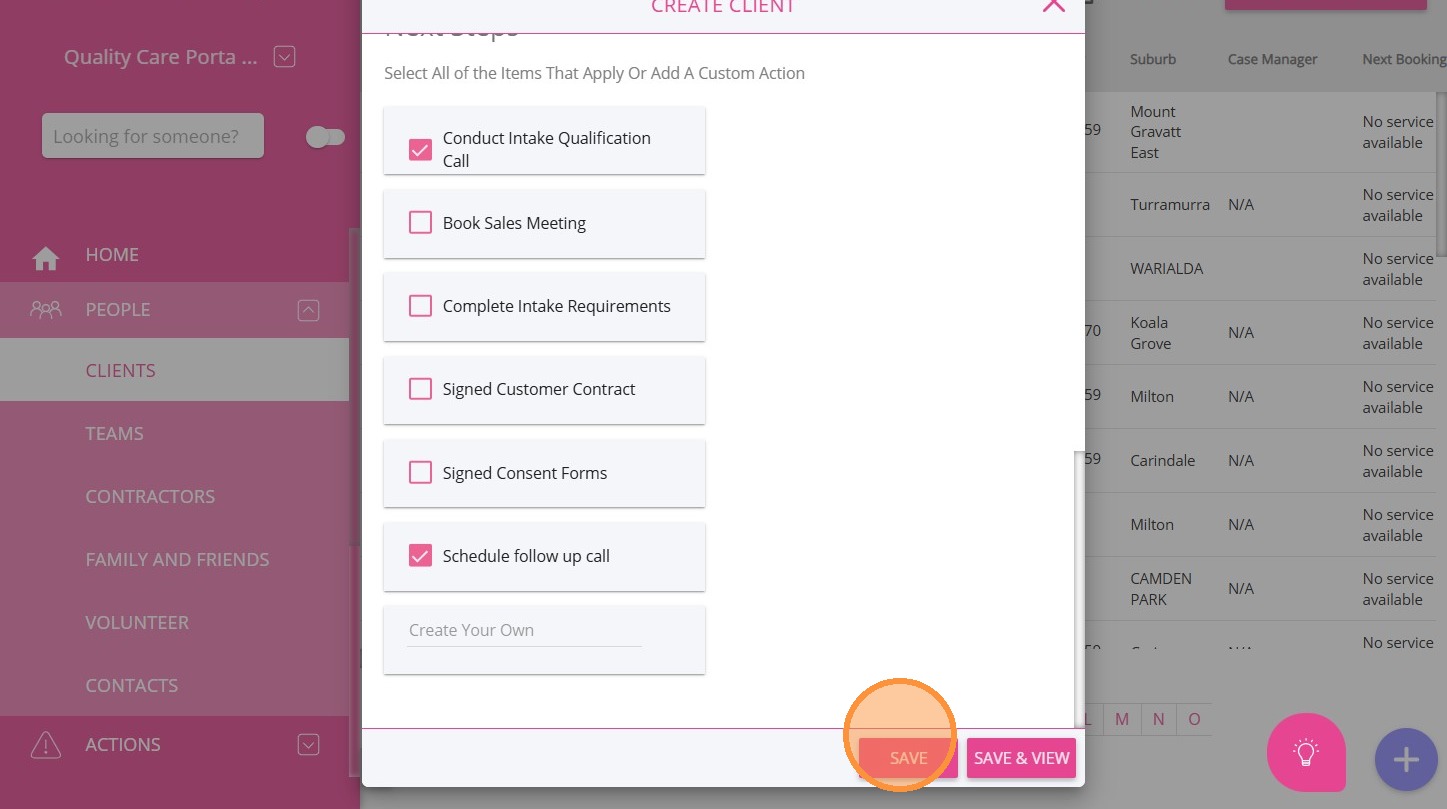
D. Next Steps
Create follow-up tasks, such as calling back the client, sending information, or arranging an assessment. These tasks will appear in the Tasks & Shopping Lists section in the client profile.

Step 4: Save the Lead
- Click Save or Save and View.
- Select Save and View to open the client profile immediately.
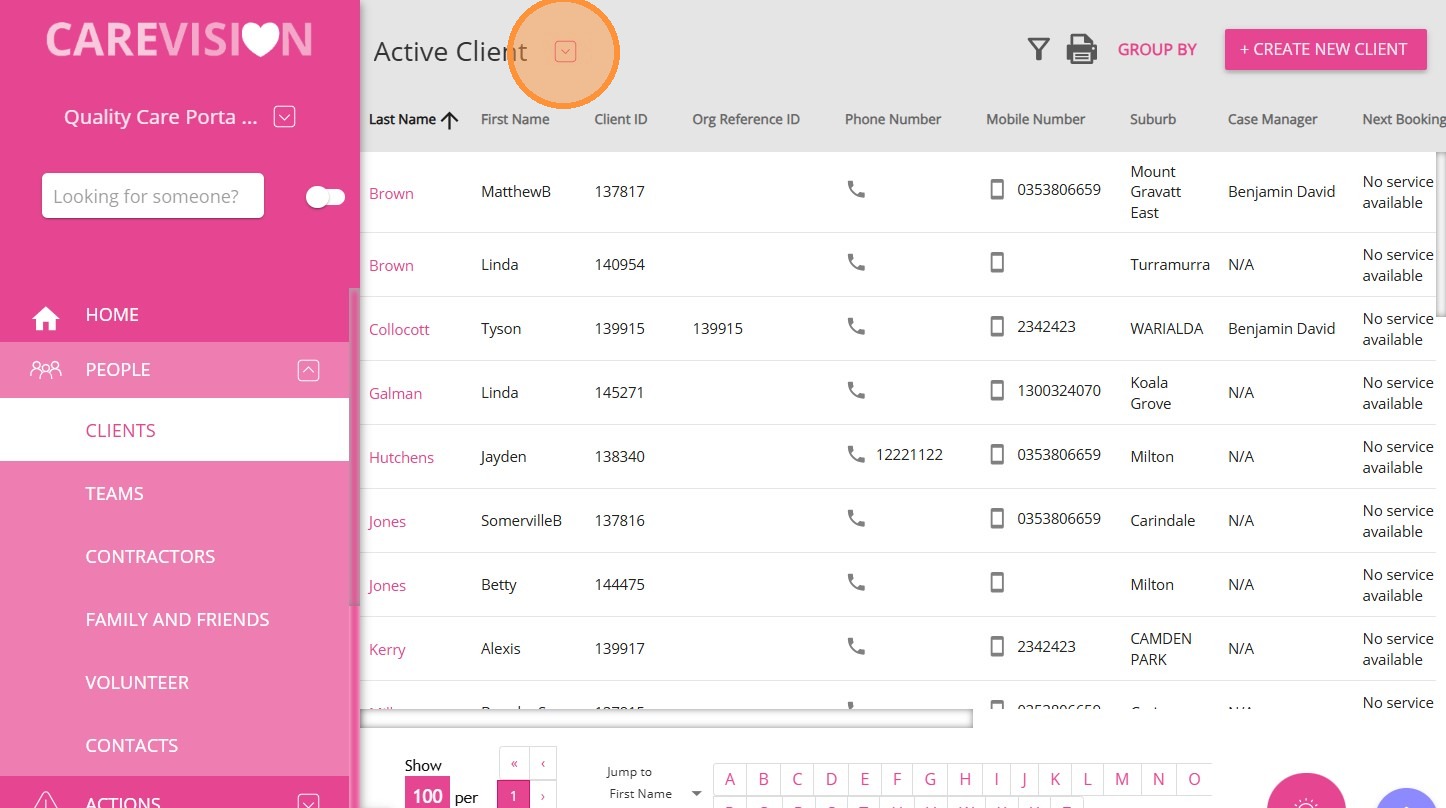
Lead Management
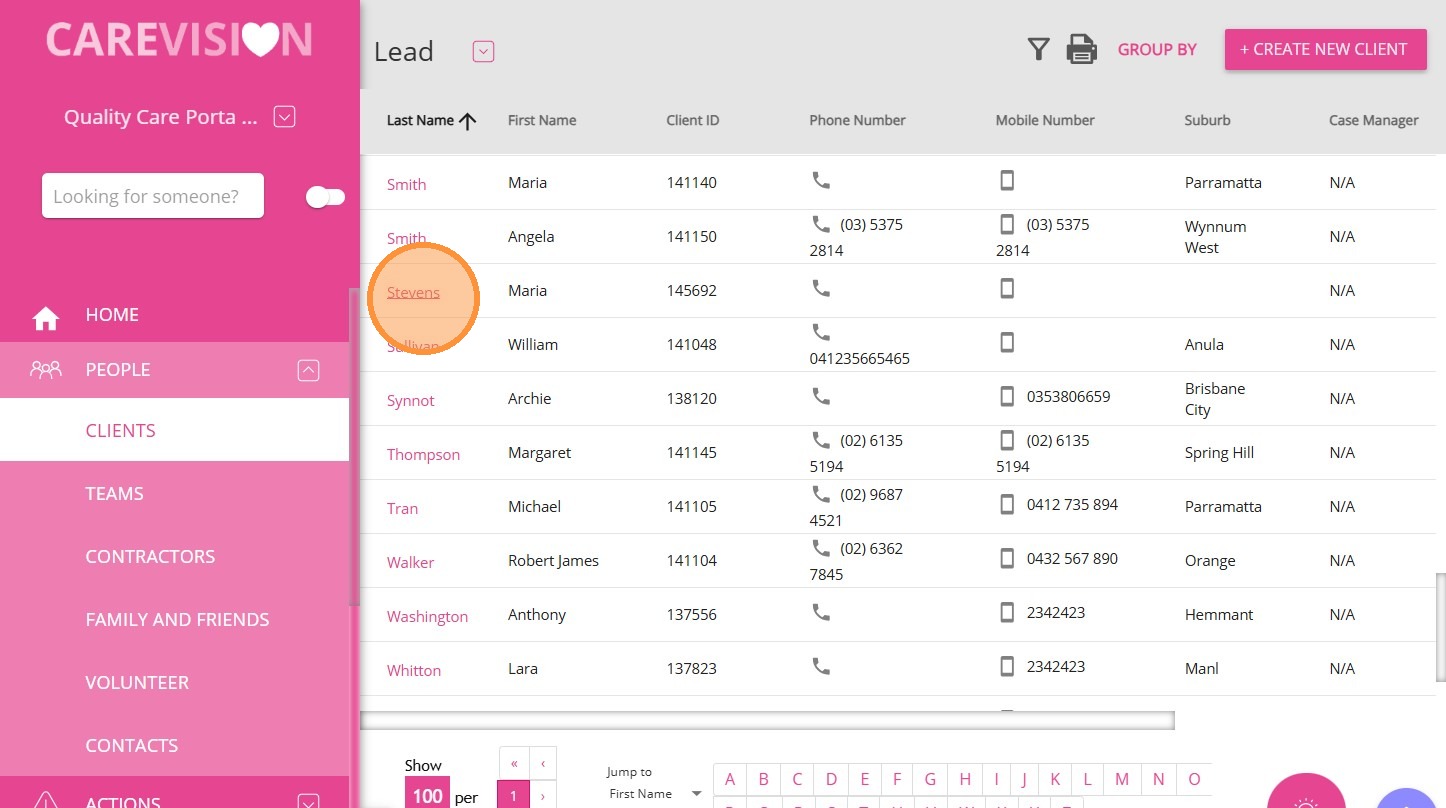
You can find the lead under People > Clients. Click the dropdown above to view other statuses.
Click Lead.

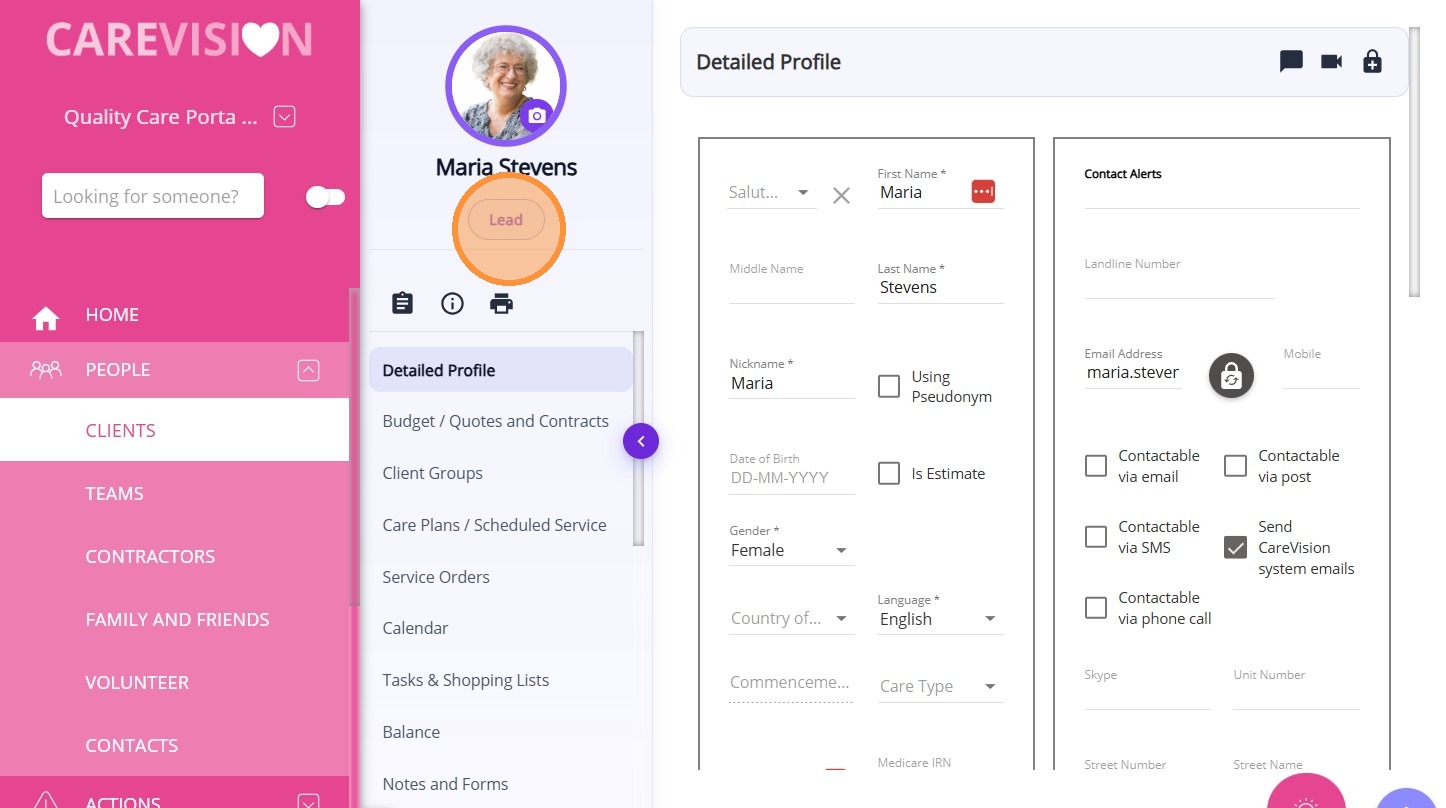
This is an example of a created lead profile, which appears under the Lead status.
Next Steps
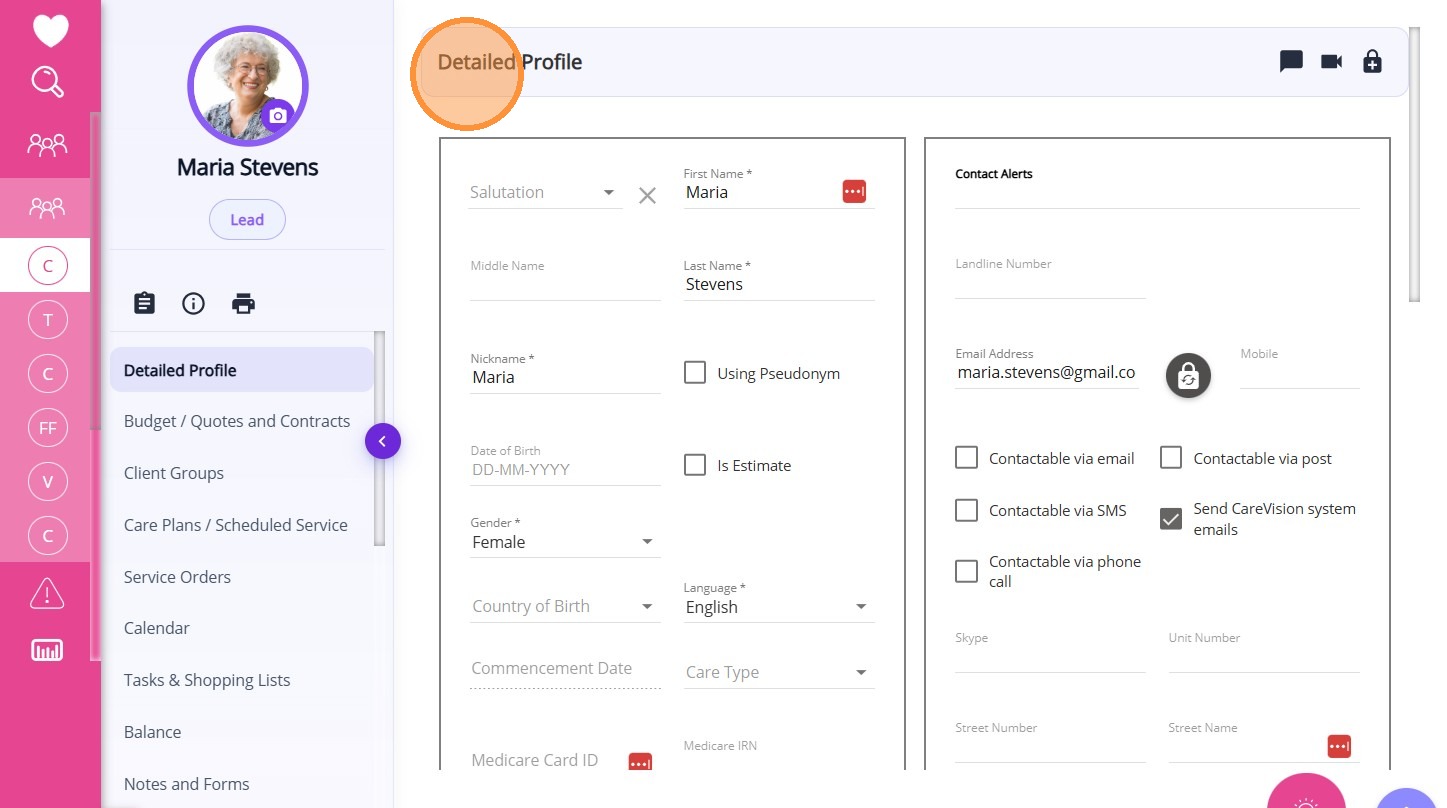
The client is created as a Lead (indicated by a purple ring on their profile) in the system. You may optionally include an image for reference.
Review all information in the client profile and make sure any relevant blank fields are completed. It is also important to add contact details and the client’s address.
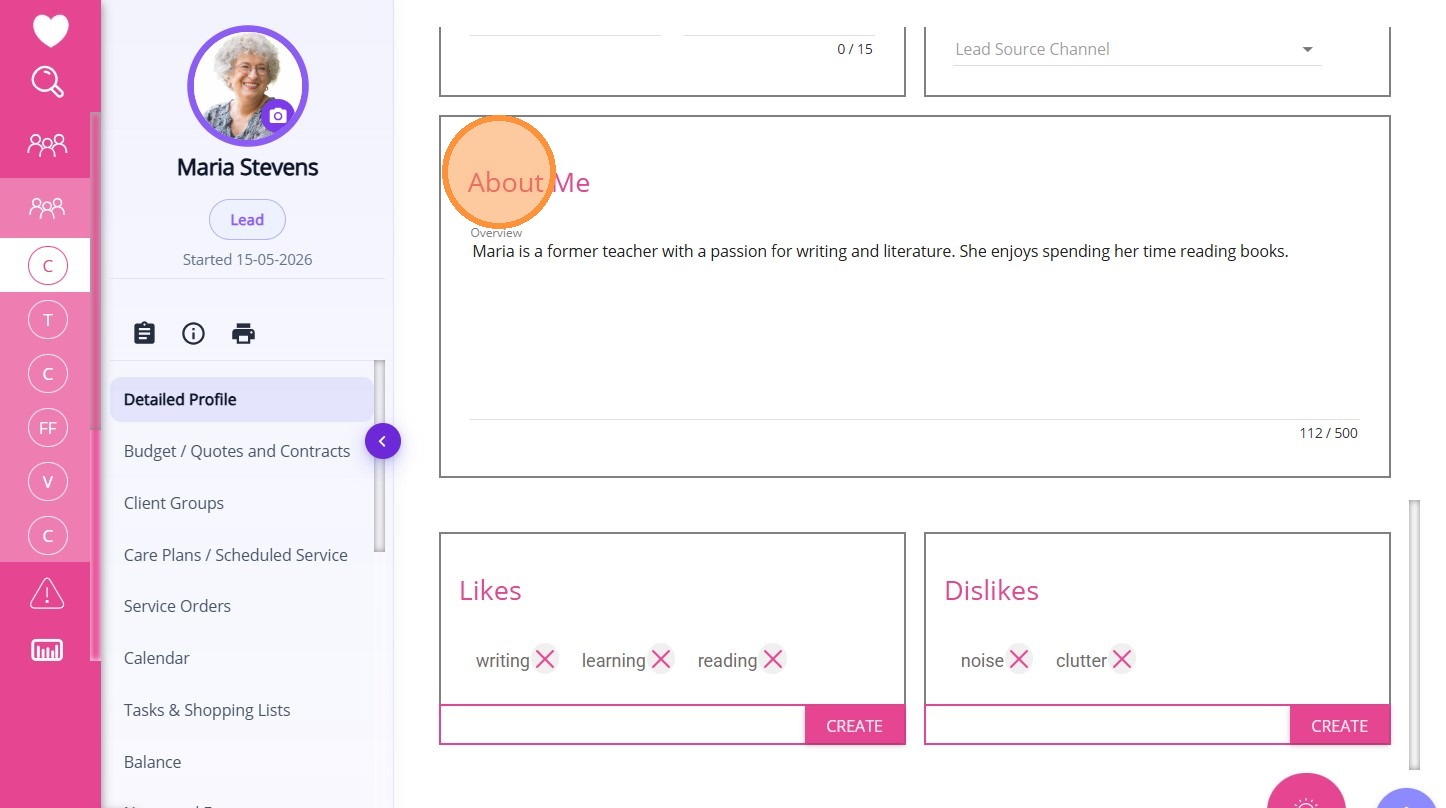
Add a short bio on the client’s About Me page describing the client.
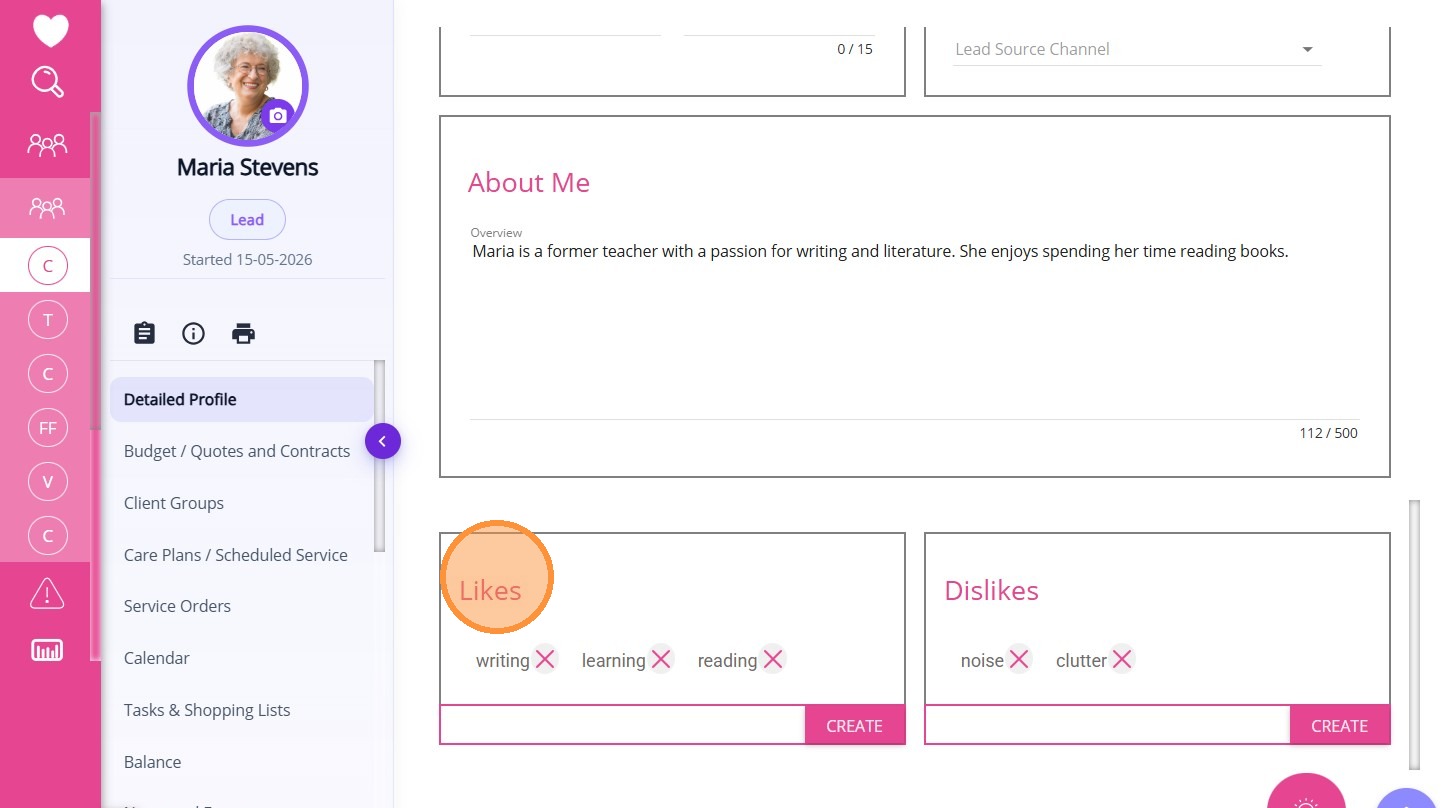
Likes and Dislikes
- Add likes using relevant keywords to highlight the client’s preferences and interests.
- Add dislikes to capture any preferences that should be considered.
This topic described how to add a lead in the portal. Following this process supports data entry, tracking of enquiries, and client onboarding. For more information about lead management, contact the CareVision Support Team.
Related Articles
Notifications for Lead Management and Client Onboarding
Lead to Onboarding Workflow Organisations regularly receive new client leads and it is important that the proper team is notified at the appropriate stage of the lead nurture and client onboarding process so they can follow up on and complete the ...How to Create Client Goals, Treatment Plans, and Assessments
Documenting goals, treatment plans, and assessments ensures services match each client’s needs and helps care teams provide the right support. By integrating goals, treatment plans, and assessments, care teams can monitor progress, adapt ...Converting Clients from Leads to Active
Leads are prospective clients who may come to your organisation through various channels, such as your website or referrals from other sources. When a new client record is created, the default status is set to Lead, indicating that the individual is ...Detailed Profile Section in Client Profile
The Detailed Profile section in the client profile provides an overview of each client, supporting personalized care and efficient communication. This topic describes the Detailed Profile section and explains how to complete client profile details. ...How to Add Billing Contacts to a Client Profile
As part of Support at Home requirements, adding the correct billing contacts helps manage client finances. If someone manages finances on behalf of the client, you need to fill in fields such as Billing Contact, Billing Organisation Contact, and ...
Request an Article or Guide
We are keen to know what you want to know more about? Let us know on chat or raise a ticket for an article or topic you would like covered in more detail. We have a team of technical writers and learning content creators keen for your suggestions.