How to Set Up a Shift Pattern to Give Staff Members Access to Clients in Social Groups
Staff members rostered to a social group can add case notes and complete forms for every client in it.
This article covers the setup in the portal. It also shows how the staff member accesses clients in the mobile app.
Keywords: shift pattern, social group, associated group, clients as social group members, search social group members, select all, manage preferred staff, allocate to, publish shift pattern, circle security role, active carer, inactive carer, case notes, forms, linking services to forms
Prerequisites
- Link Services to Forms. The forms staff members need must be linked to the service used on the shift pattern. If this is missing, forms will not show in the mobile app even when everything else is set up correctly. For details, see Linking Services to Forms
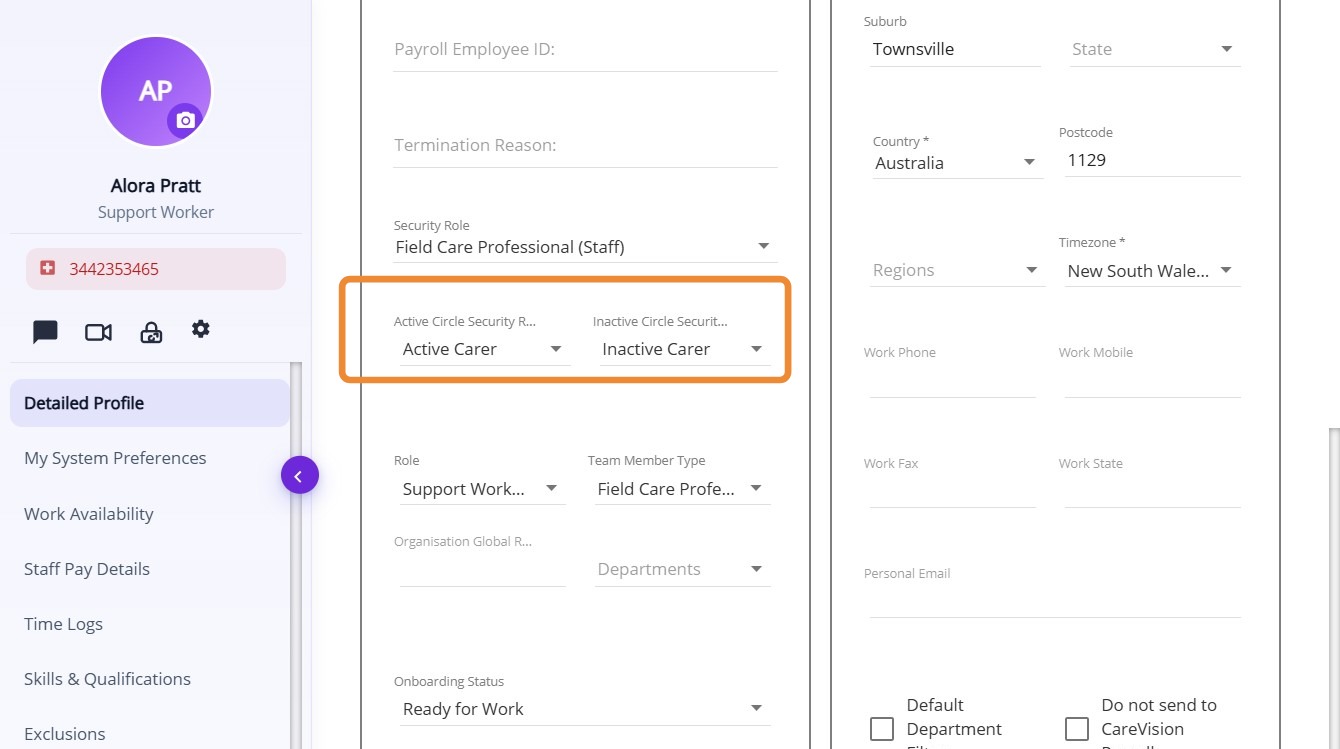
- Staff member exists with the Active Circle Security Role set to Active Carer and the Inactive Circle Security Role set to Inactive Carer. These roles control which clients the staff member can see. For details, see User Roles and Permissions
- Social group exists and clients are added as social group members.
- Shift pattern exists under Schedules > Shift Patterns
- Mobile app access for the staff member
Step 1: Set up the staff member
- Create or open the staff member.
- Set Active Circle Security Role to Active Carer.
- Set Inactive Circle Security Role to Inactive Carer.
- Save the staff record.
Step 2: Add clients as social group members
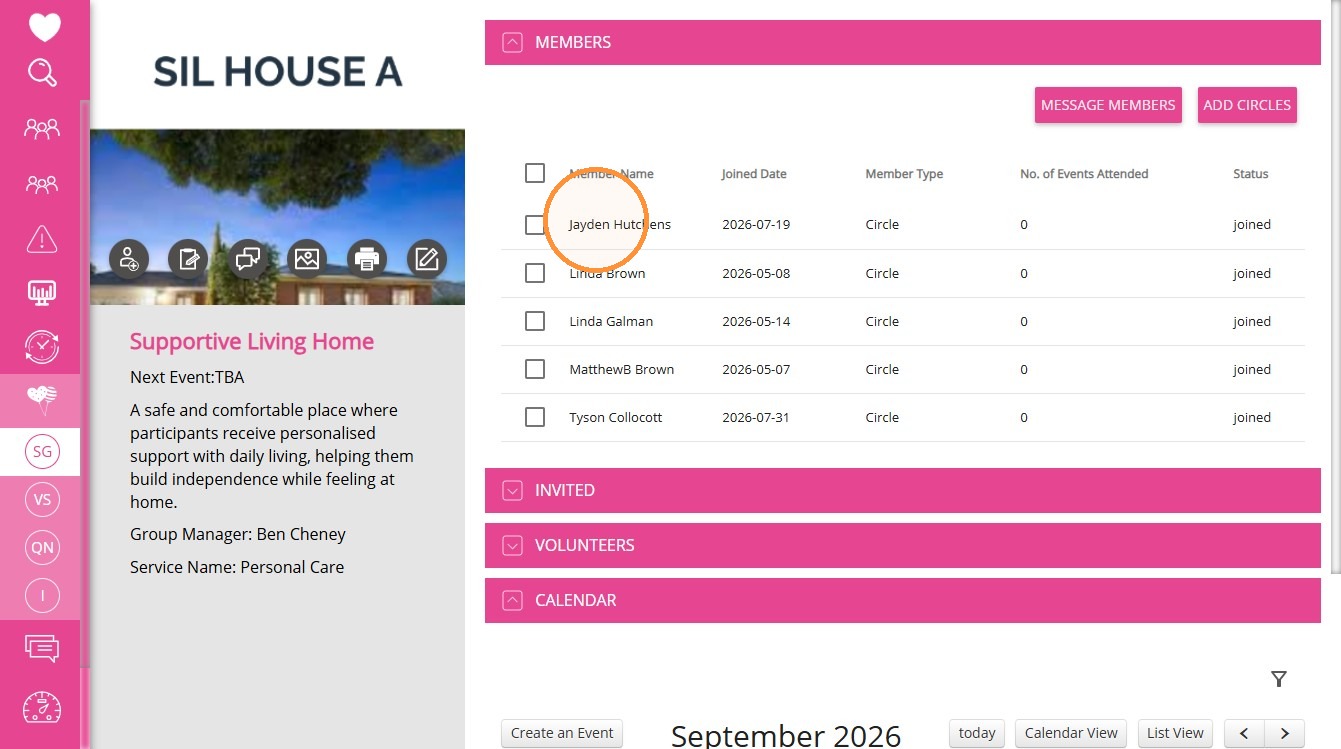
- Open the social group (for example, SIL House A - Supportive Living Home).
- Add each client as a social group member.
- Save the social group.
Step 3: Configure the shift pattern
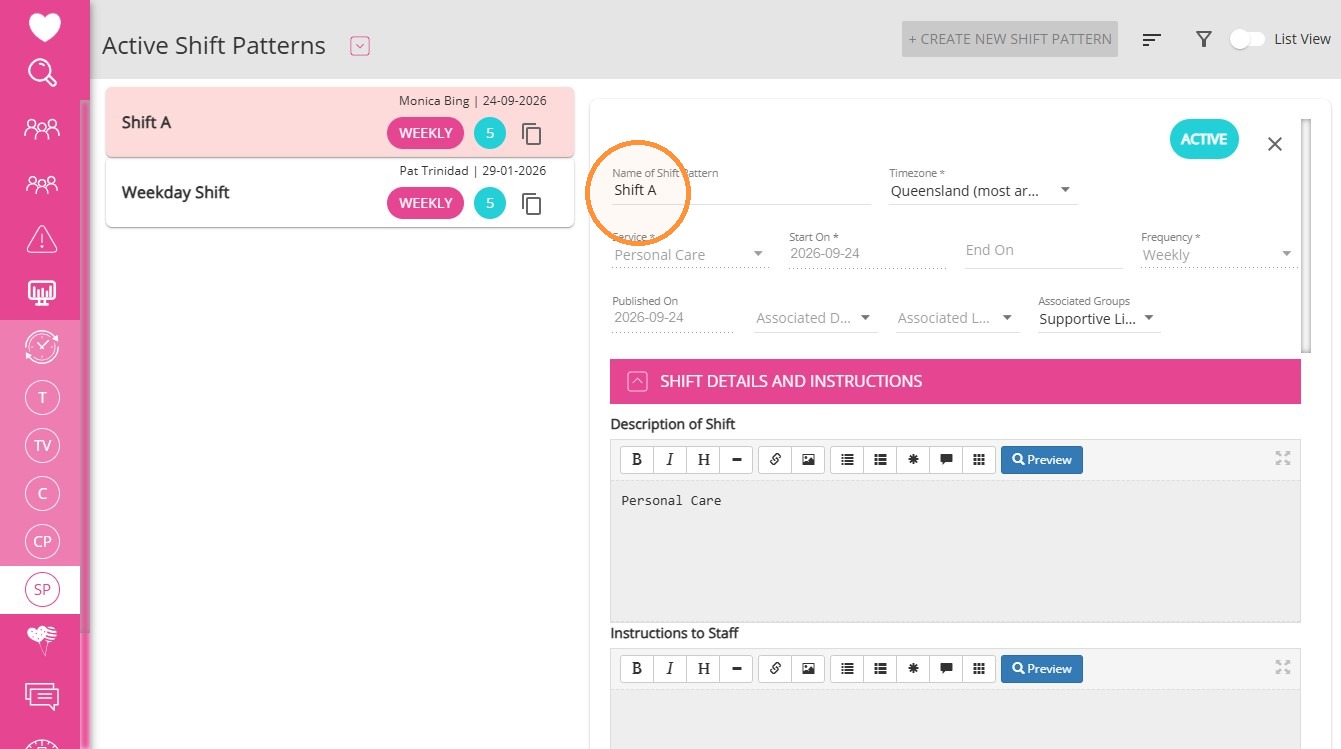
Go to Schedules > Shift Patterns and open the shift pattern (for example, Shift A).
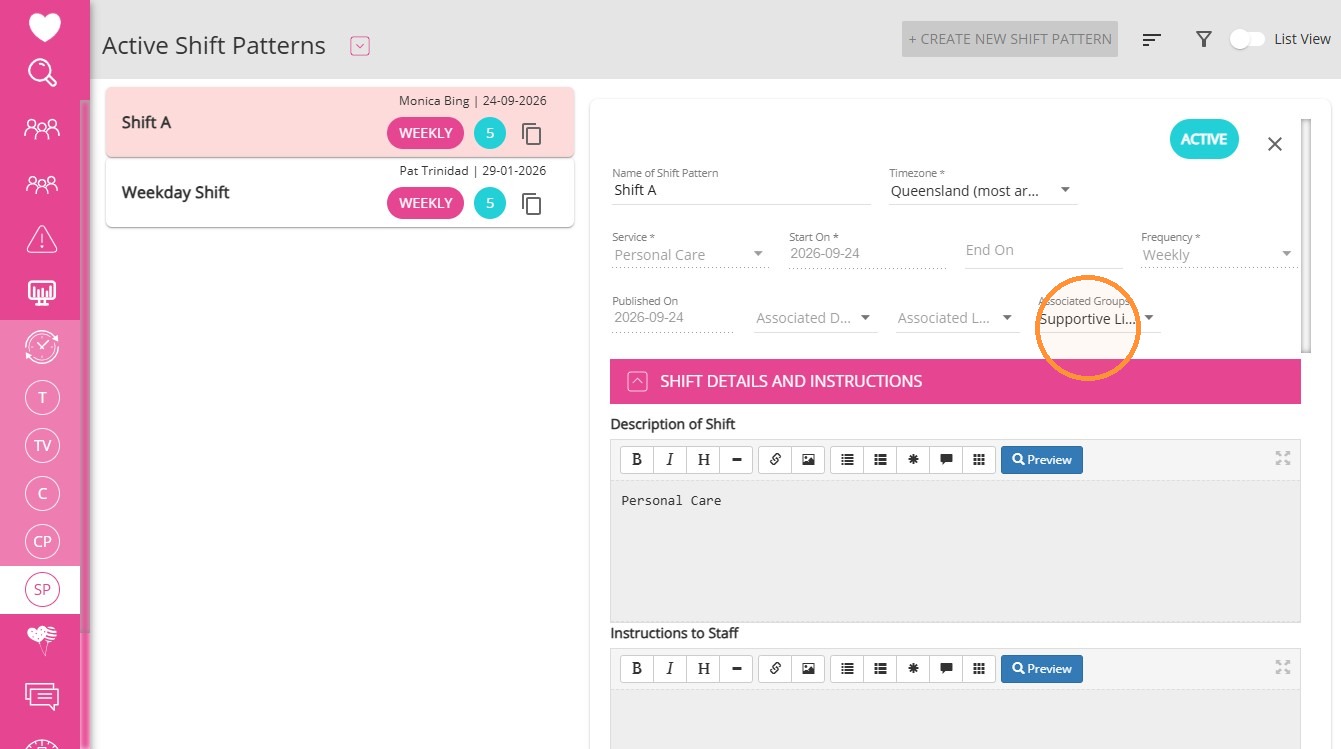
Under Associated Groups, select the social group as the associated group (SIL House A - Supportive Living Home).
Important: For each corresponding schedule in the shift pattern, go to Search Social Group Members and select the clients you want the staff member to see.
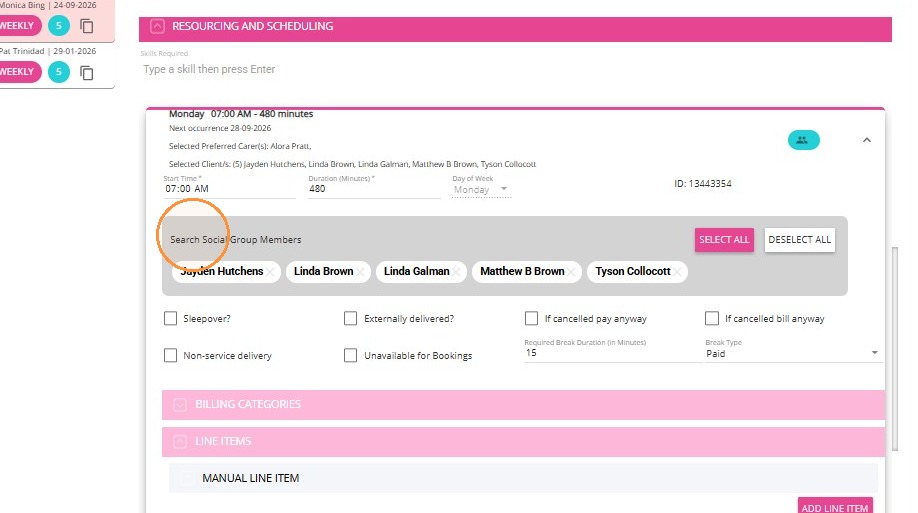
Click the blue icon to add a preferred staff member.
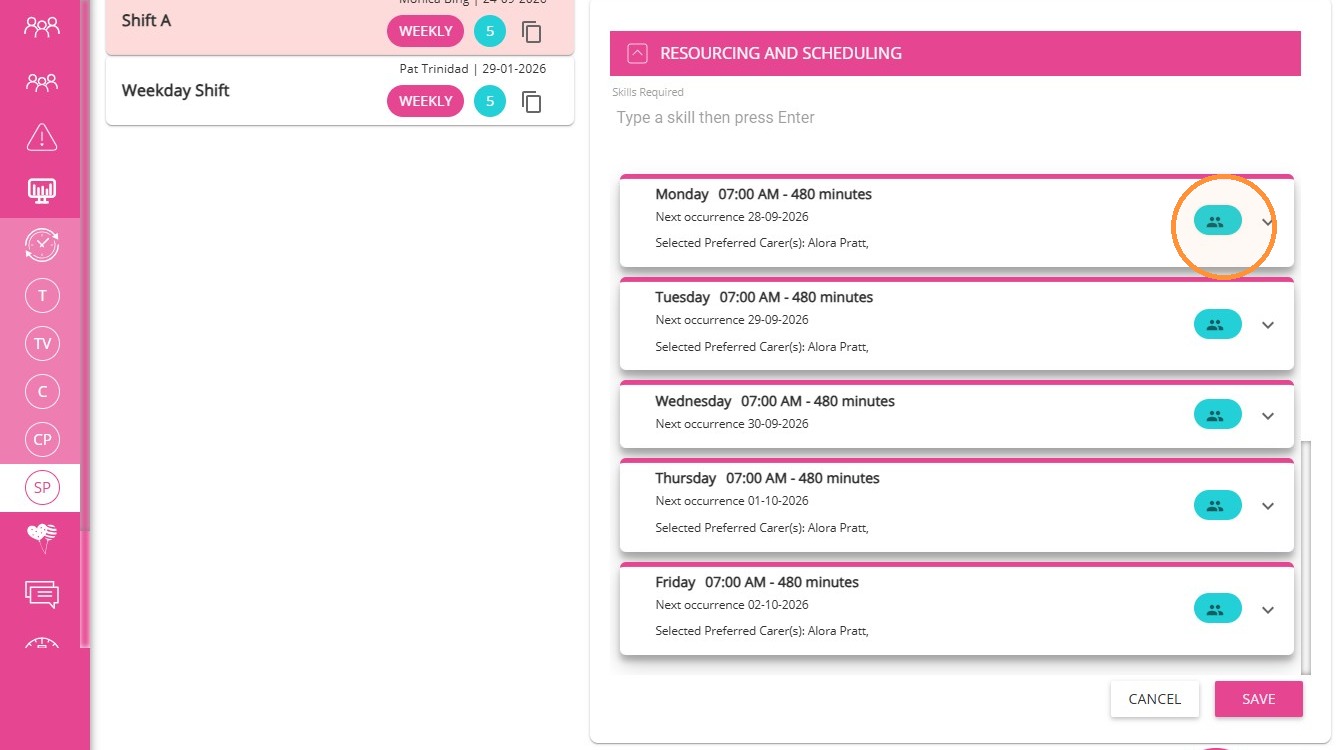
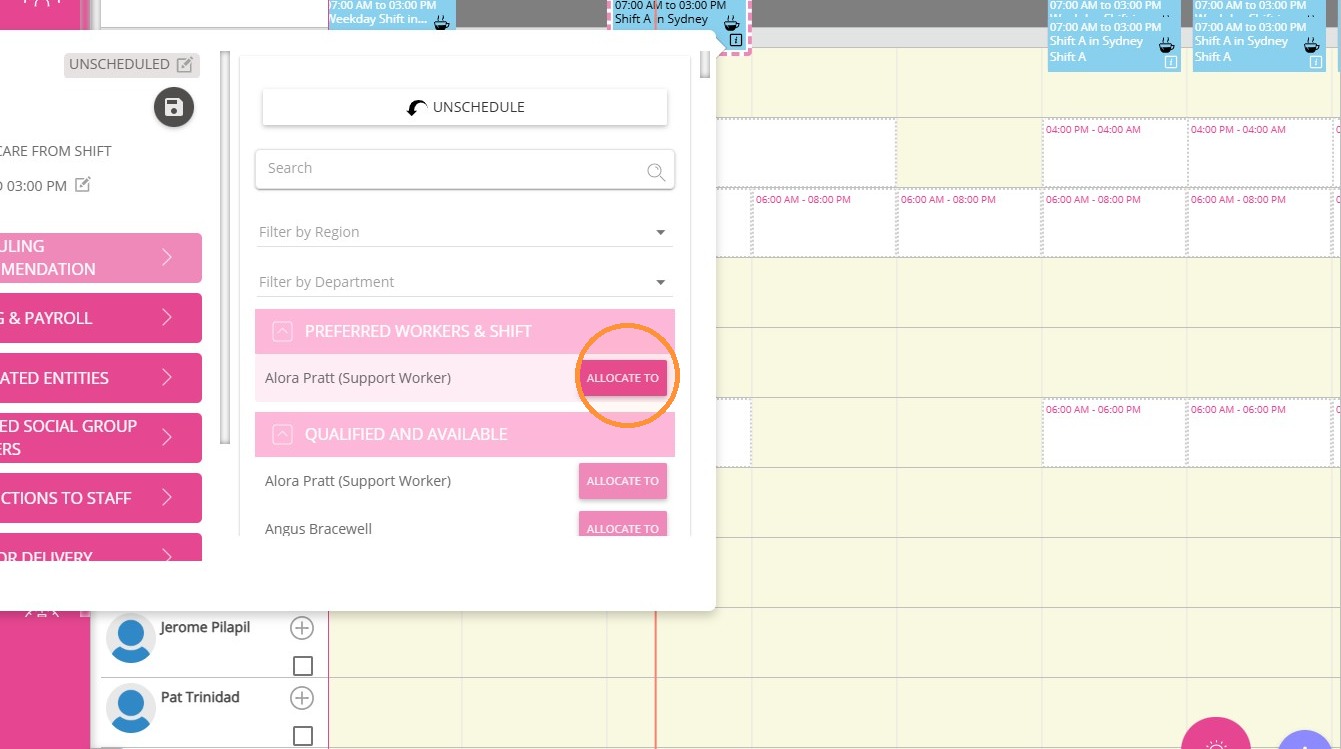
Step 4: Allocate and publish the shift pattern
- Go to Schedules > Teams.
- Then, allocate to a specific staff member.
- Click Publish.
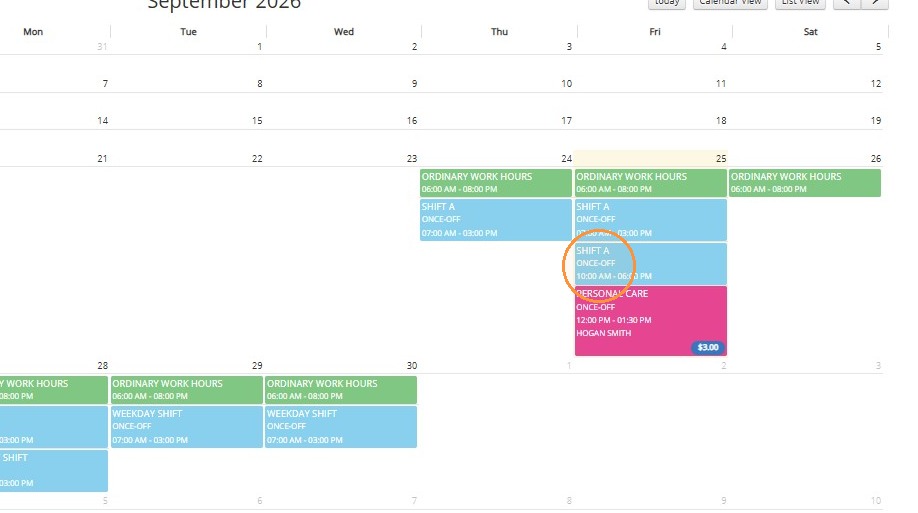
Step 5: Confirm in the portal
- Open the staff member's calendar. Confirm the shift pattern is showing on the correct date.
Mobile app: access clients, case notes and forms
Staff members can reach clients in two ways: through their calendar, or by searching People > Active Clients.
People > Active Clients
Go to People > Active Clients.
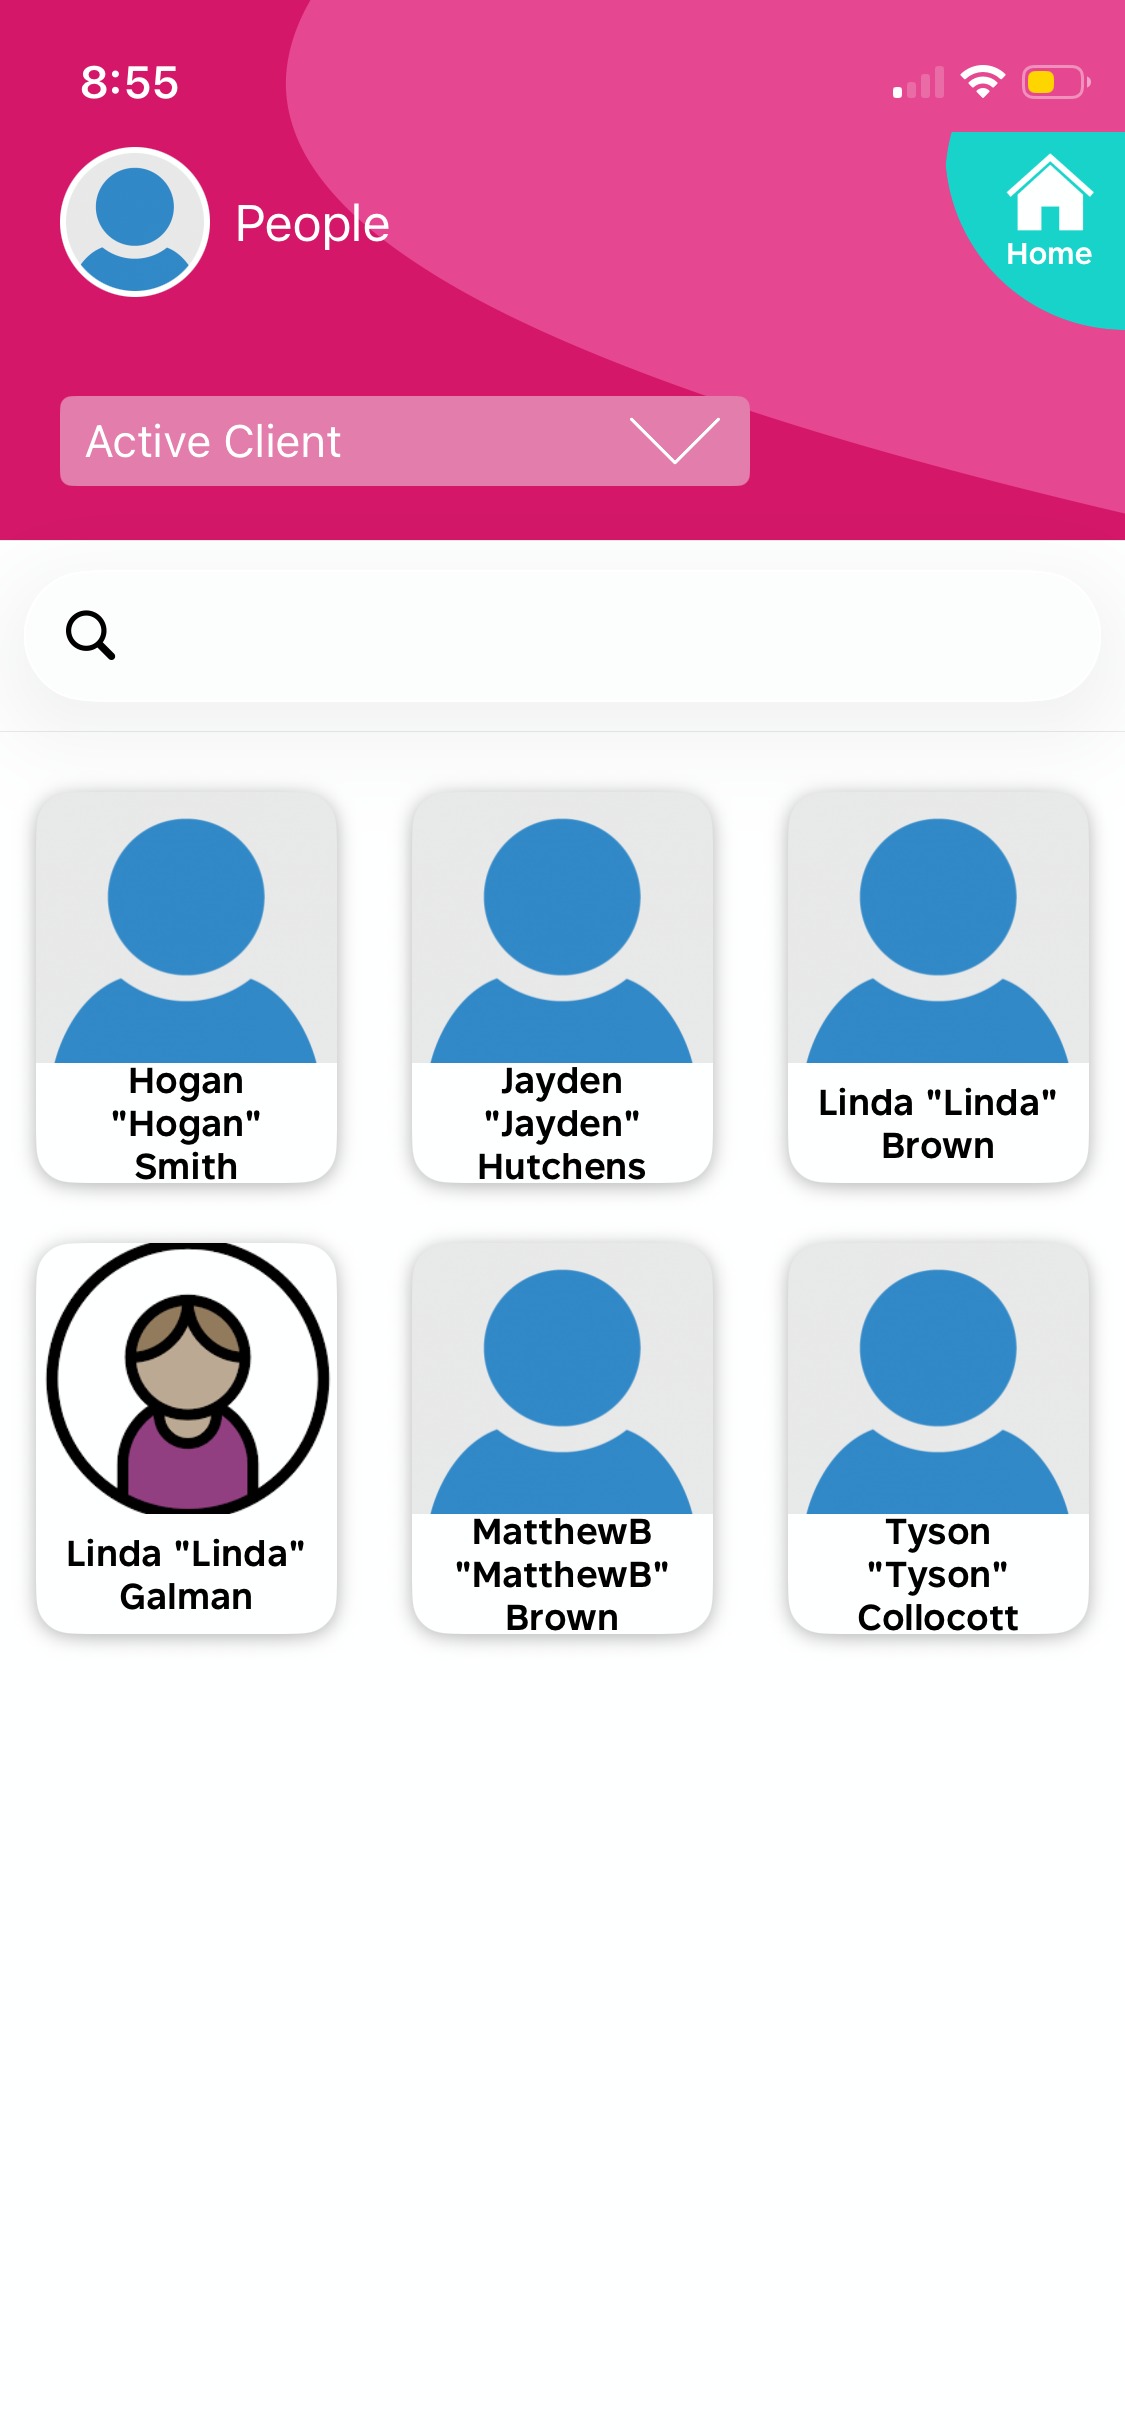 .
Open the client to add a case note or forms.
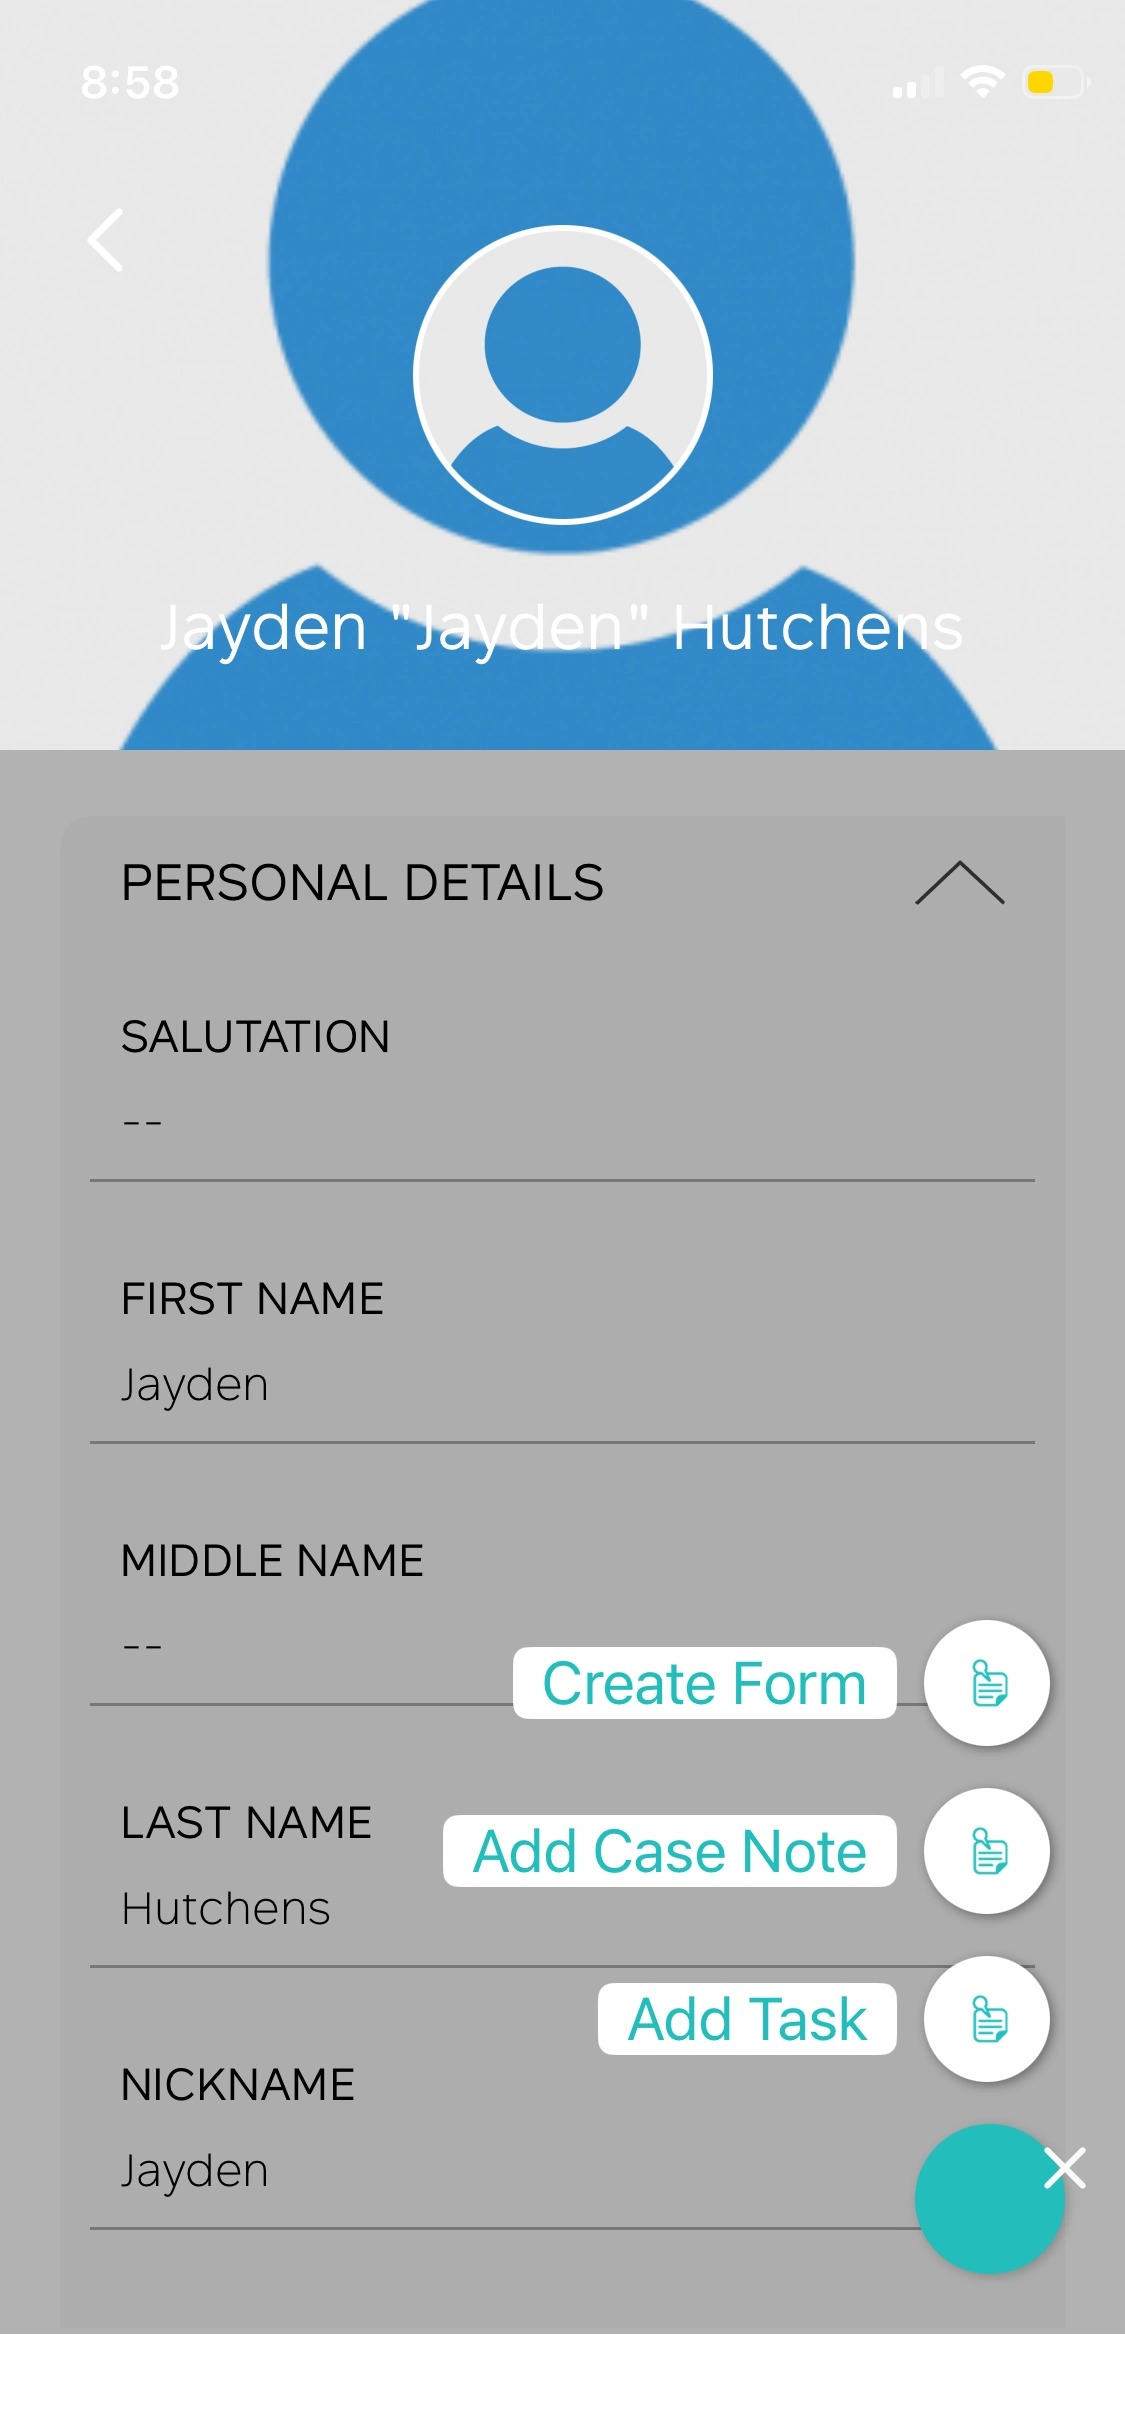
Calendar
- Log in to the mobile app as the staff member, then:
- Tap Calendar.
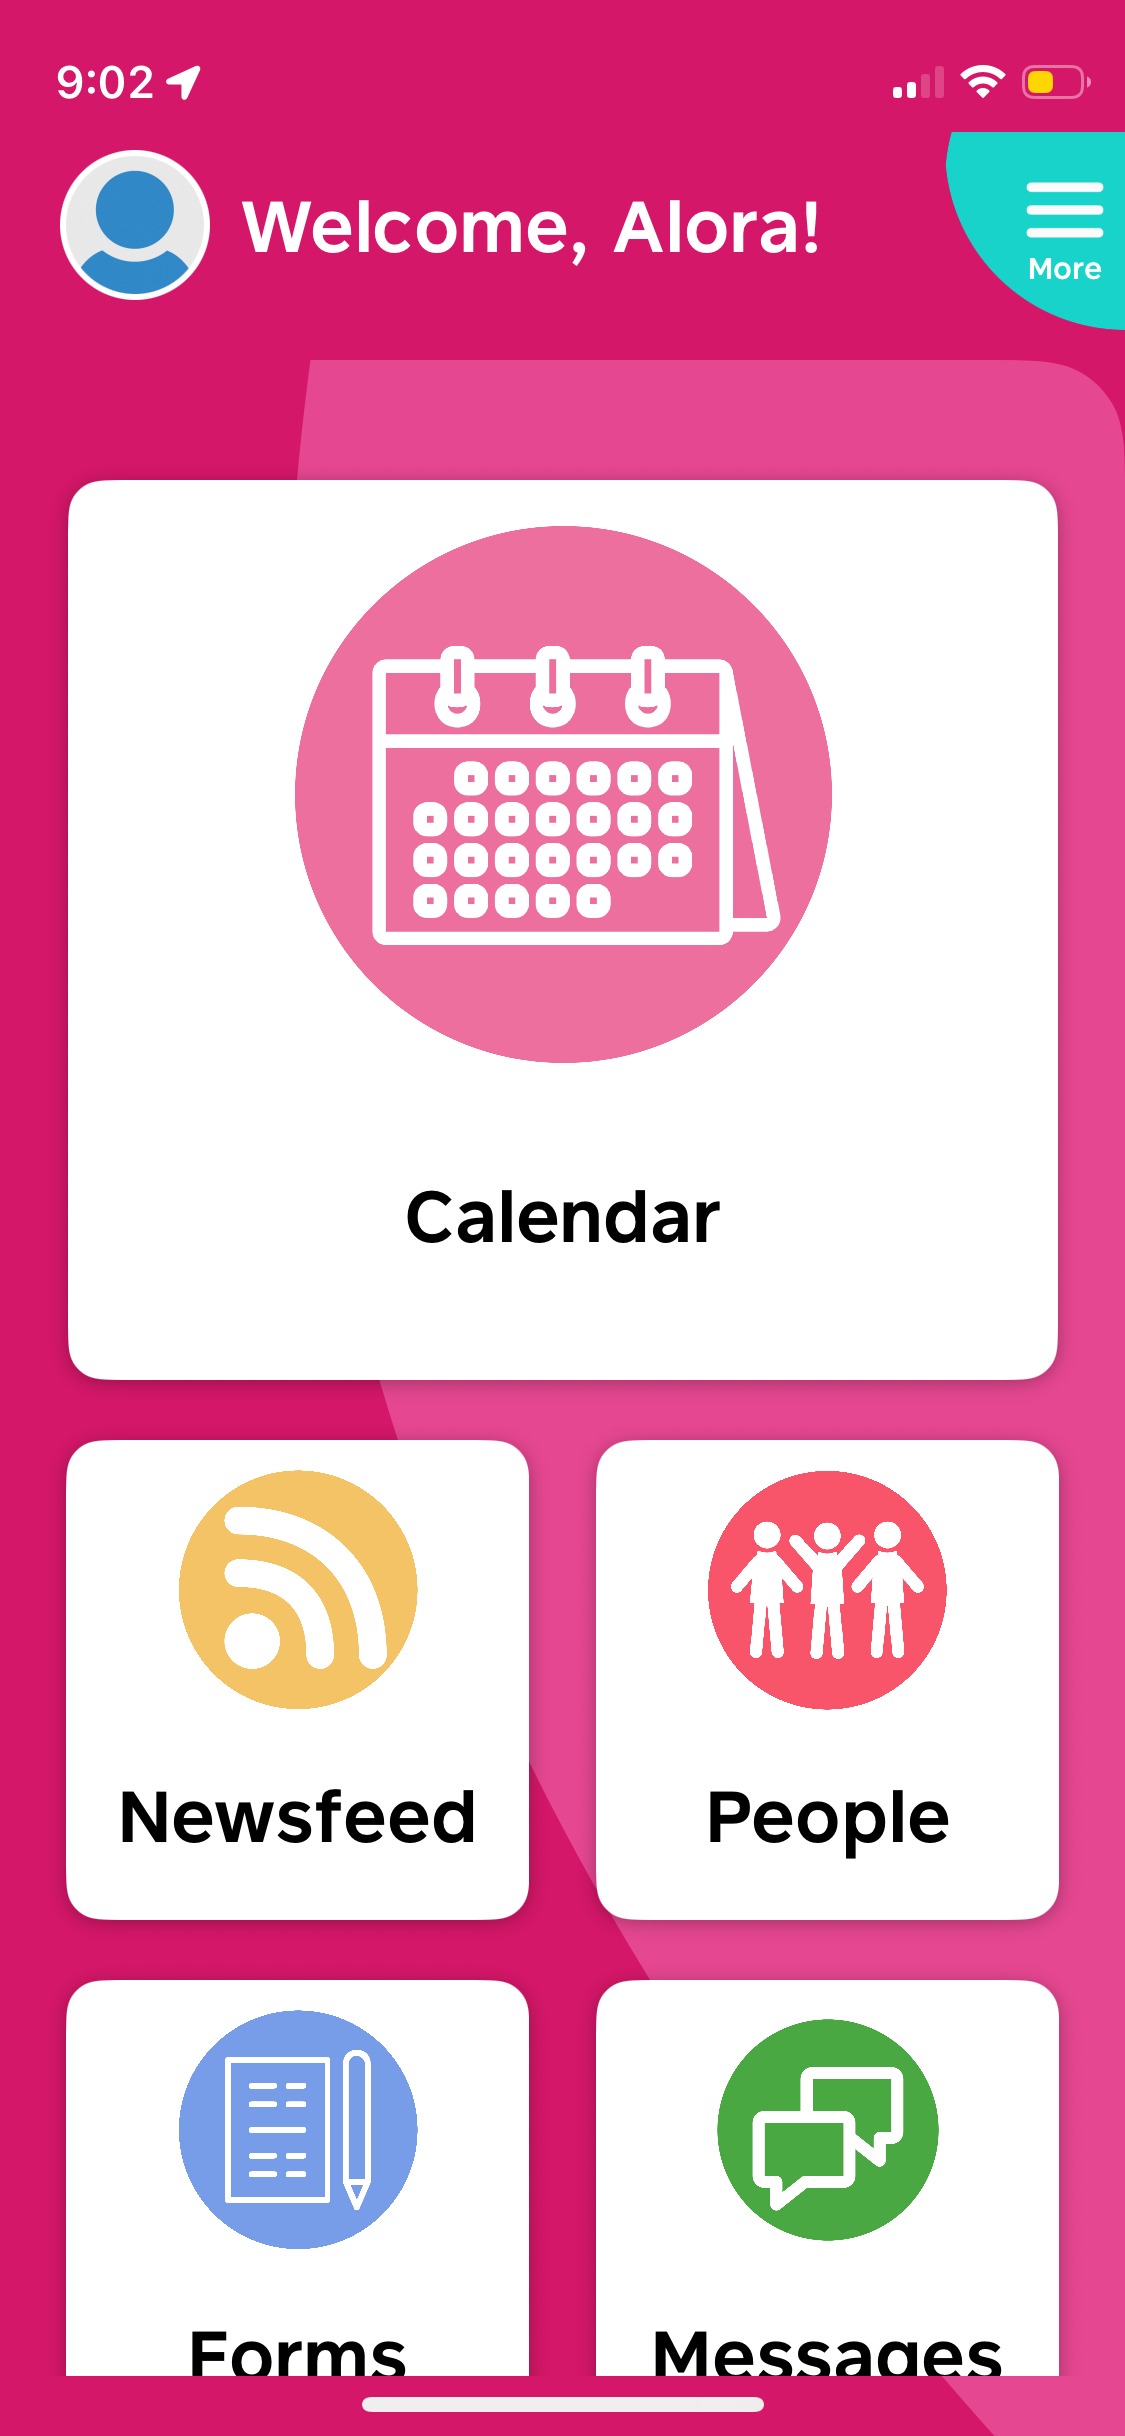
Select the shift (Shift A). Tap View Details, then Check In.
Go to Clients to view the client list.
When checking out, the staff member can add case notes or complete the required forms.
 Note: If client names don't appear after setup, force close the mobile app, reopen it, and open the shift again.
This topic walked you through setting up a shift pattern with a social group as the associated group. For more information about shift patterns and social group , contact the CareVision Support Team.