How to Configure an Allocation Category
A. Configure an Allocation Category
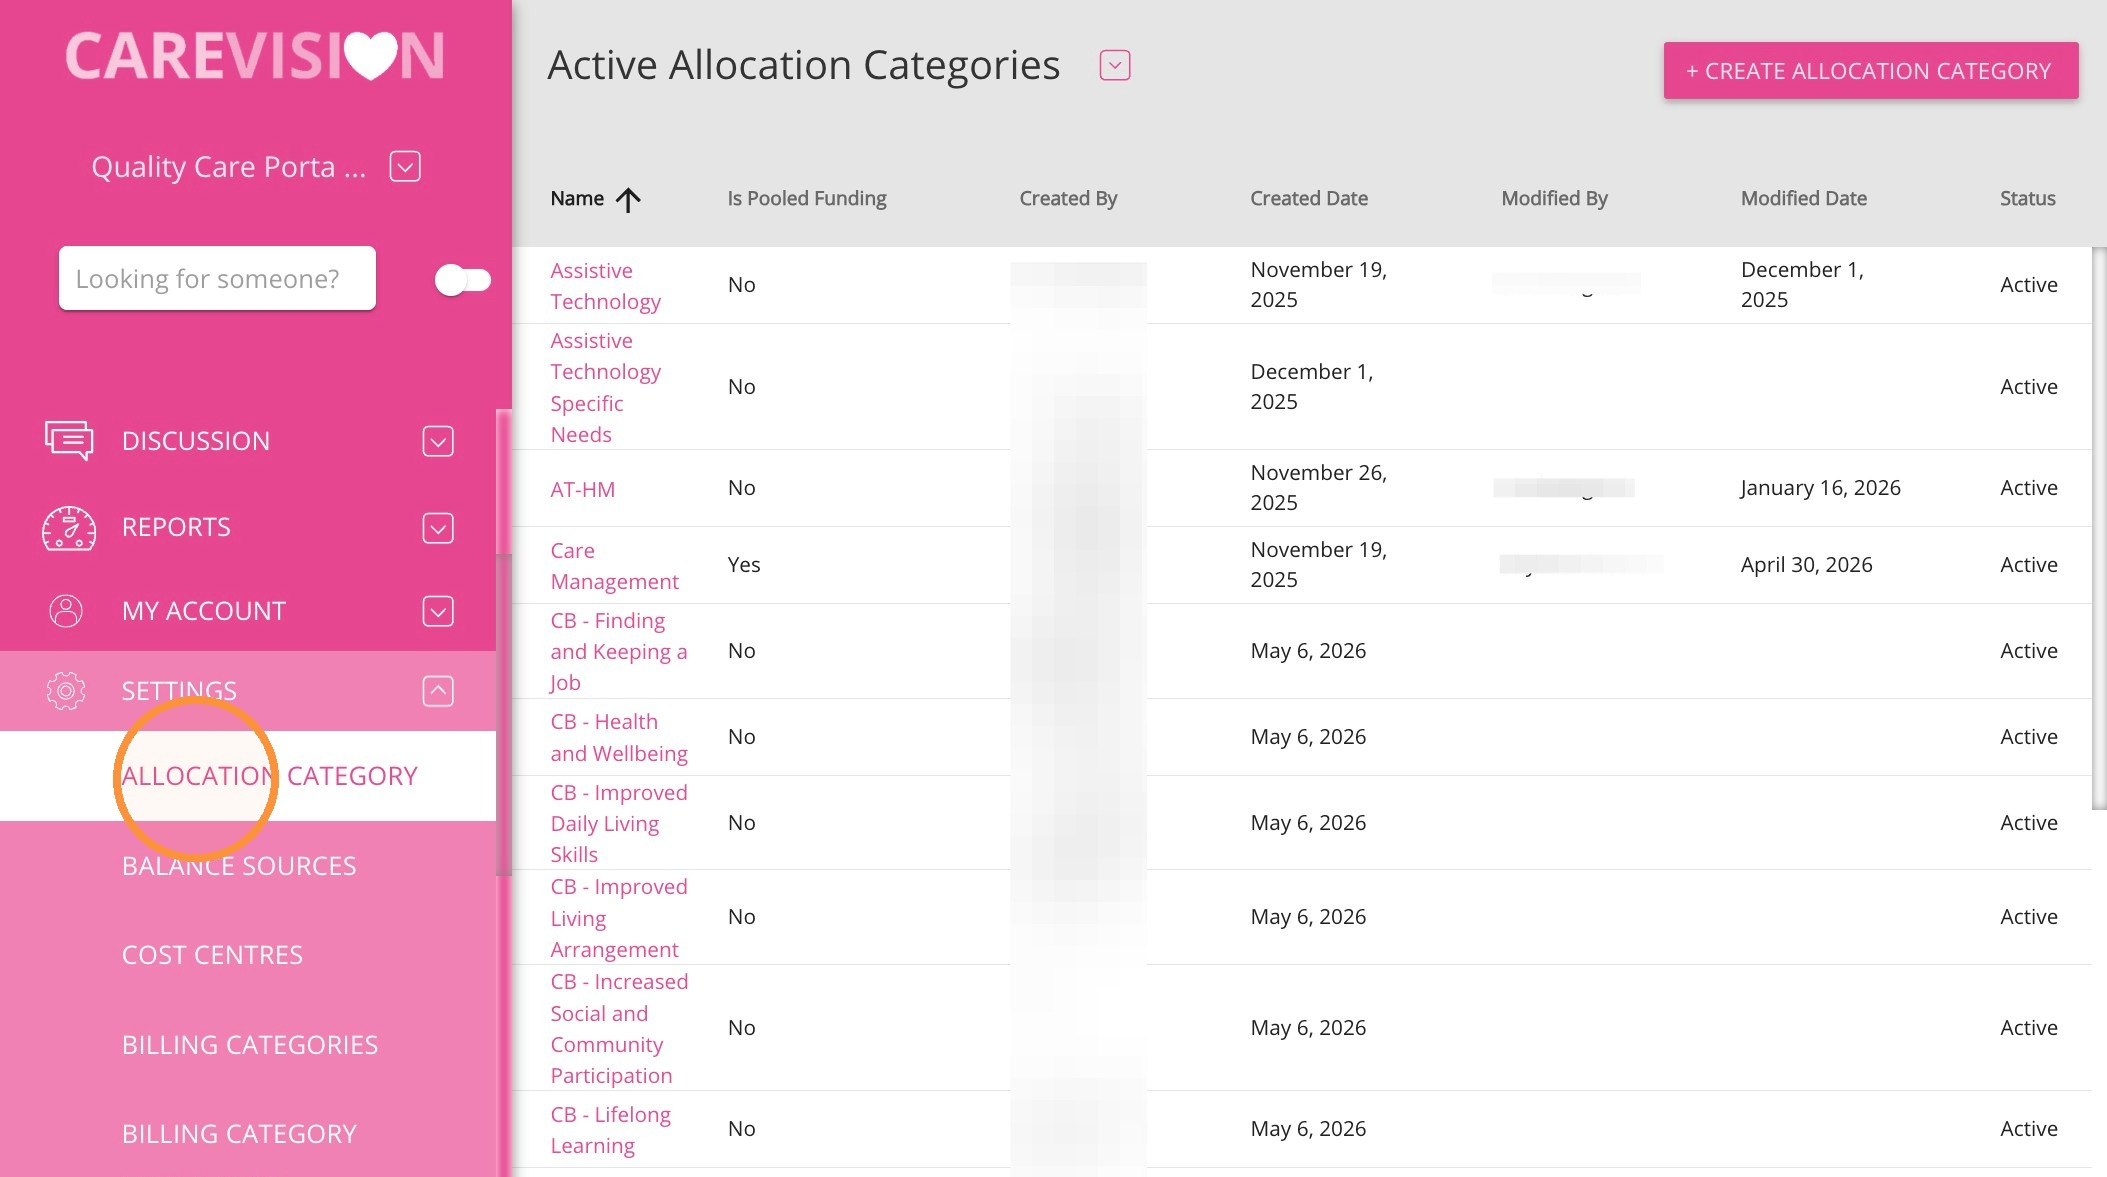
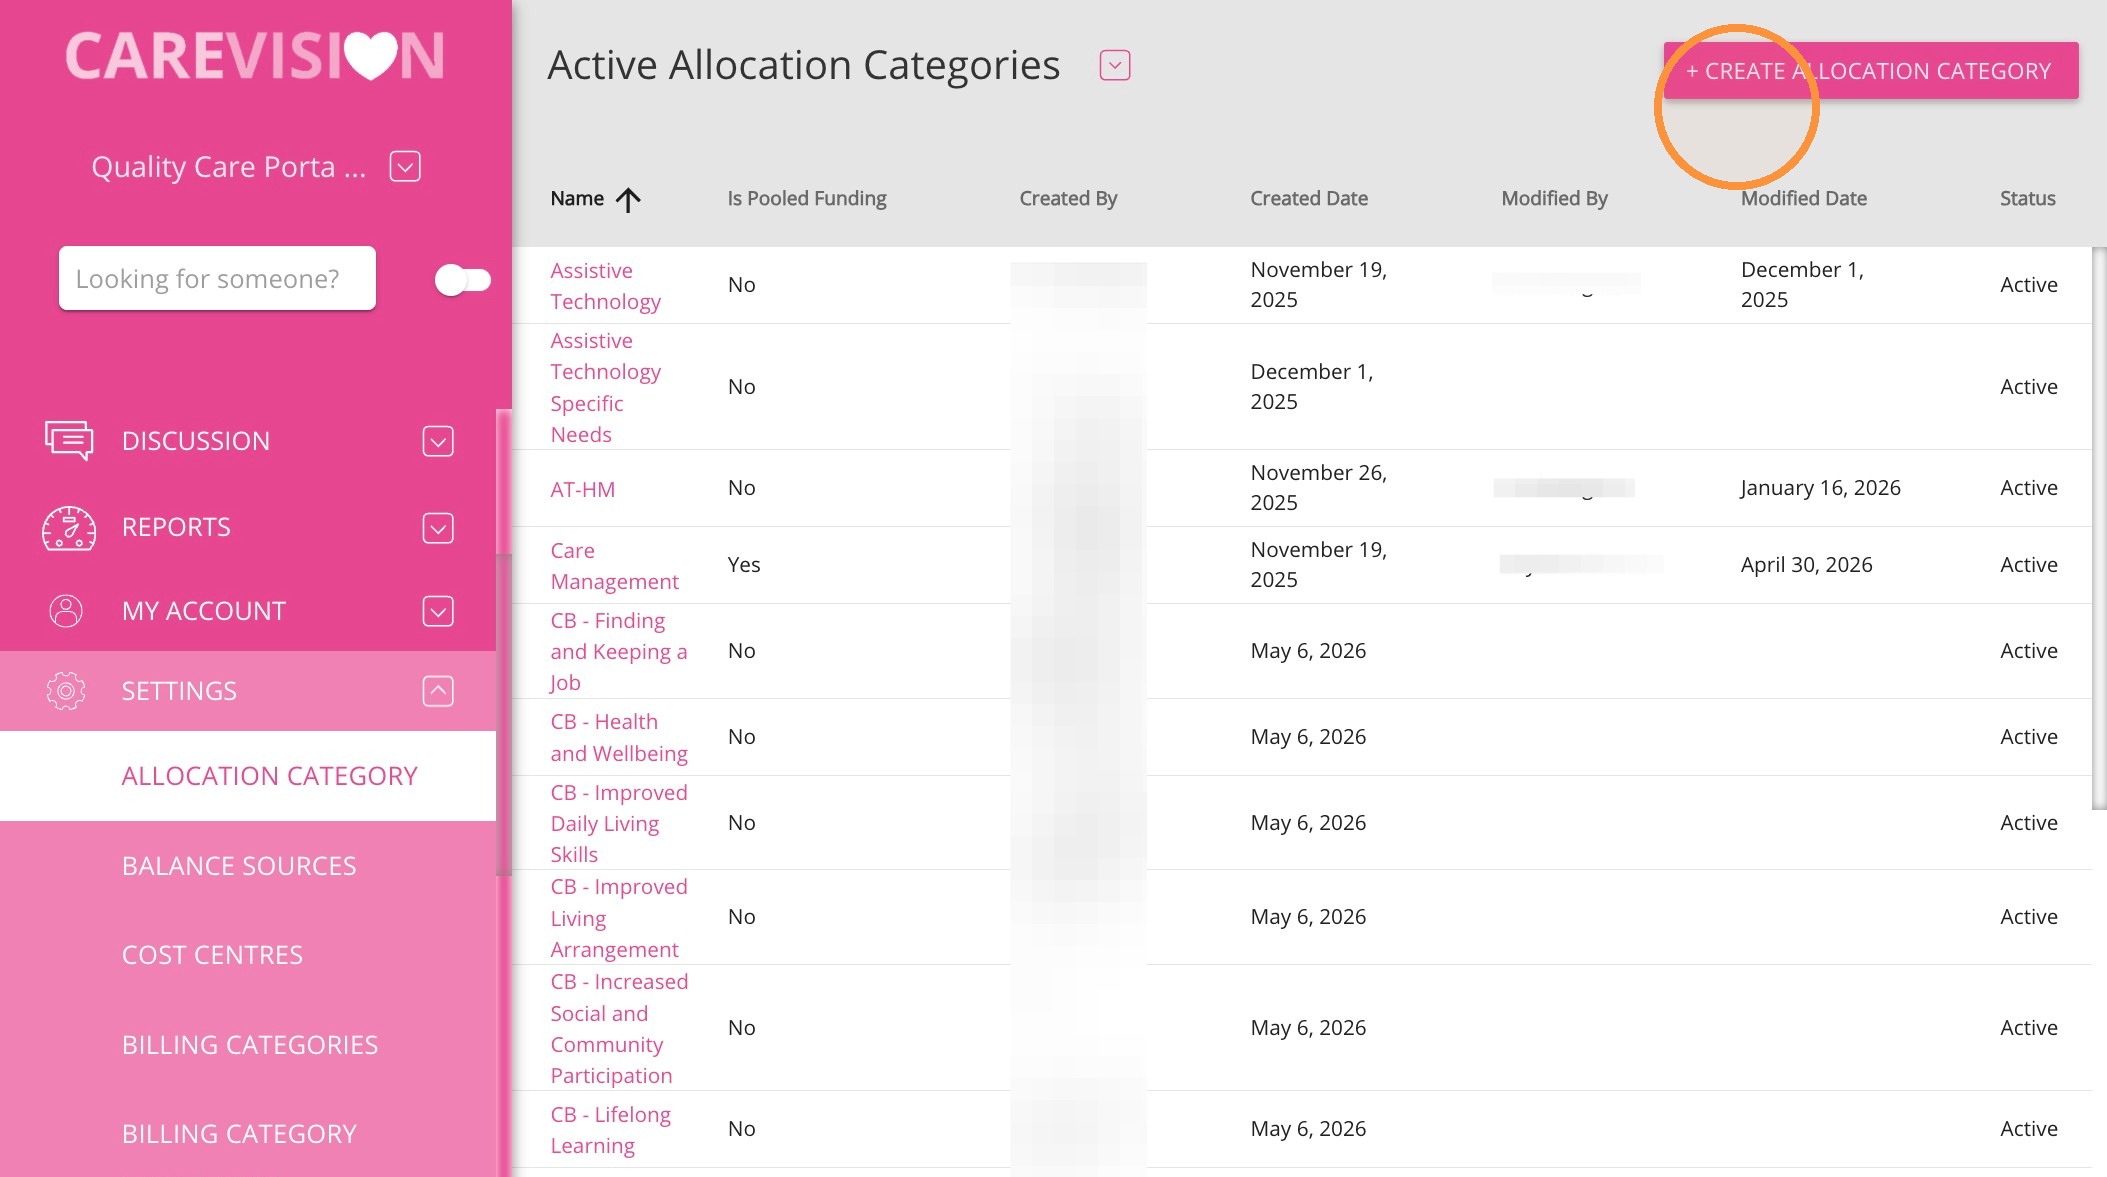
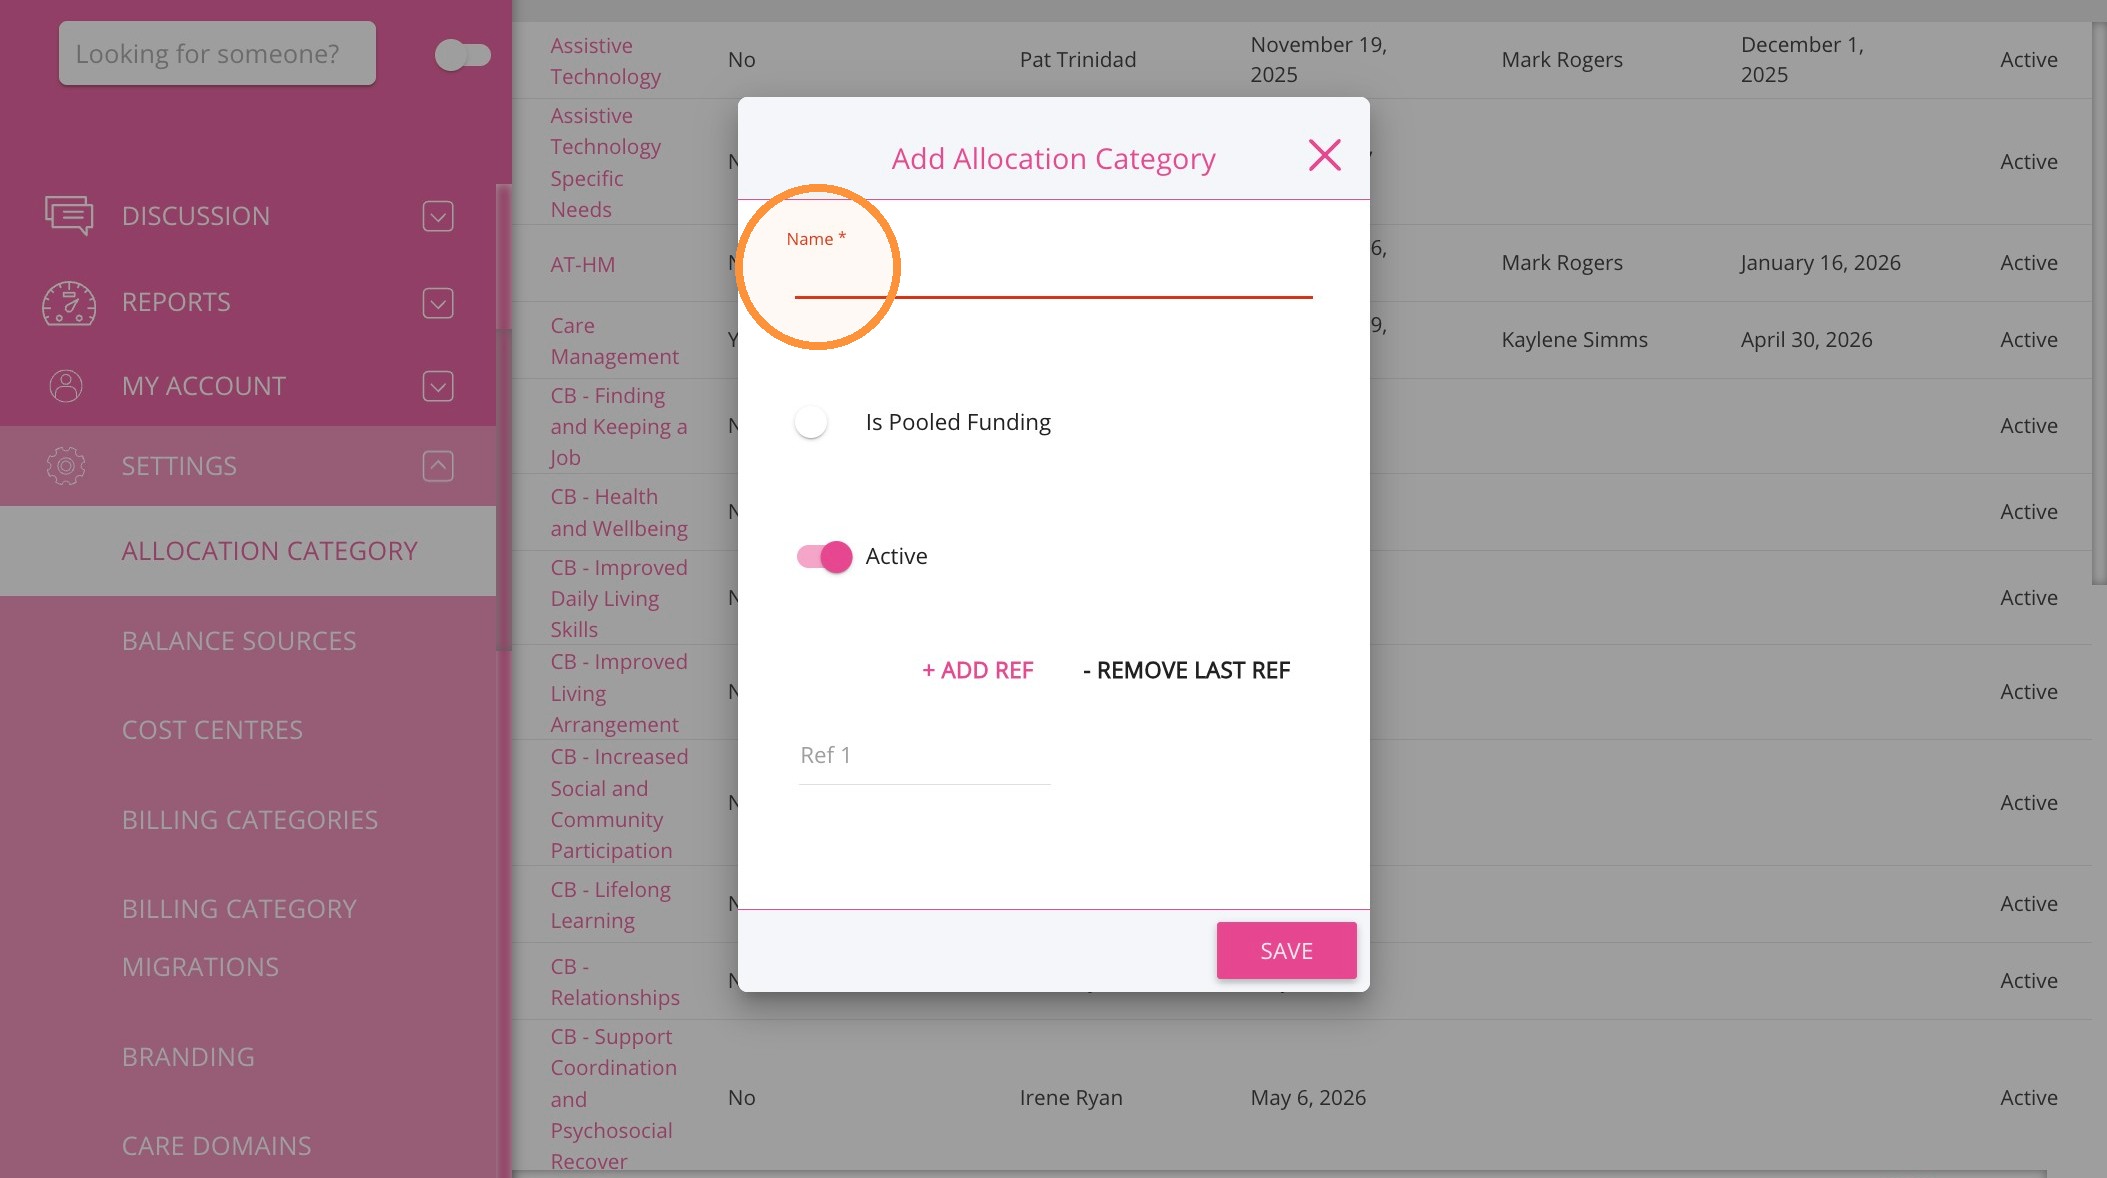
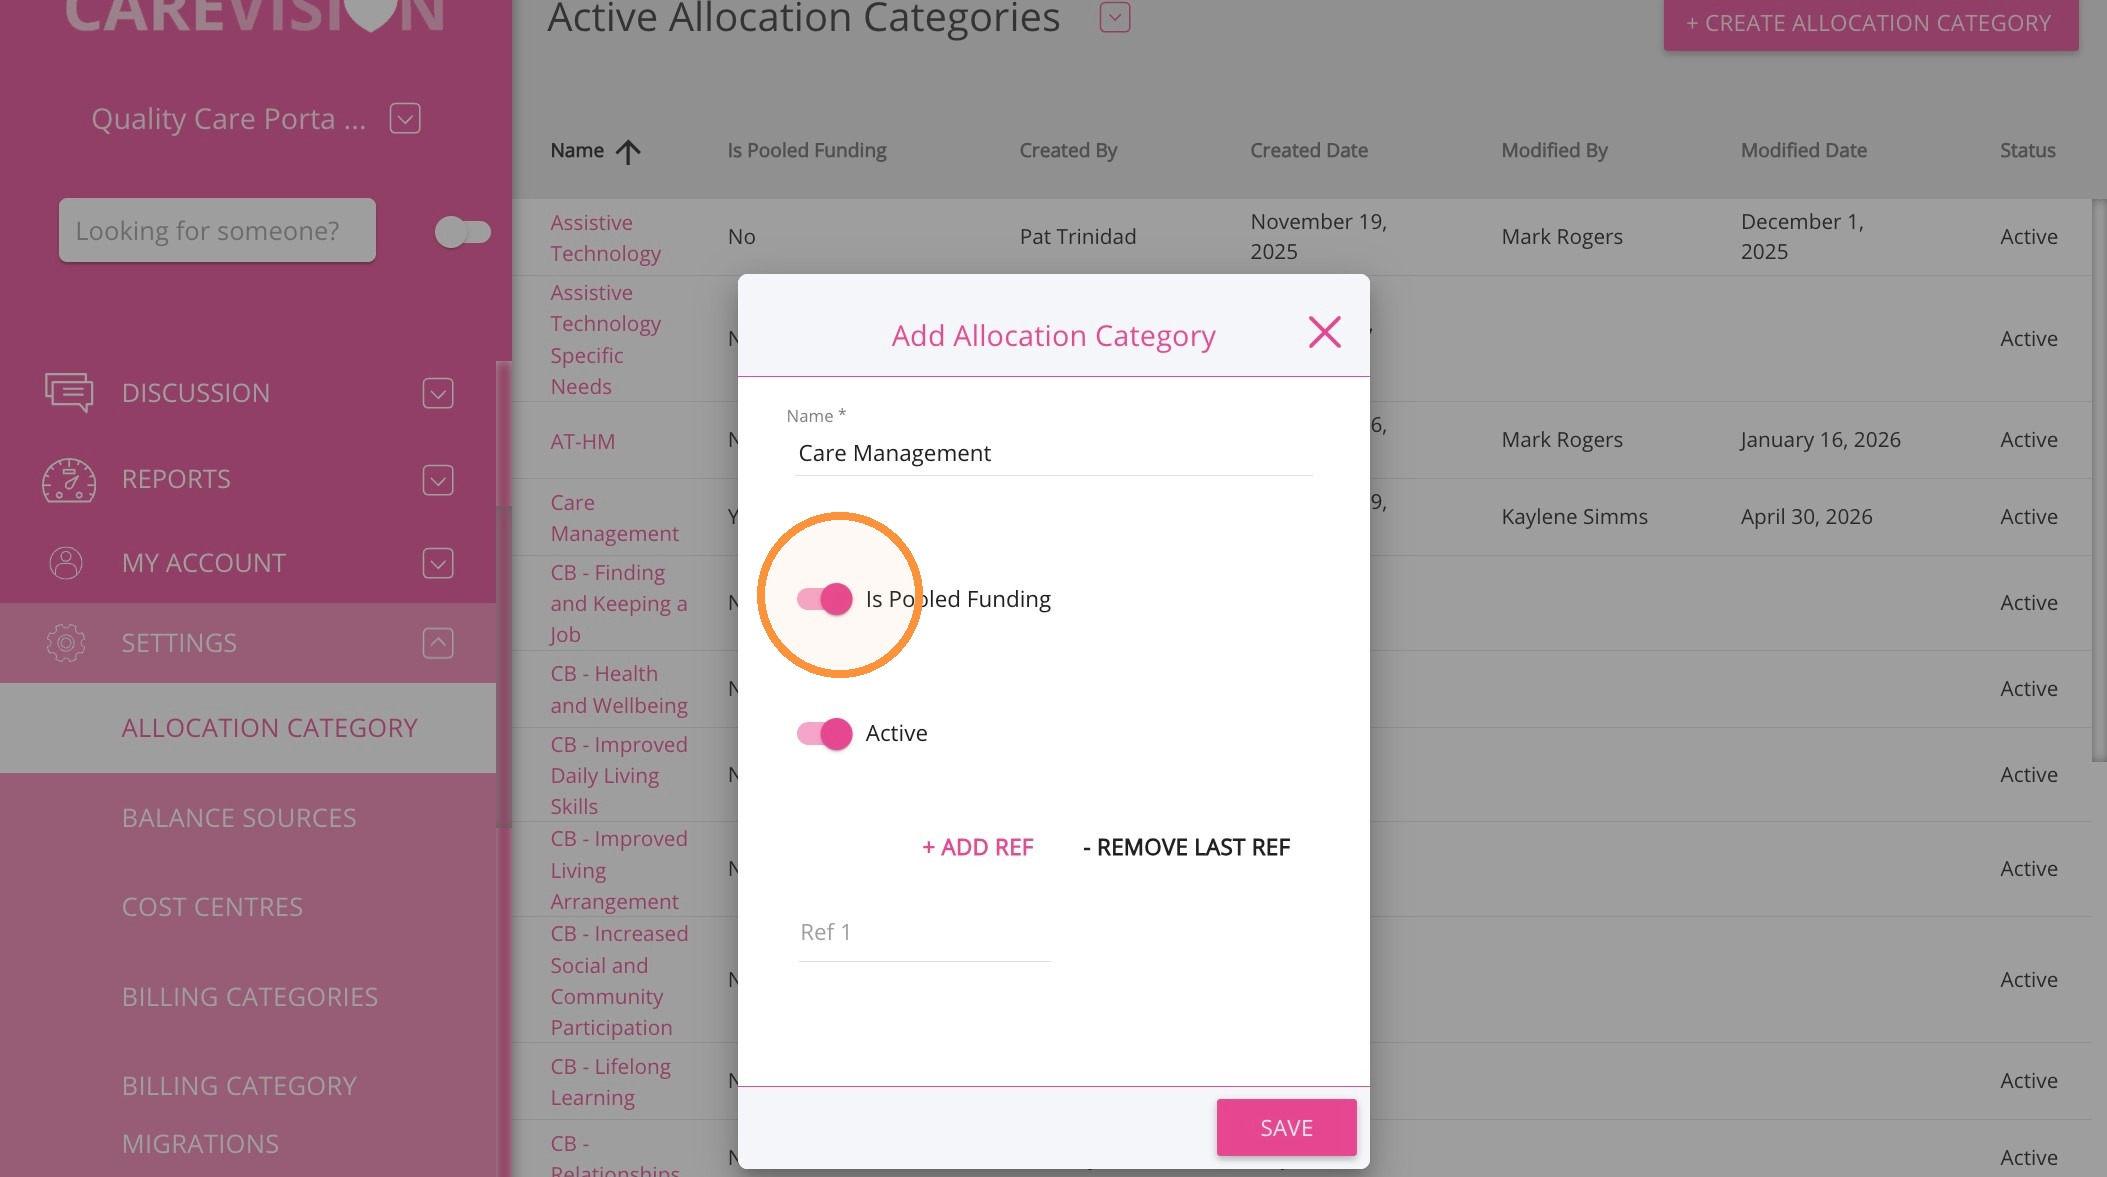
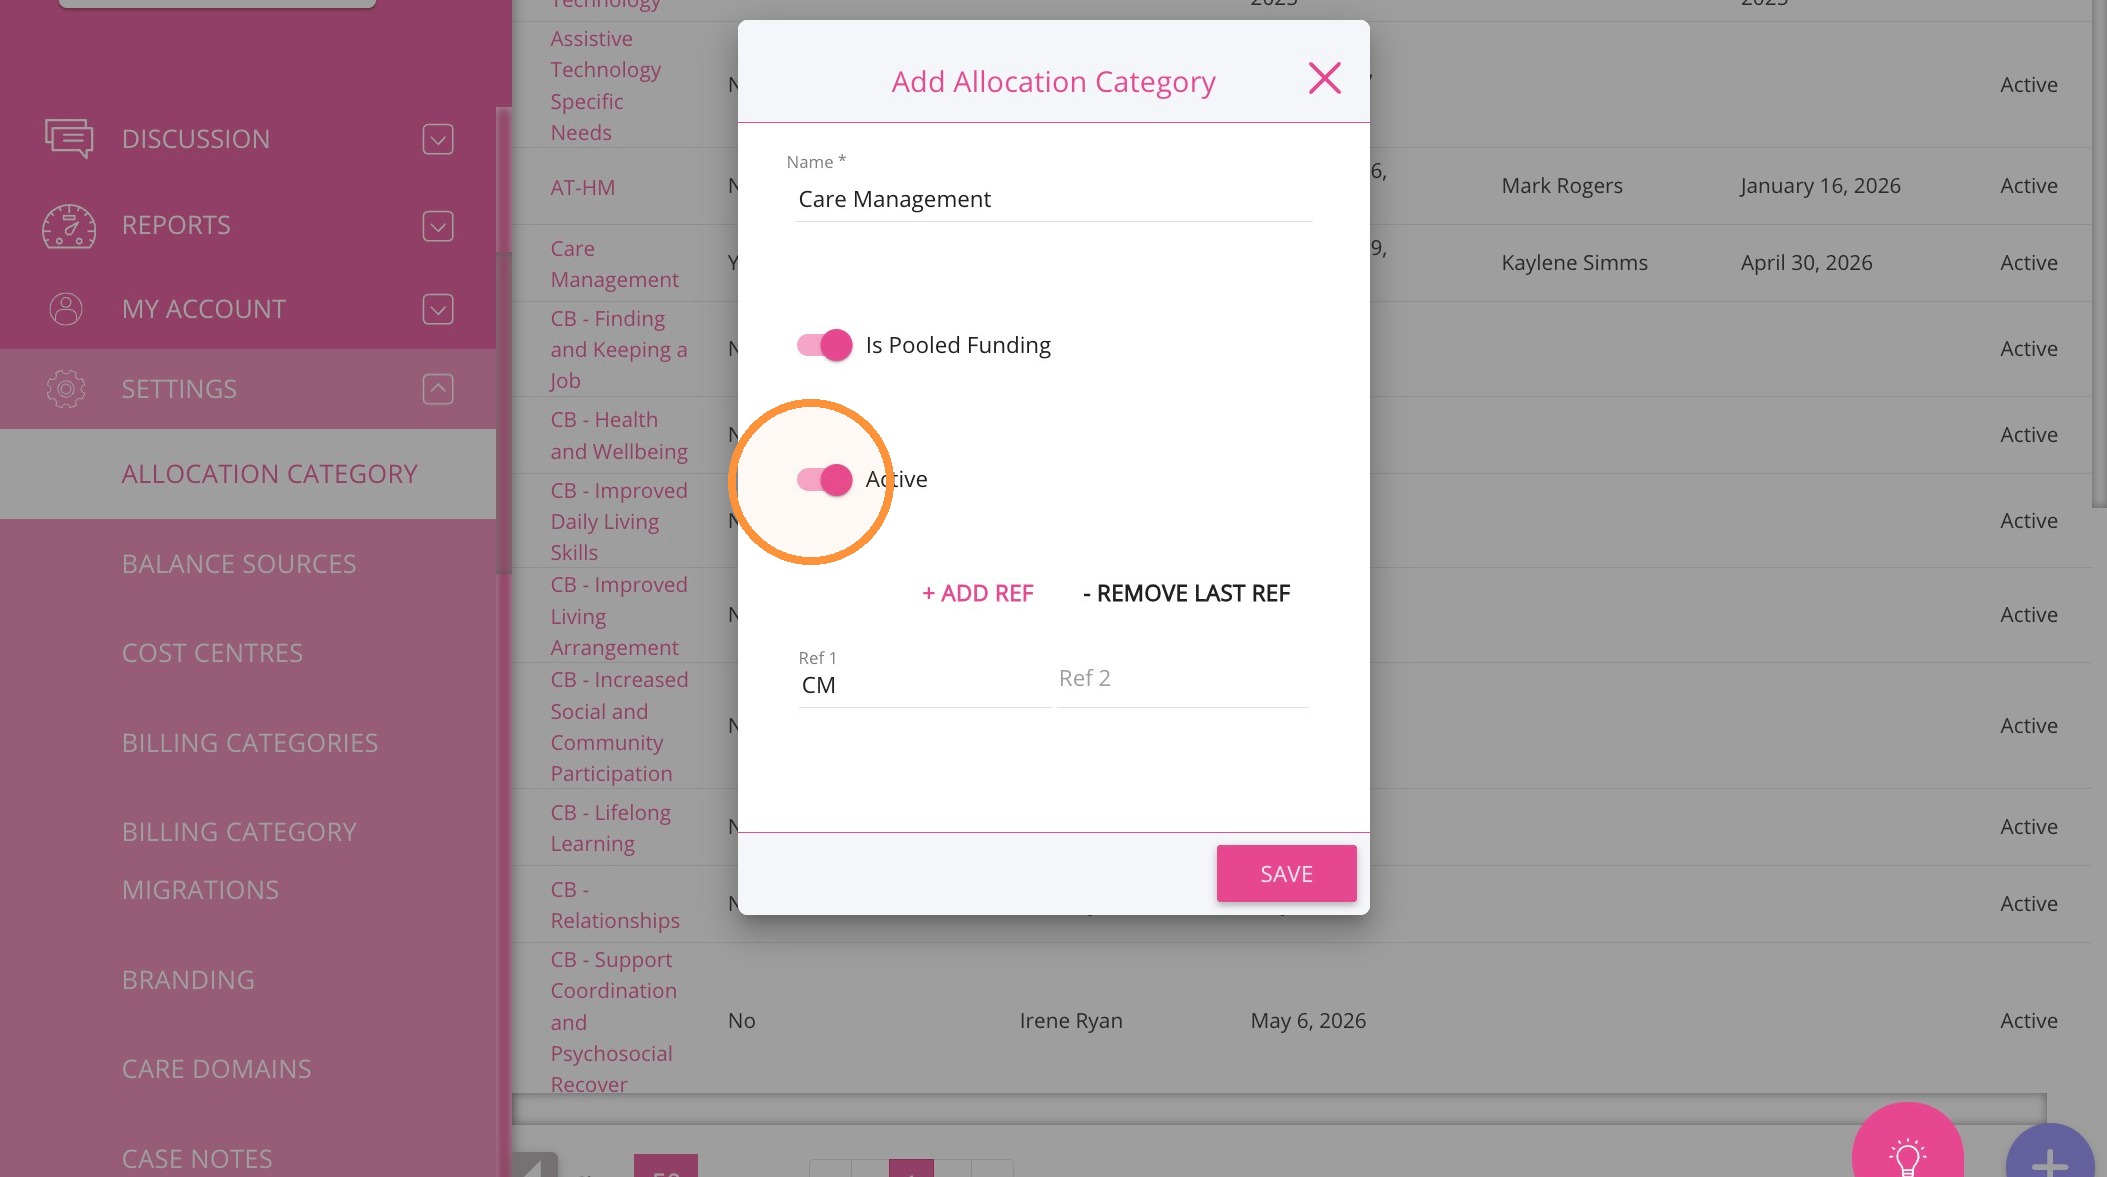
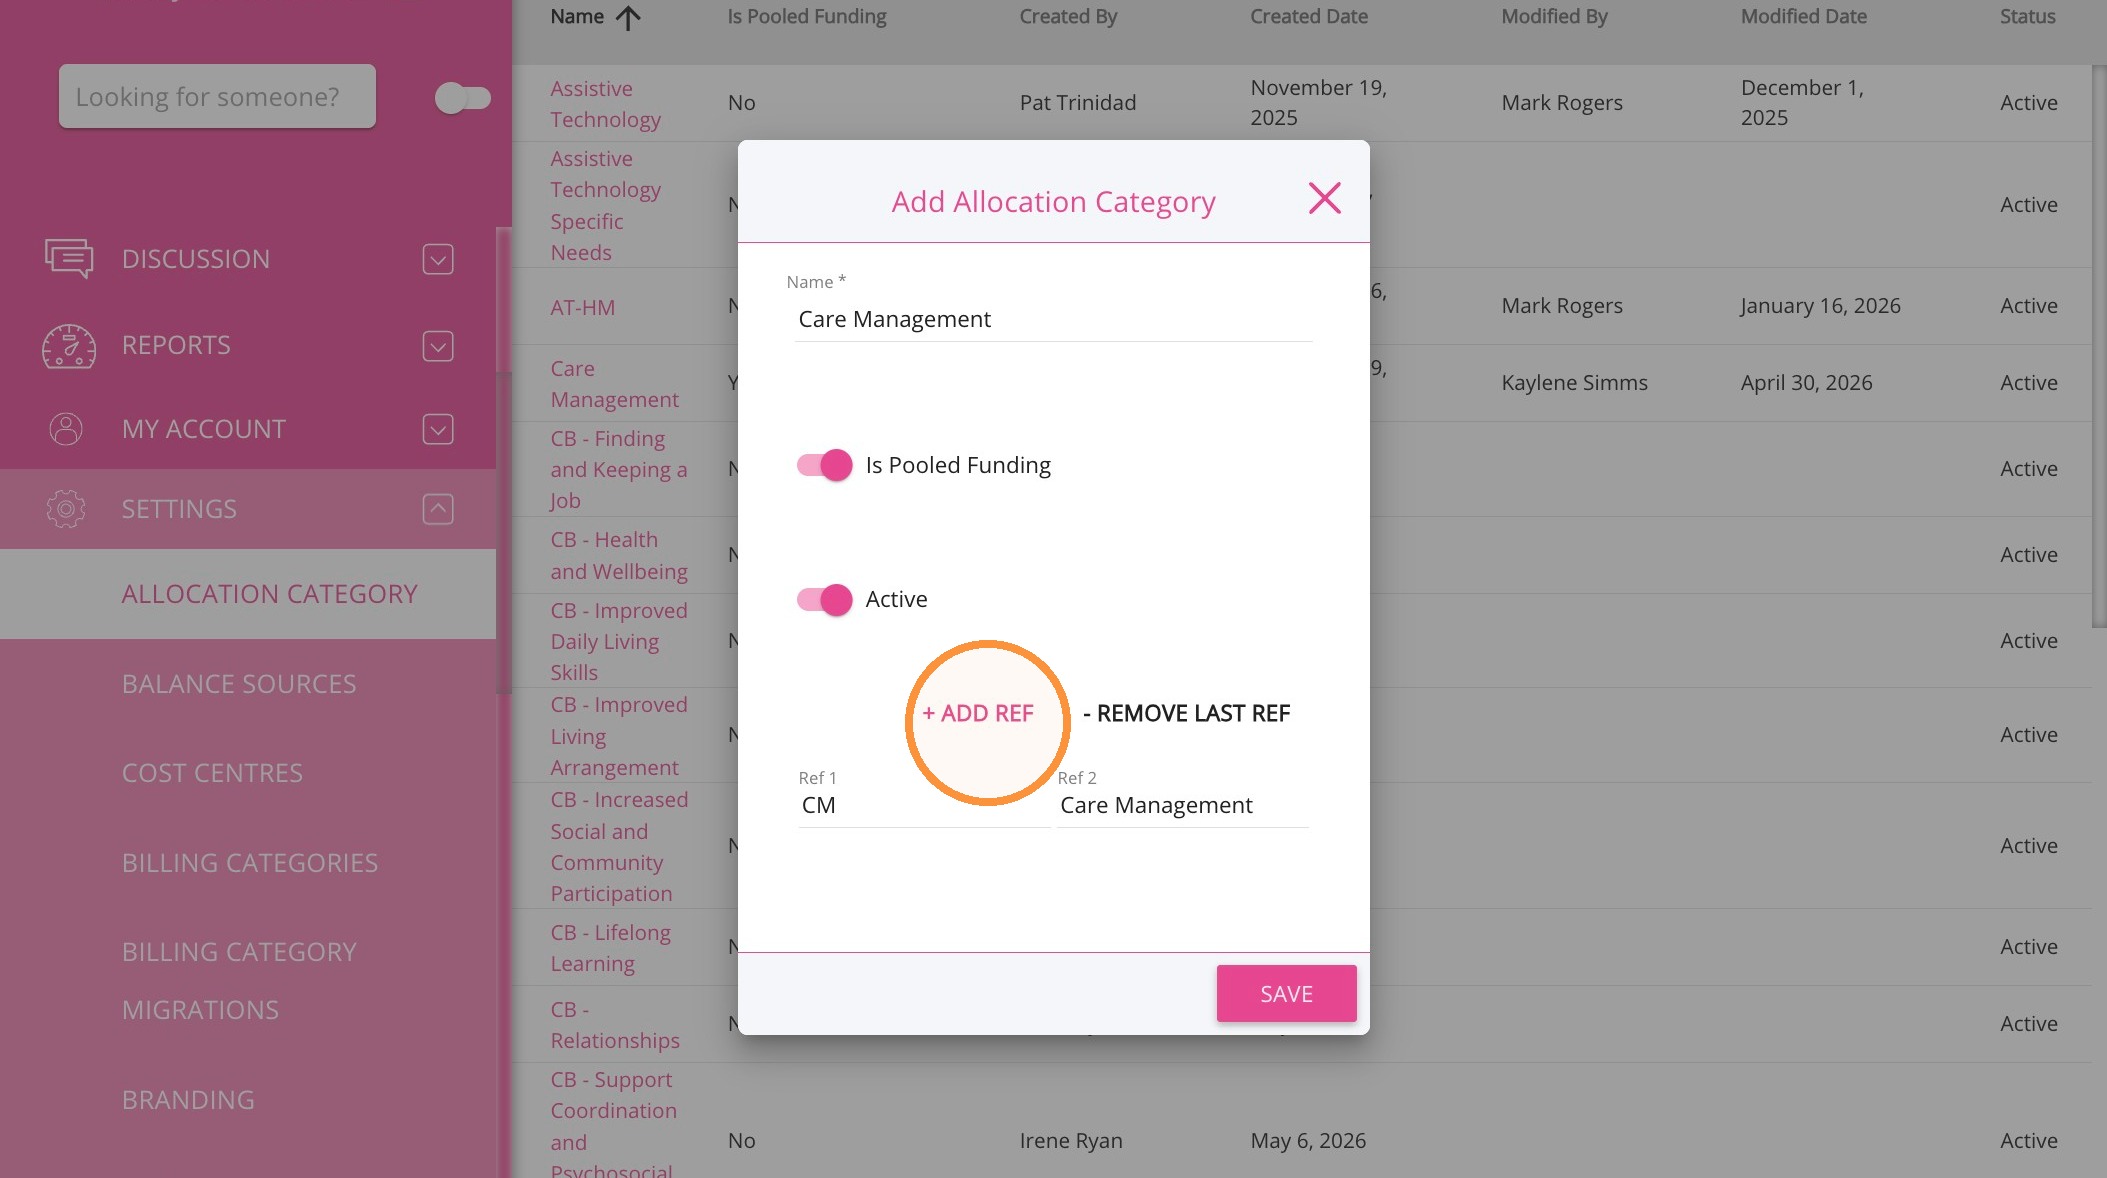
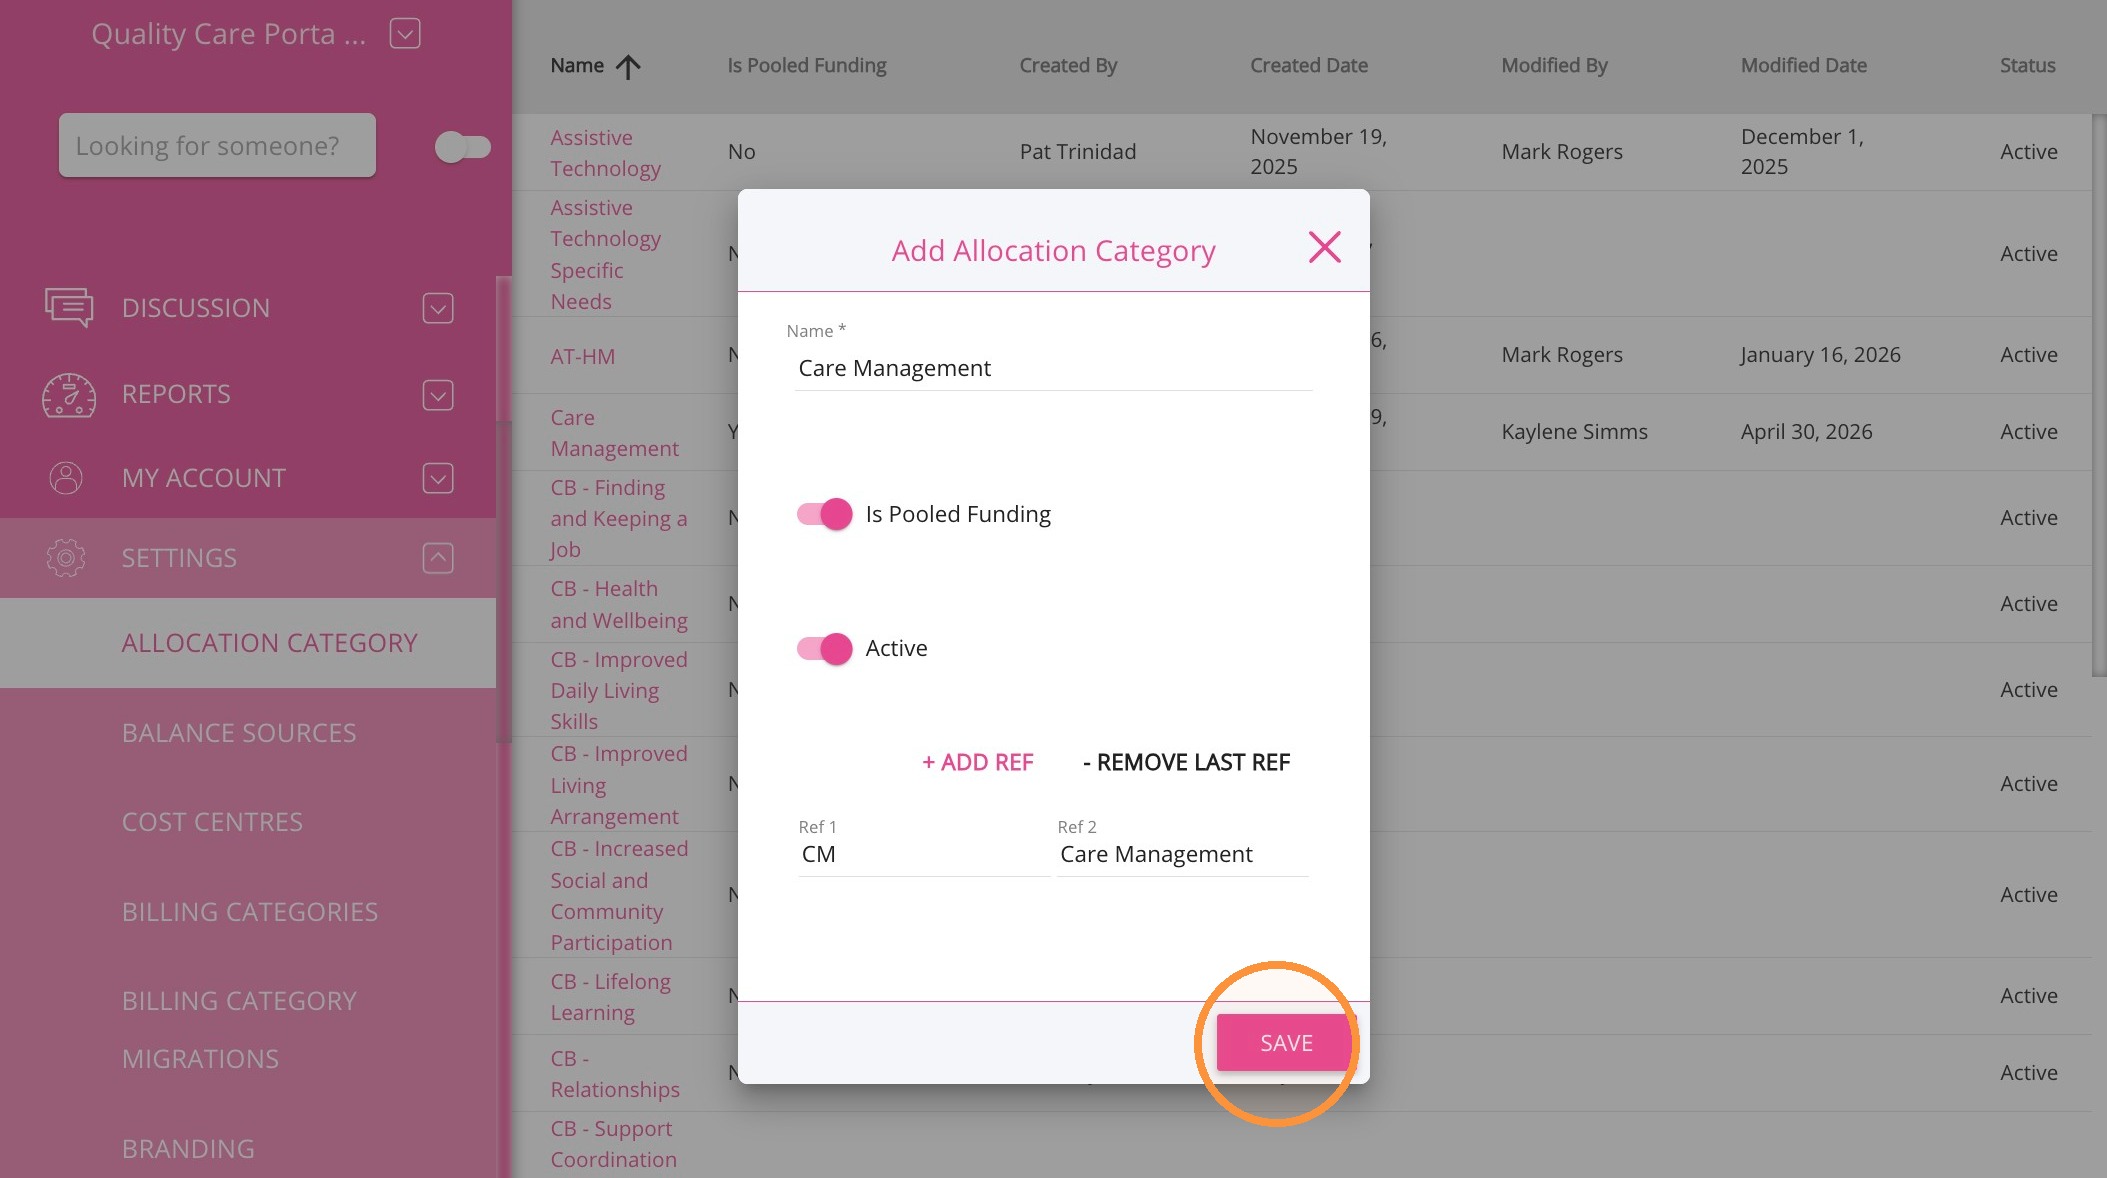
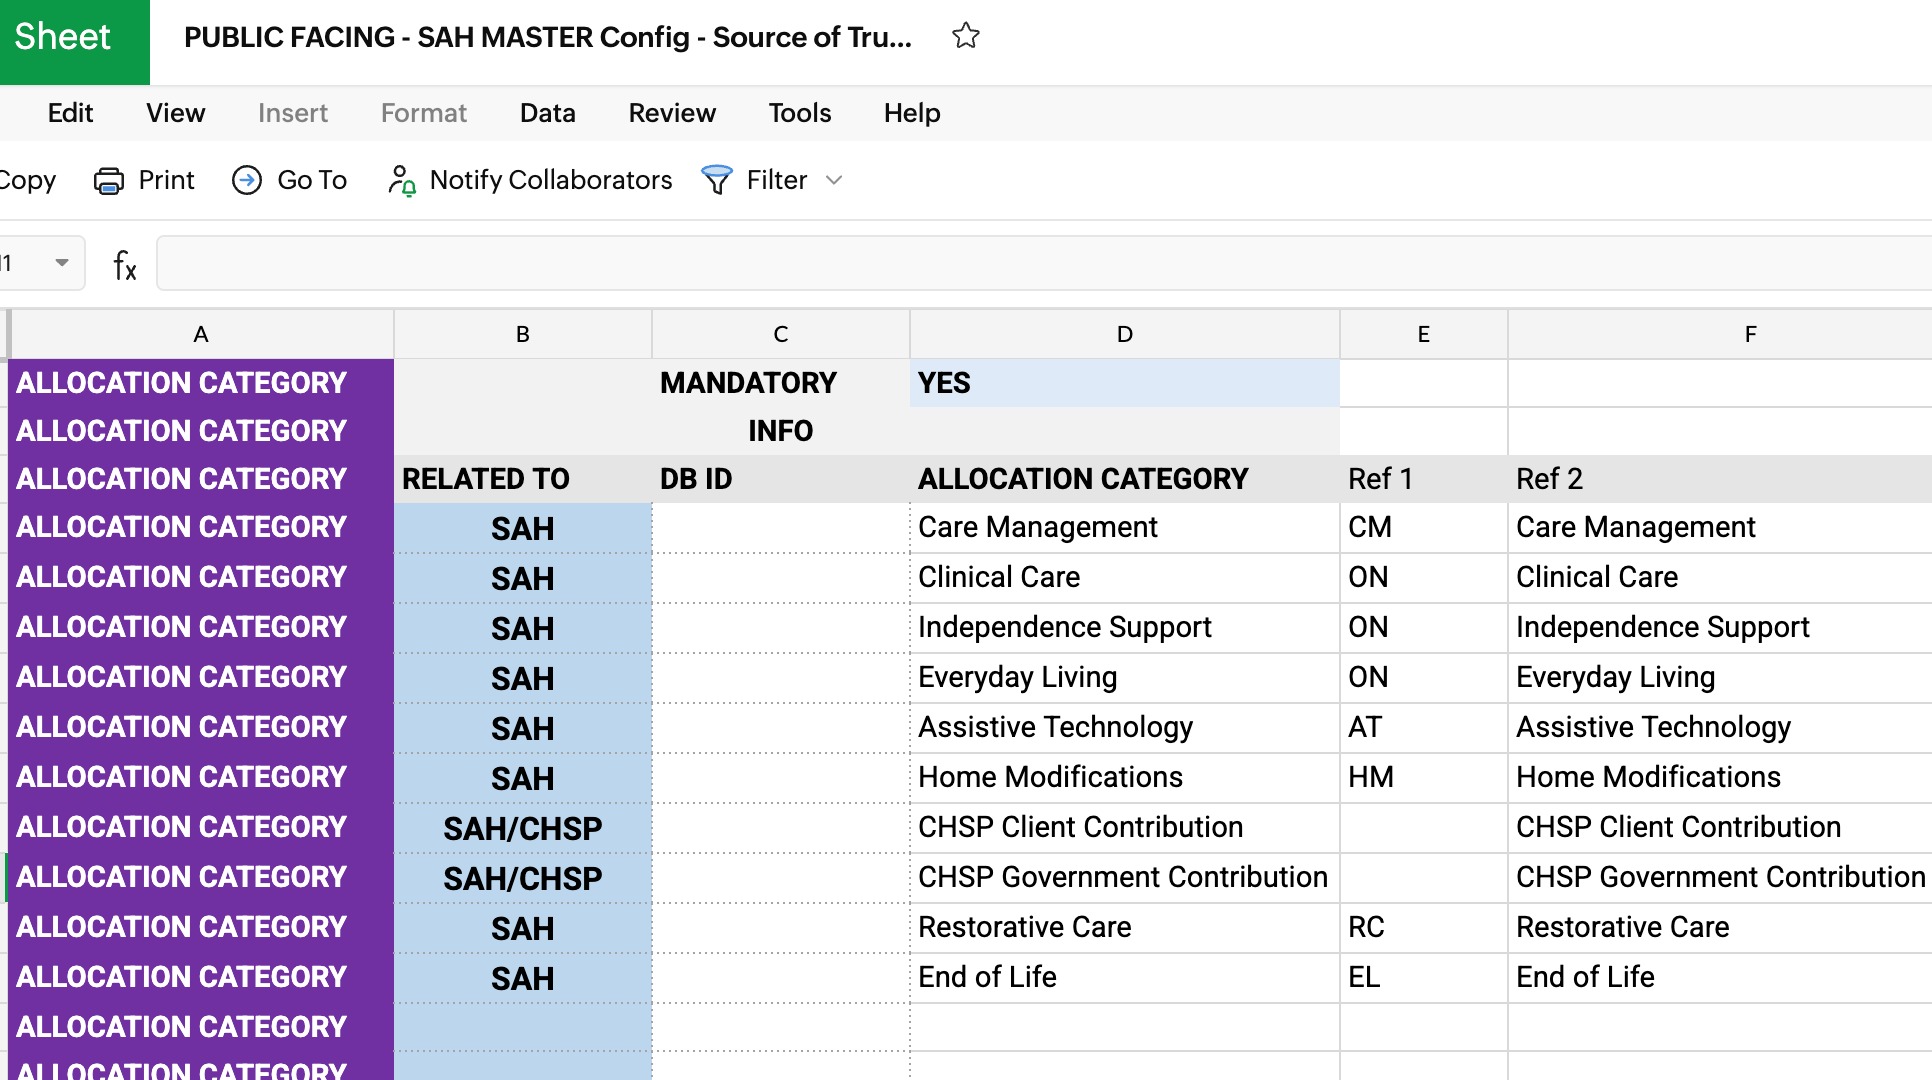
- Ref 1: CM
- Ref 2: Care Management
B. Assign an allocation category to a billing category
After creating the allocation categories, assign them to the appropriate billing categories. This connection tells the system which funding allocation a service or charge should draw from.
For example, assigning the Care Management allocation category to a Care Management billing category ensures that associated services and billable time are tracked against the Care Management funding pool.


2. Click Billing Categories.

3. You can select an active billing category from the list and click Edit. Alternatively, click + Create Billing Category to create a new one.
- We recommend always updating rates based on your existing rates. If you edit existing rates, all your existing codes will be copied over, making the process more efficient. For more information, see How to update subsidy rates
- If you create a new draft from scratch, you will need to add all codes manually, which can be more time-consuming. For more information, see Understanding the different types of Billing Categories.
4. Set the Name field to the name of the billing category, for example, Care Management.

5. Set the Type field to Time Category.
6. Click Draft Rate Sets.
7. Click Create draft.
8. In the Effective From field, enter the date when the new billing category will take effect
9. Set the Allocation Category field to Care Management.
10. Set the Unit field to Hours.

11. Specify the rates for Default Rate, Public Holiday, Saturday, Sunday, Weekday Day, Weekday Evening, and Weekday Night. Then, enter values for the Amount and Minimum Quantity fields for each category.
12 .Click Save after updating each time bracket.

13. Click Publish to apply the changes.

14.Scroll down and click Save again to finalize.

Repeat this process for the remaining billing categories, ensuring that each one is assigned to the correct allocation category and uses the rates specified in the Configuration Workbook.