Distance Travelled with a Client (DTWC)
Distance Travelled with a Client (DTWC)

Distance Travelled with a Client (DTWC) records travel when a staff member transports or accompanies a client during a booking. This may include taking a client to an appointment, activity, or another location.

It is configured using a DTWC billing category and applied as a line item to record, bill, or pay the relevant distance or travel time.

Keywords: distance travelled with client, dtwc, client travel billing, kilometre tracking, billable client travel, non-billable client travel, mobile check-in, mobile check-out, staff travel reimbursement

Billable vs Non-Billable DTWC
DTWC categoryDescription
DTWC - BillableUse when travel with the client can be charged under the client’s funding agreement. The client or funding source is charged at the configured rate. The distance may also be used to calculate staff member payment or reimbursement.
DTWC - Non-BillableUse when travel with the client must be recorded but cannot be charged to the client or funding source. No client charge is generated, but the distance may still be recorded for staff member payment, reimbursement, timesheet review, or reporting.

A DTWC item can be configured using either distance or travel time, but not both. To simplify booking management and reporting, create separate billing categories for DTWC - Billable and DTWC - Non-Billable. Configure each category as either distance-based or time-based according to your organisation’s requirements.

The names below are examples only and can be modified to match your organisation’s naming convention.
Sample billing category namePurpose
DTWC - Billable - DistanceCharges the client or funding source based on kilometres travelled.
DTWC - Non-Billable - DistanceRecords kilometres for staff member payment, reimbursement, or reporting without charging the client.
DTWC - Billable - Travel TimeCharges the client or funding source based on the travel duration (minutes/hours).
DTWC - Non-Billable - Travel TimeRecords travel duration for staff member payment, reimbursement, or reporting without charging the client.

Prerequisites
1. Create the DTWC Billing Categories
Create the DTWC Billing Categories
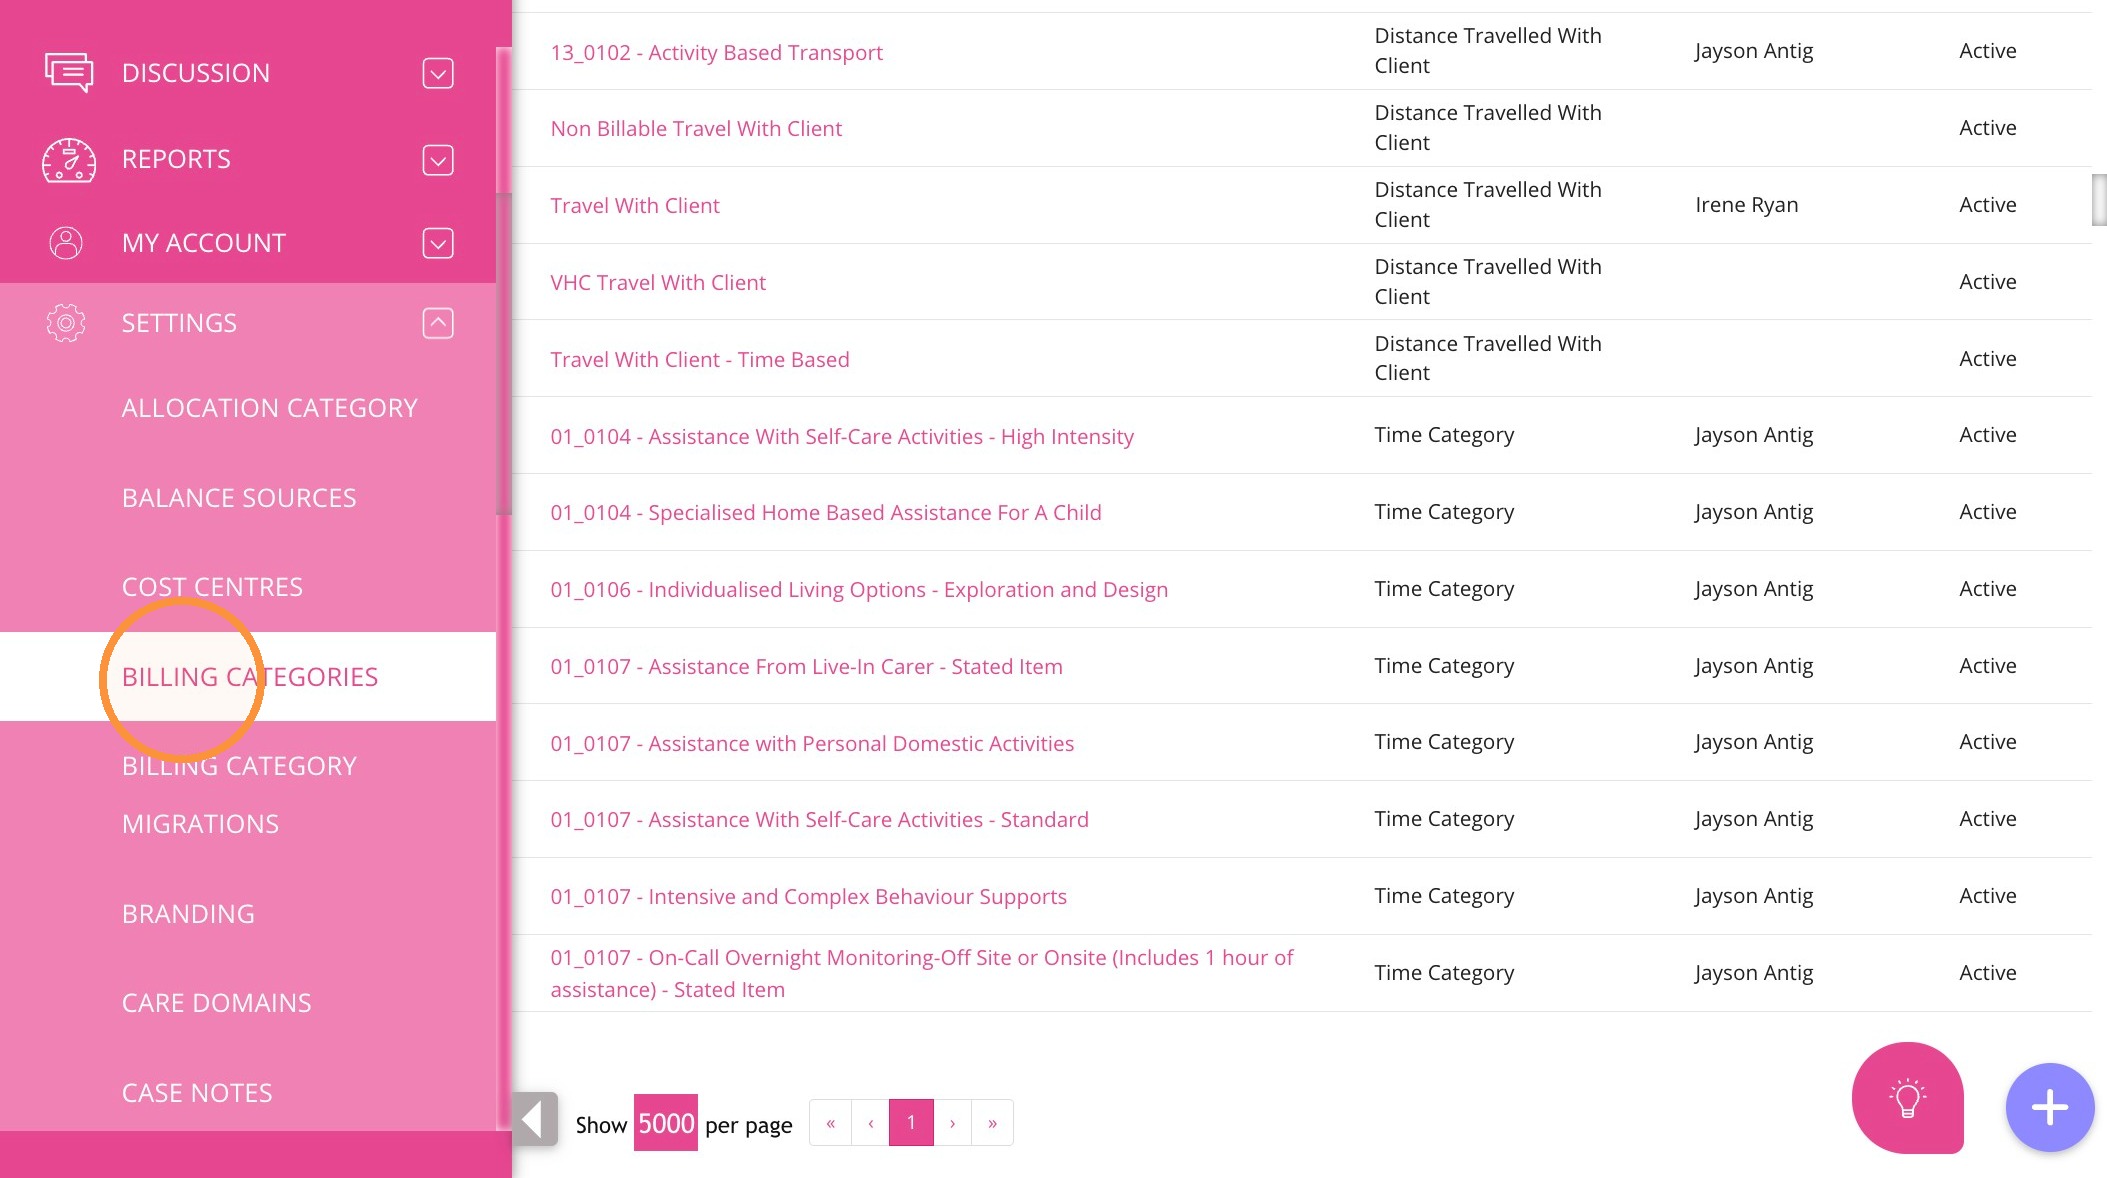
1. Go to Settings > Billing Categories.

2. Create or open the billing category:
  • To create your first DTWC category, click + Create Billing Category.
  • To update an existing category, find and open it for editing.
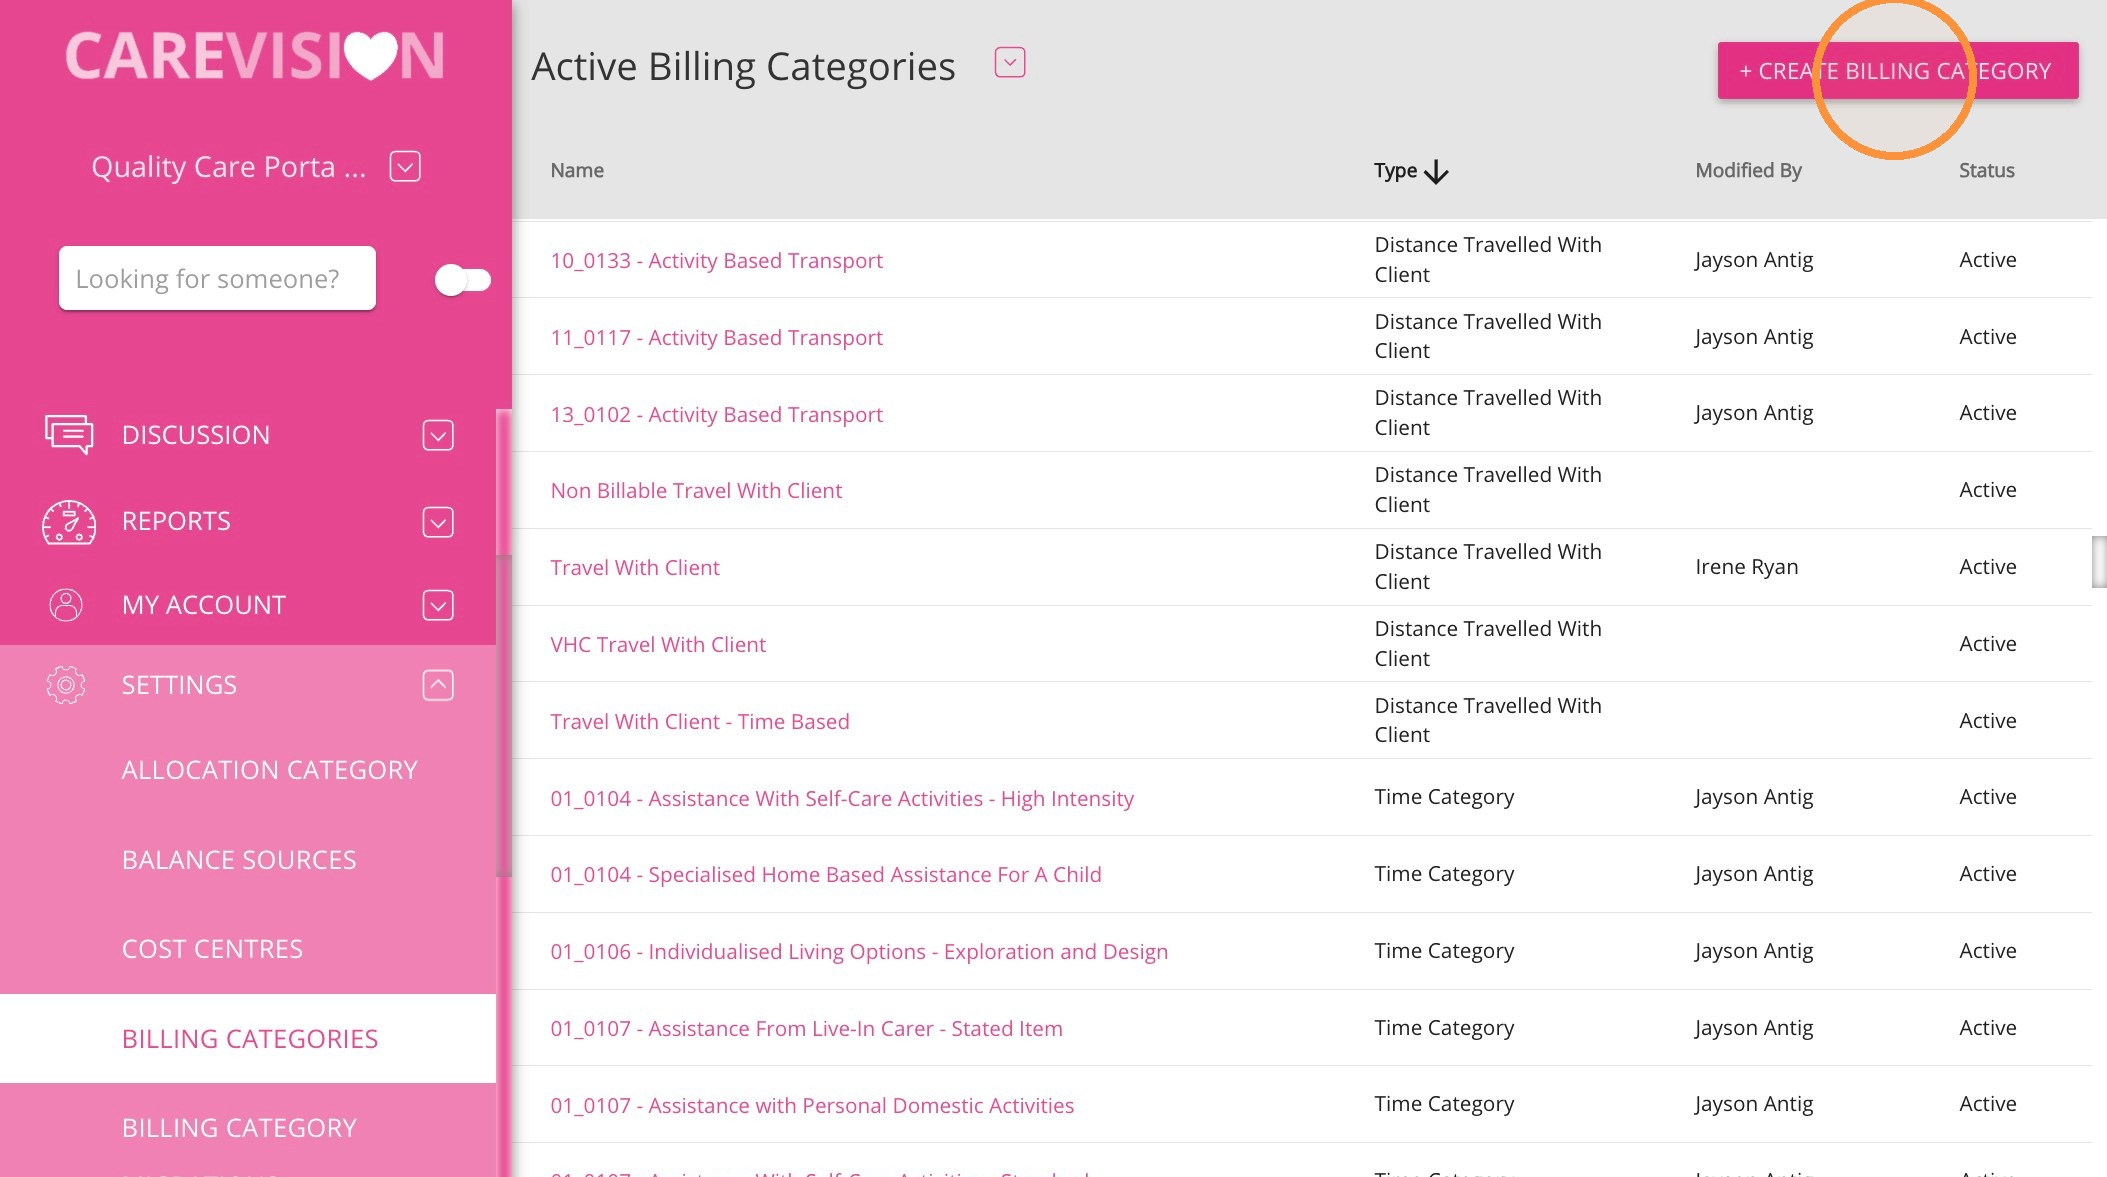
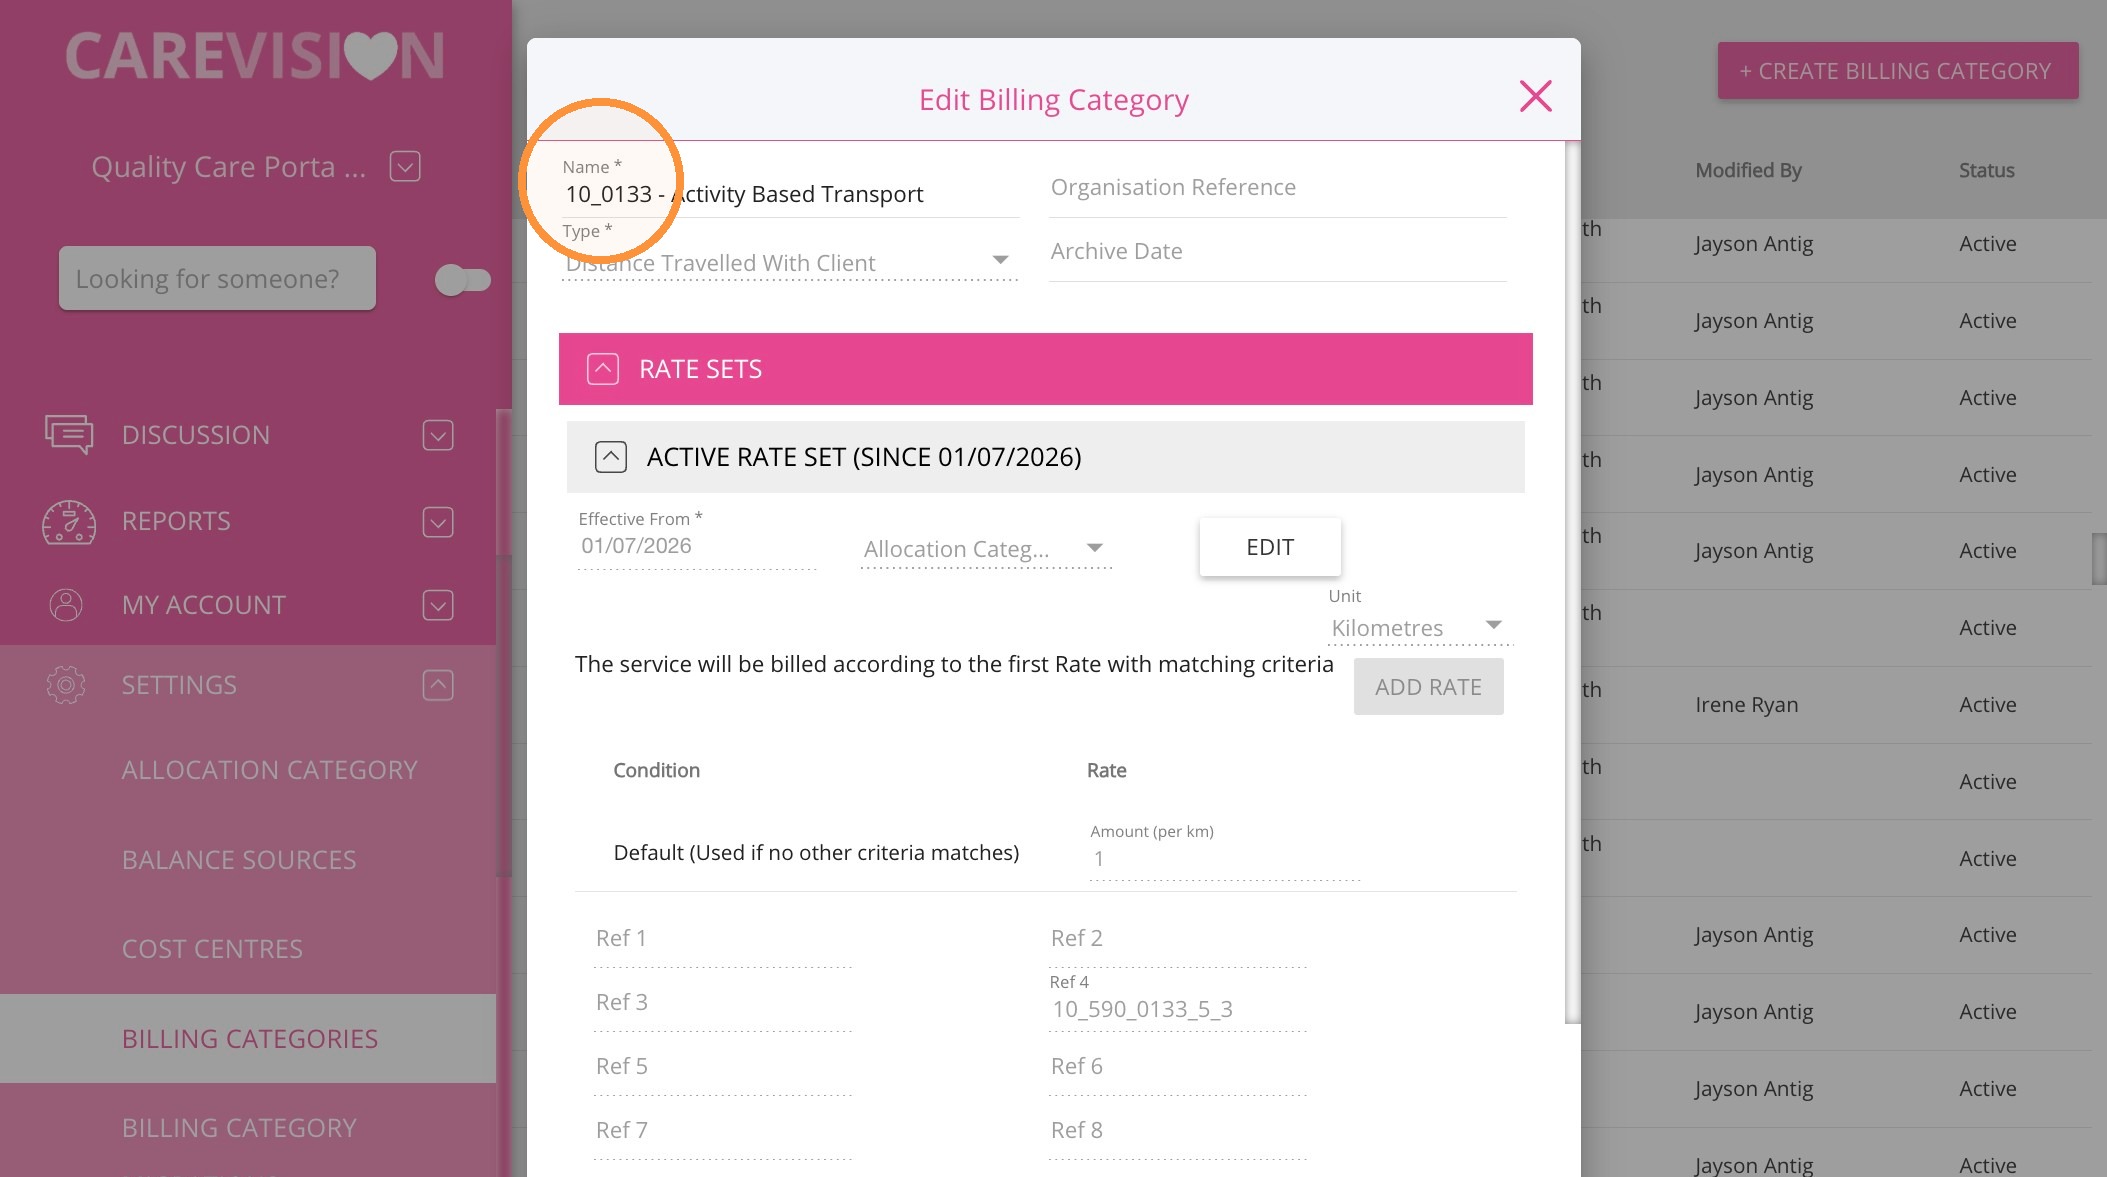
3. In the Name field, enter a clear and relevant name. Some organisations use the same or a similar name as the related service to make linking easier. You can use any naming convention that meets your business requirements.
Example names include:
  • DTWC – Billable – Distance
  • DTWC – Non-Billable – Distance
  • DTWC – Billable – Travel Time
  • DTWC – Non-Billable – Travel Time

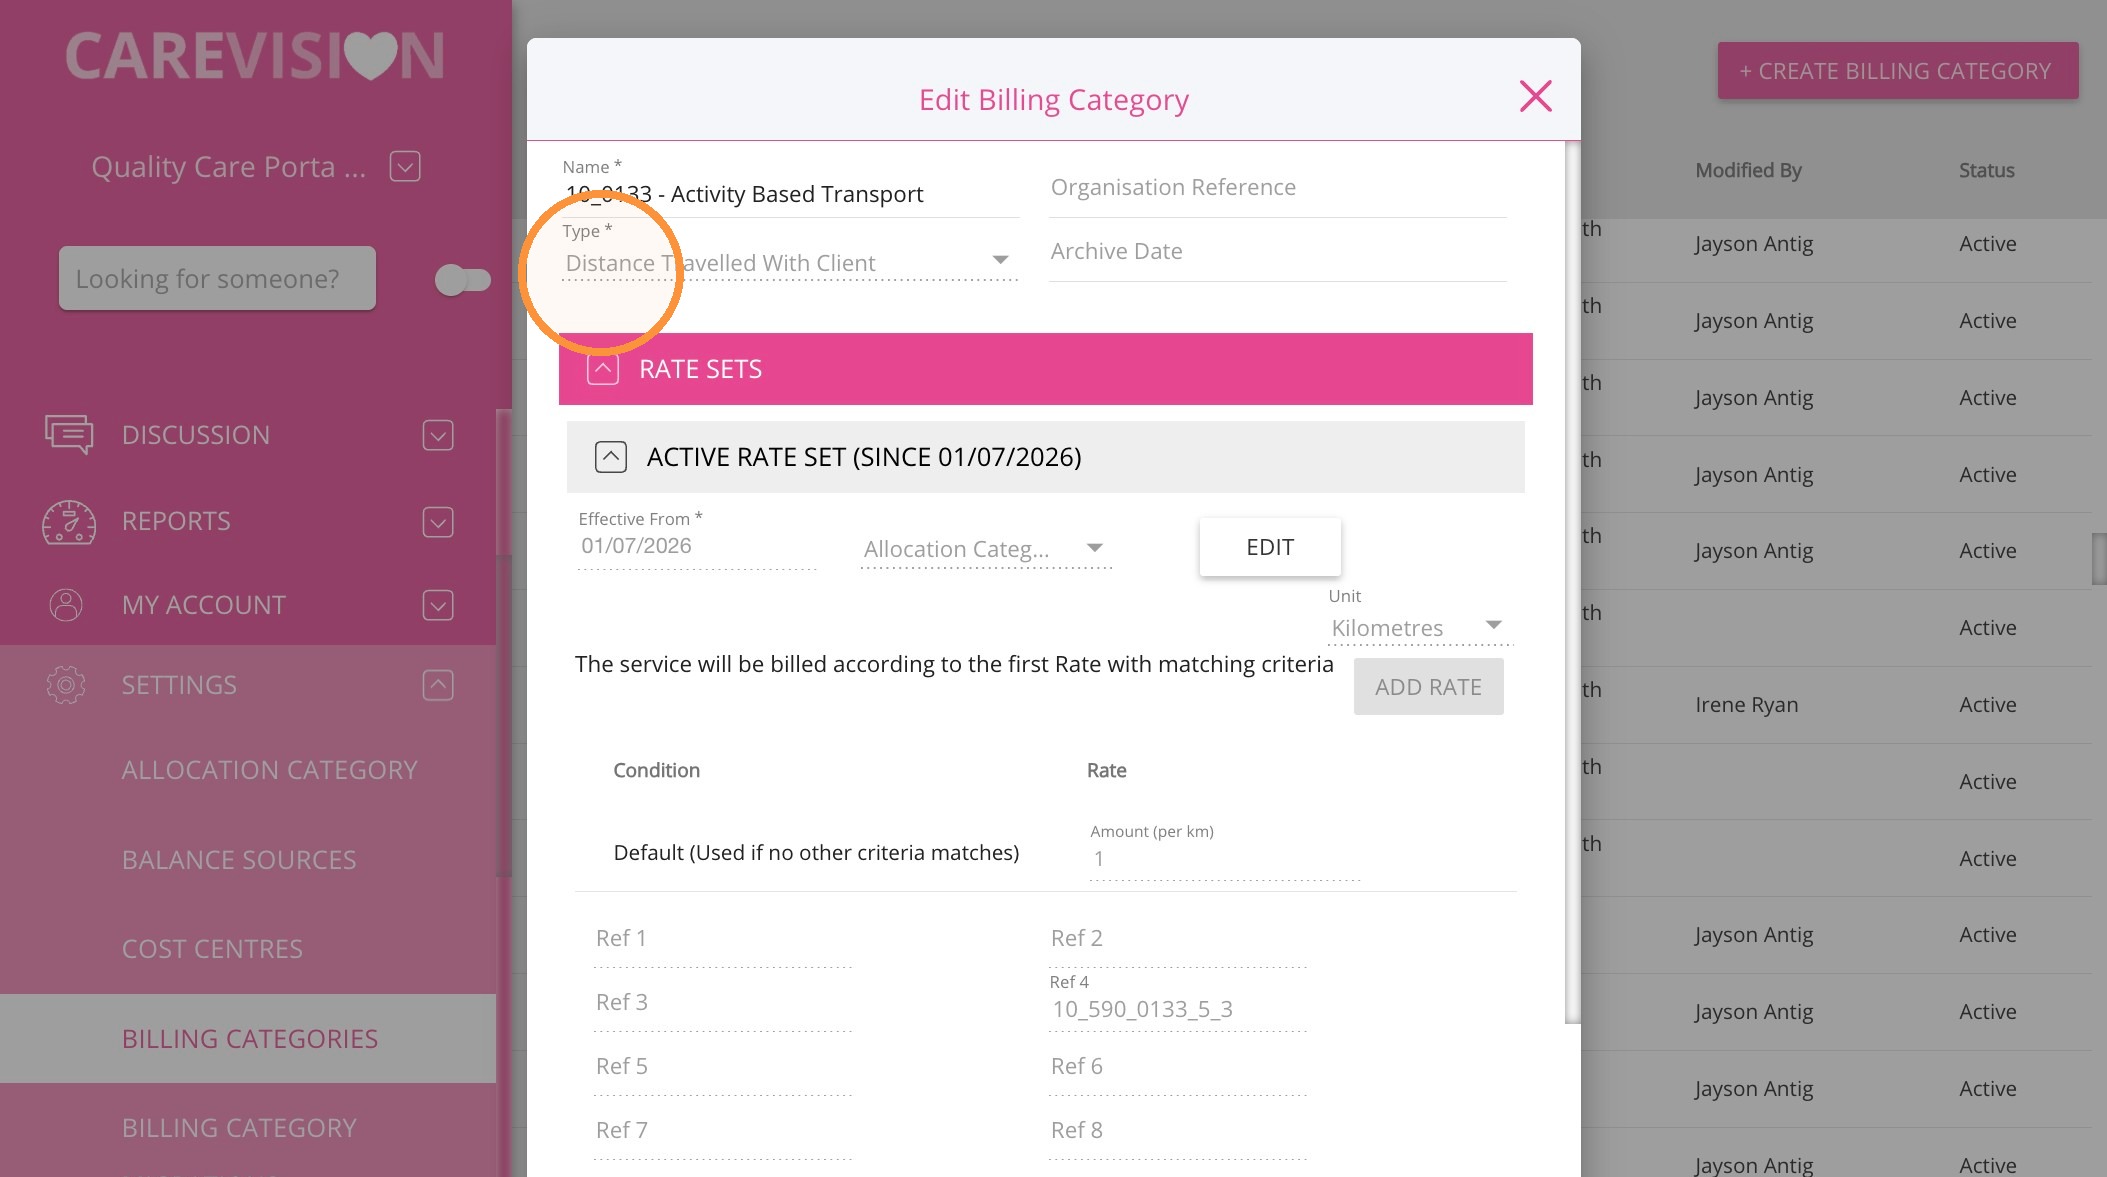
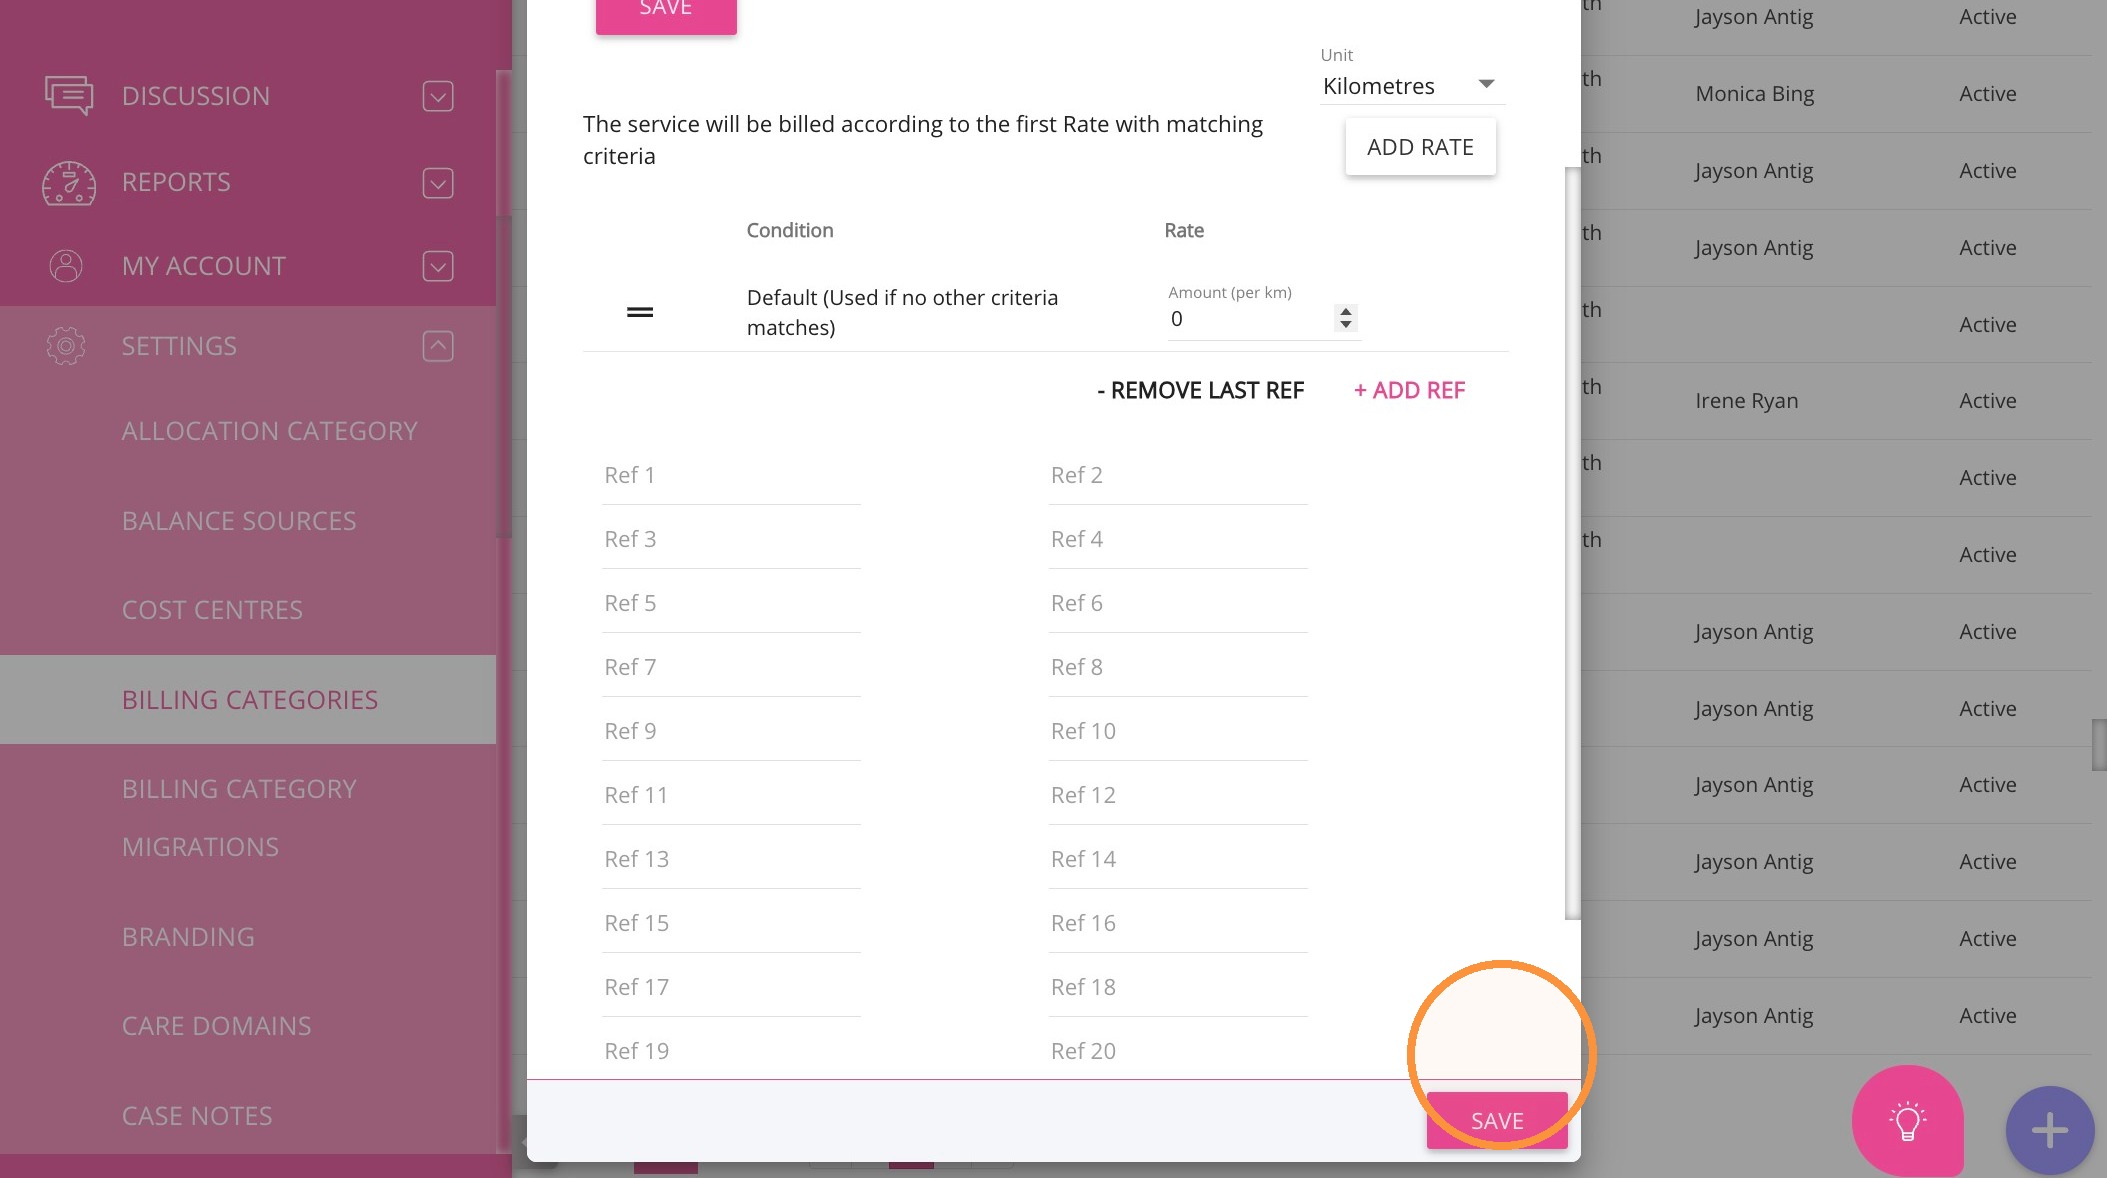
4. Set the billing category type to Distance Travelled with Client

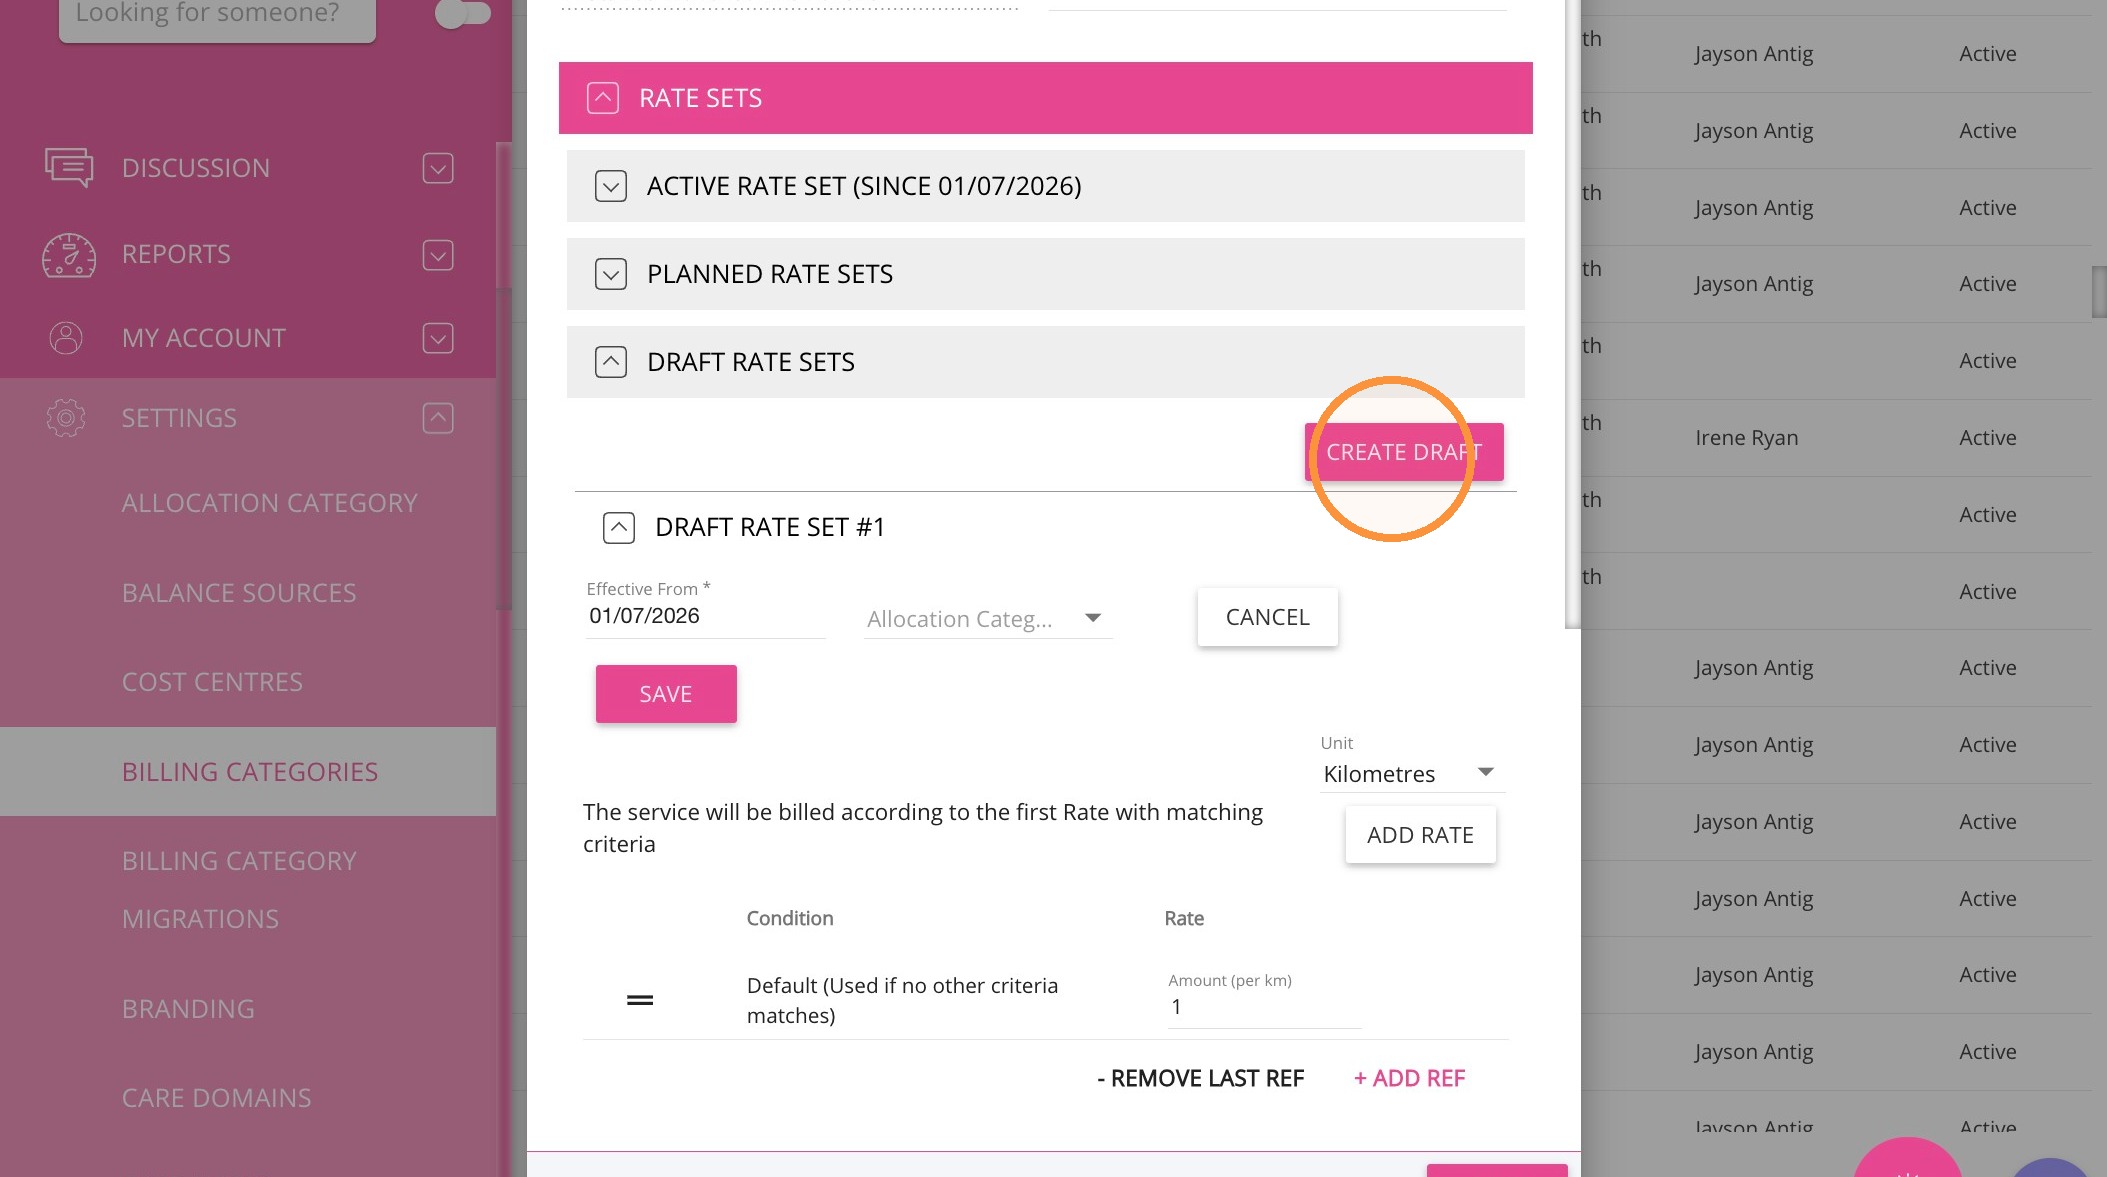
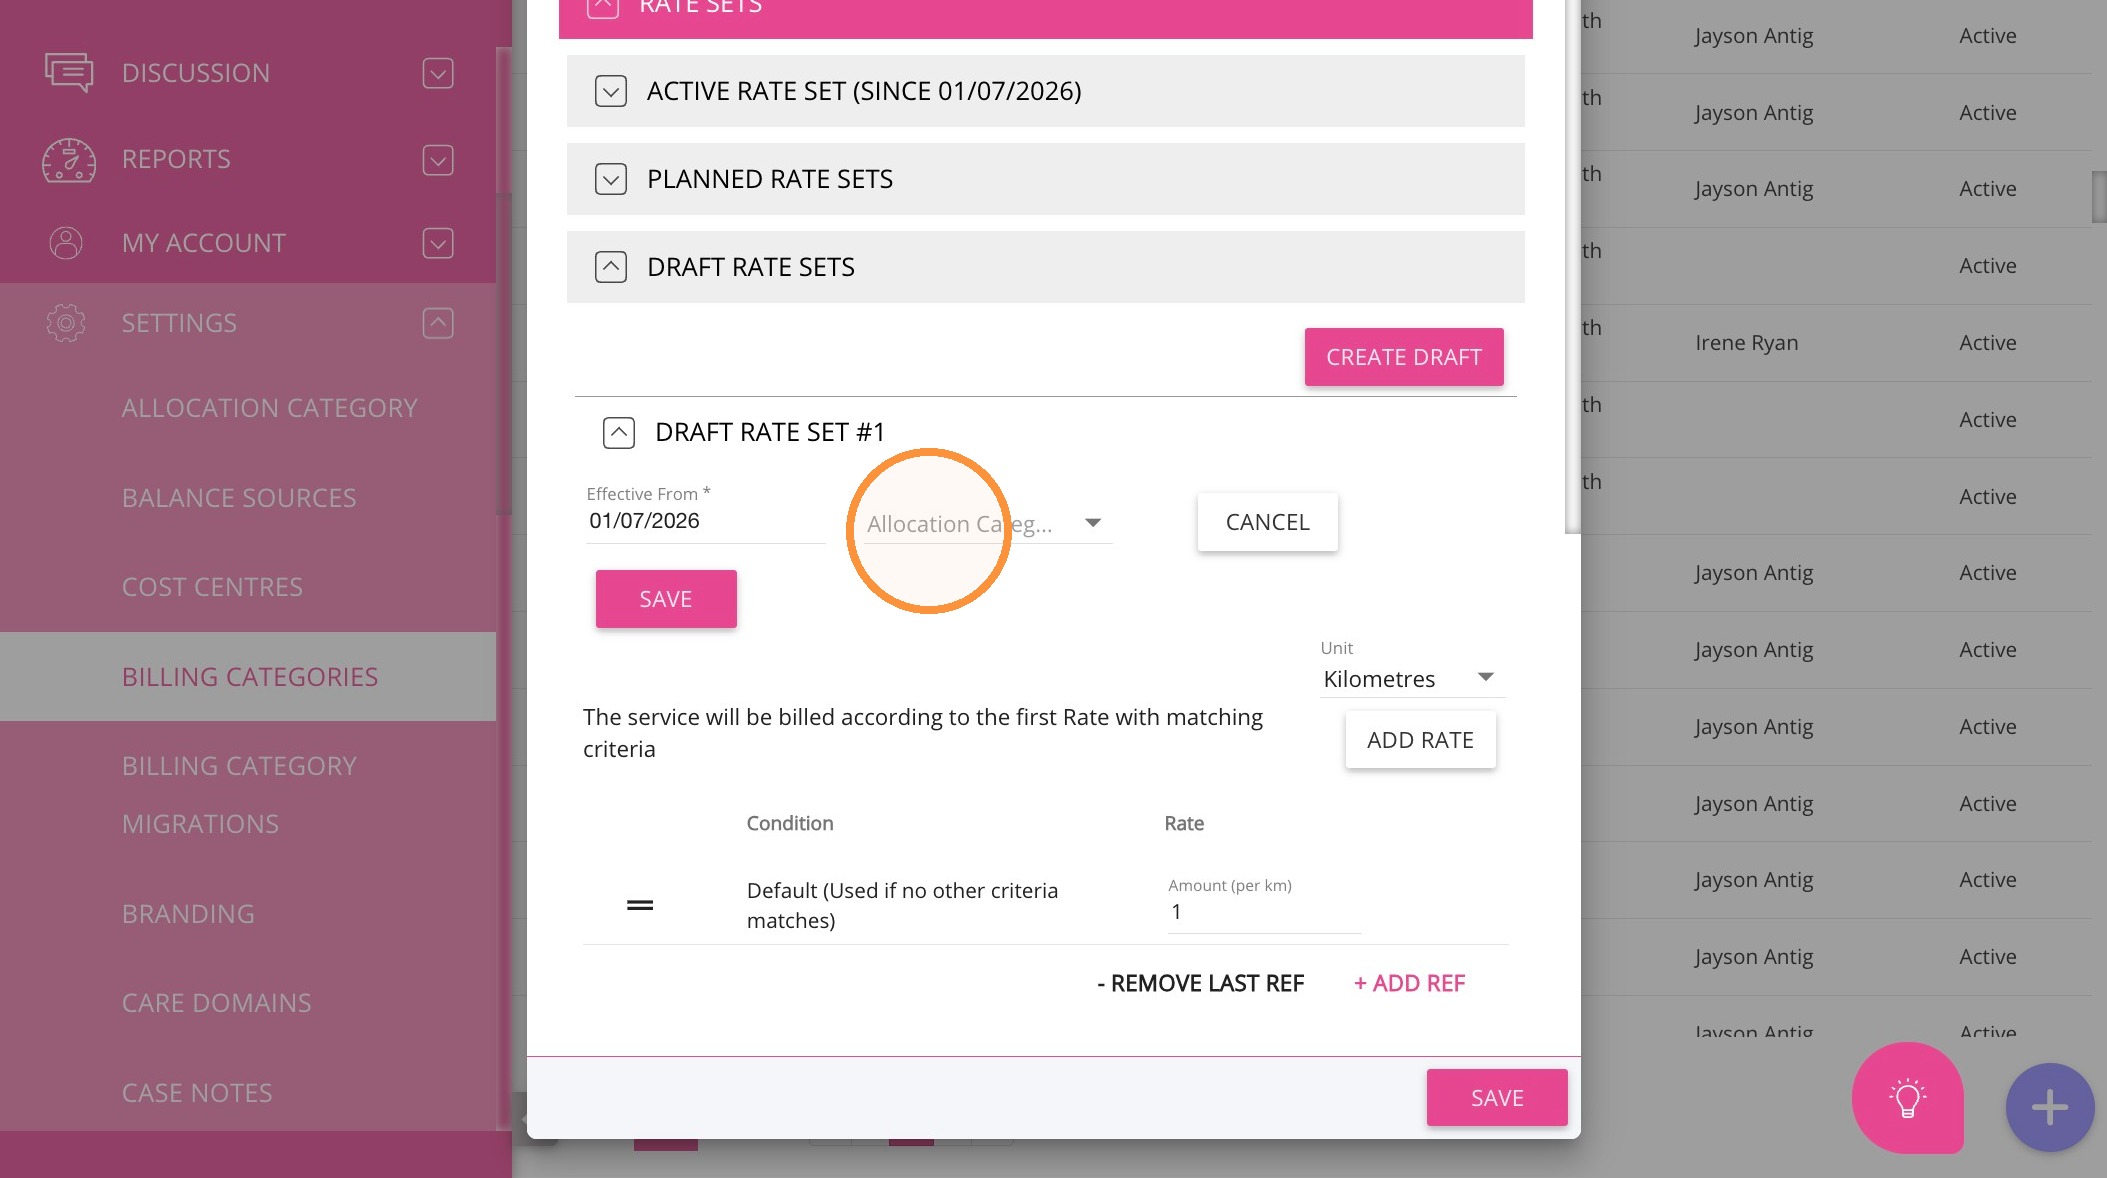
5. Go to the Rate Sets section and either:
  • Create a new draft rate set or
  • Open and edit an existing draft.

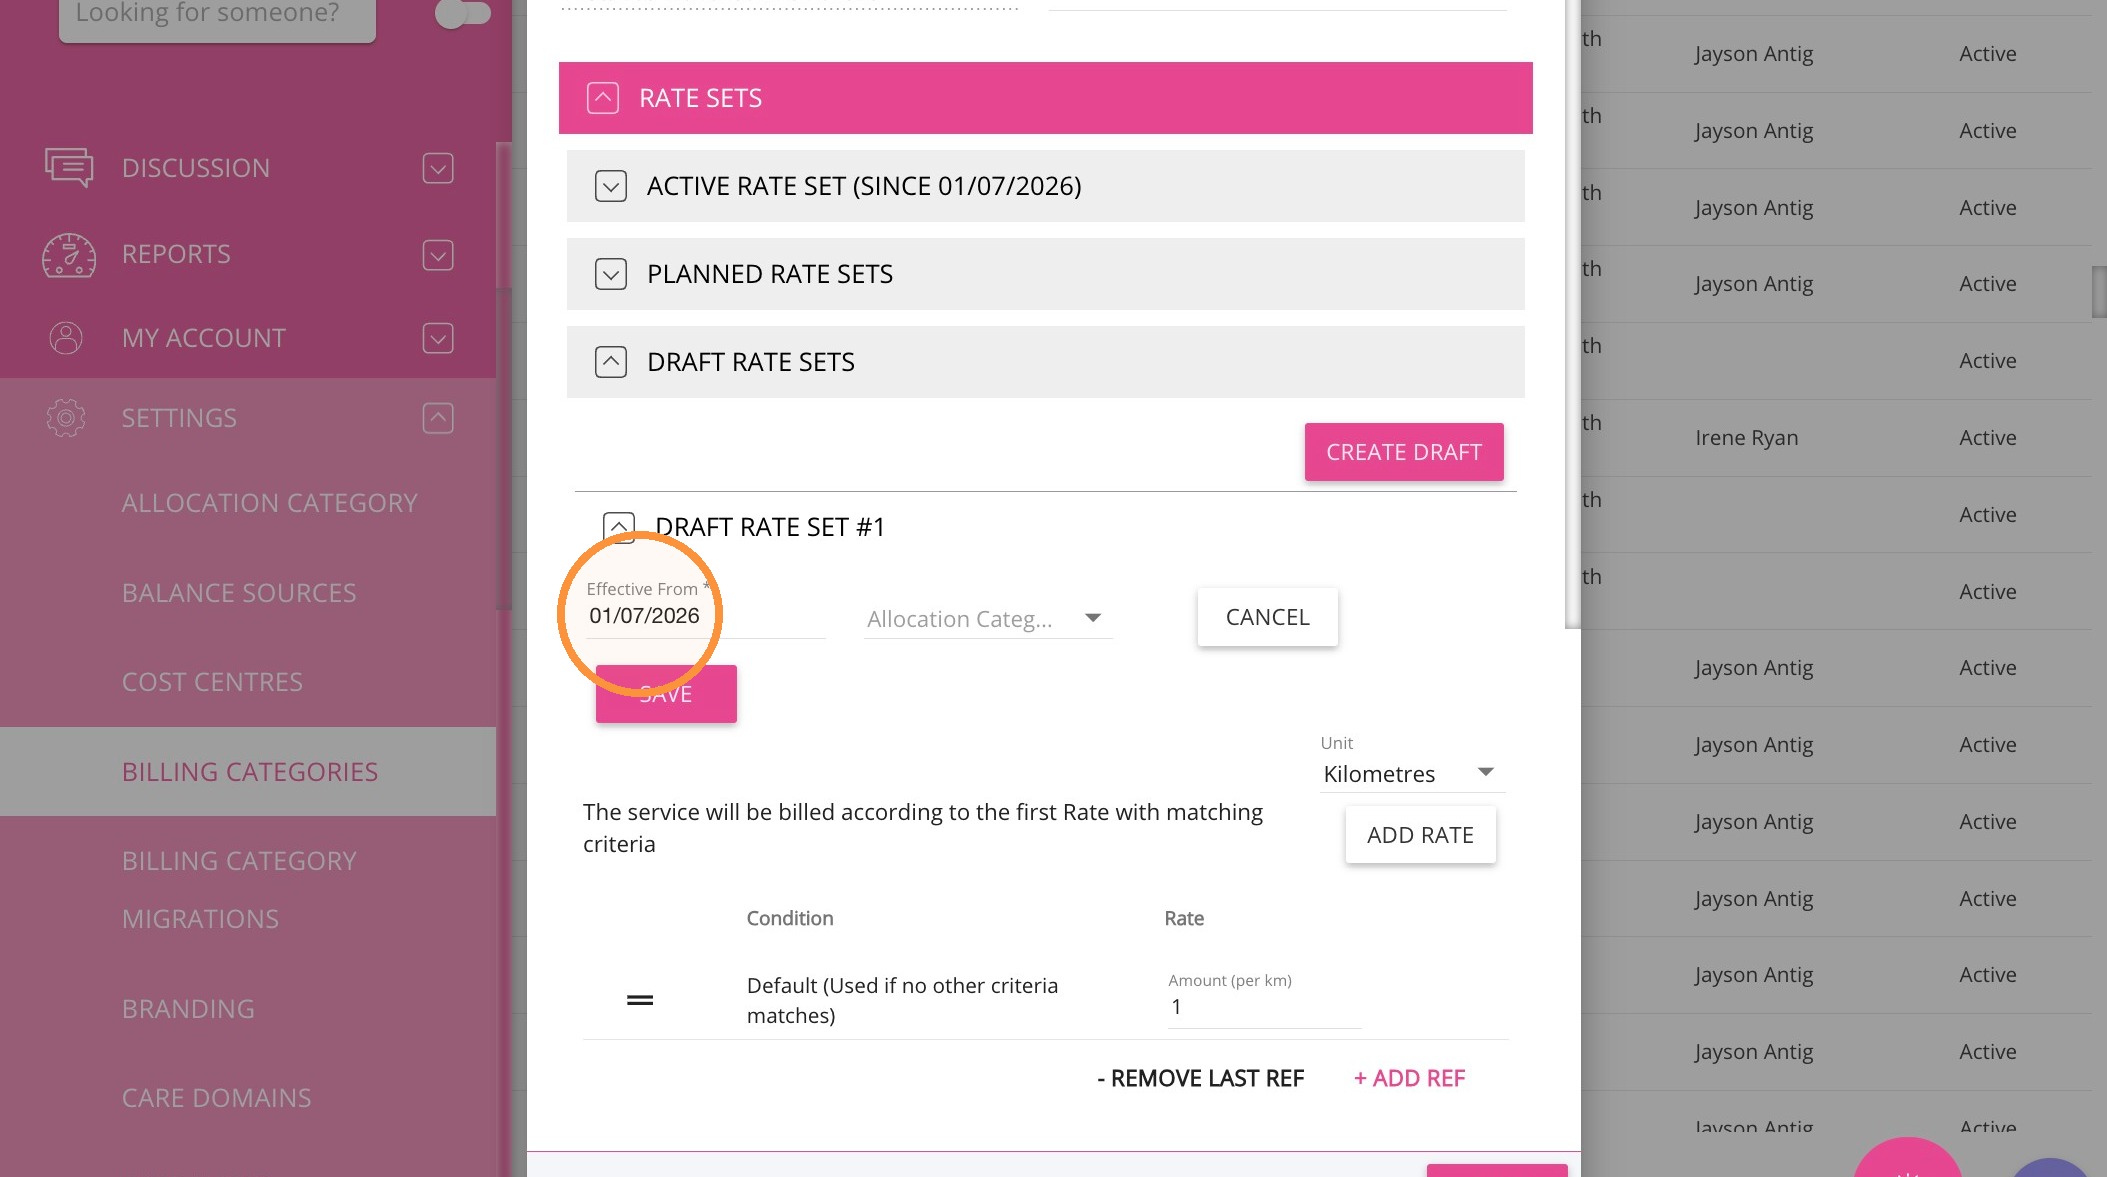
6. Set the Effective Date to the date from which the rate should apply.

7. If required, select an Allocation Category. This determines which allocation budget the DTWC charge will be billed against.

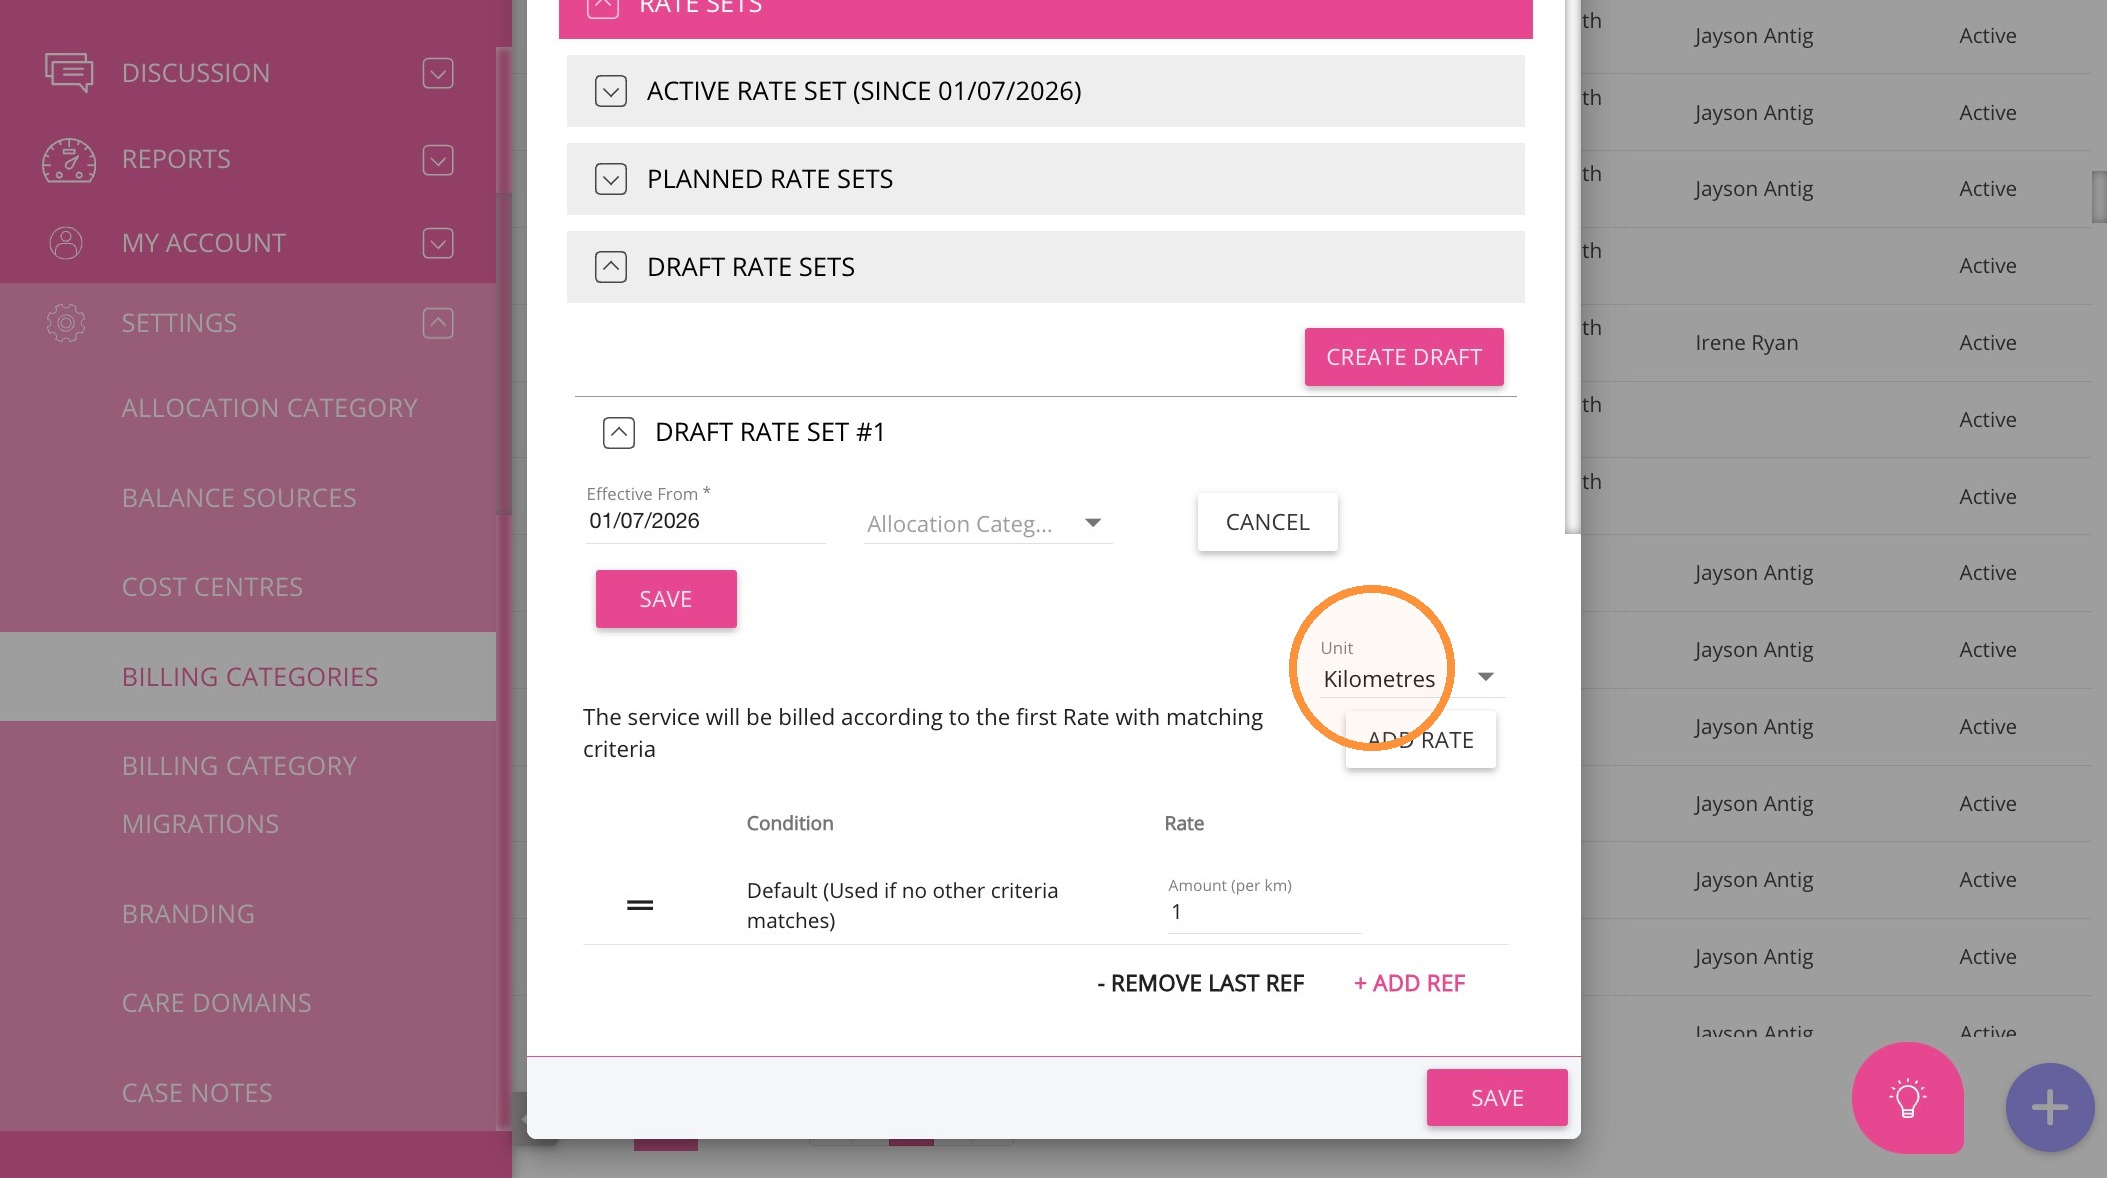
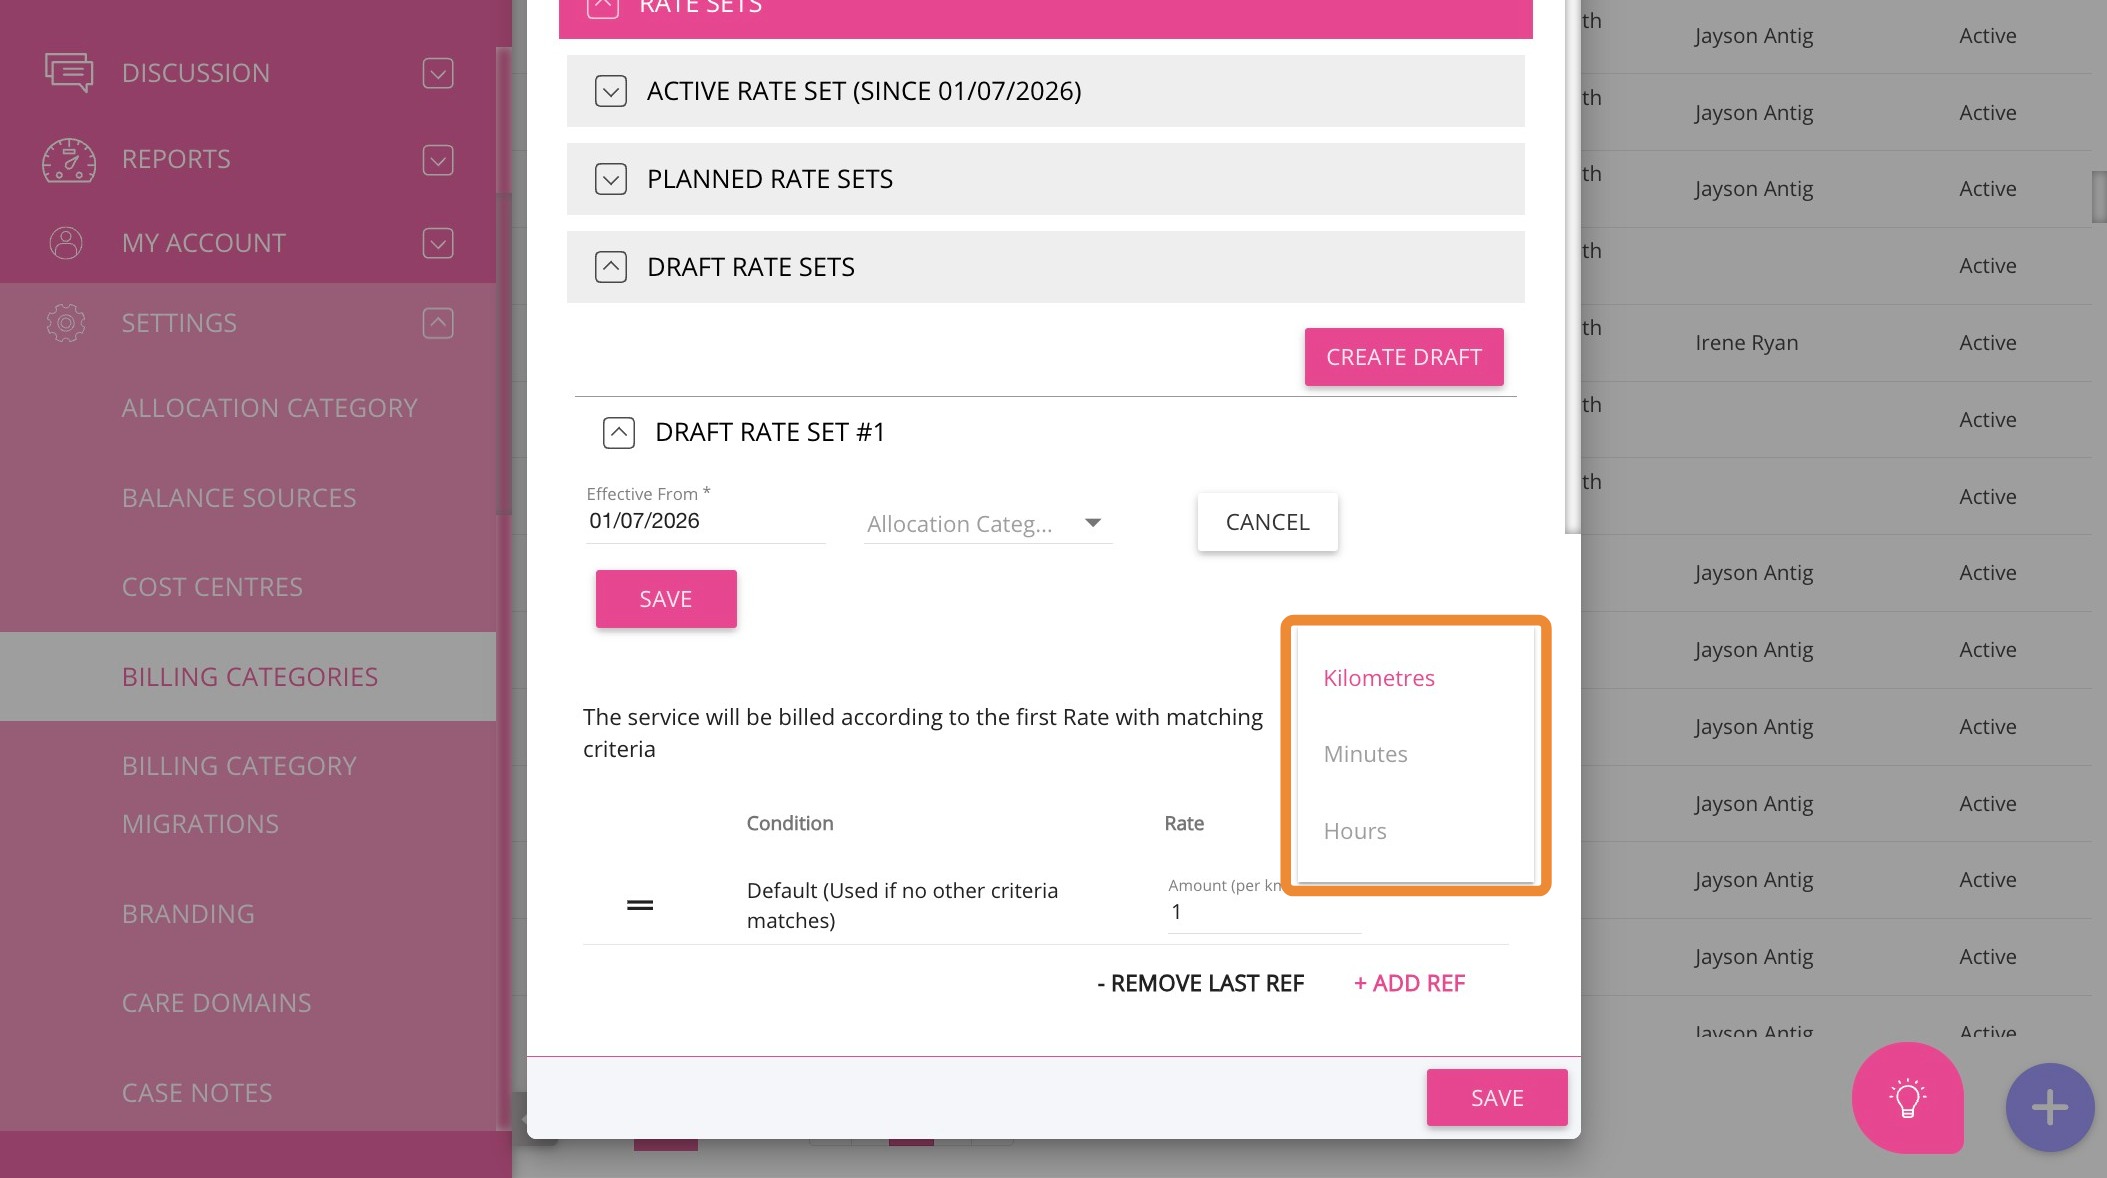
8. In the Unit field, select one of the following:
  • Select Kilometres for distance-based DTWC.
  1. Select Minutes or Hours for time-based DTWC.
 
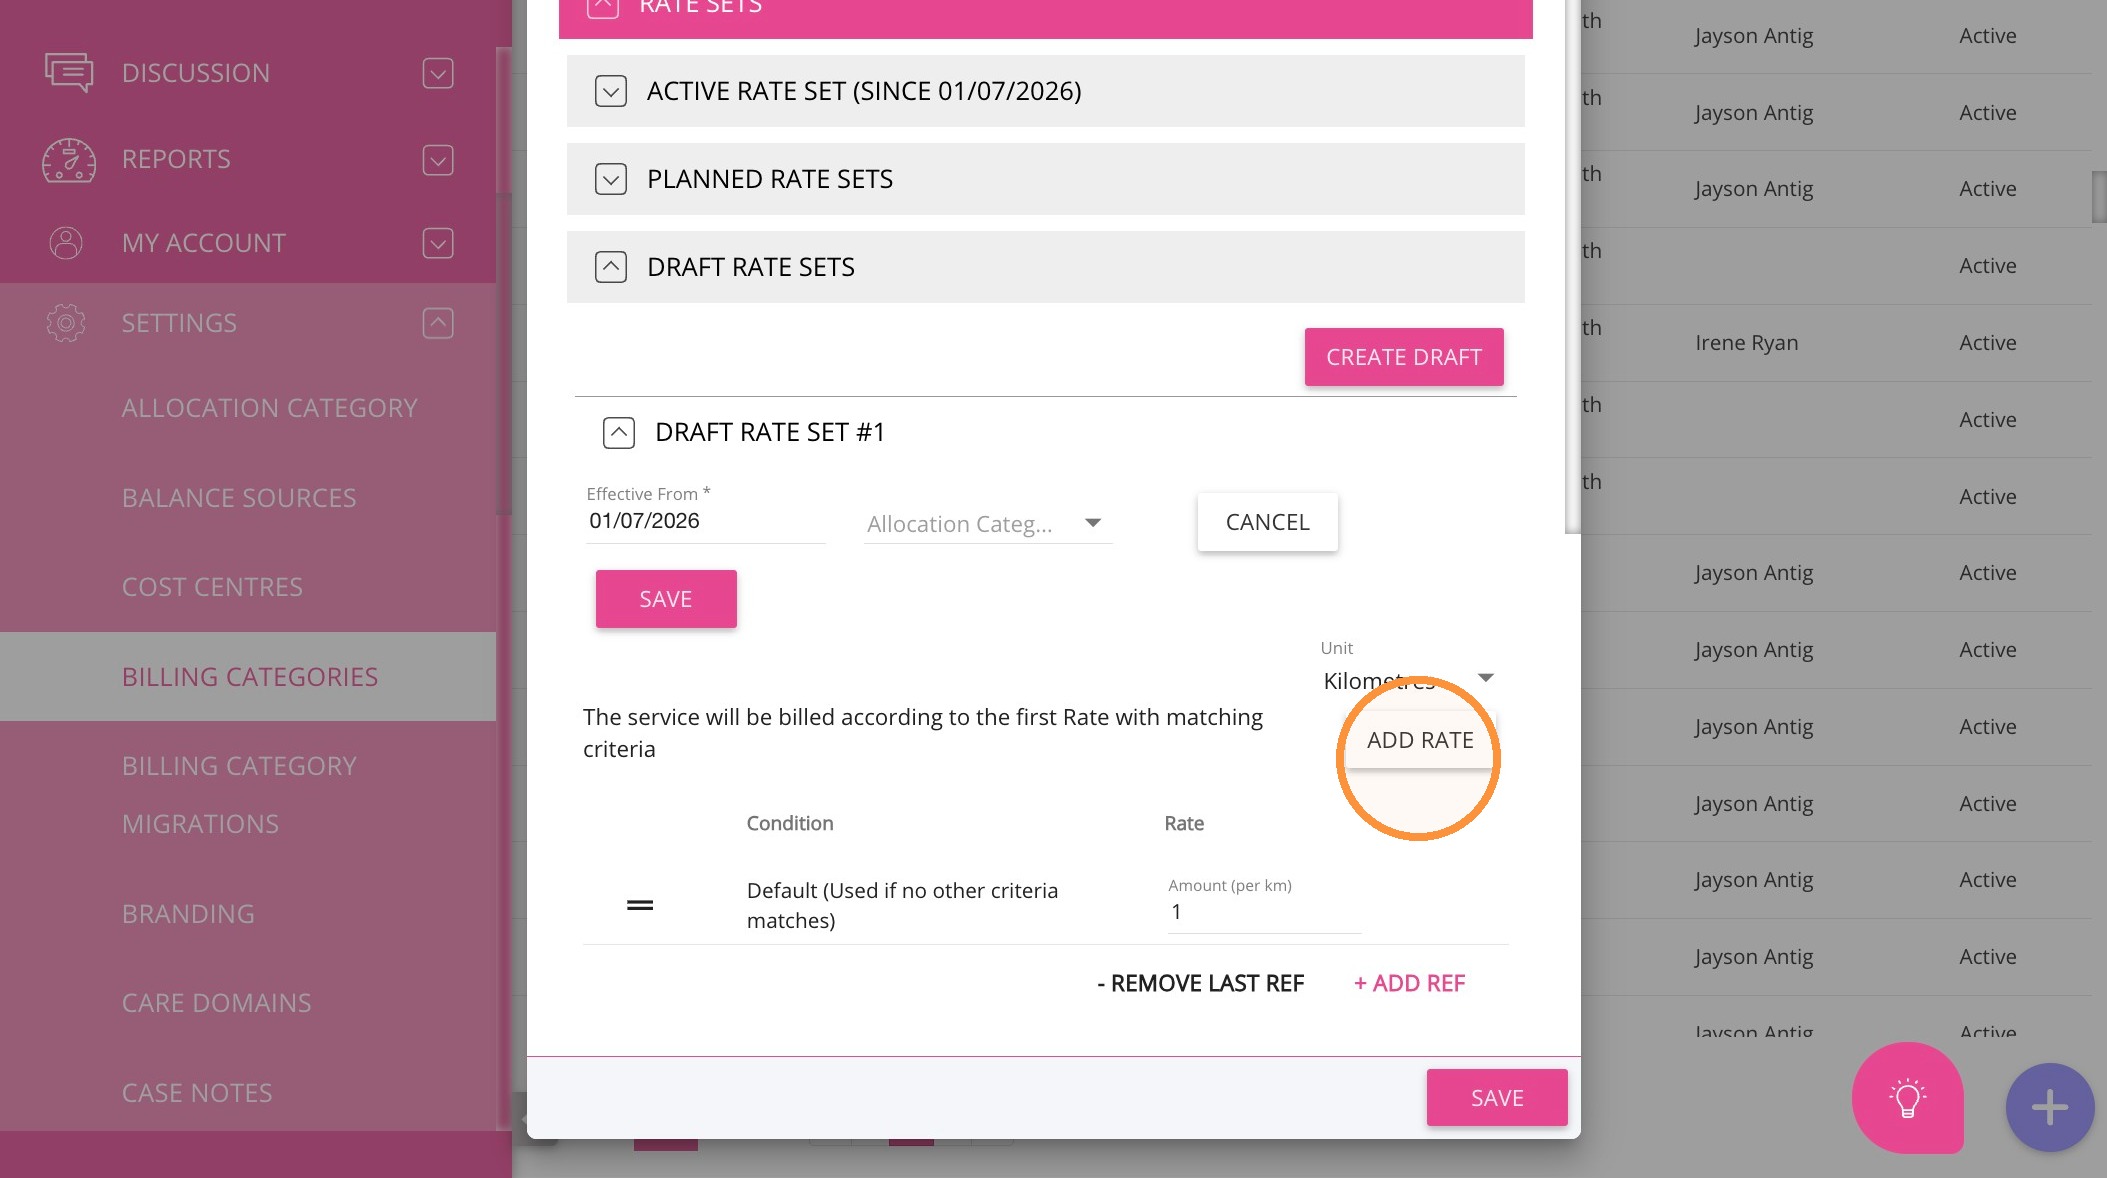
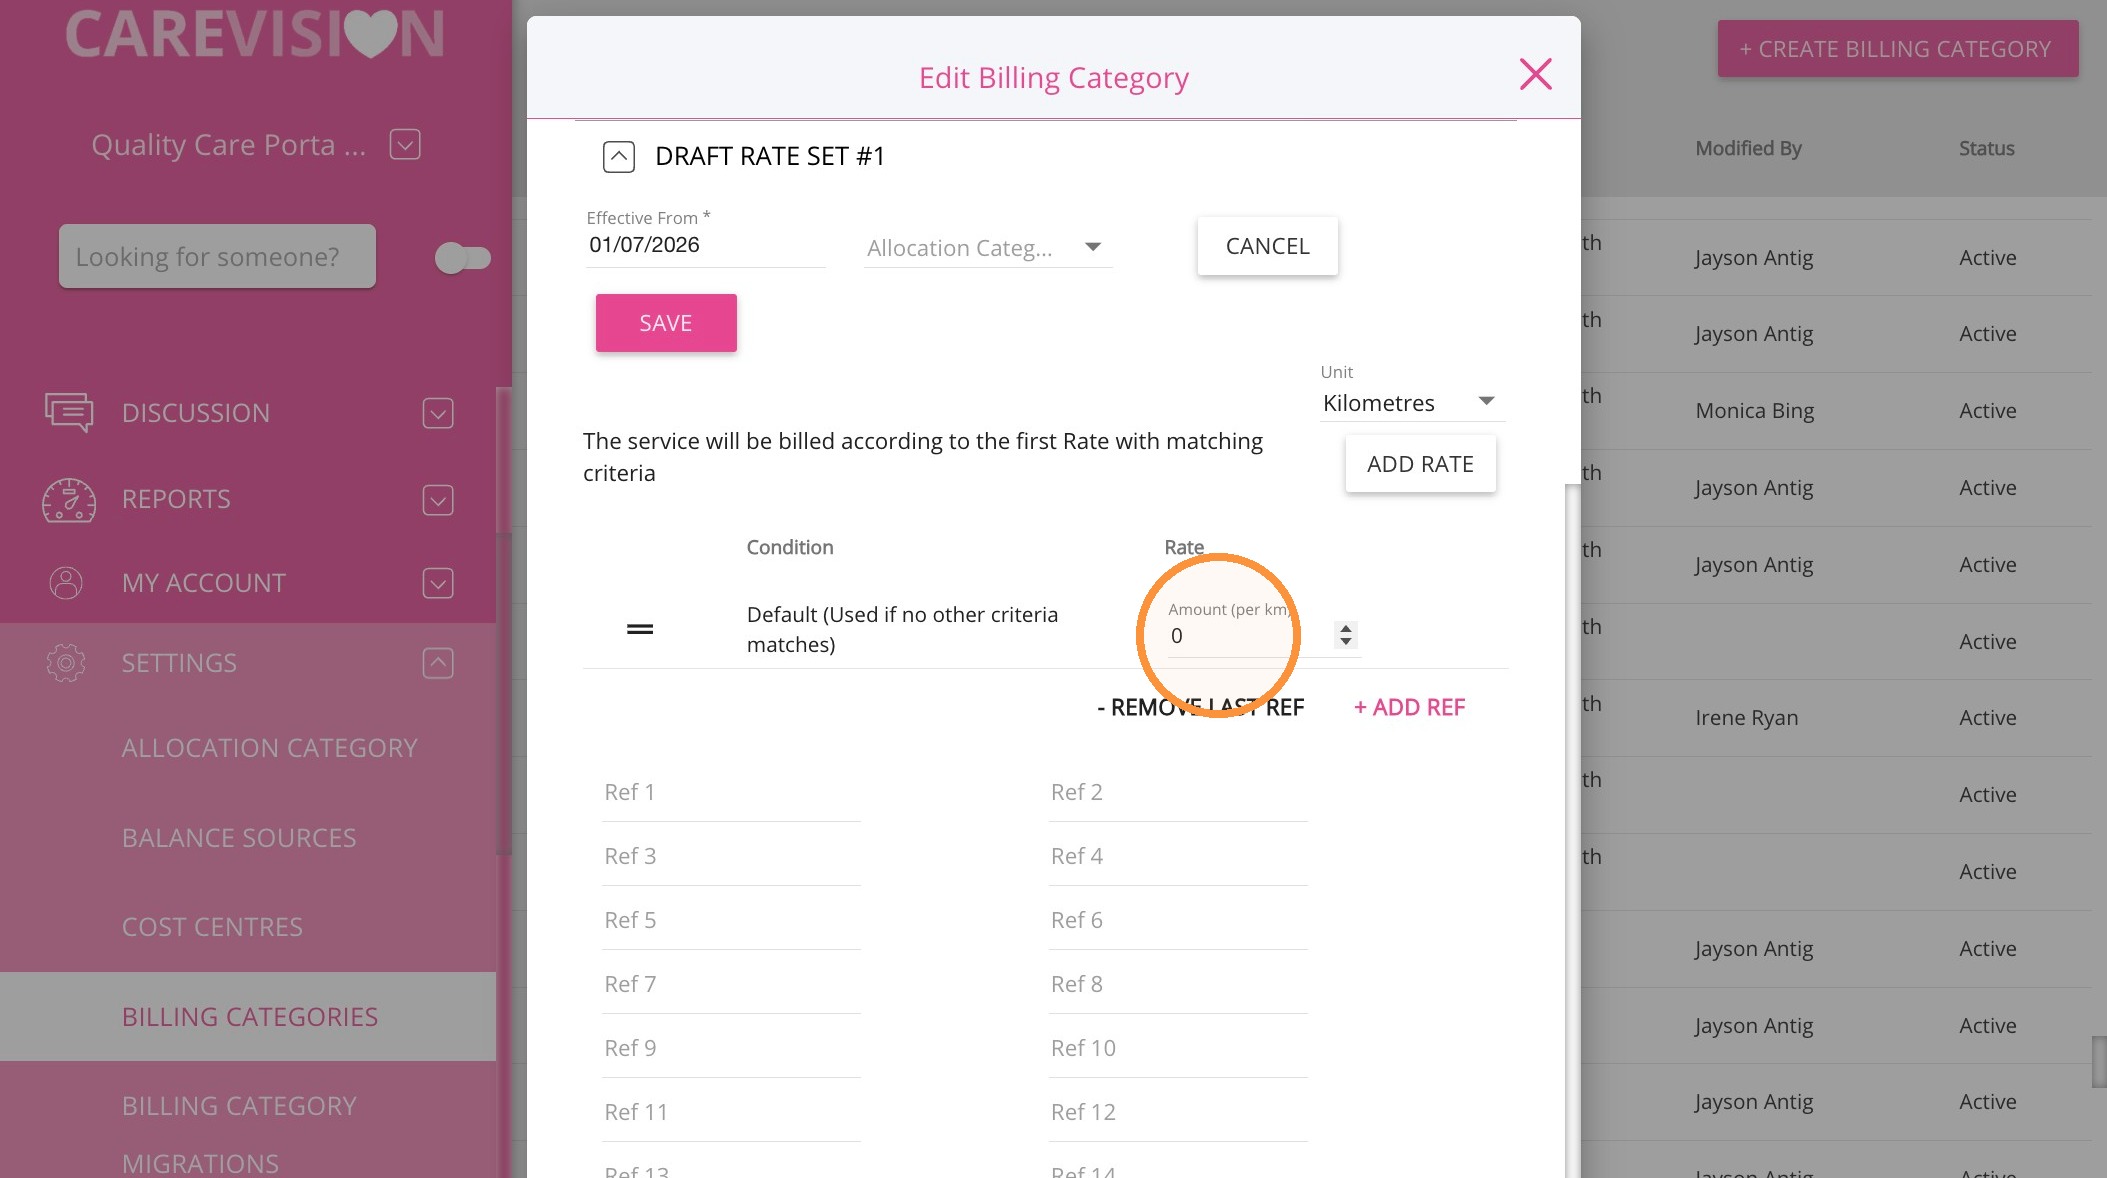
9. Configure the client billing rate:
  • For a billable DTWC category, click Add Rate and enter the applicable rate per kilometre, minute, or hour.
  1. For a non-billable DTWC category, set the rate to $0.00 so that no client charge is generated.
10. Review the billing category and rate-set details, then click Save.
  • Click Publish to publish the rate set.
  • Click Save again to save the published billing category configuration.


2. Link the Billing Categories to a Service
Link the Billing Categories to a Service
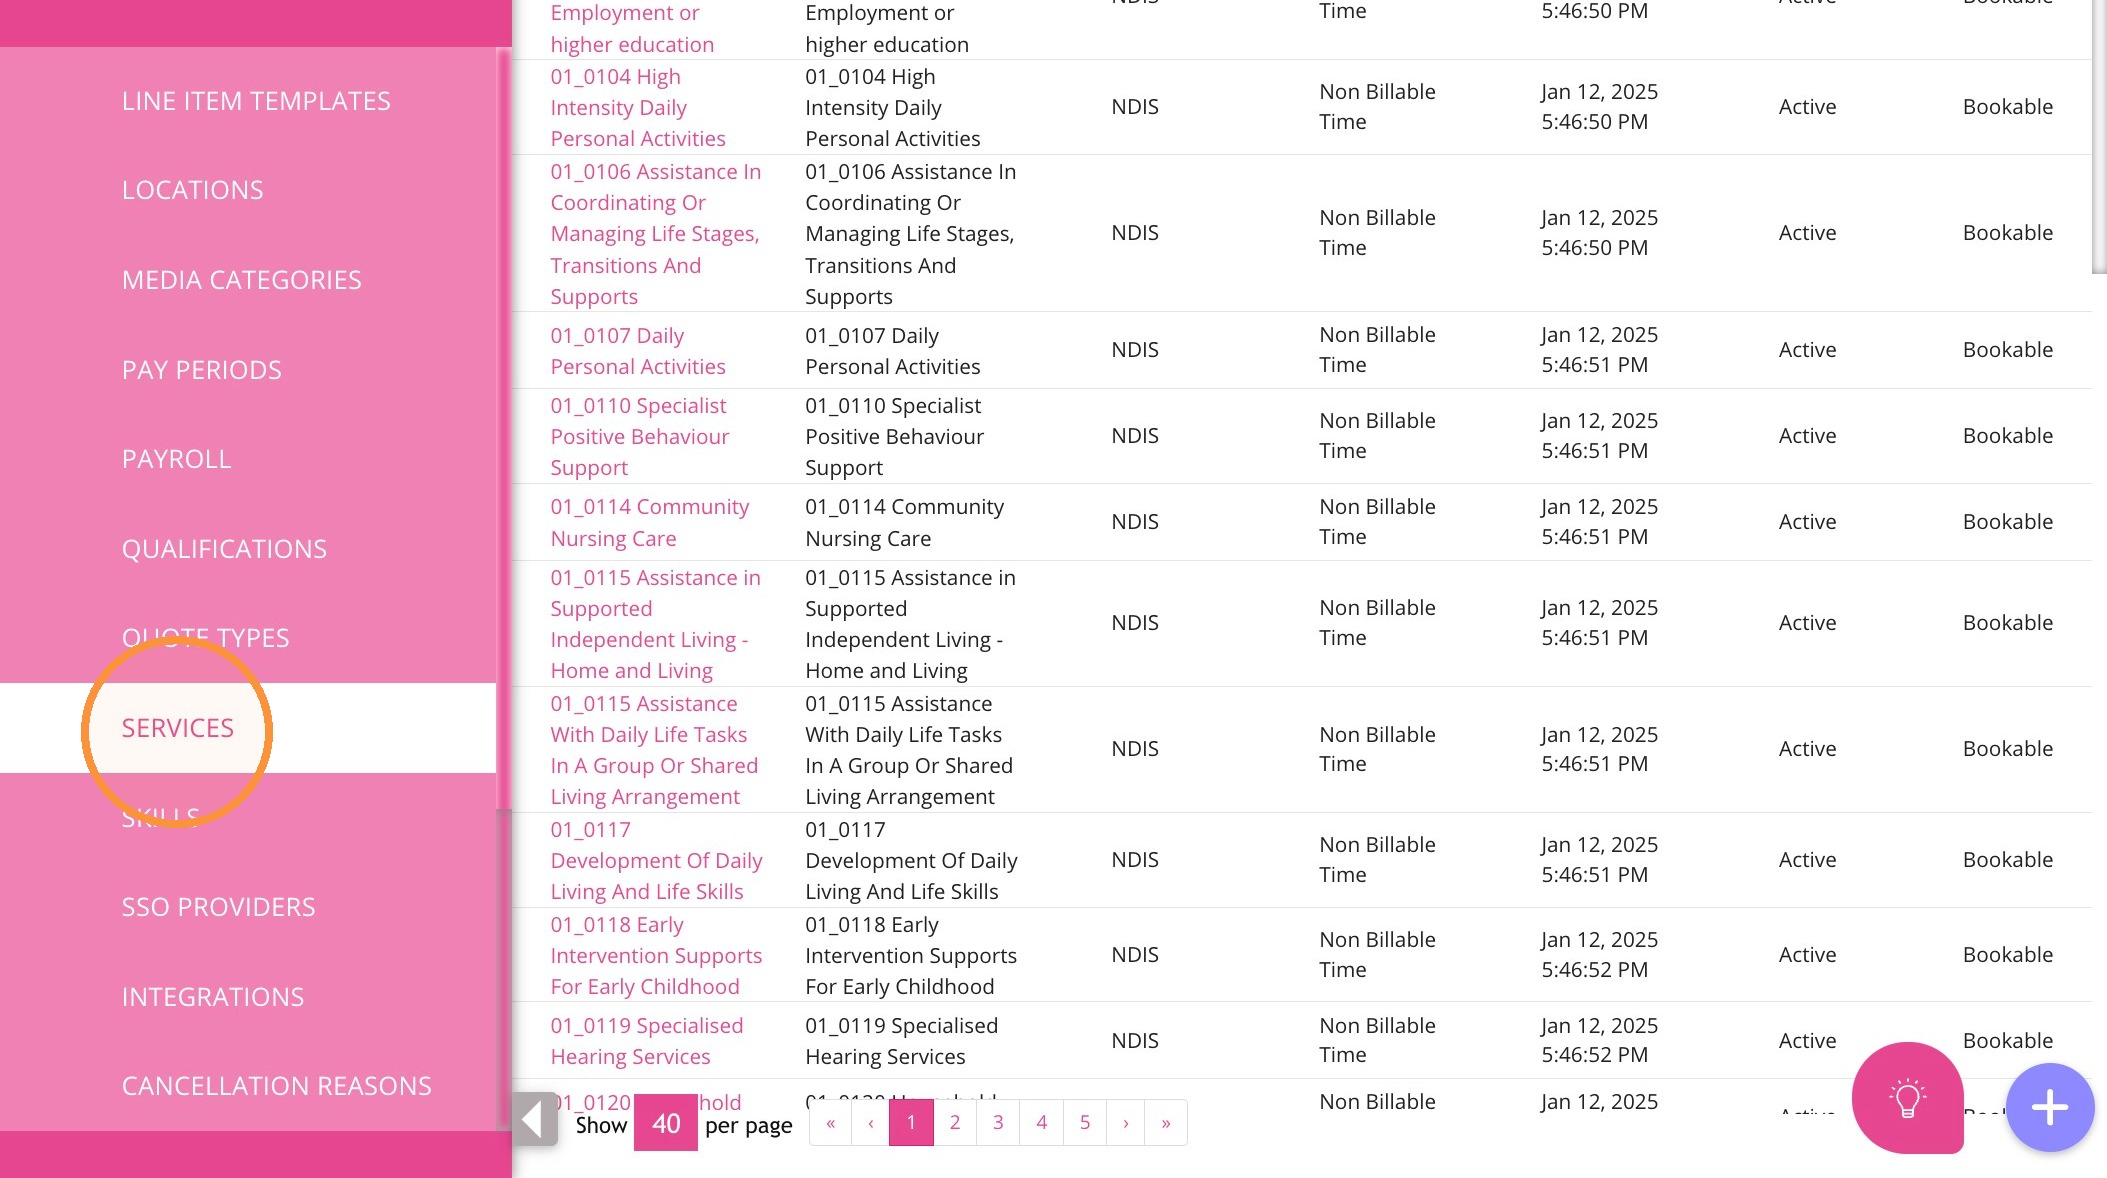
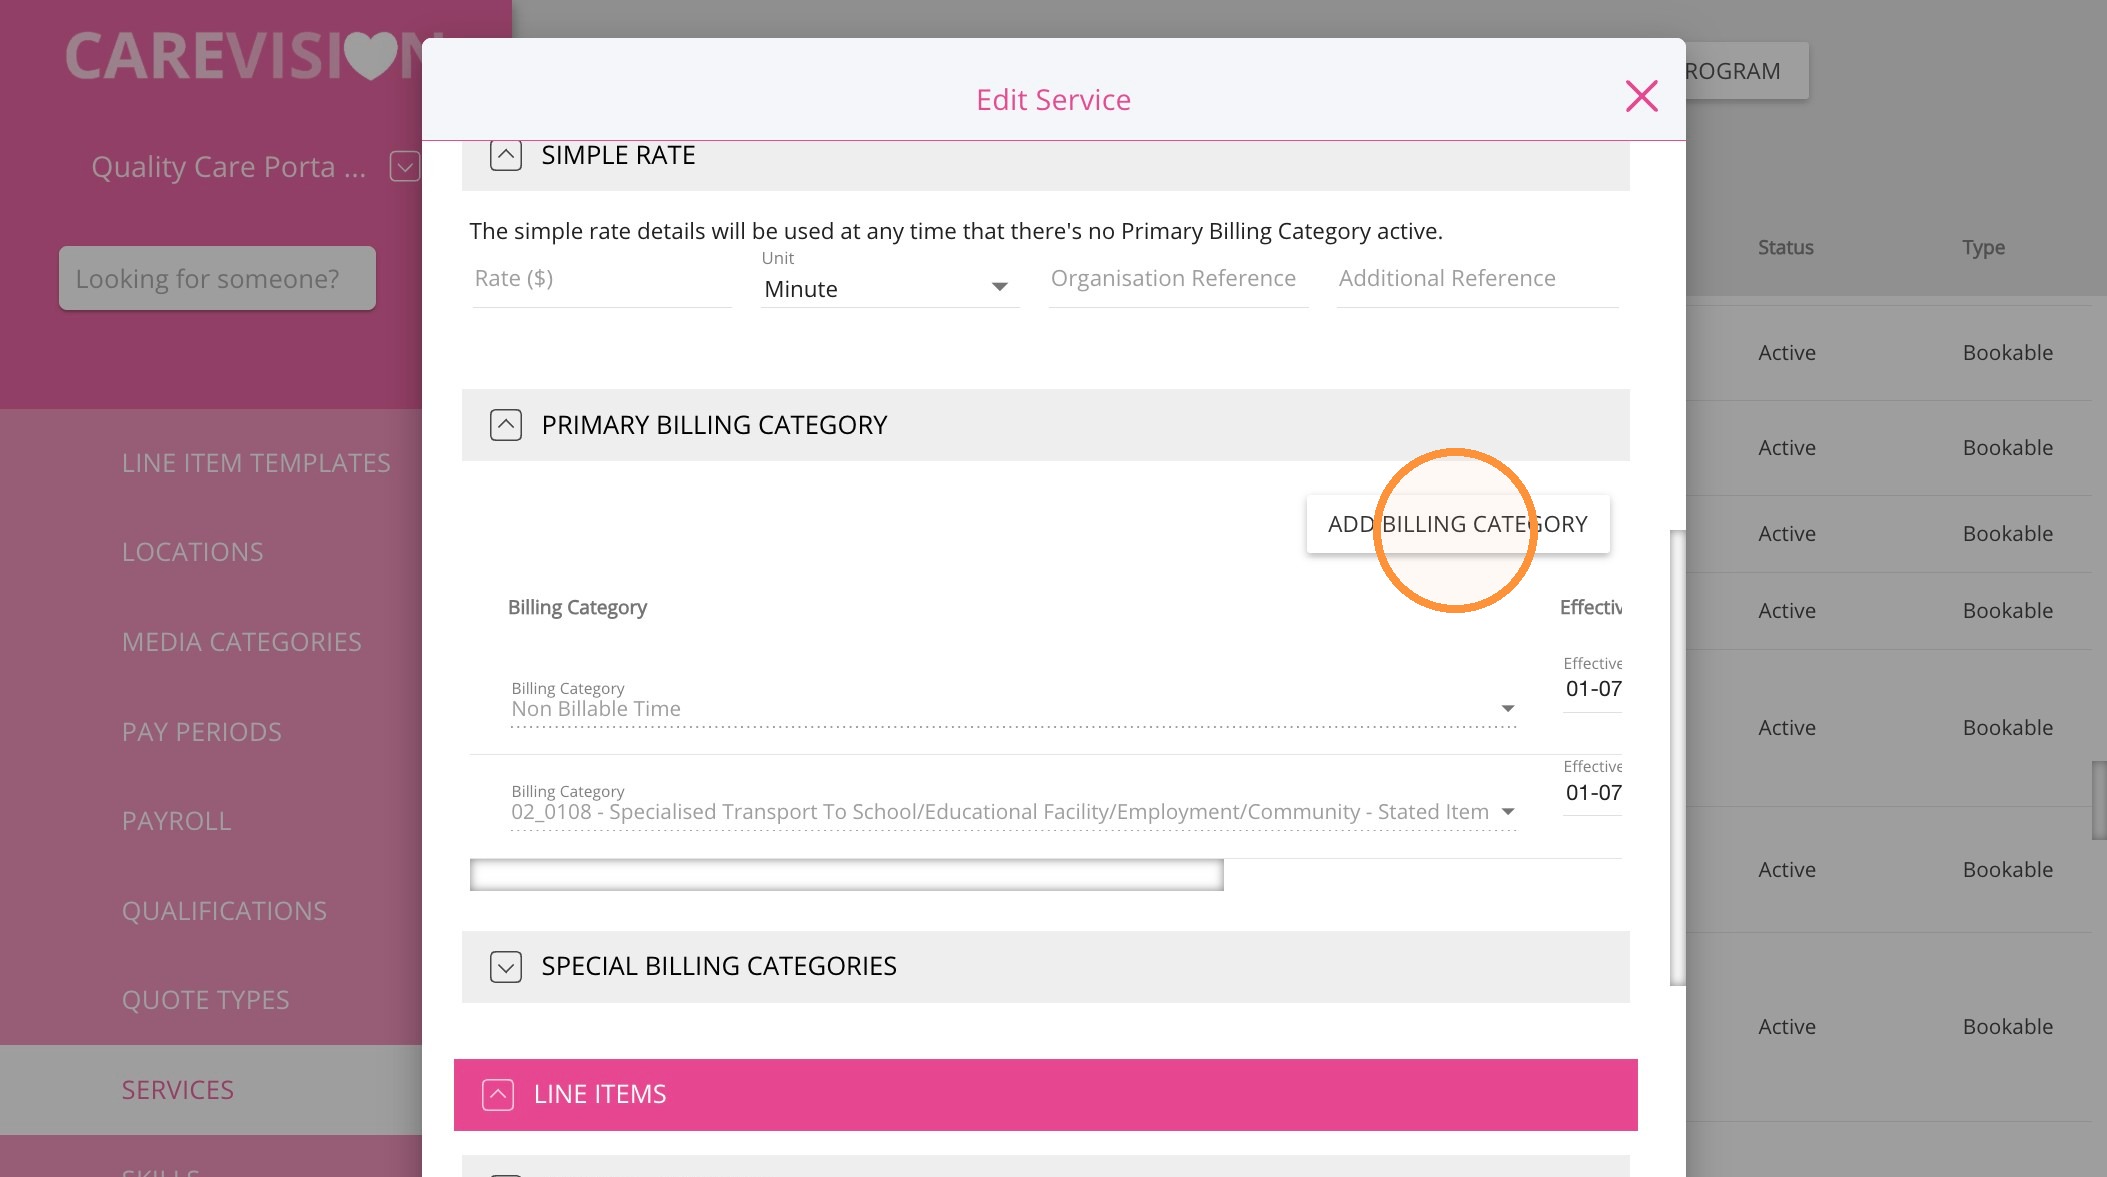
1. Go to Settings > Services. Open the service under which DTWC may occur,

2. Click Add Billing Category.
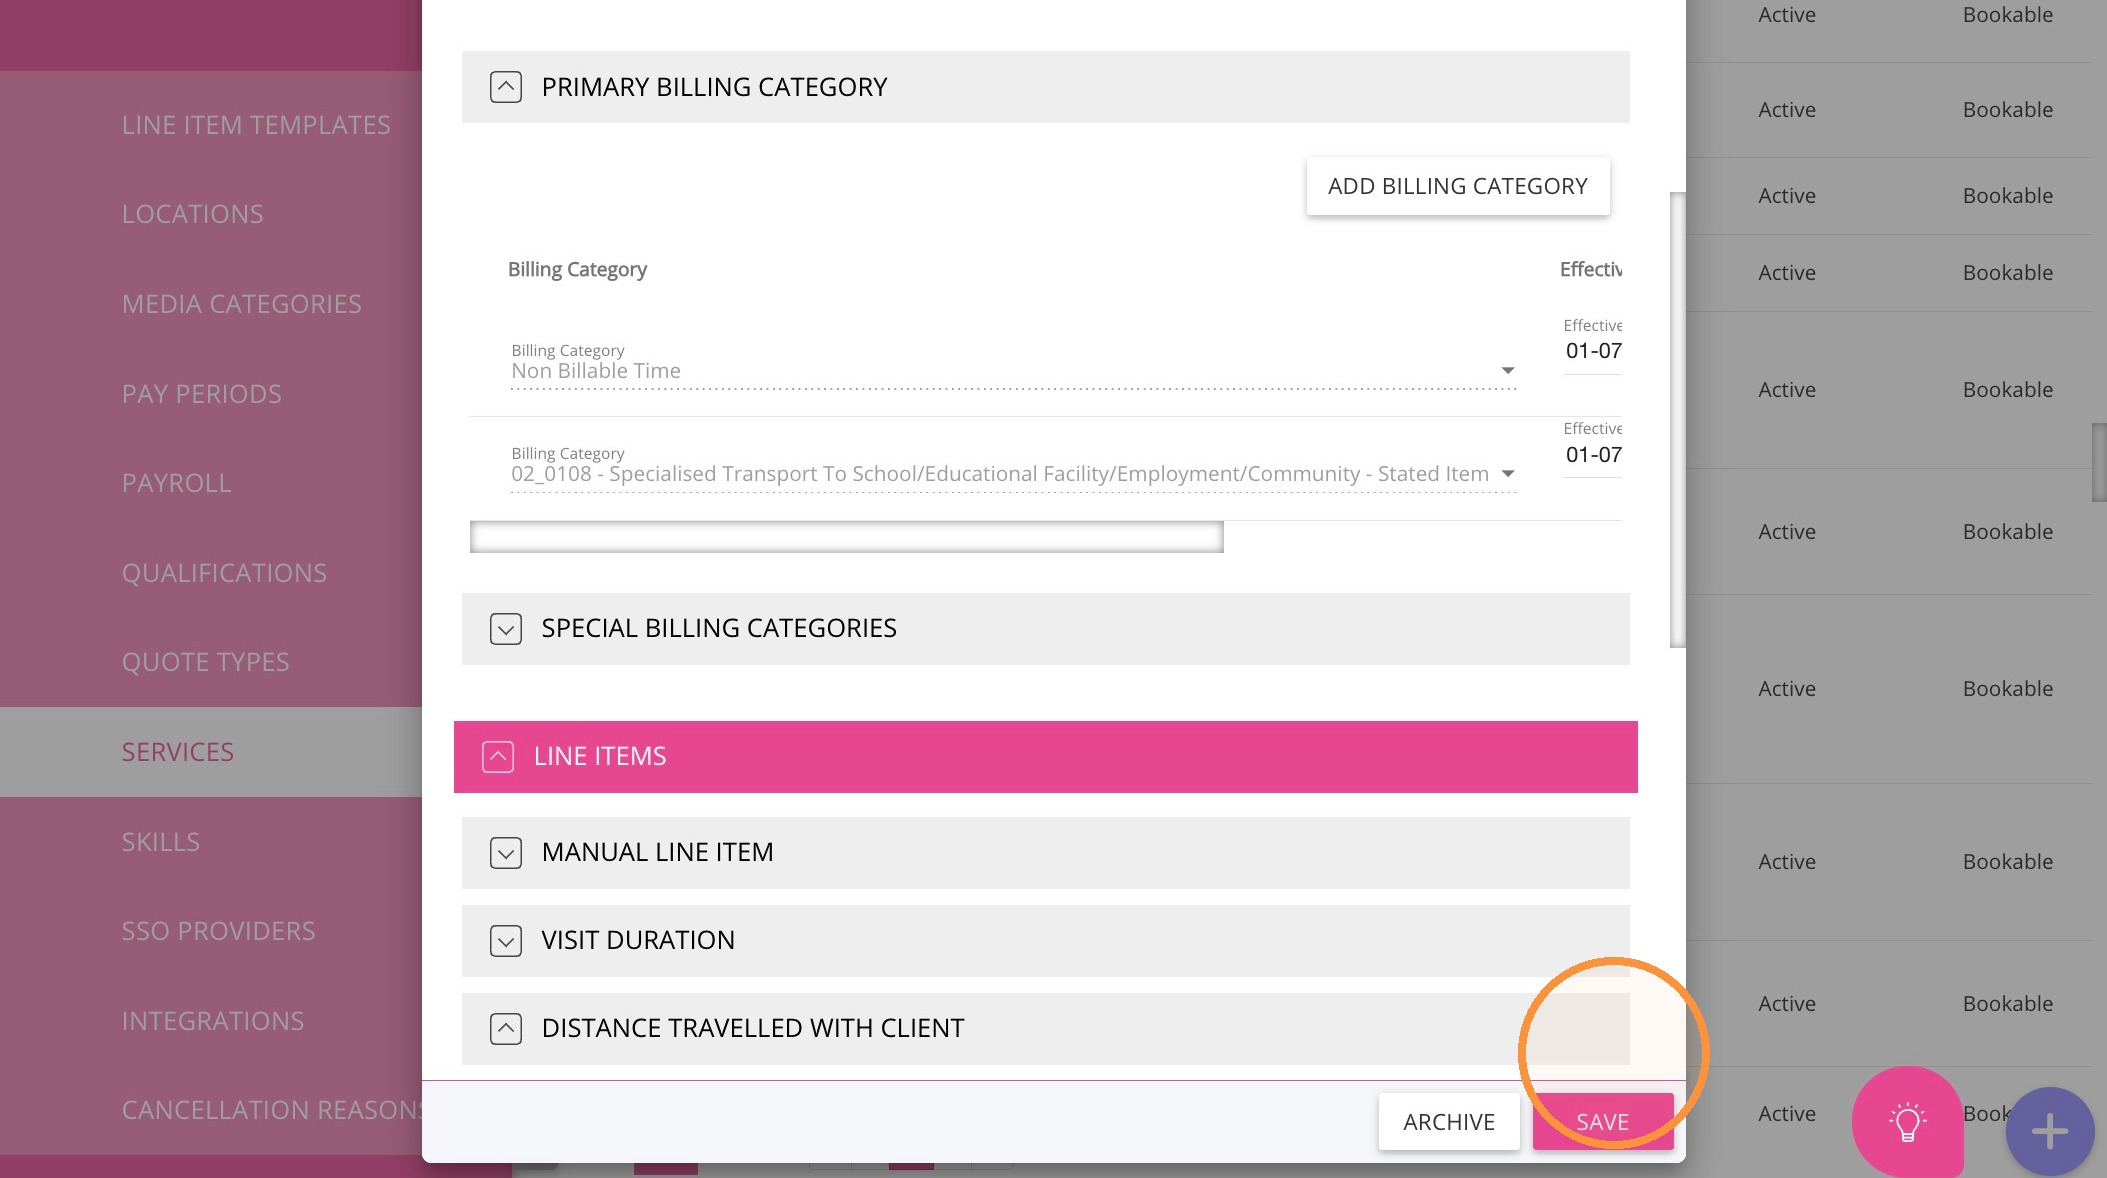
Add the applicable billable or non-billable DTWC categories.
3. Click Save.

Notes
Note: Only link DTWC to services where travelling with or transporting a client is permitted.
3. Link the Service and Billing Categories to a Funding Source Template
Create the DTWC Billing Categories
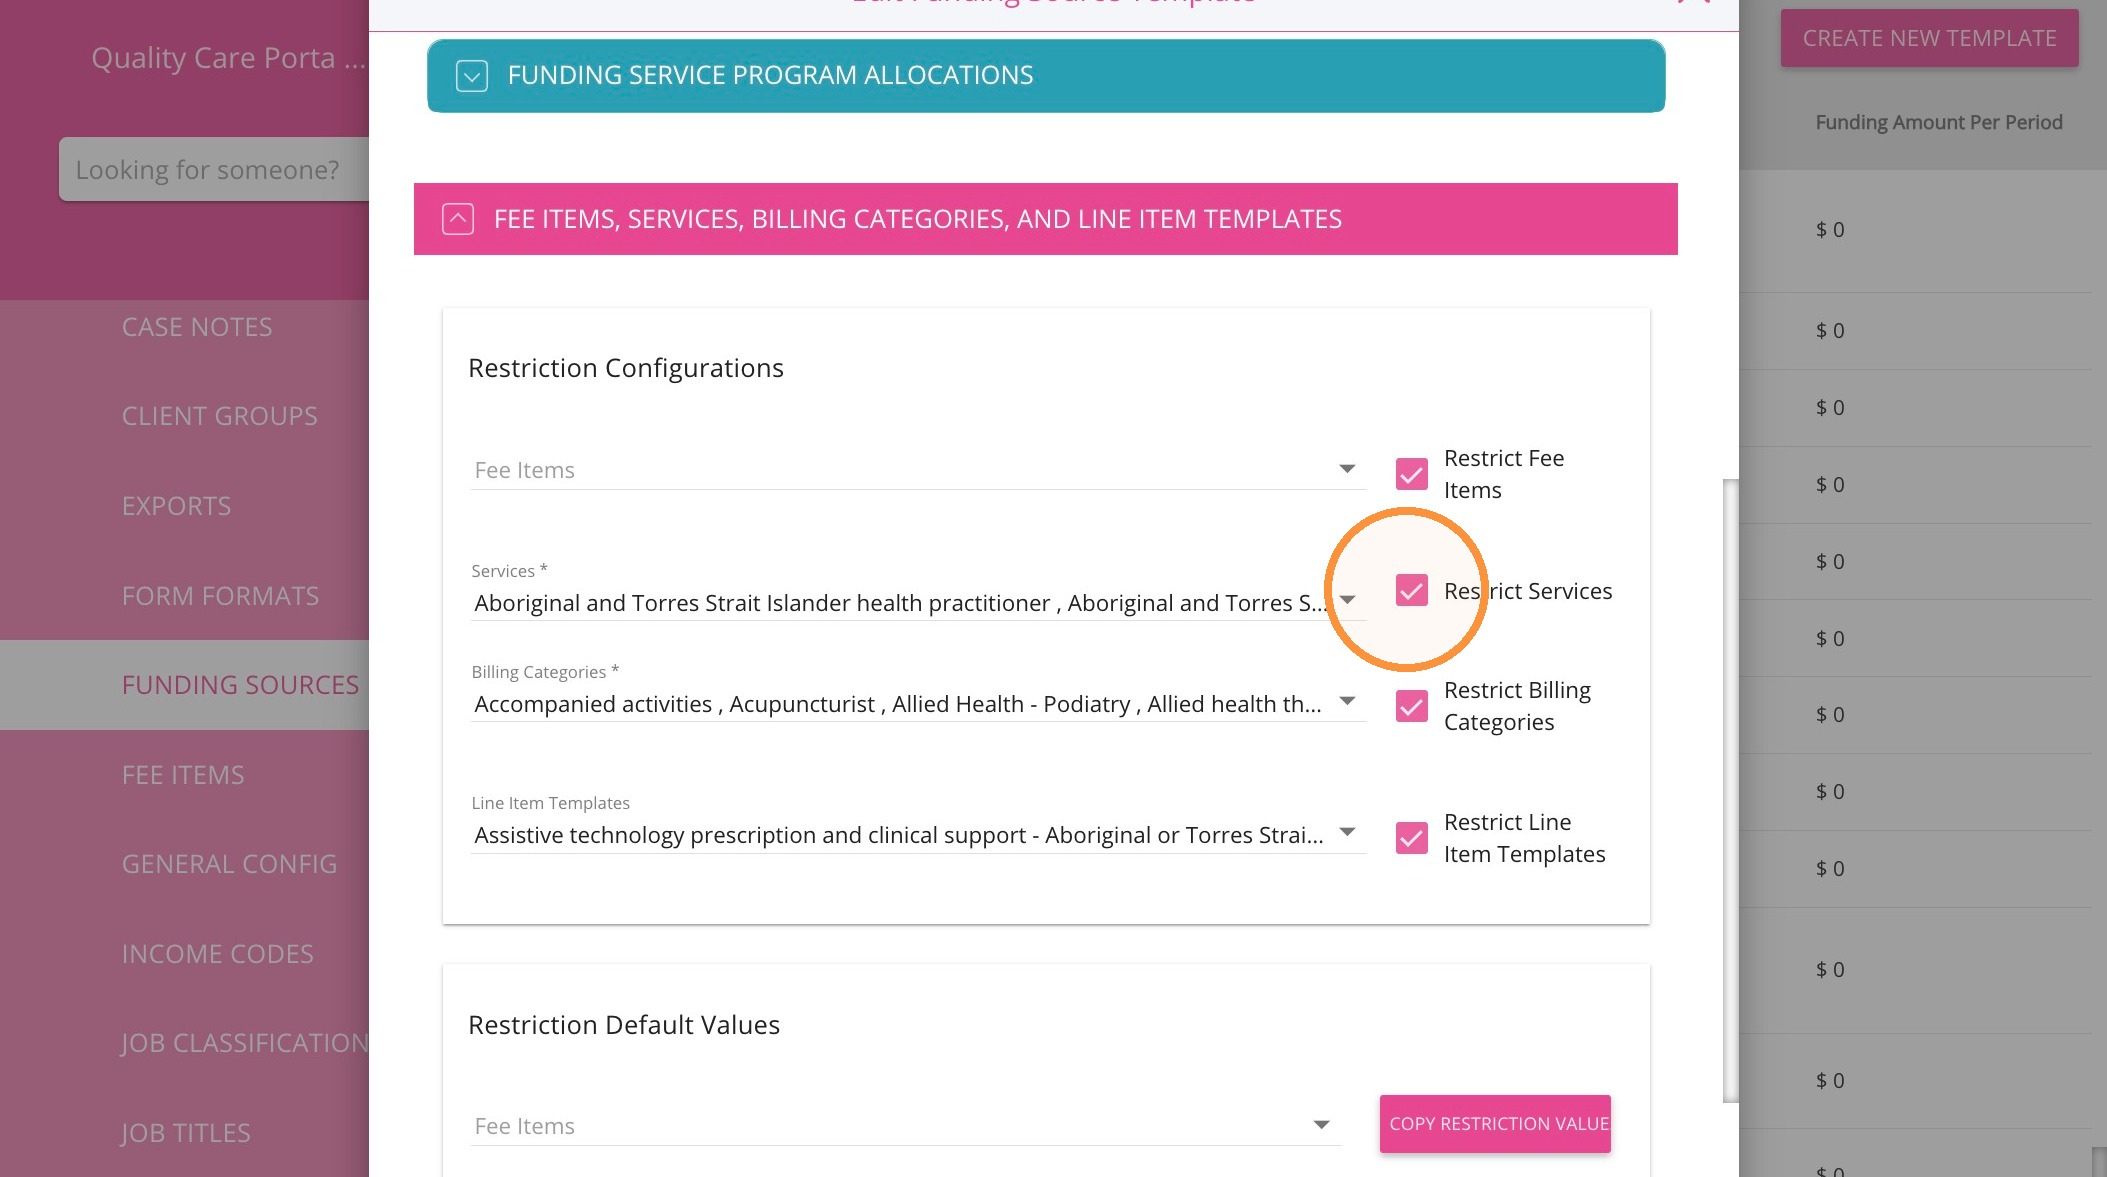
Link the Service and Billing Categories to a Funding Source
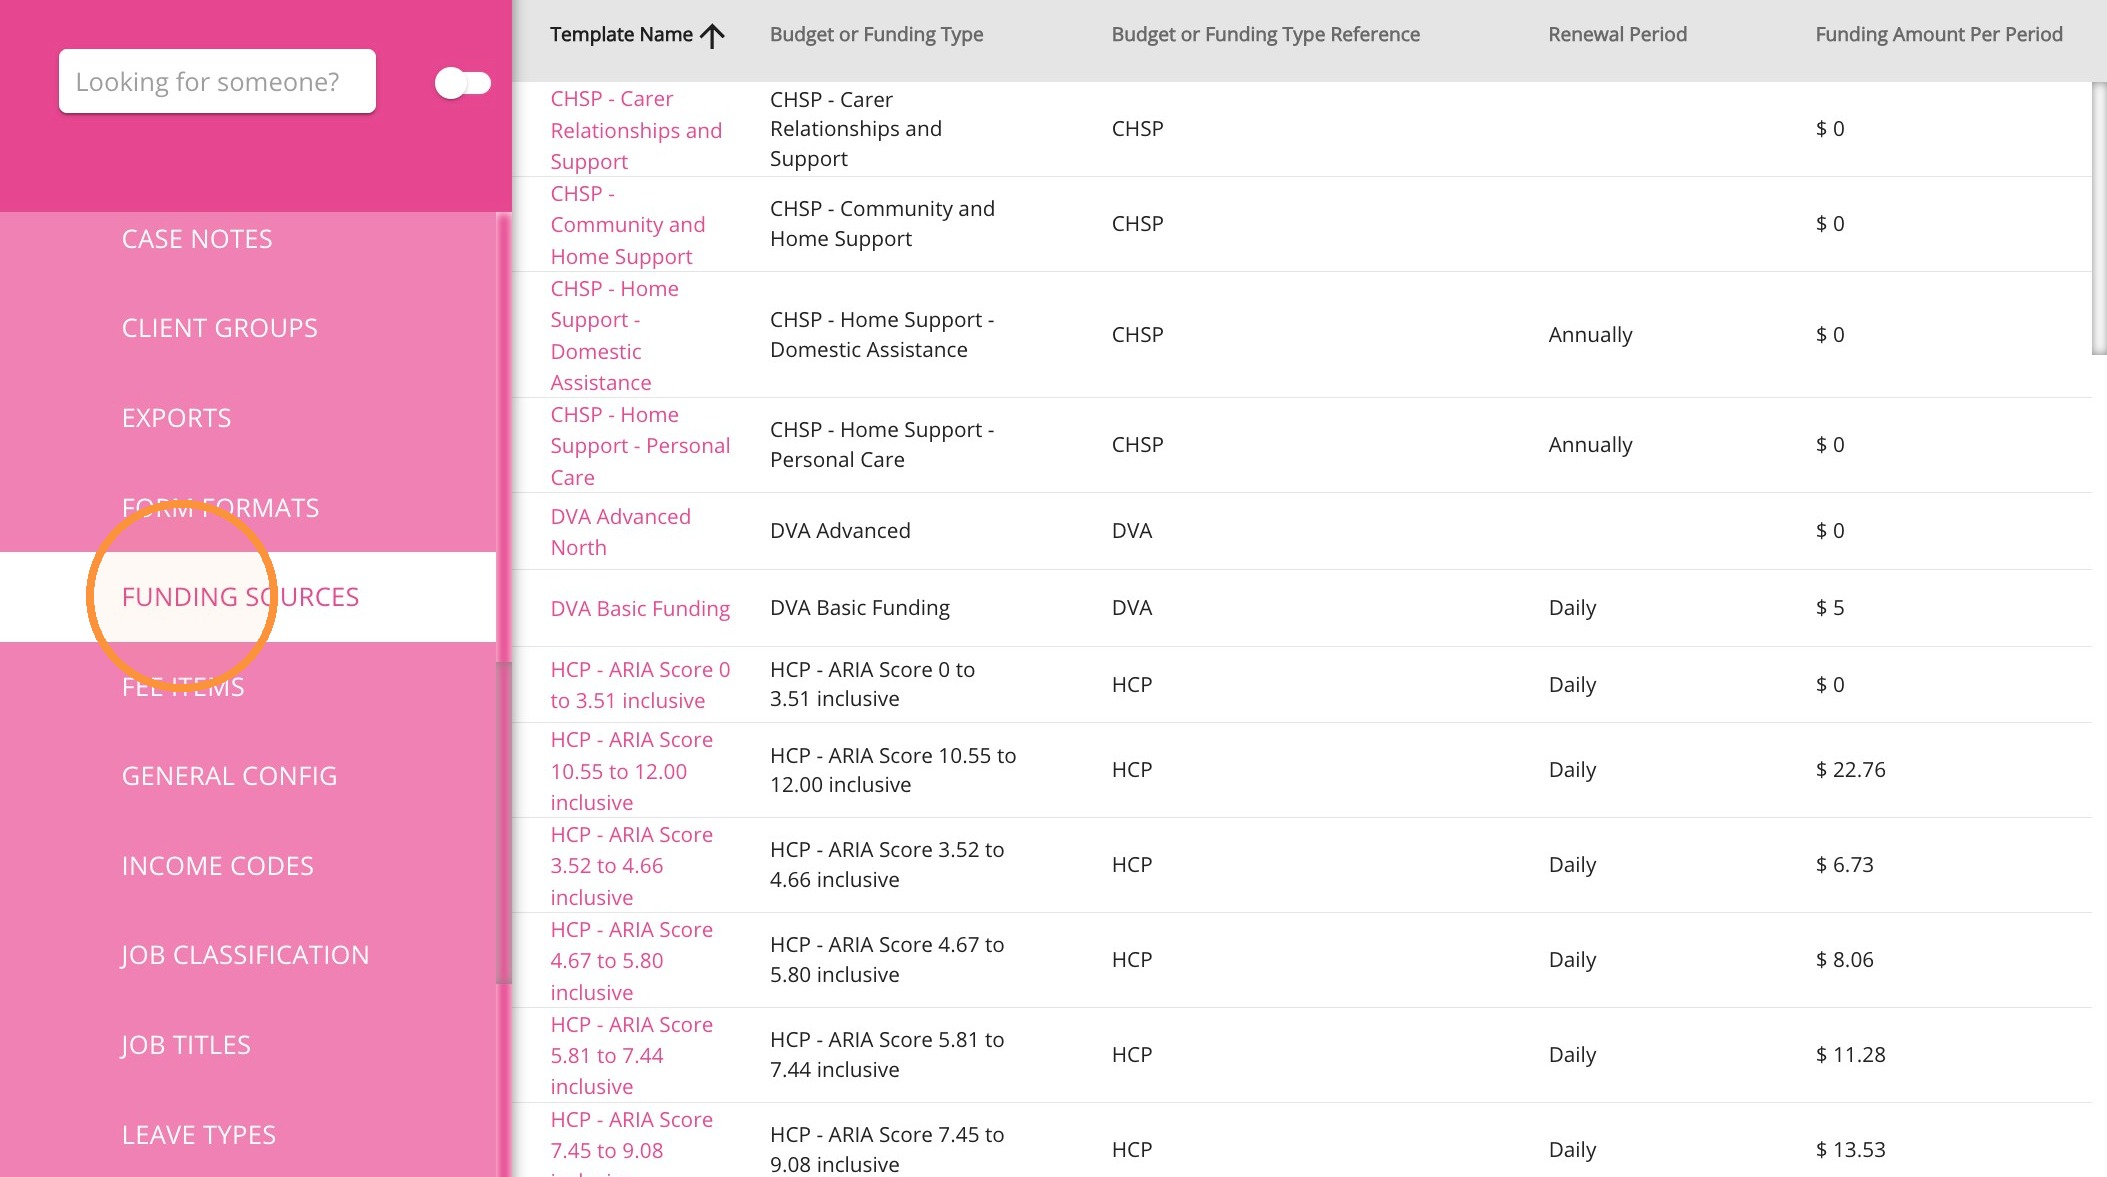
1. Go to Settings > Funding Sources.


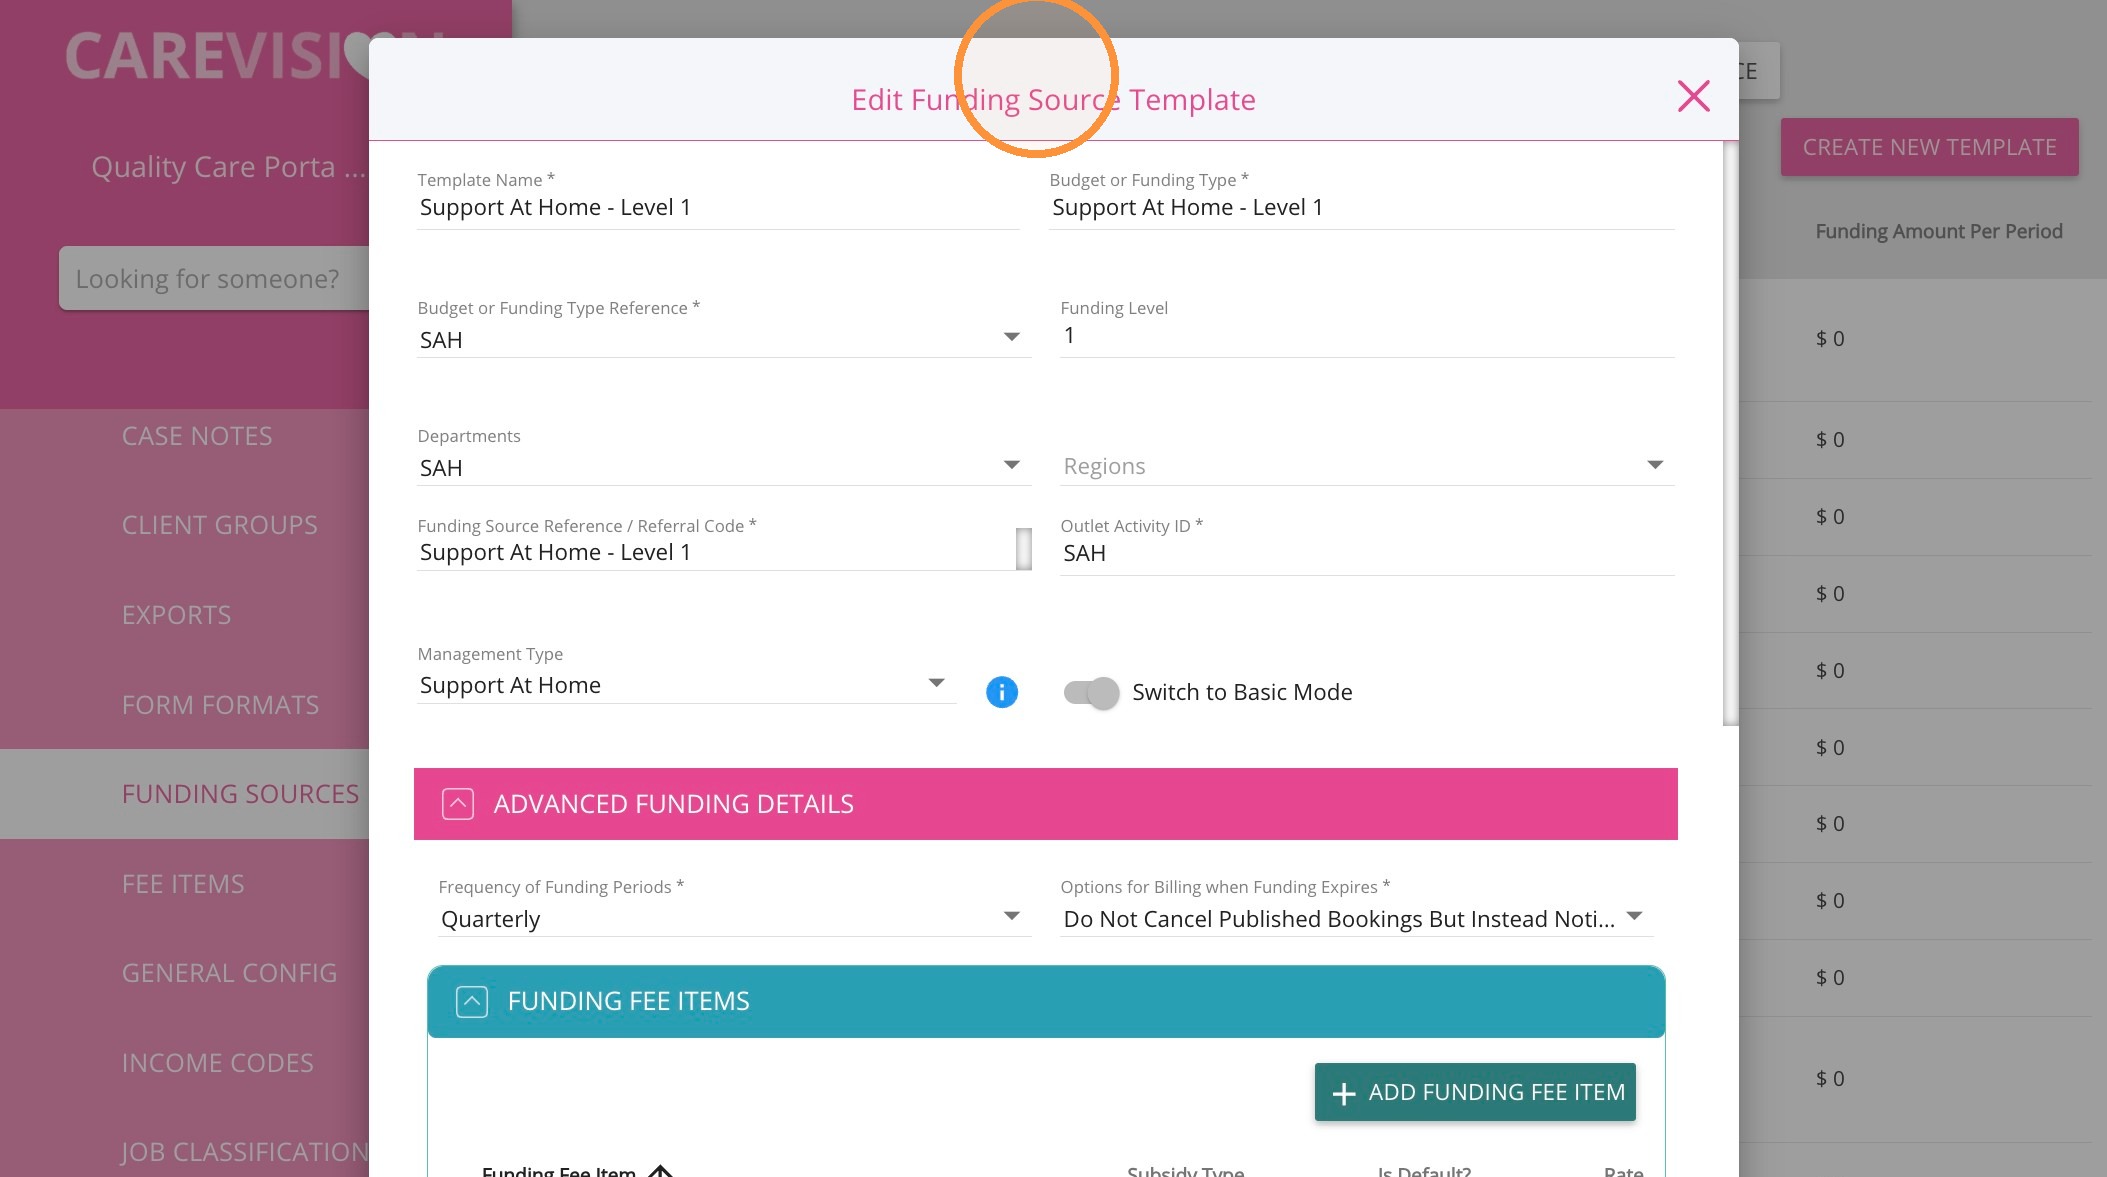
2. Open the funding source used by the client.


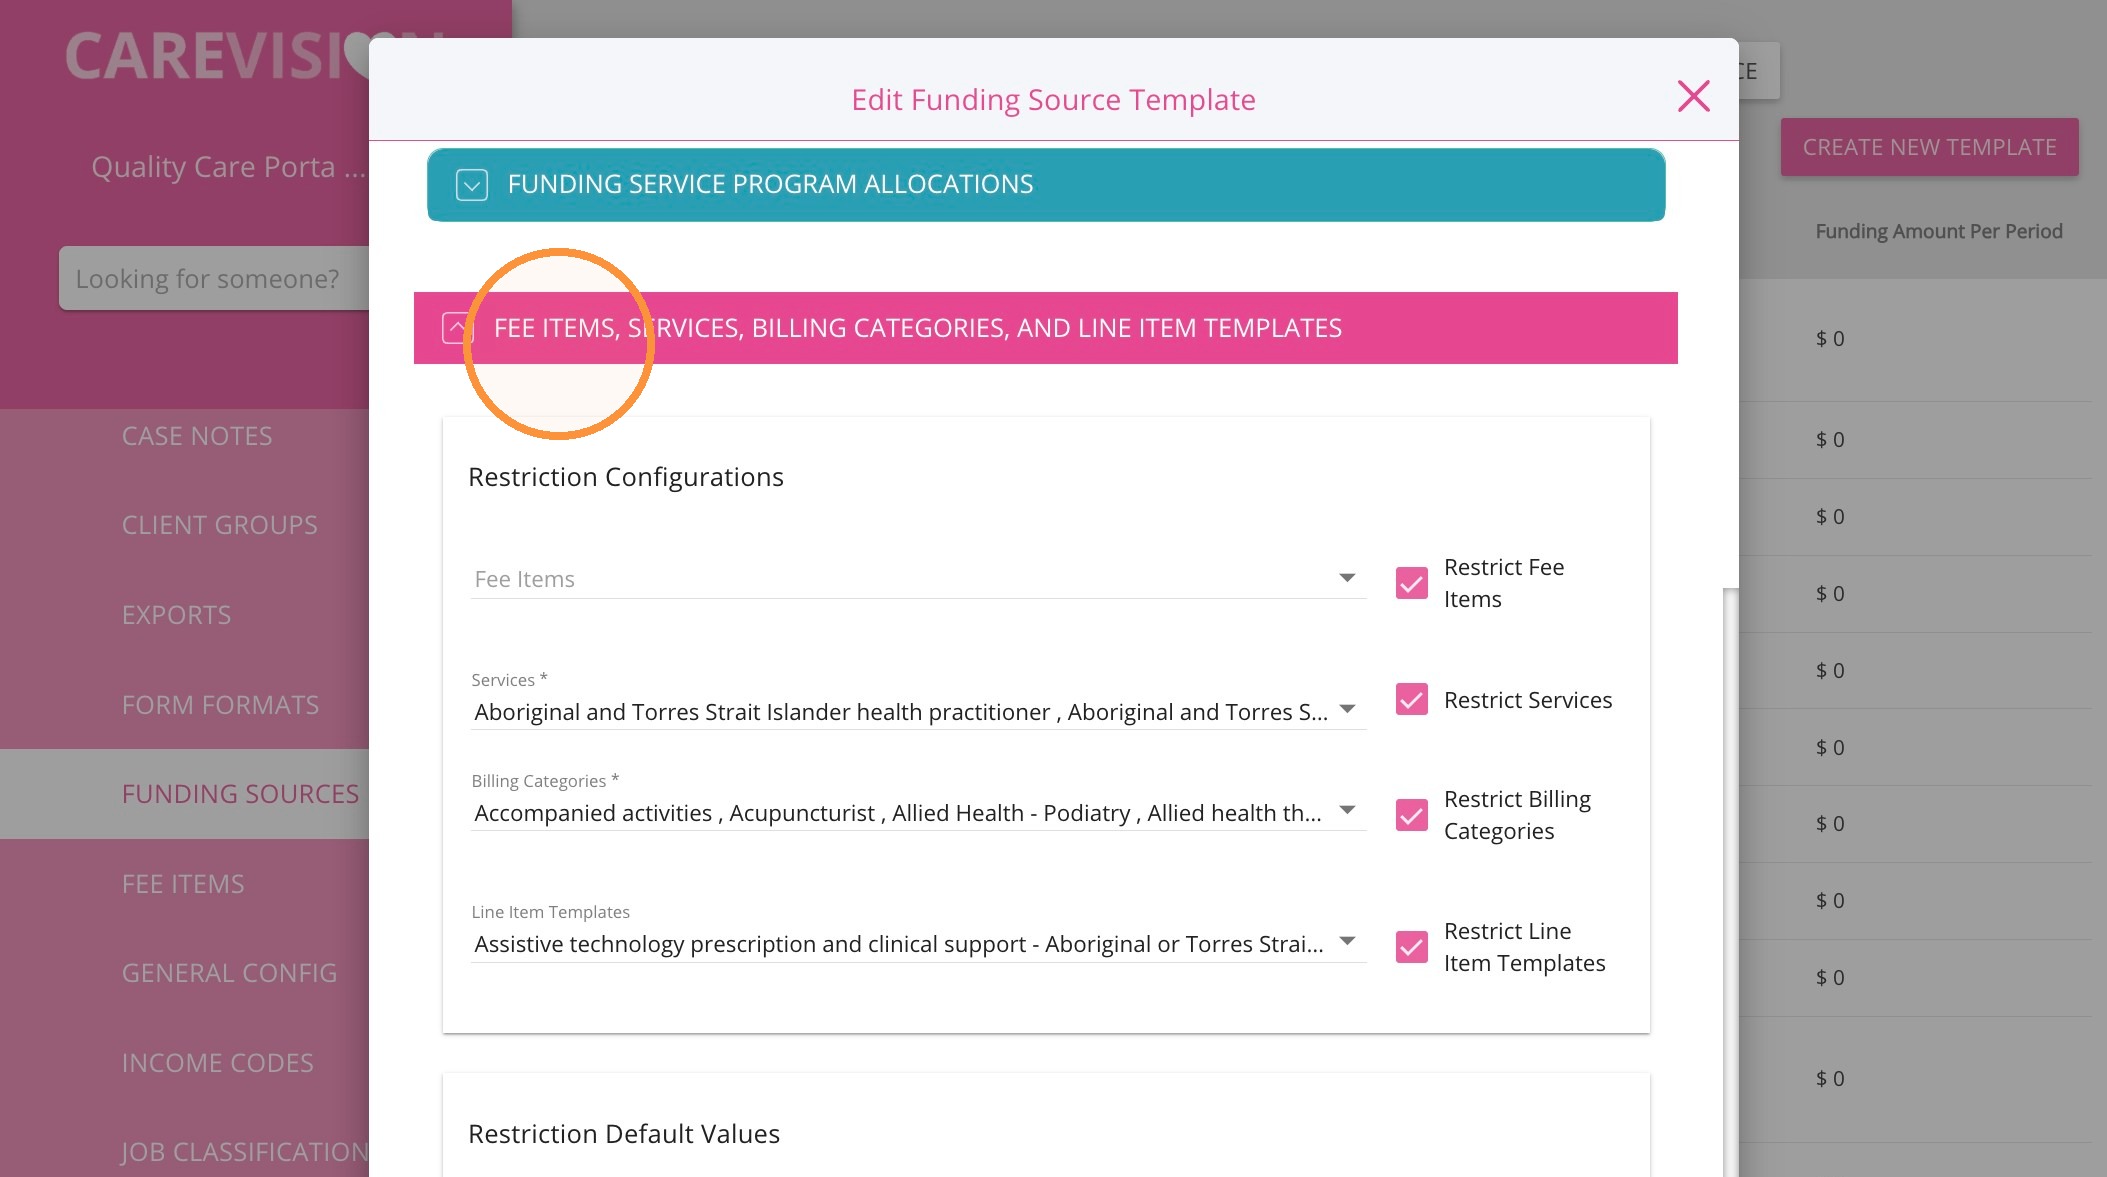
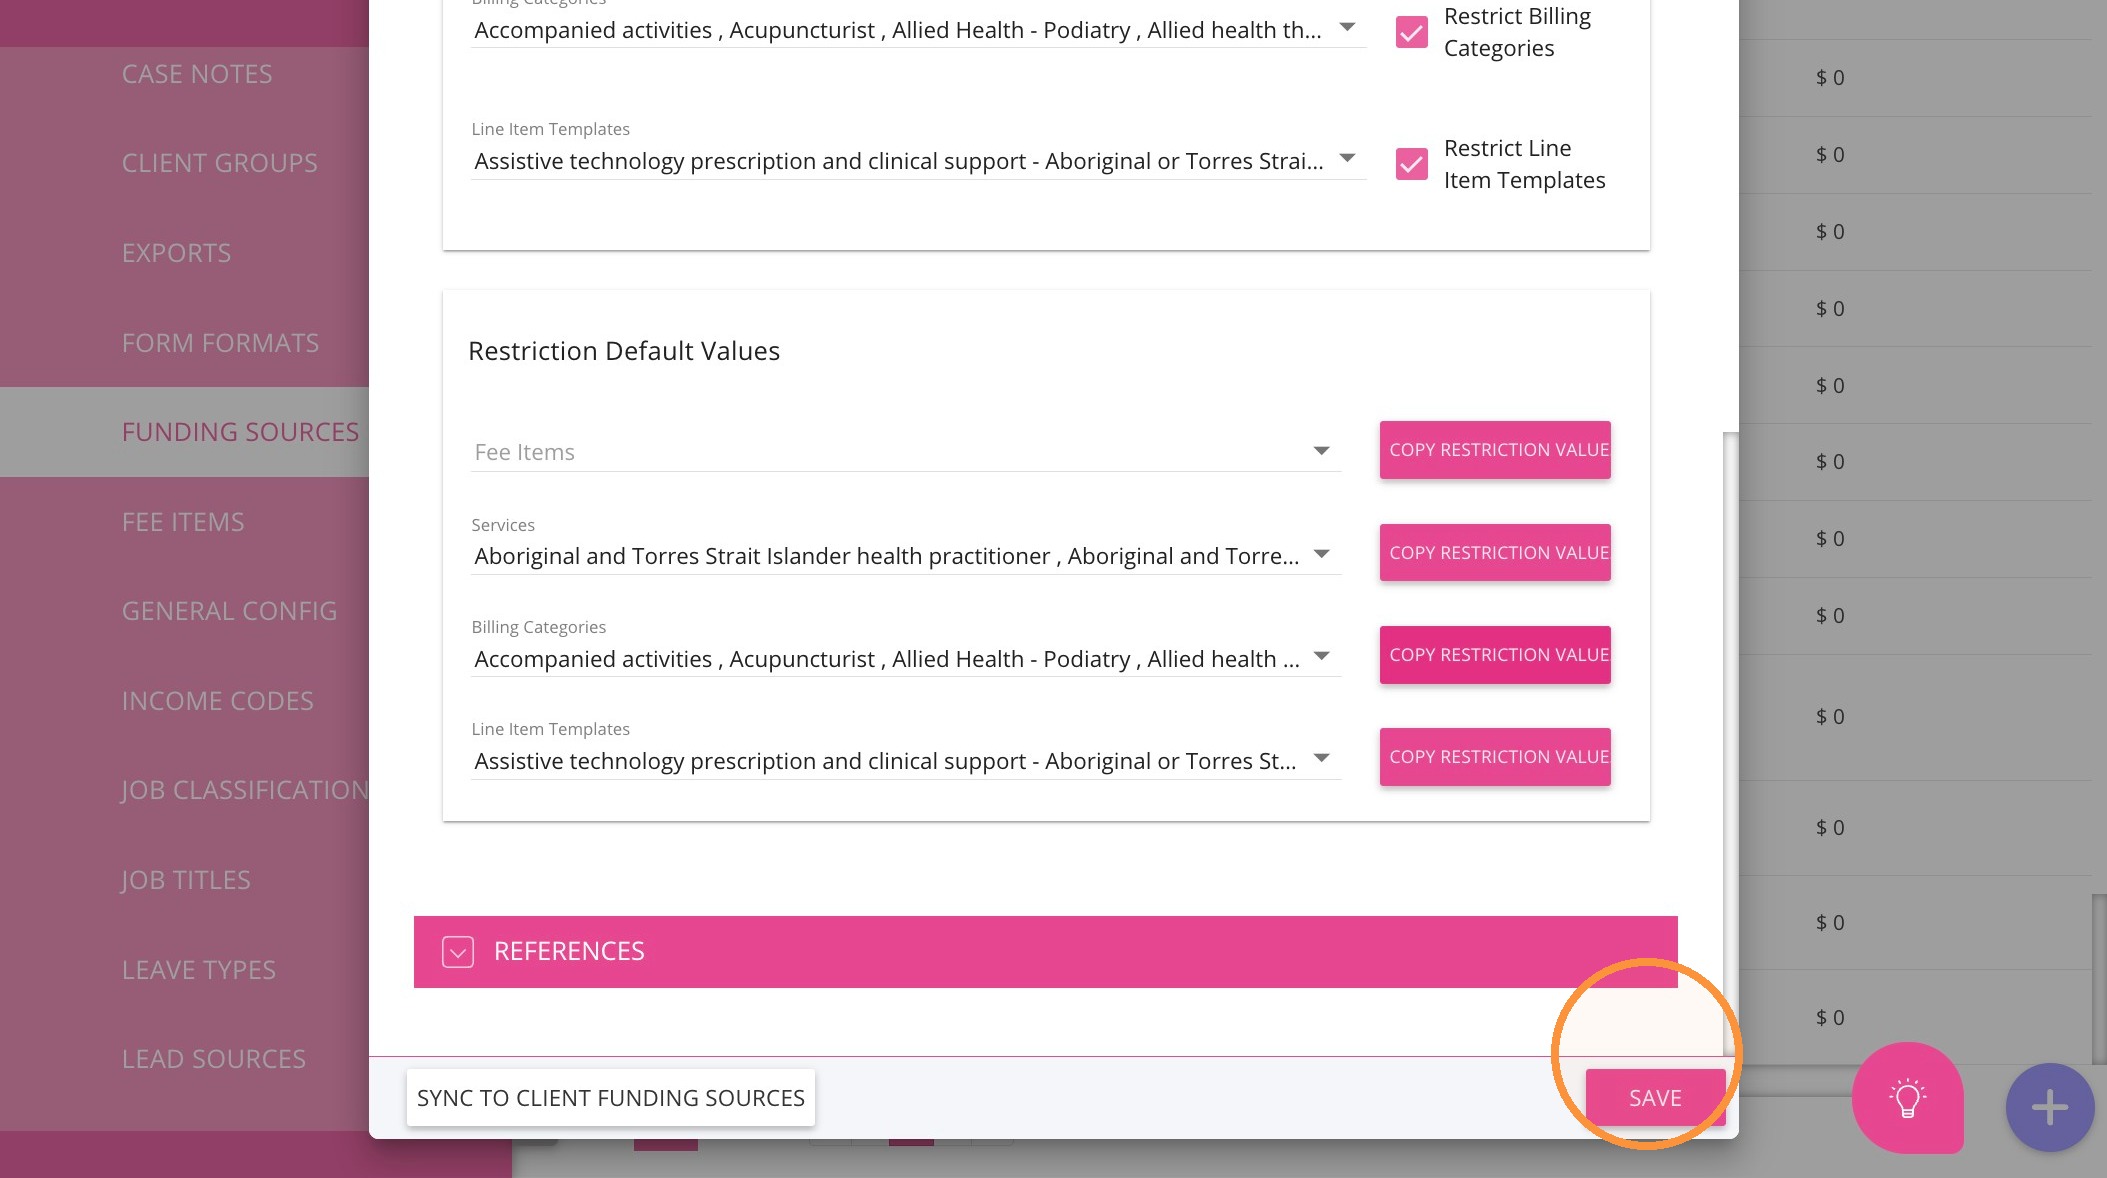
3. Expand Fee Items, Services, Billing Categories, and Line Item Templates.


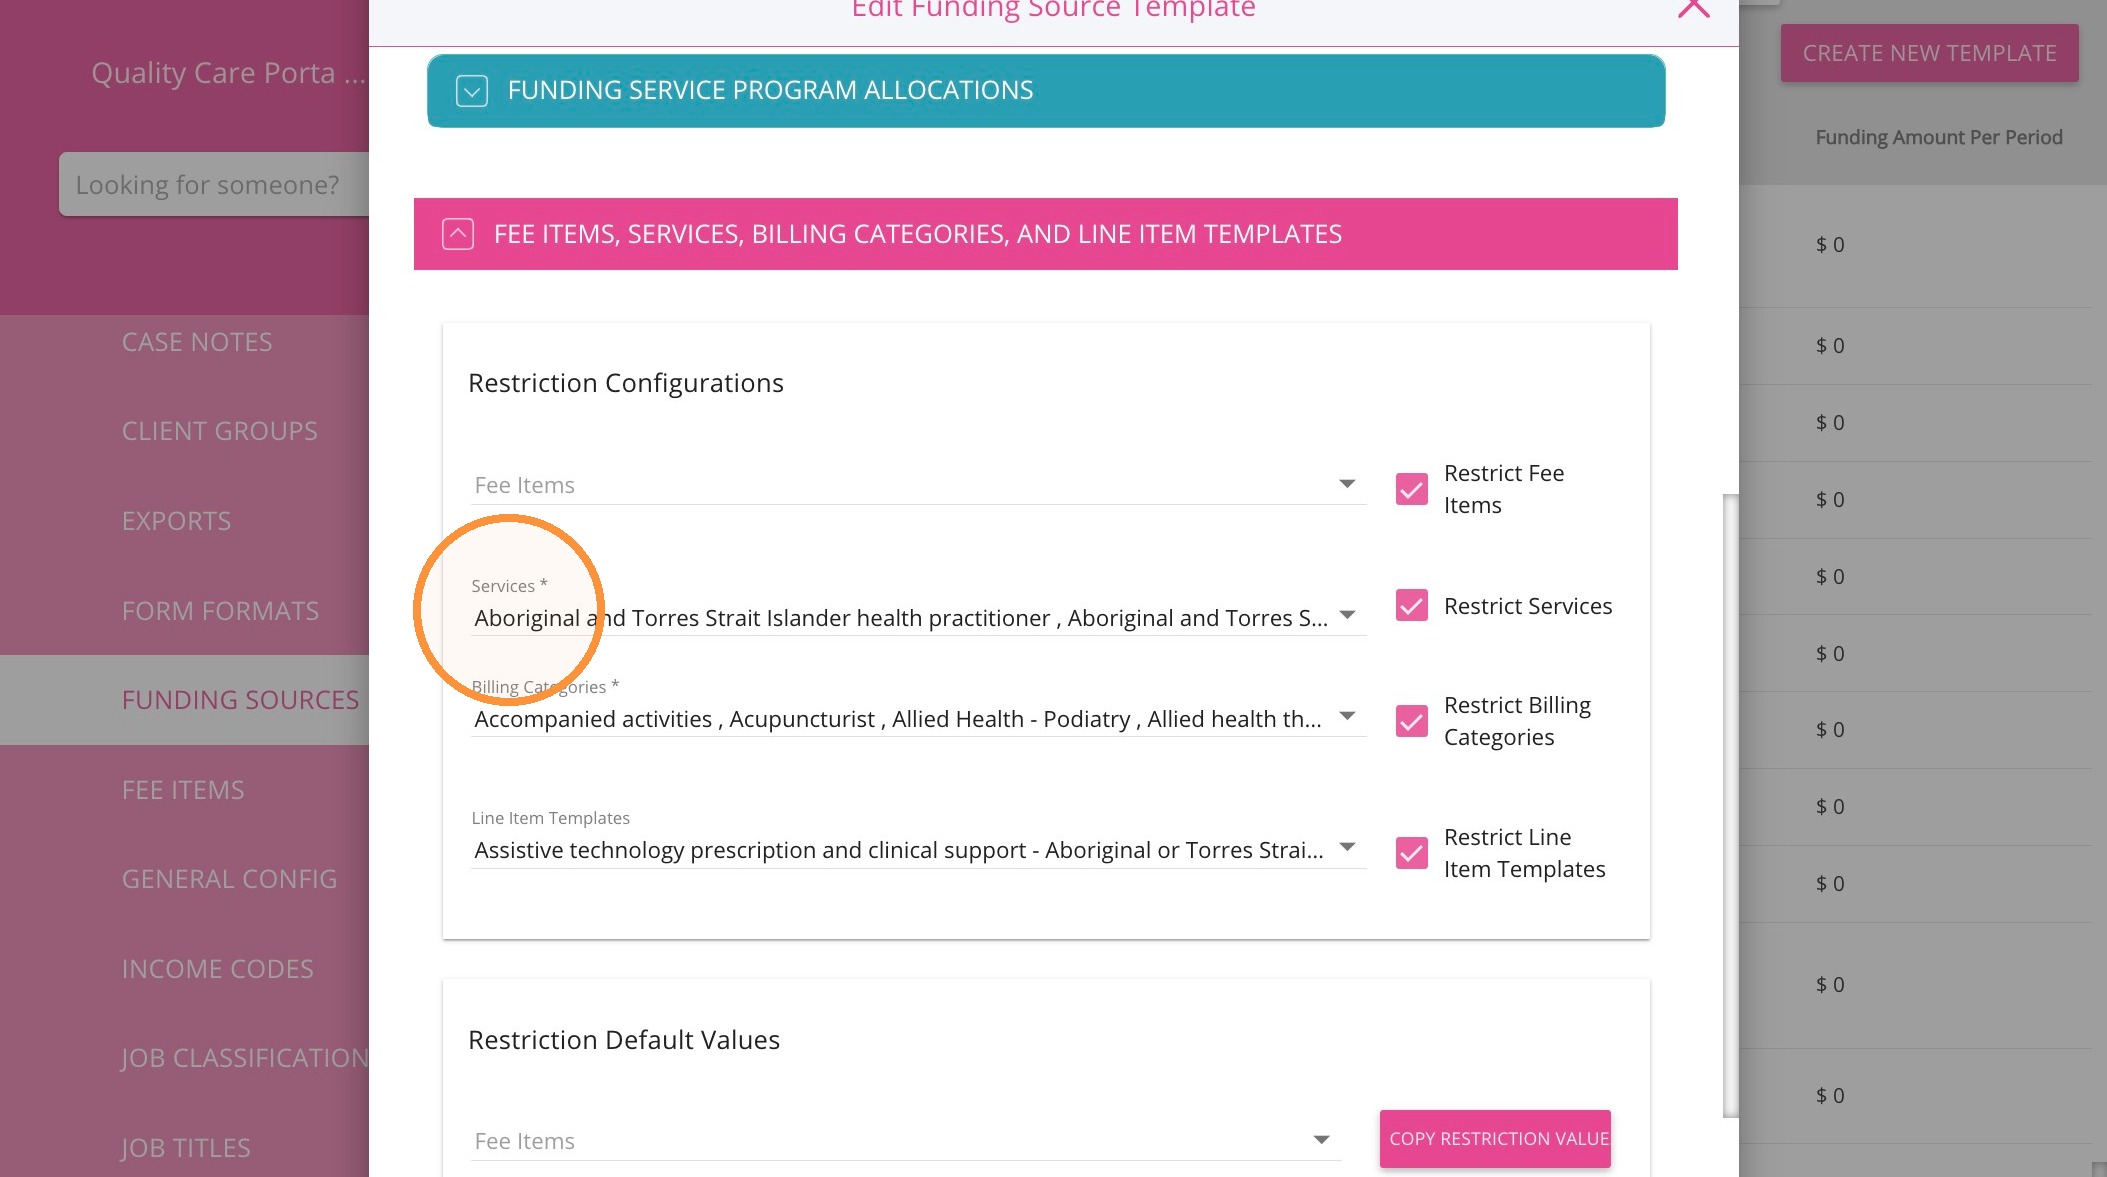
4. Under Services, add the relevant service.


5. Select Restrict Services if only approved services should be available under the funding source.


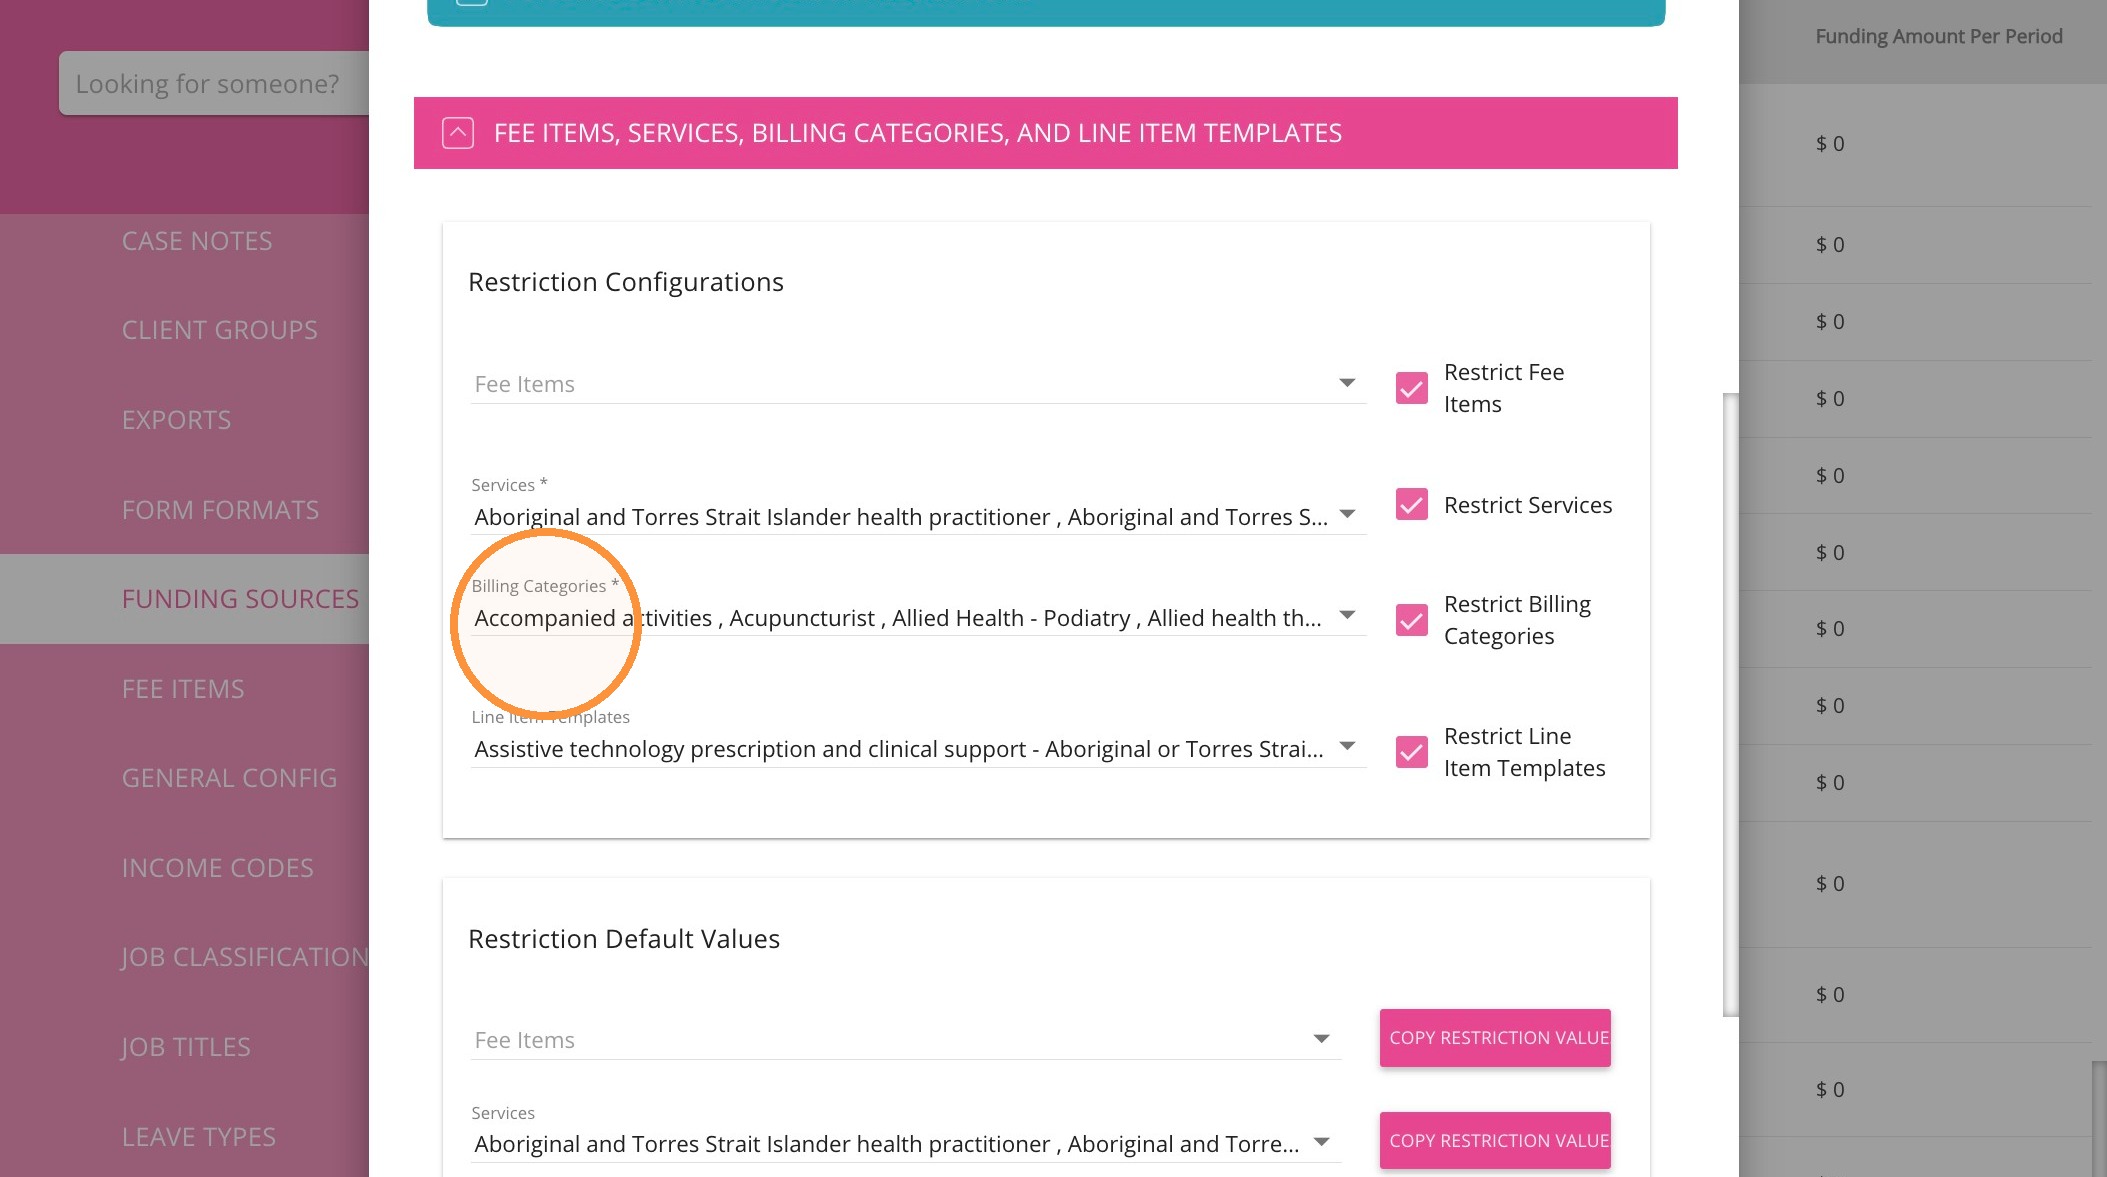
6. Under Billing Categories, add the applicable DTWC categories.


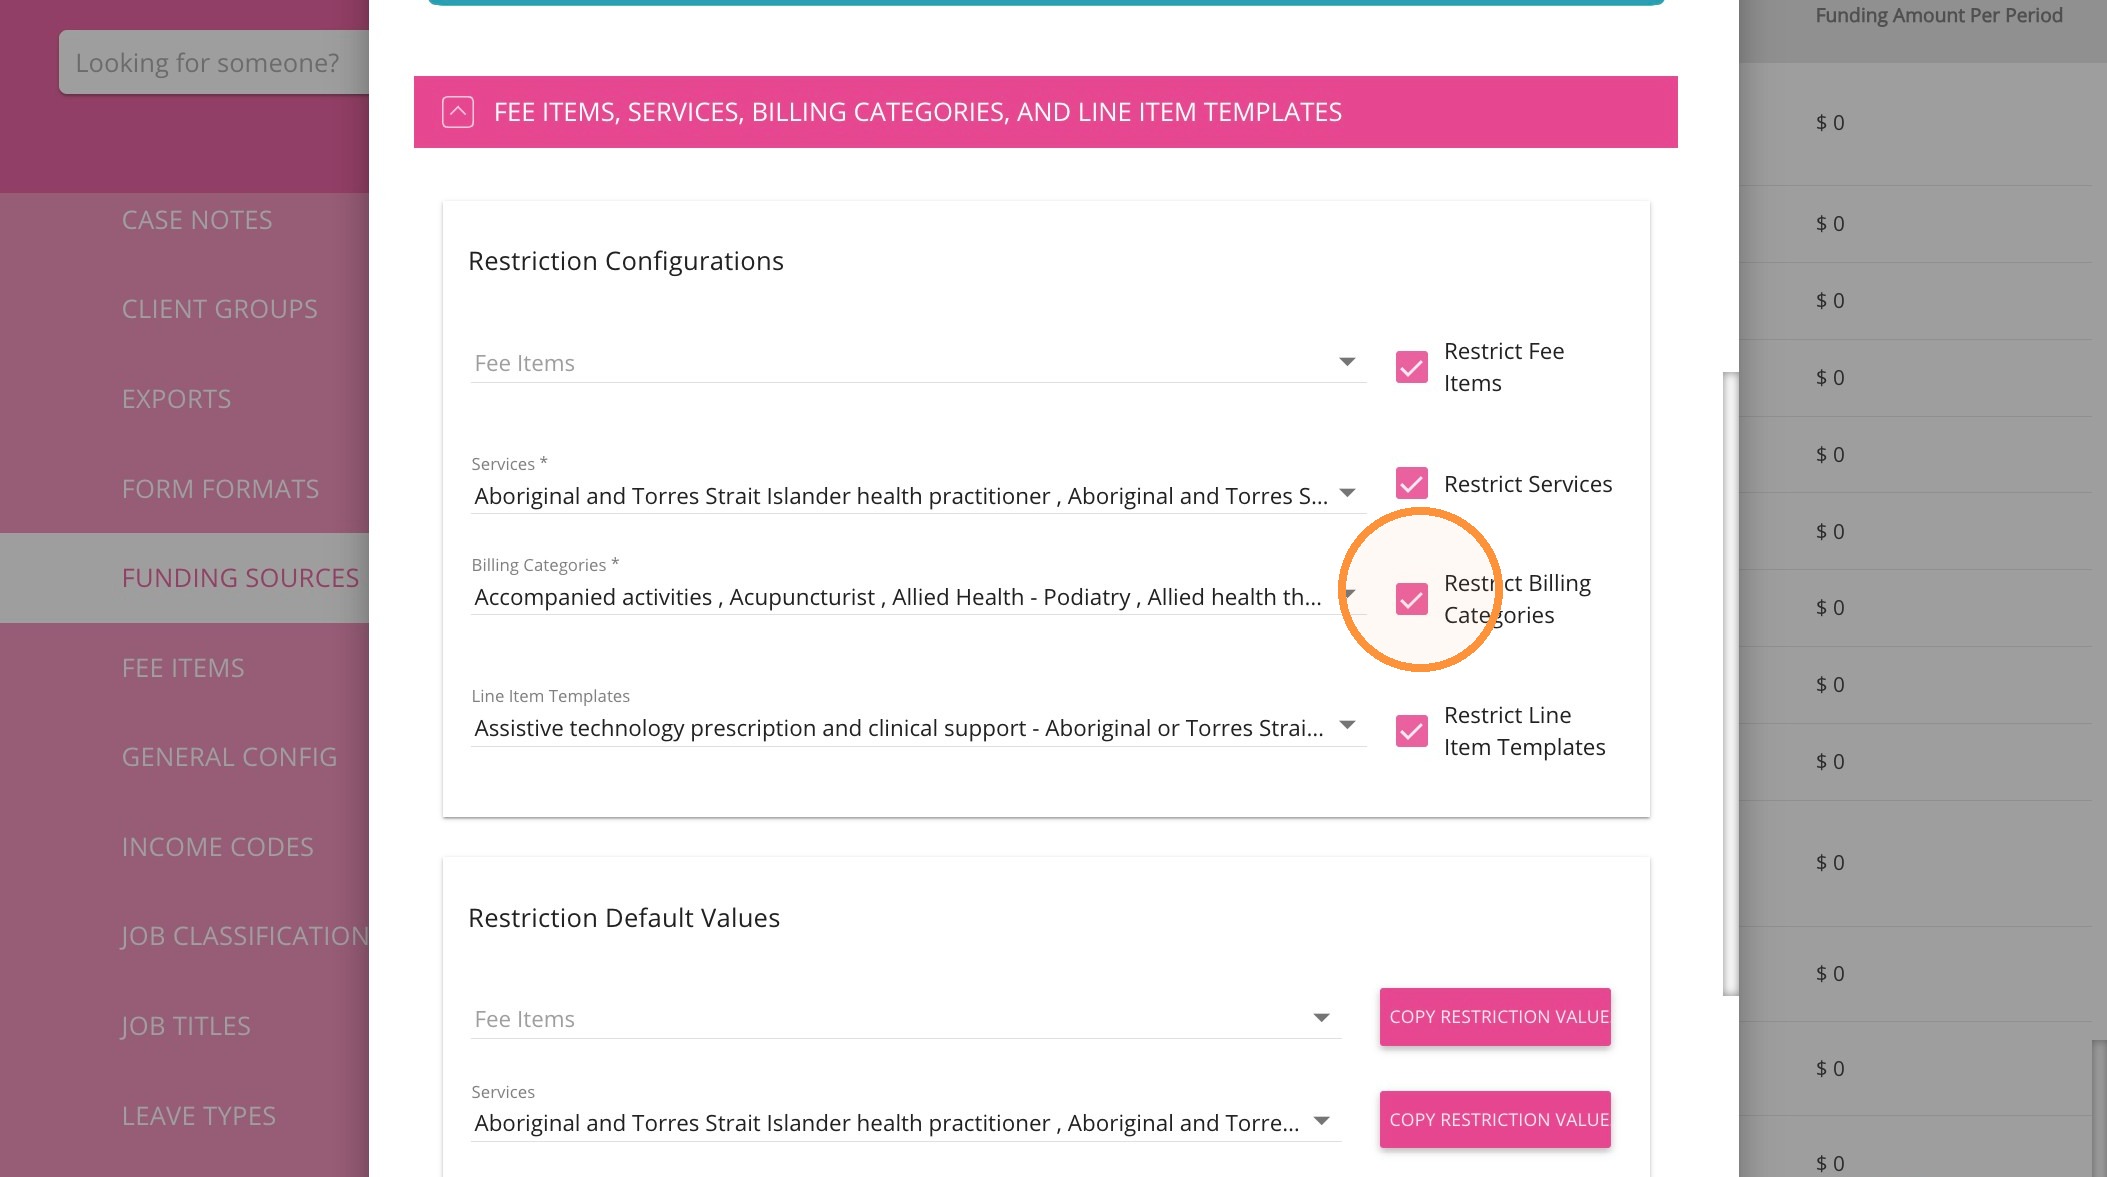
7. Select Restrict Billing Categories if only approved billing categories should be available.


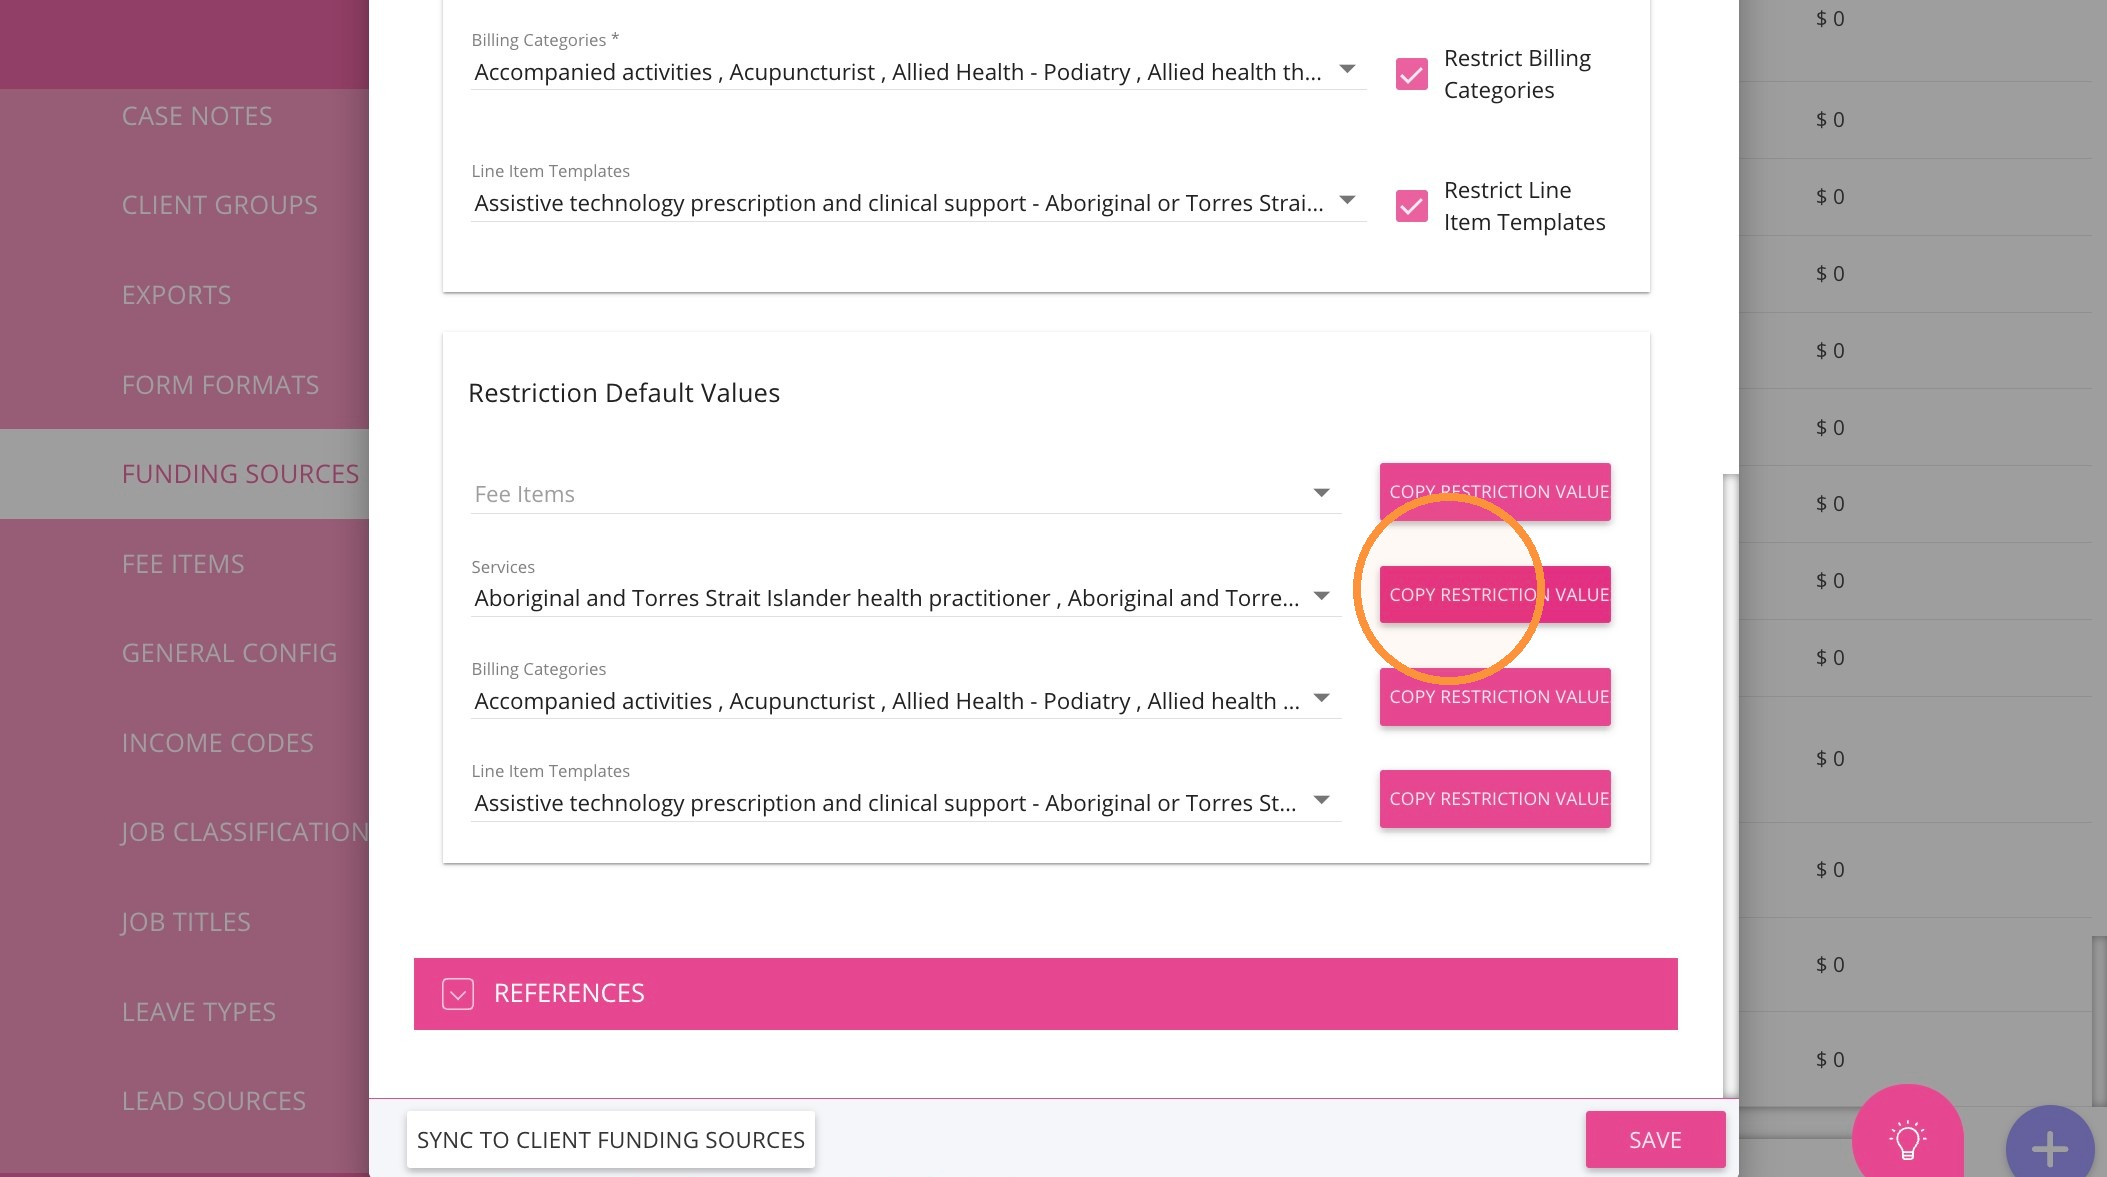
8. Click Copy Restriction Values for Services and Billing Categories to apply the restrictions across related items.


9. Click Save.


Add DTWC to a Quote

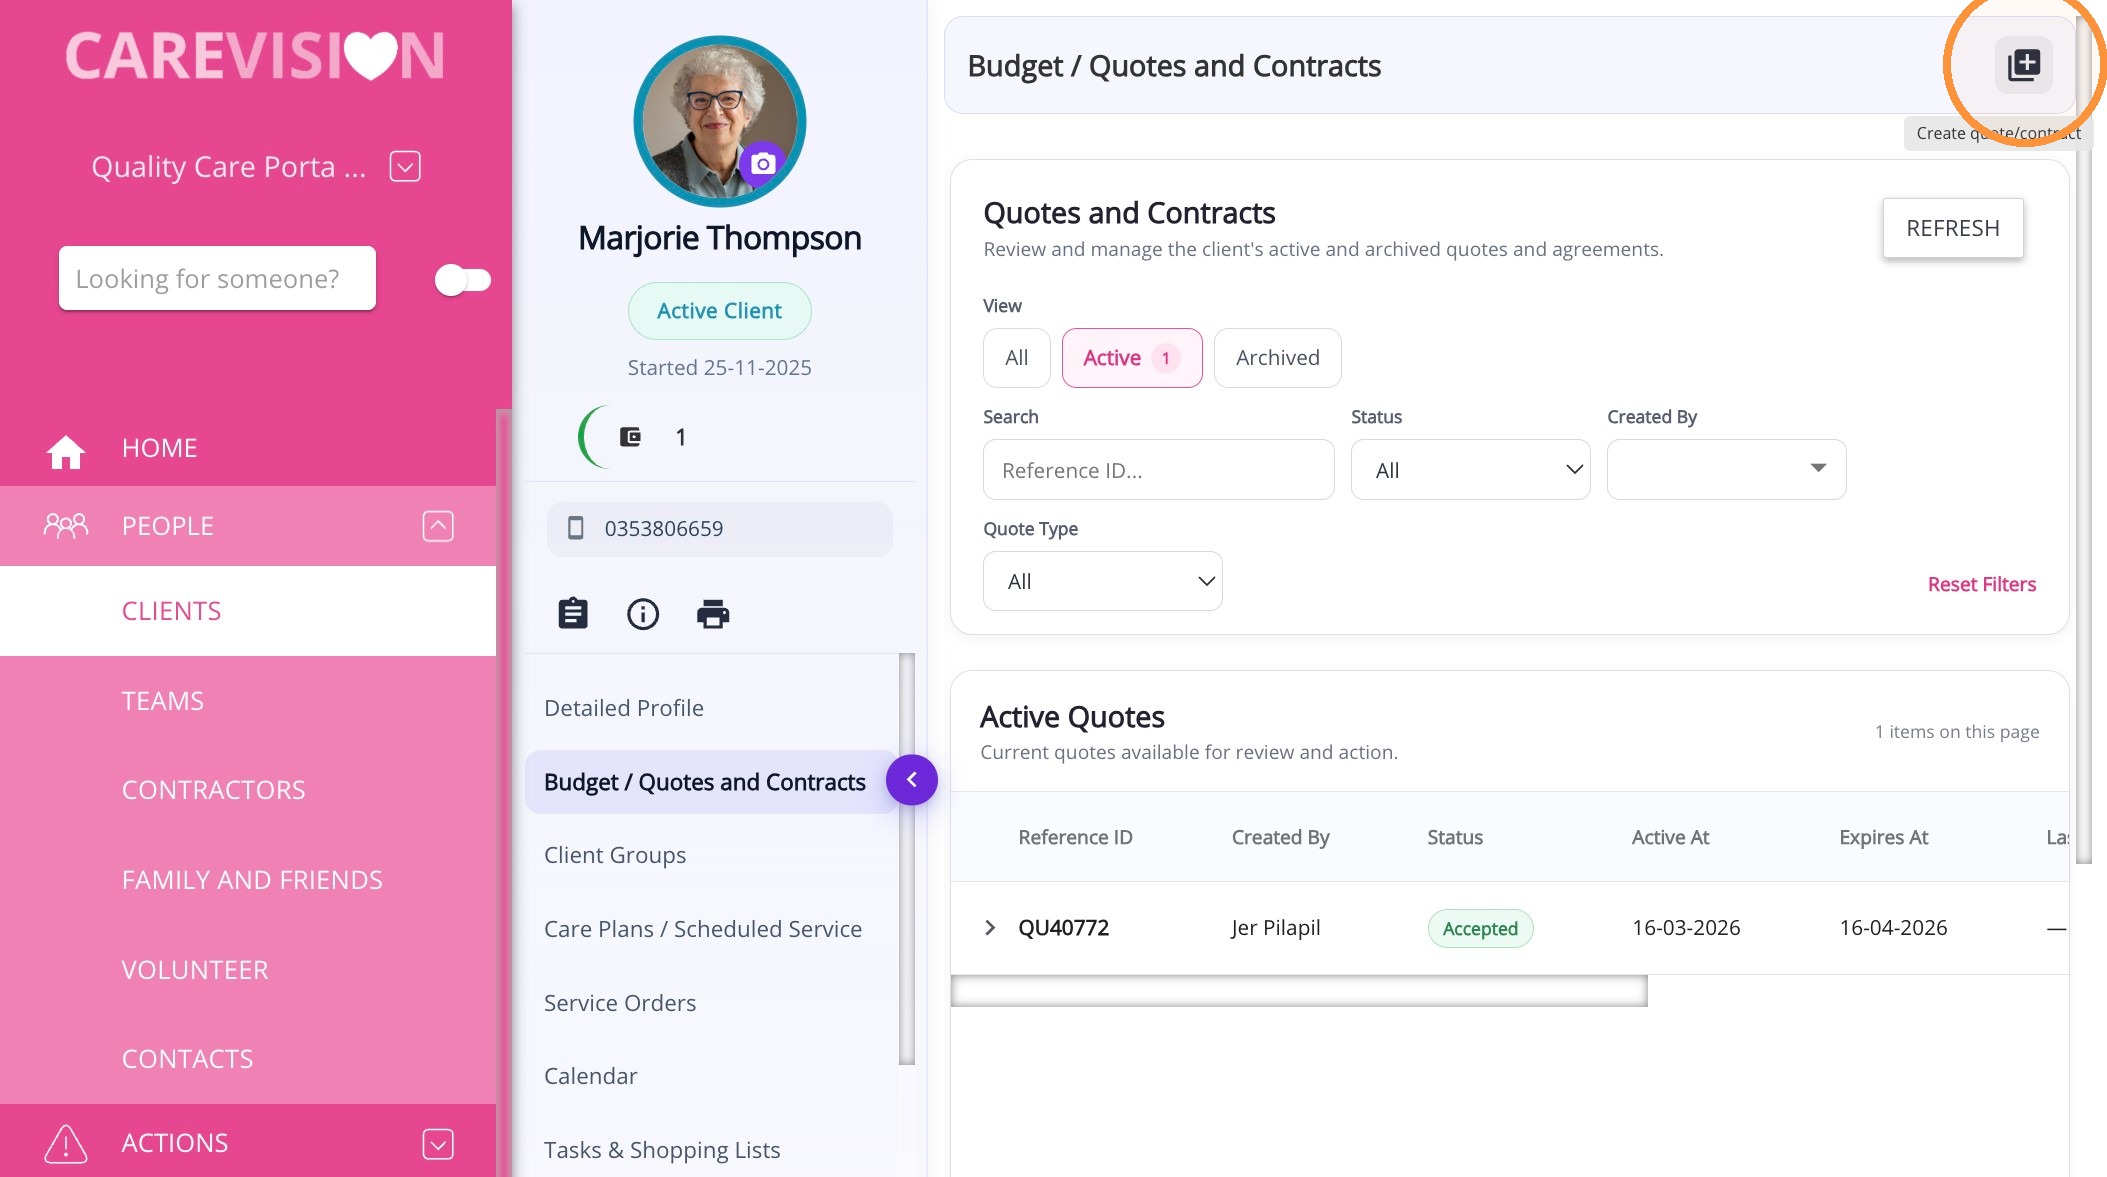
The instructions below focus specifically on adding Distance Travelled with Client (DTWC) to a service in a quote. For detailed instructions on creating a quote, see How to Create a Quote for Support at Home Clients.
Notes
Note: Before creating the quote, make sure the prerequisites above have been met.
1. Create or open the client quote.

2. Add the funding source template
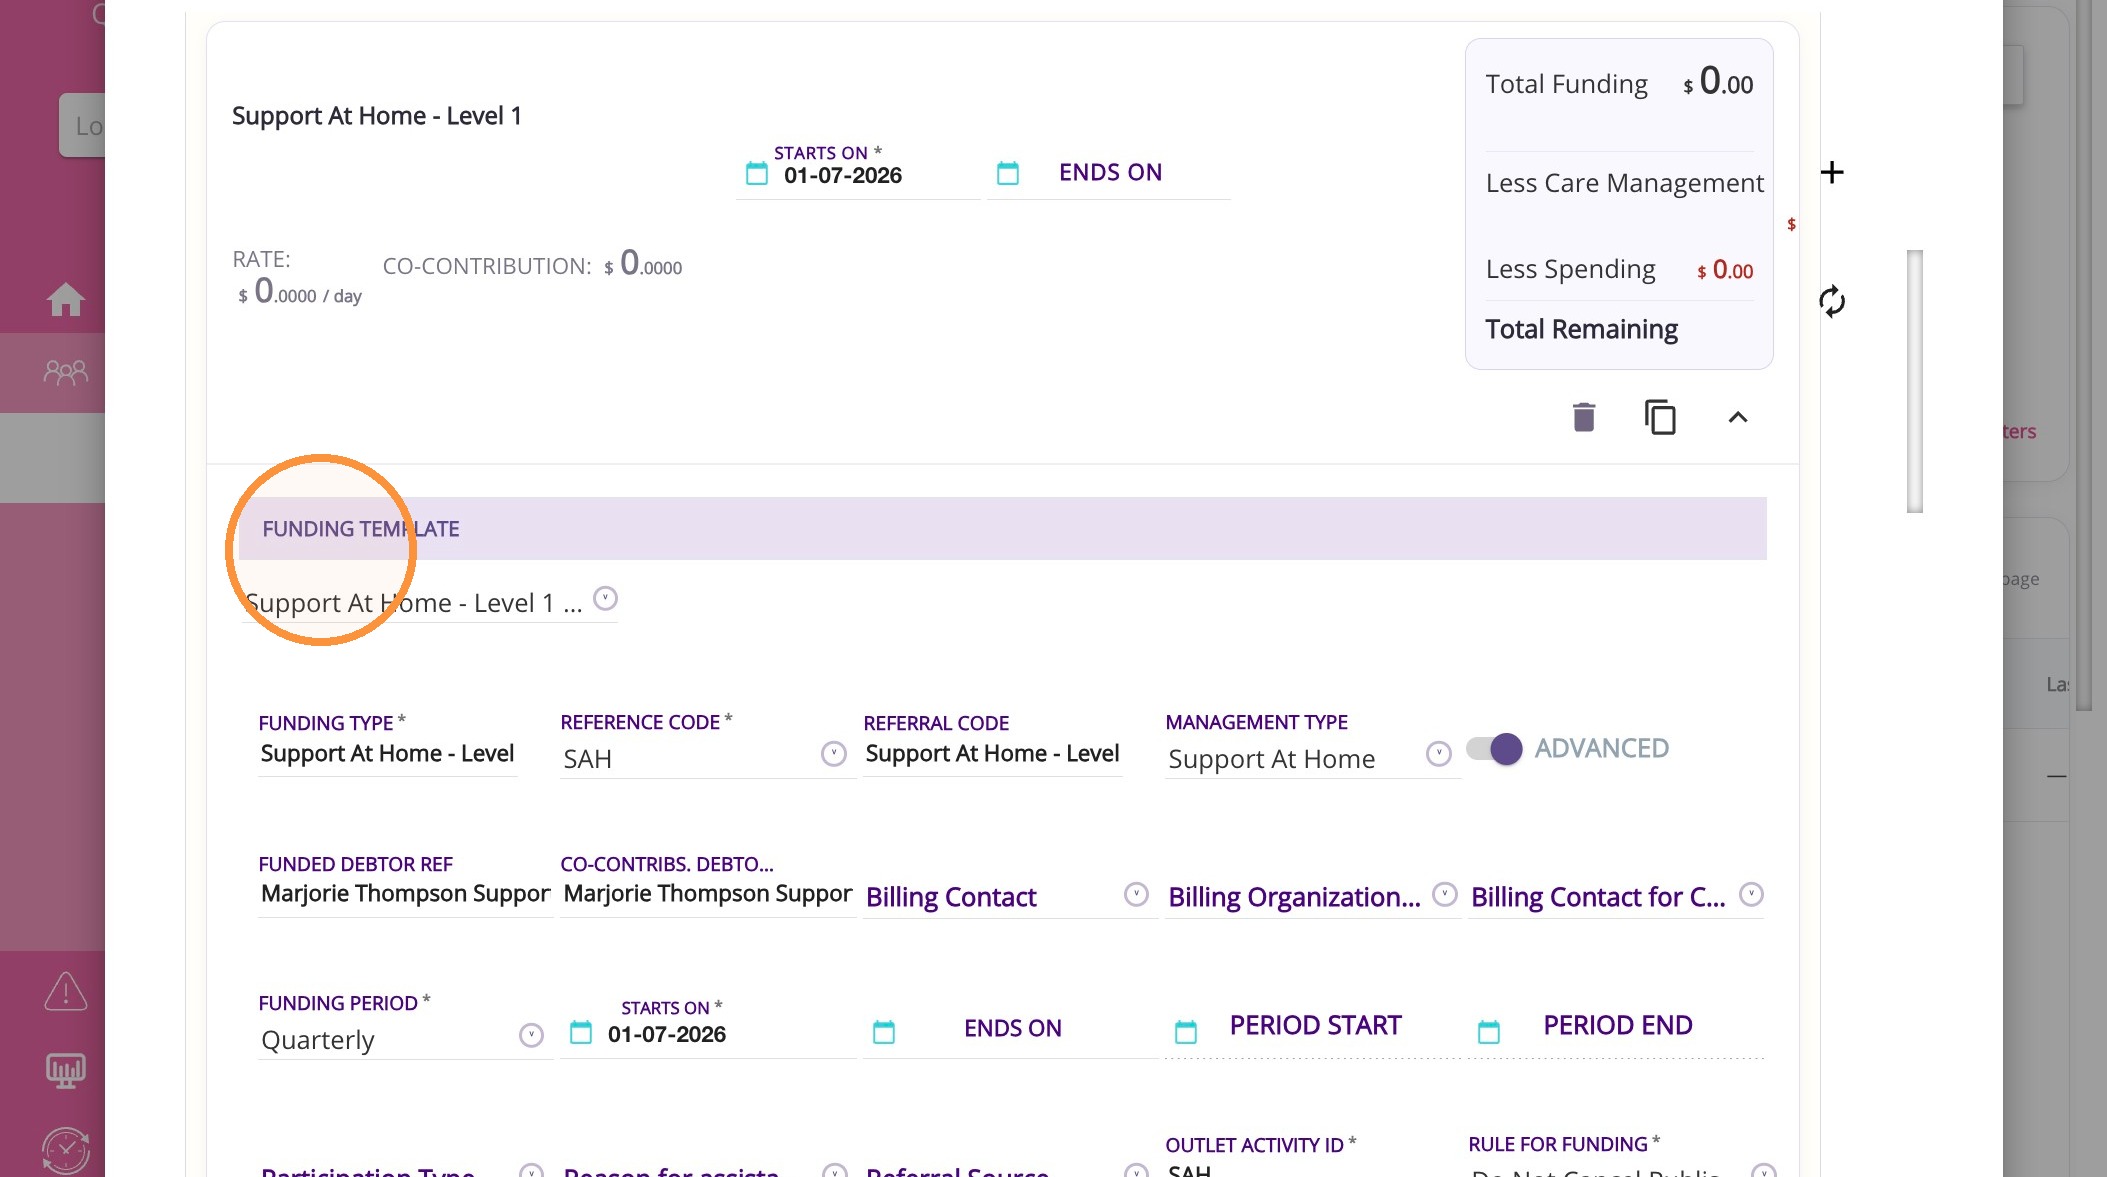
  1. Add the relevant funding source template.
  1. Expand the Fee Items, Services, Billing Categories, and Line Item Templates section.
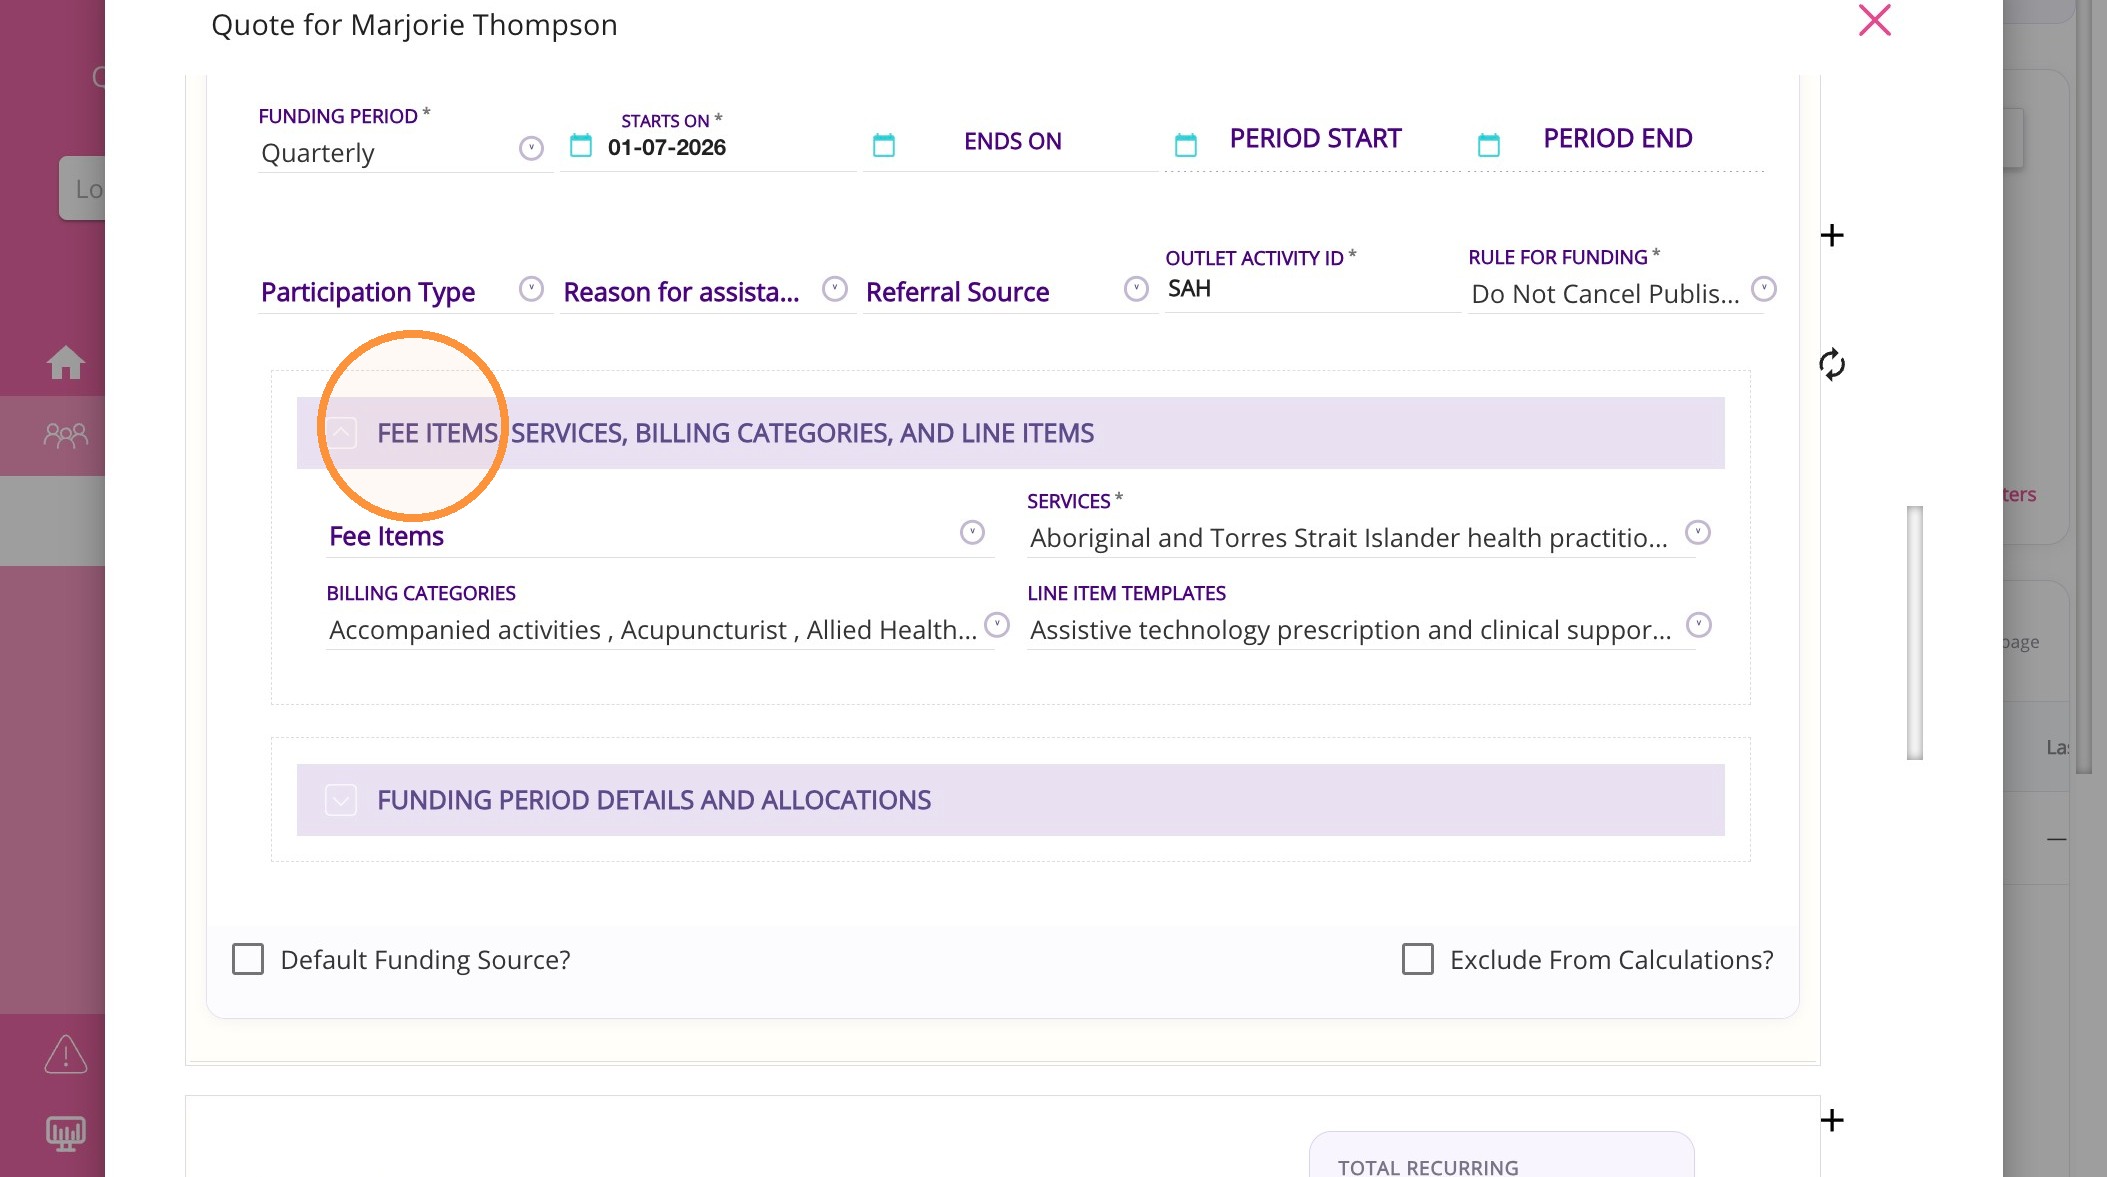
  1. Confirm that the required DTWC billing category is available under Billing Categories.
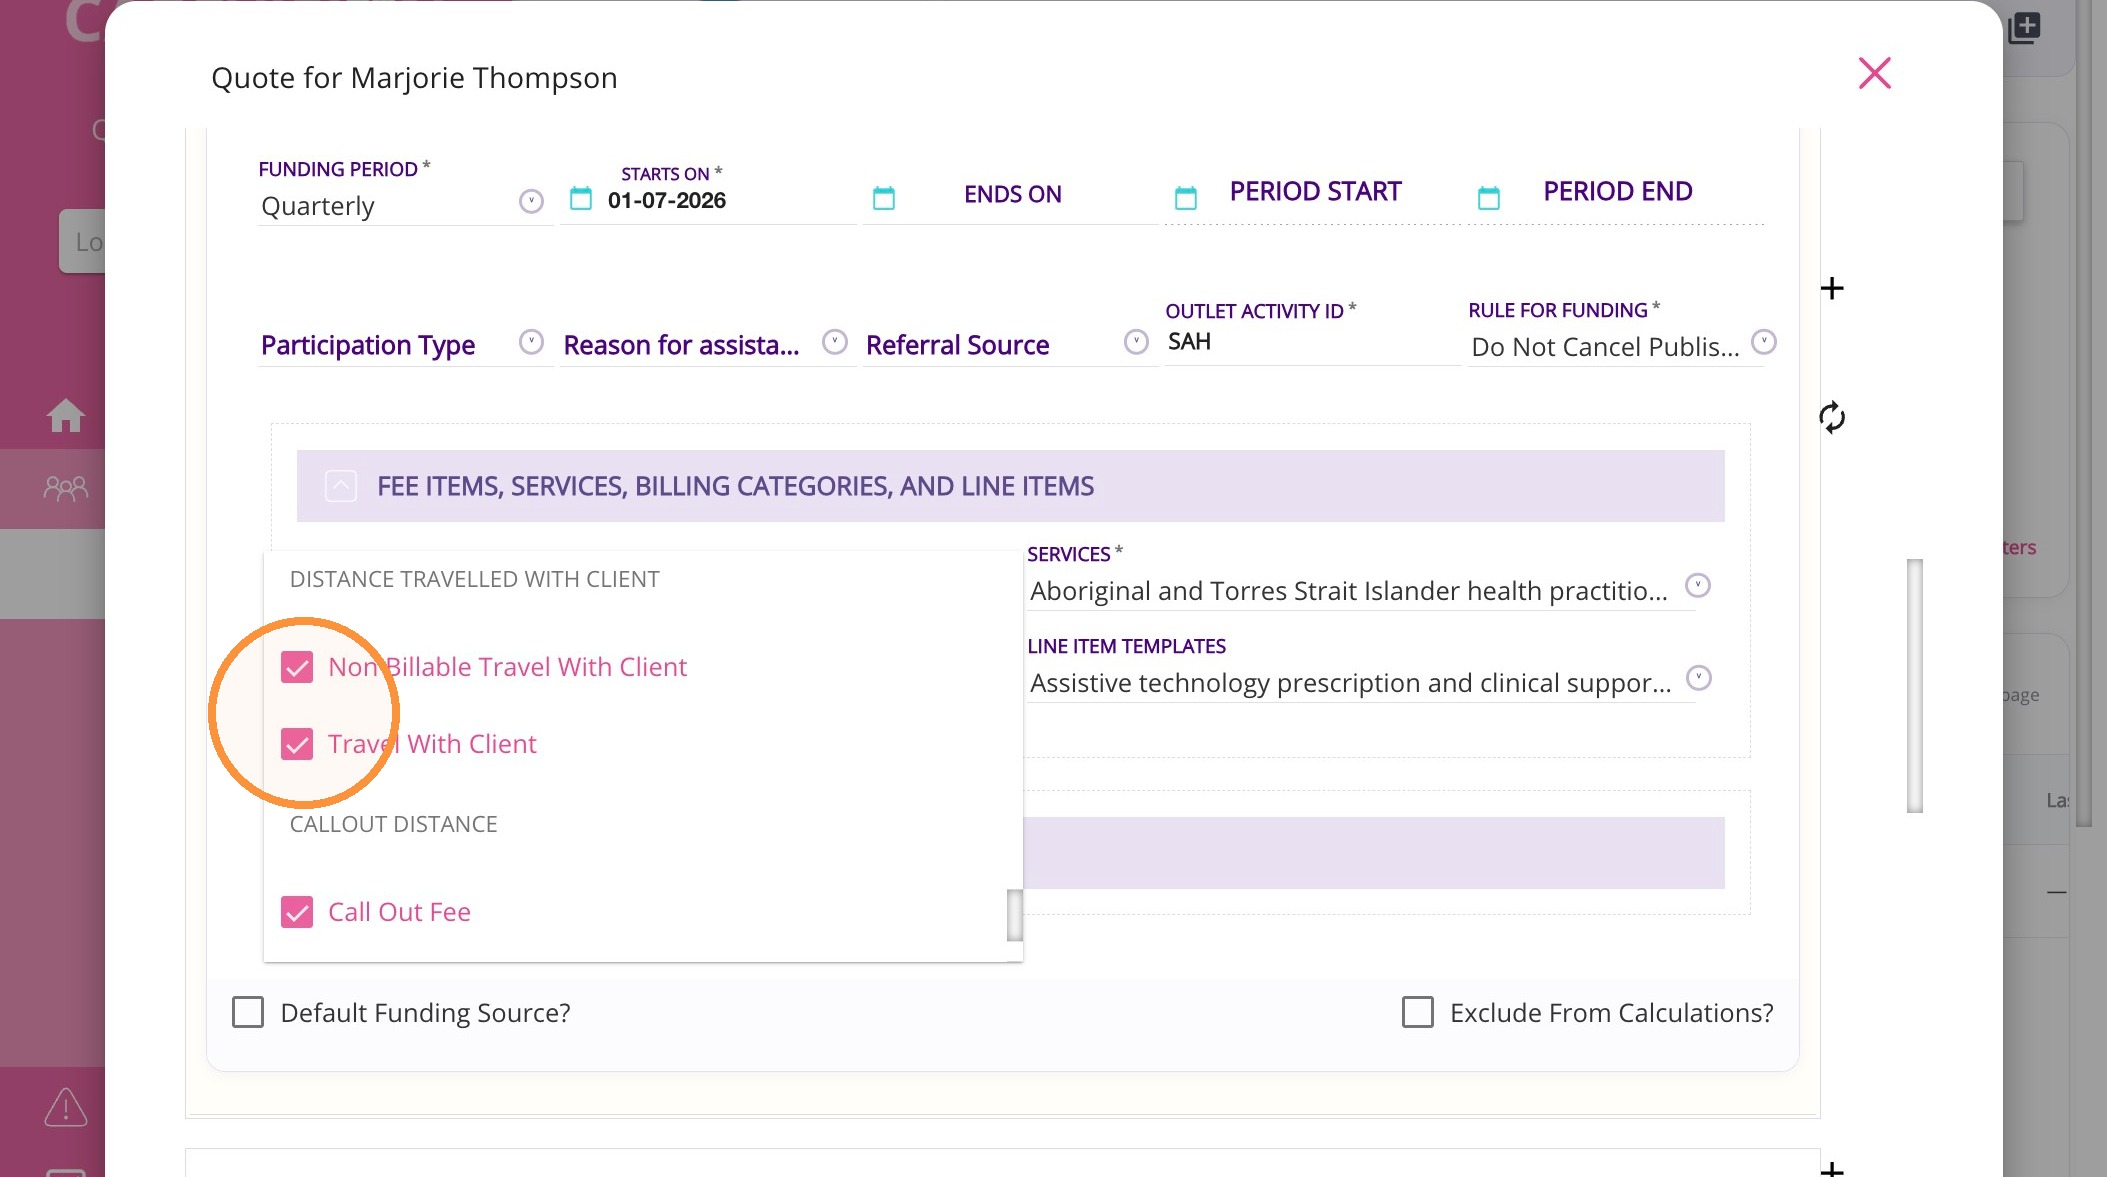
  1. Check the Services field and confirm that the service associated with the DTWC billing category is selected.
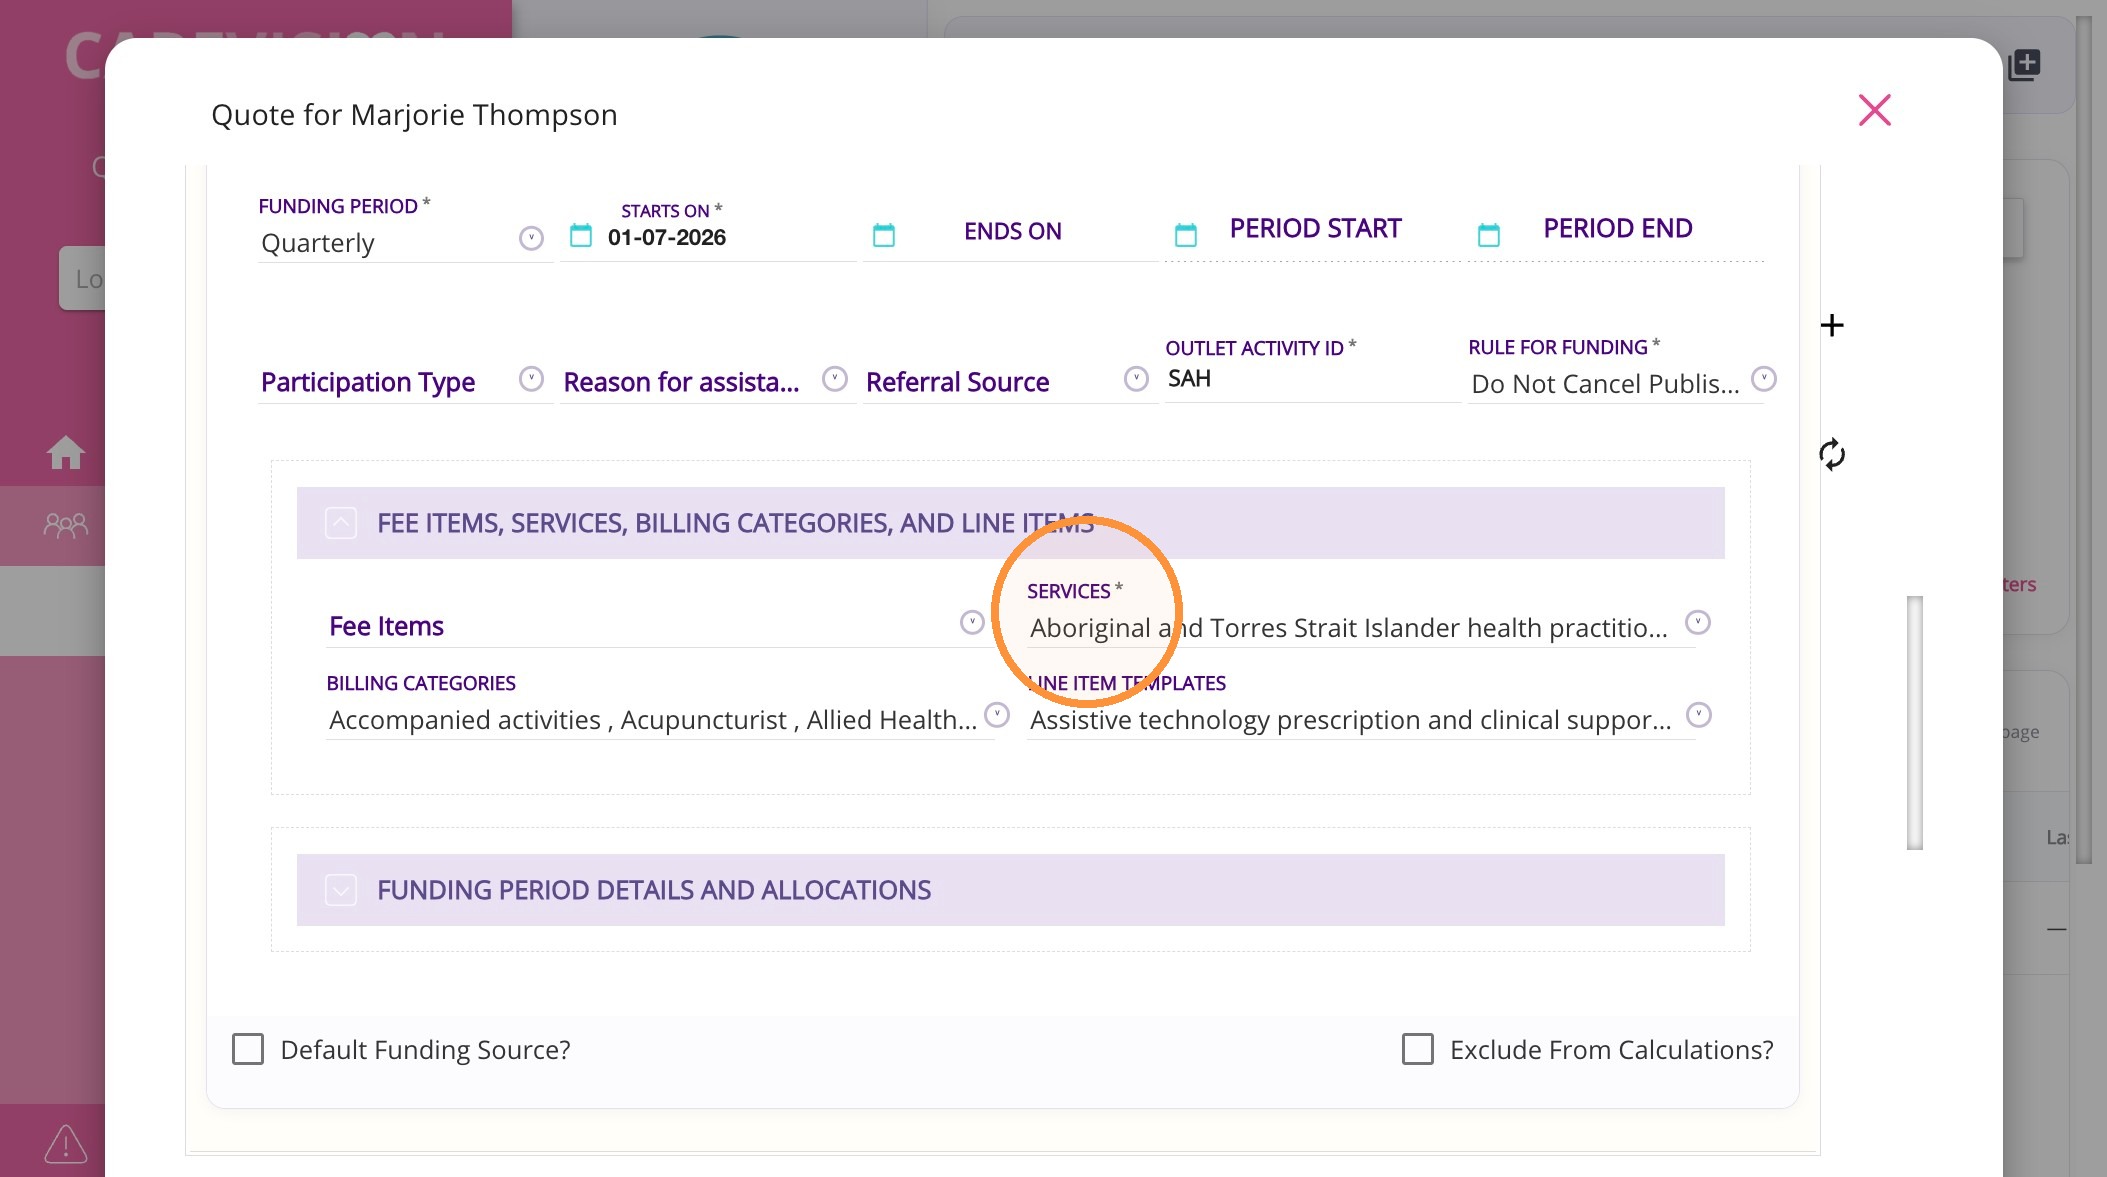
Notes
If the required service or billing category is unavailable, review the funding source configuration and restrictions in Settings > Funding Sources before continuing.
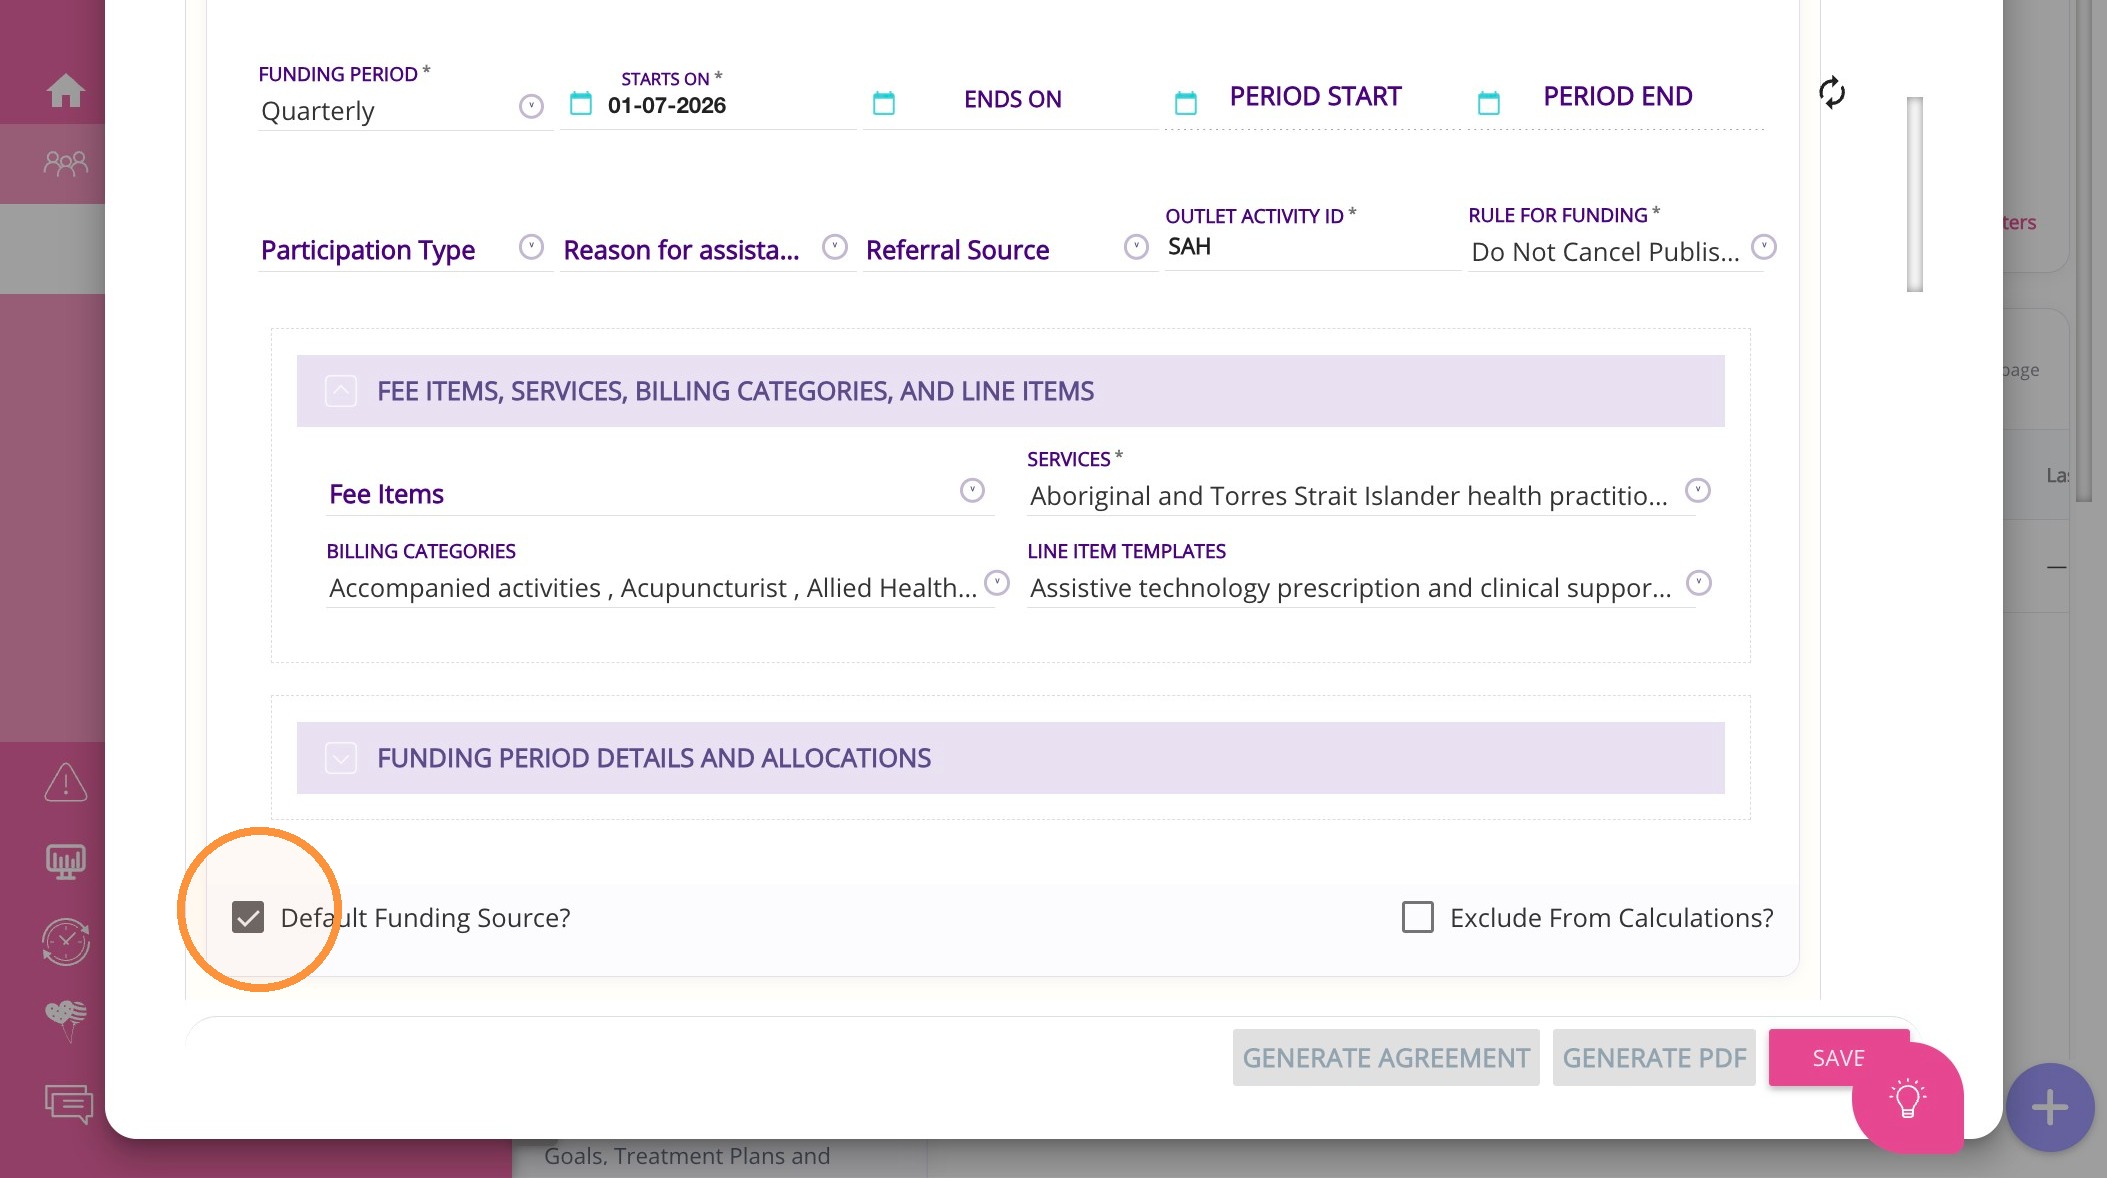
  1. If this funding source should apply automatically to the services added to the quote, tick Default Funding Source.
3. Add the service
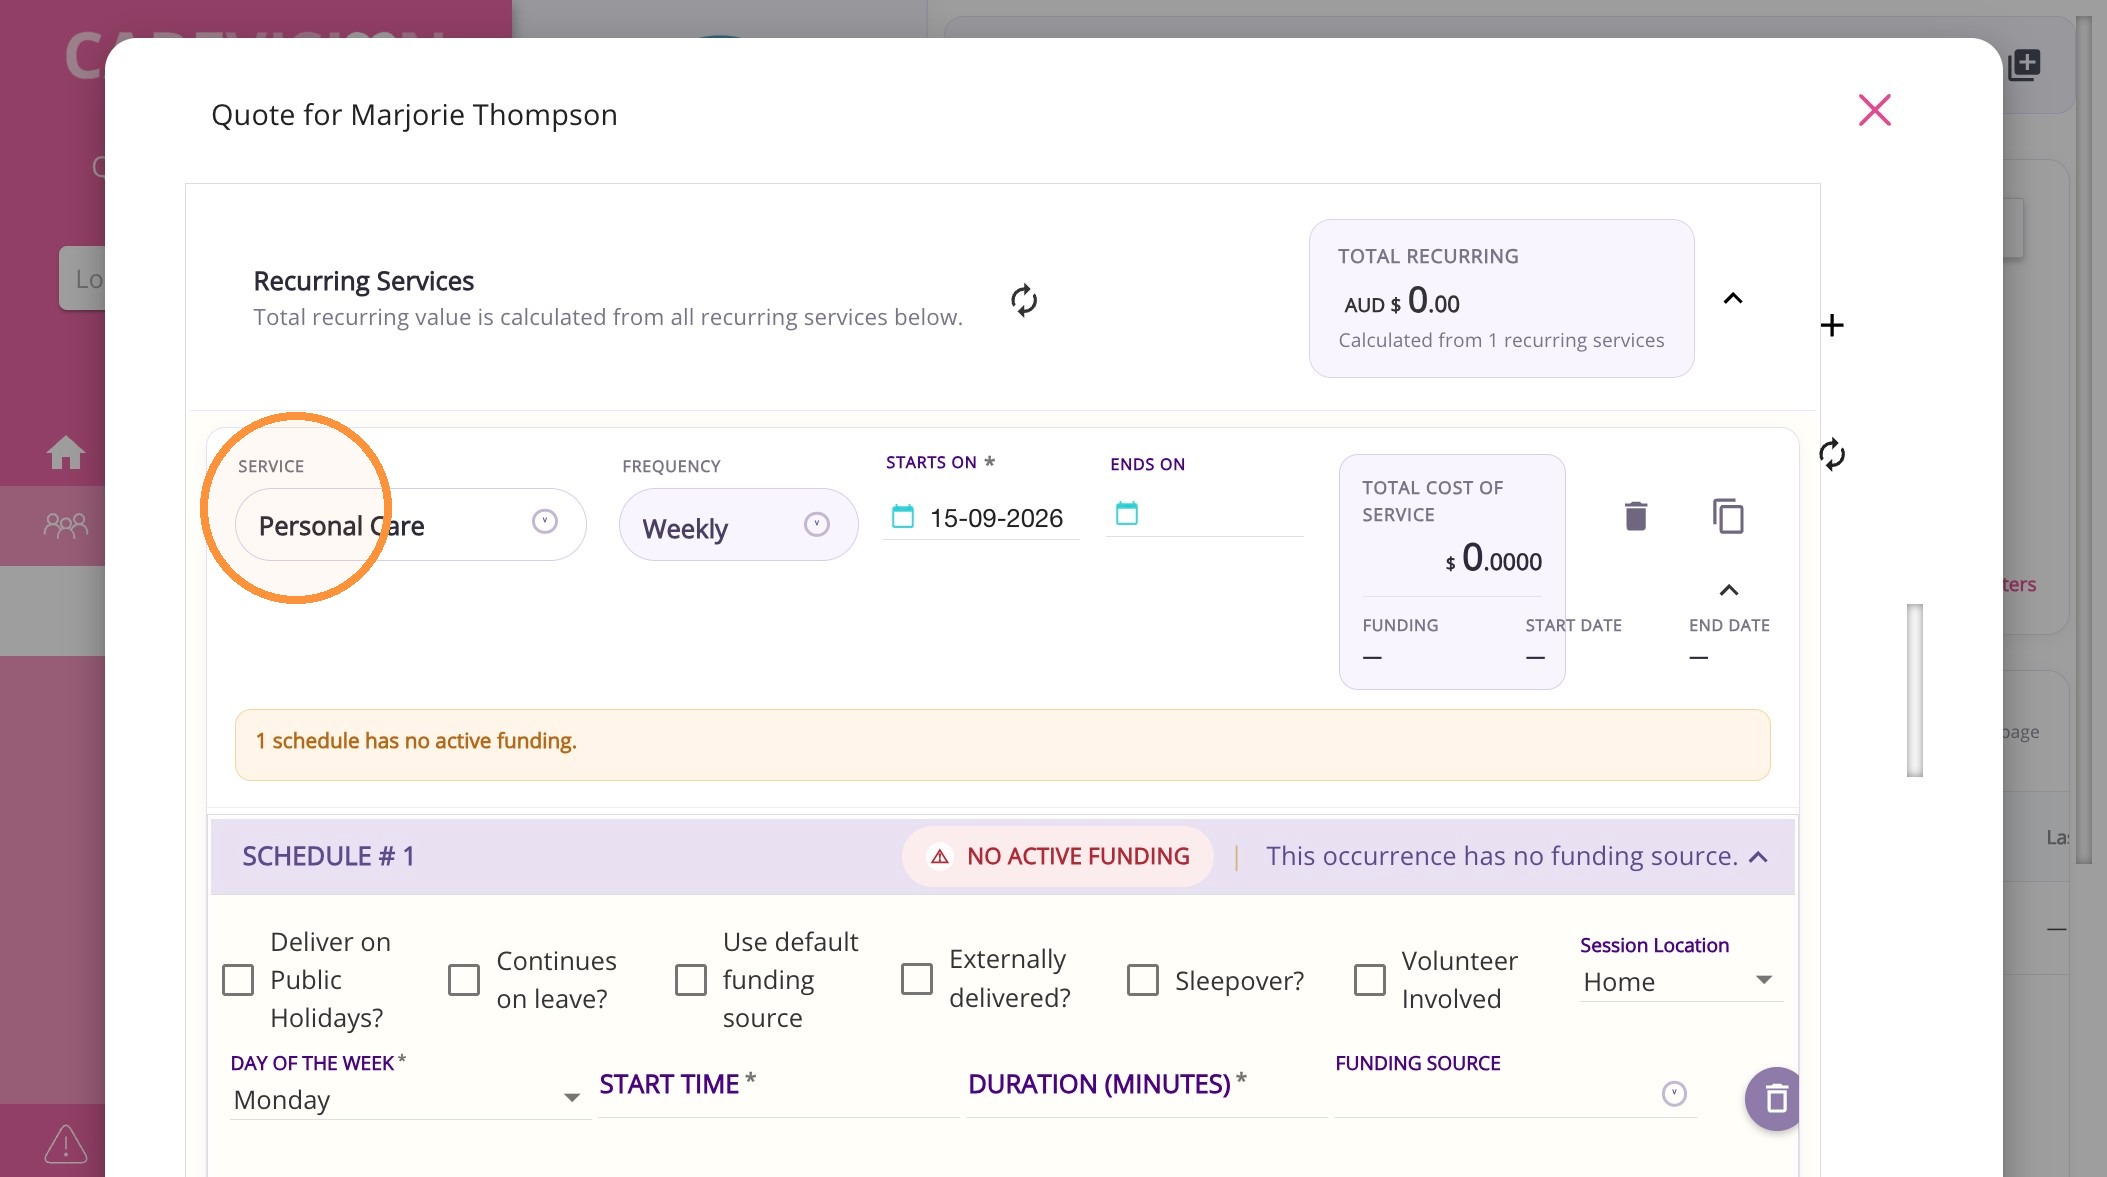
  1. Go to Recurring Services or Once-Off Items section.
  2. Add the service to which DTWC will apply.
  3. Complete the required service fields, including:
    1. Frequency
    2. Starts On

4. Configure the schedule
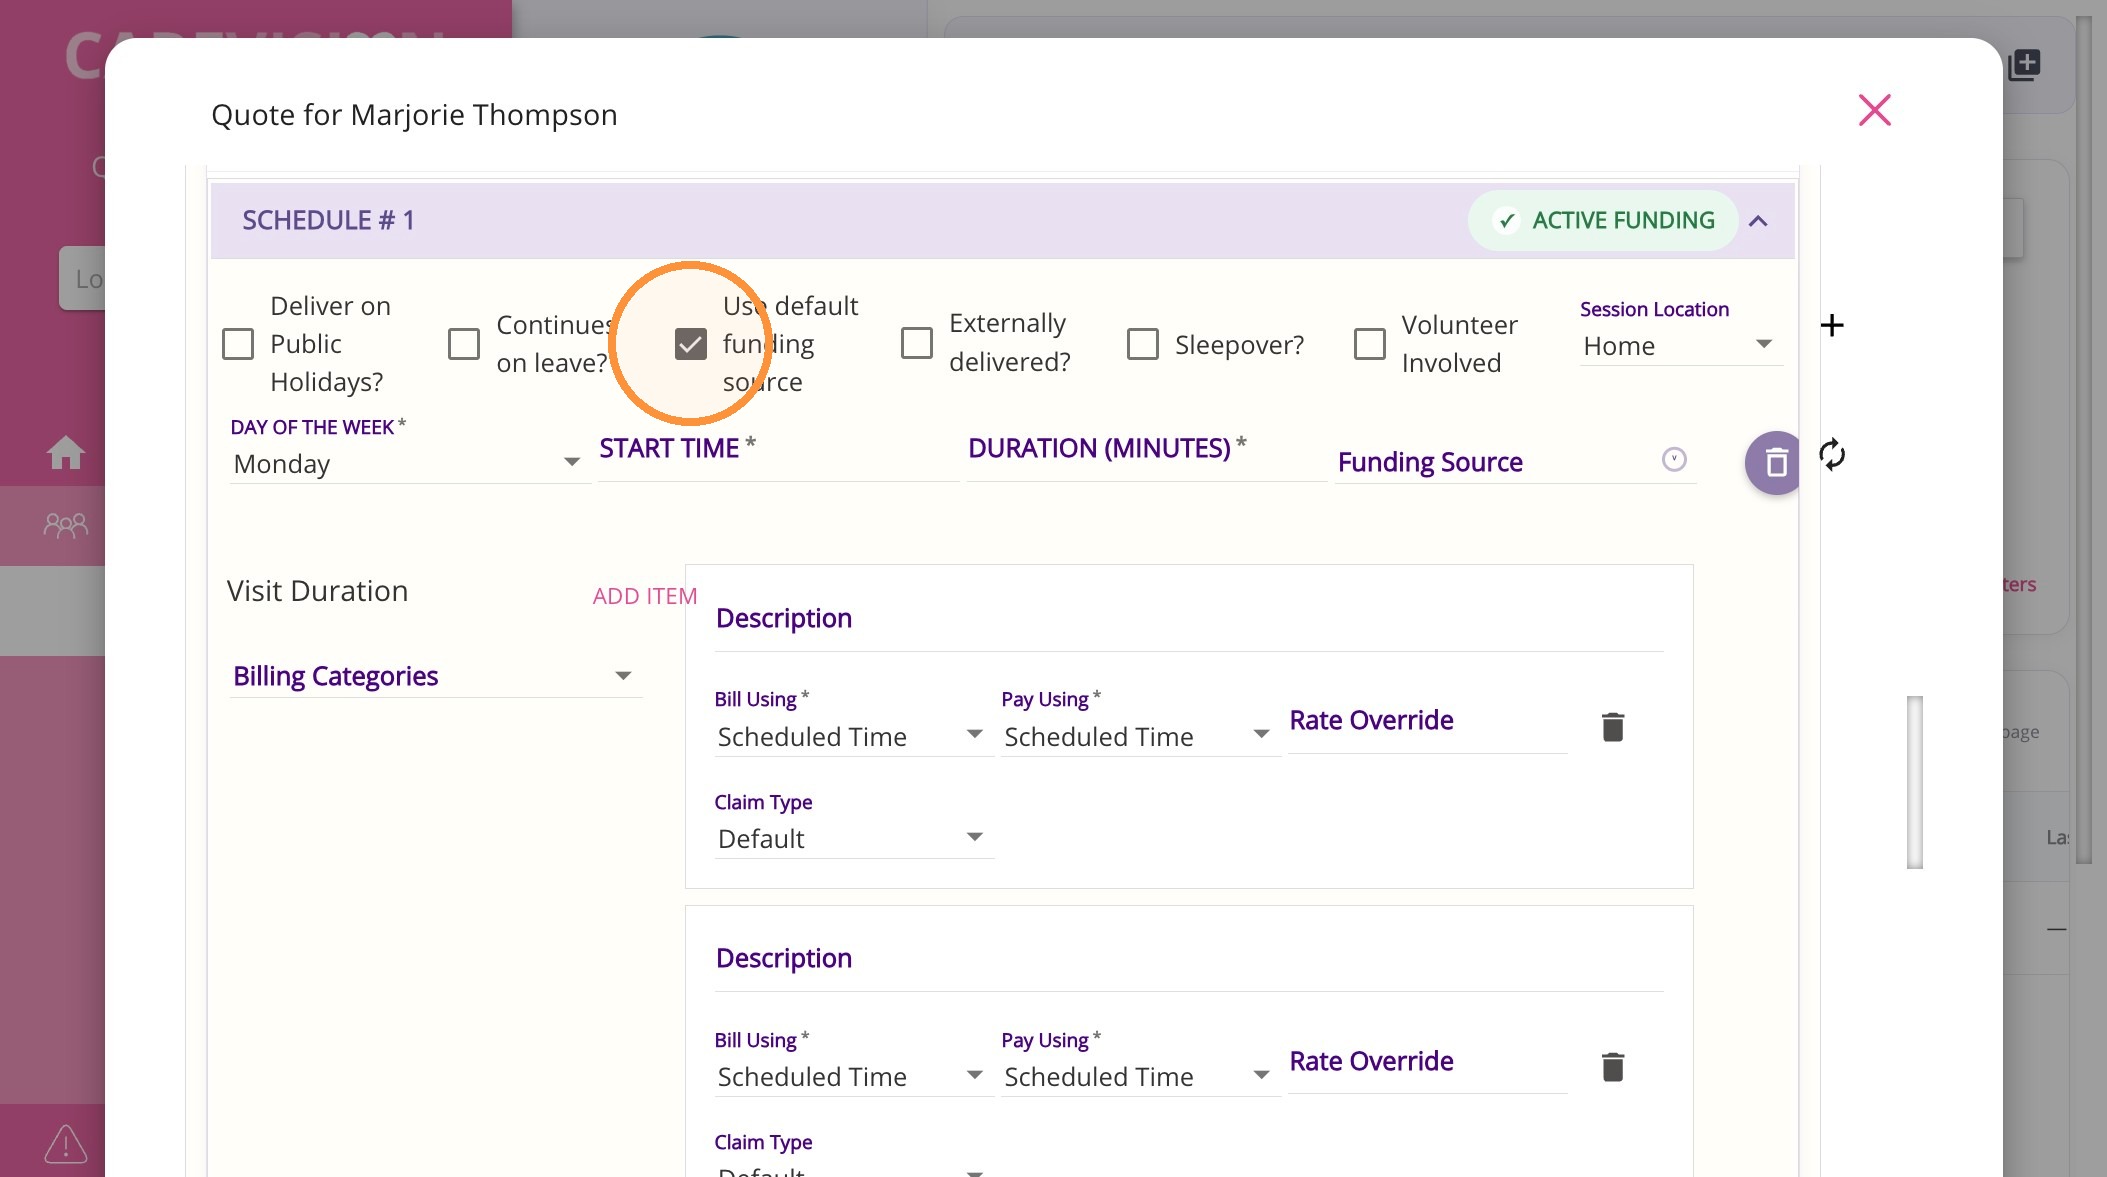
In the Schedules area:
  1. Tick Use Default Funding Source if the service should use the funding source marked as the client’s default.
  2. If the service should use a different funding source, select that funding source directly.
  3. Select any other options that apply to the service.
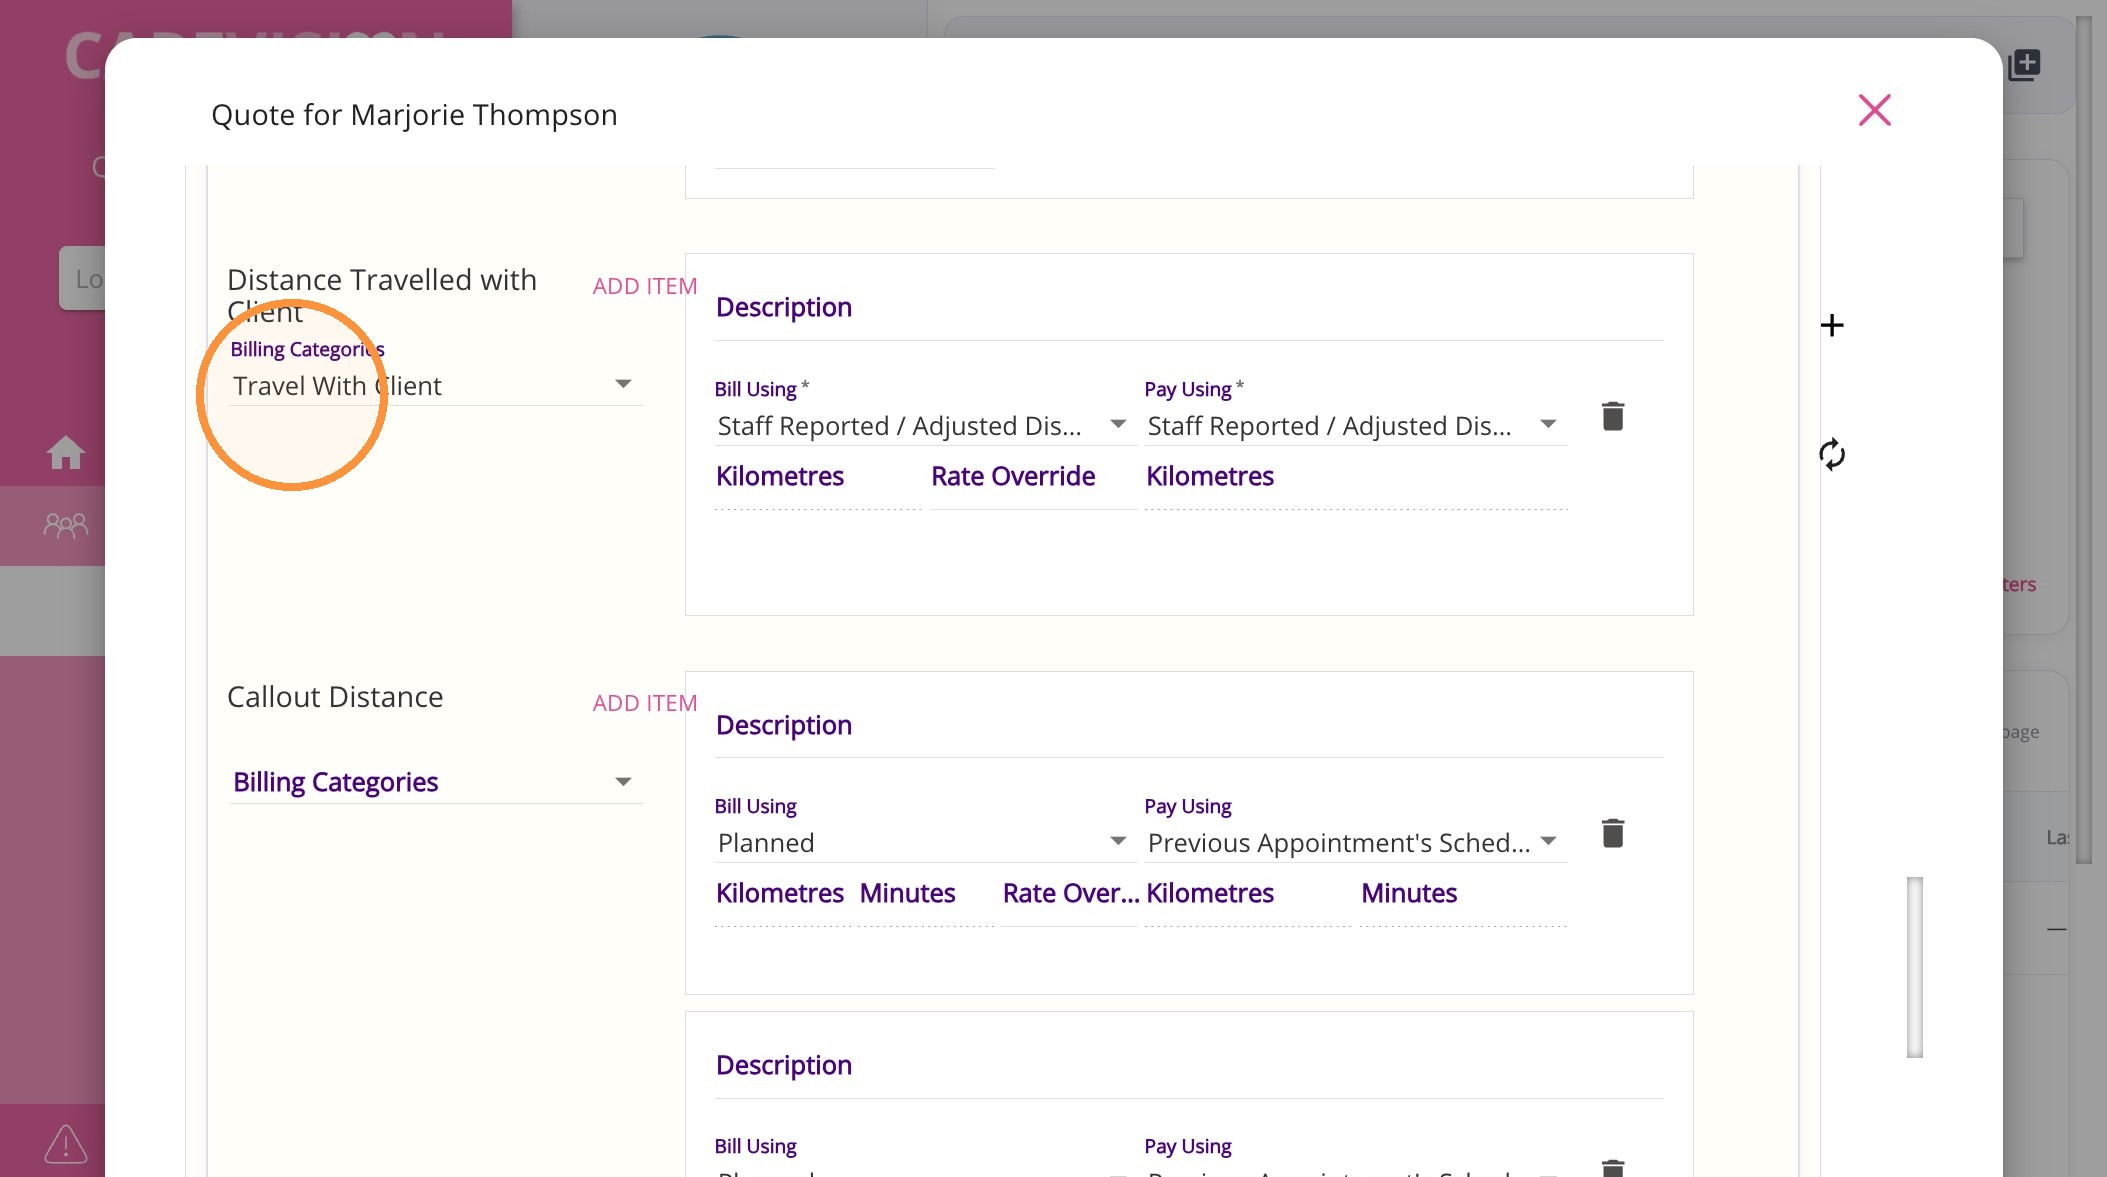
5. Select the DTWC billing category
In the Distance Travelled with Client section, select the billing category that reflects how your organisation will bill, pay, or report the travel. See the Billable vs Non-Billable DTWC section above.

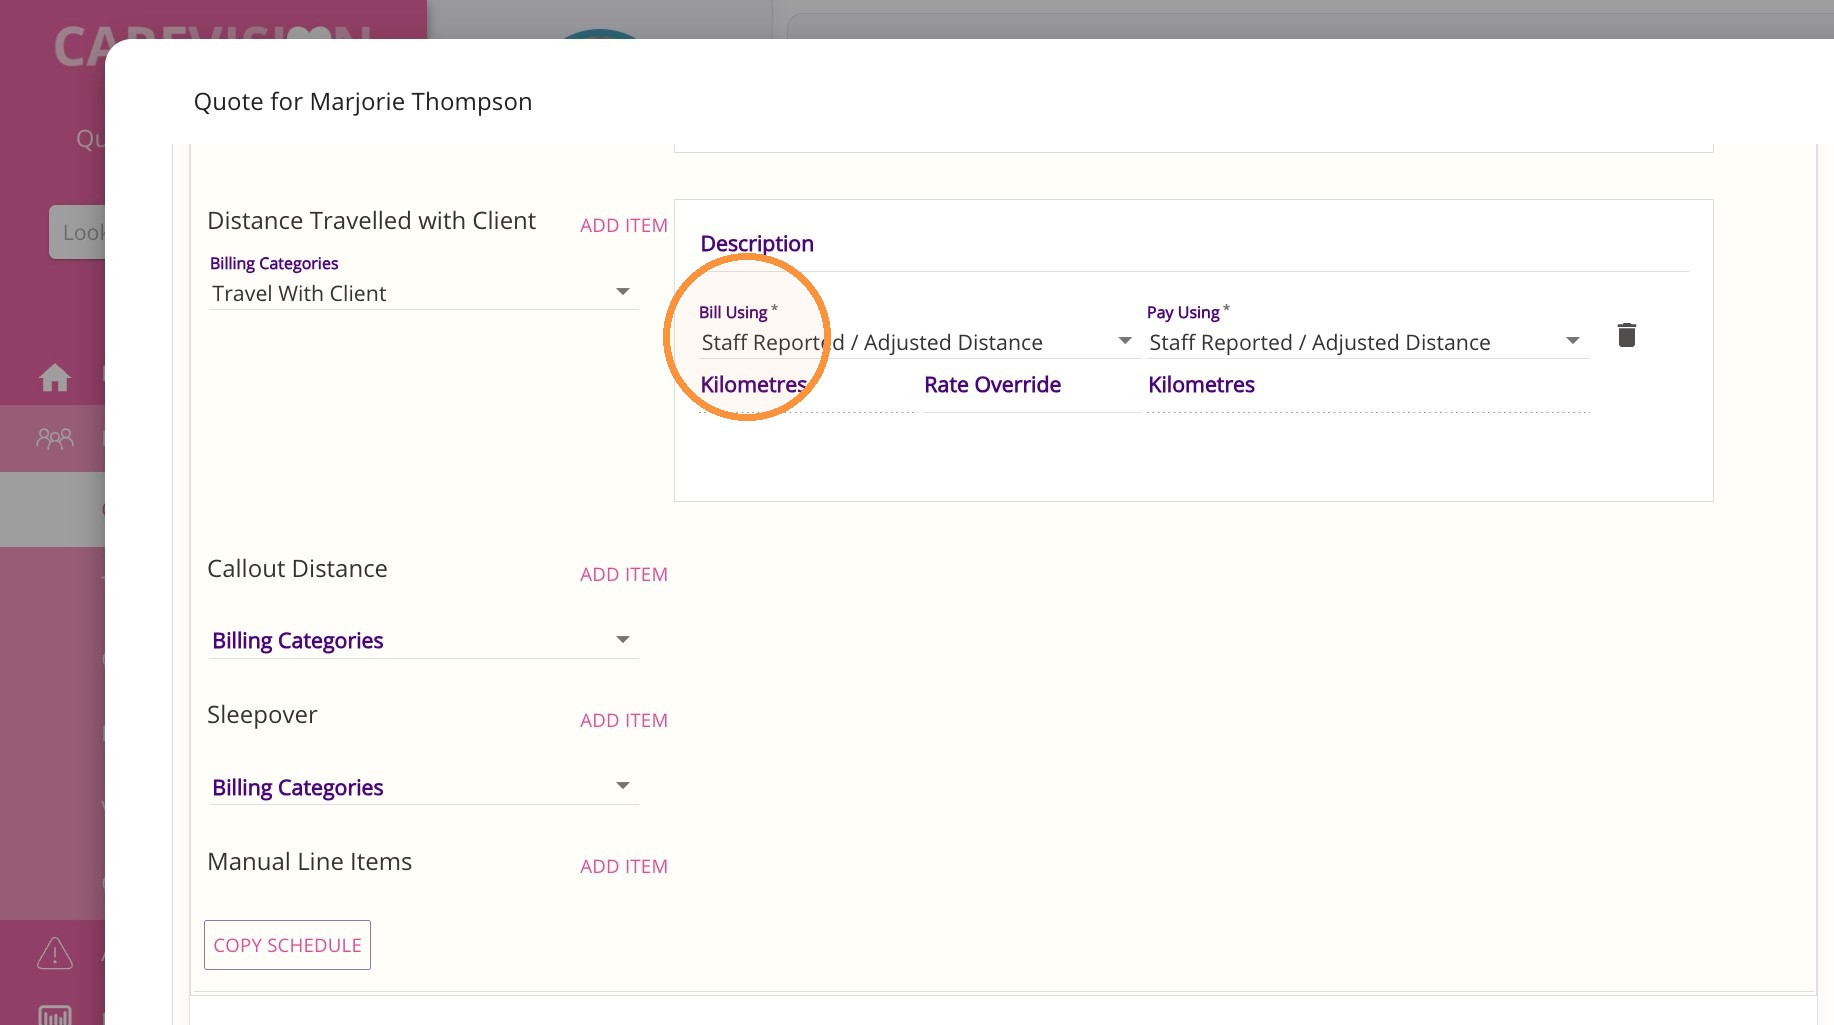
6. Review the Bill Using setting
The Bill Using setting determines which distance or travel duration is used to calculate the charge to the client or funding source. The field generally defaults to Staff-Reported/Adjusted Distance, depending on the service configuration. Select a different option when required.

OptionDescription
System-Tracked DistanceCalculates the charge using the distance automatically recorded by the system while the trip is tracked through the mobile app.
Staff-Reported/Adjusted DistanceCalculates the charge using the distance reported by the staff member, including any approved adjustment.
Custom DistanceCalculates the charge using a manually entered distance. When selected, the Kilometres field can be edited.
System-Tracked TimeCalculates the charge using the travel duration automatically recorded by the system.
Staff-Reported/Adjusted TimeCalculates the charge using the travel duration reported by the staff member, including any approved adjustment.
Custom TimeCalculates the charge using a manually entered travel duration. When selected, the applicable duration field can be edited.

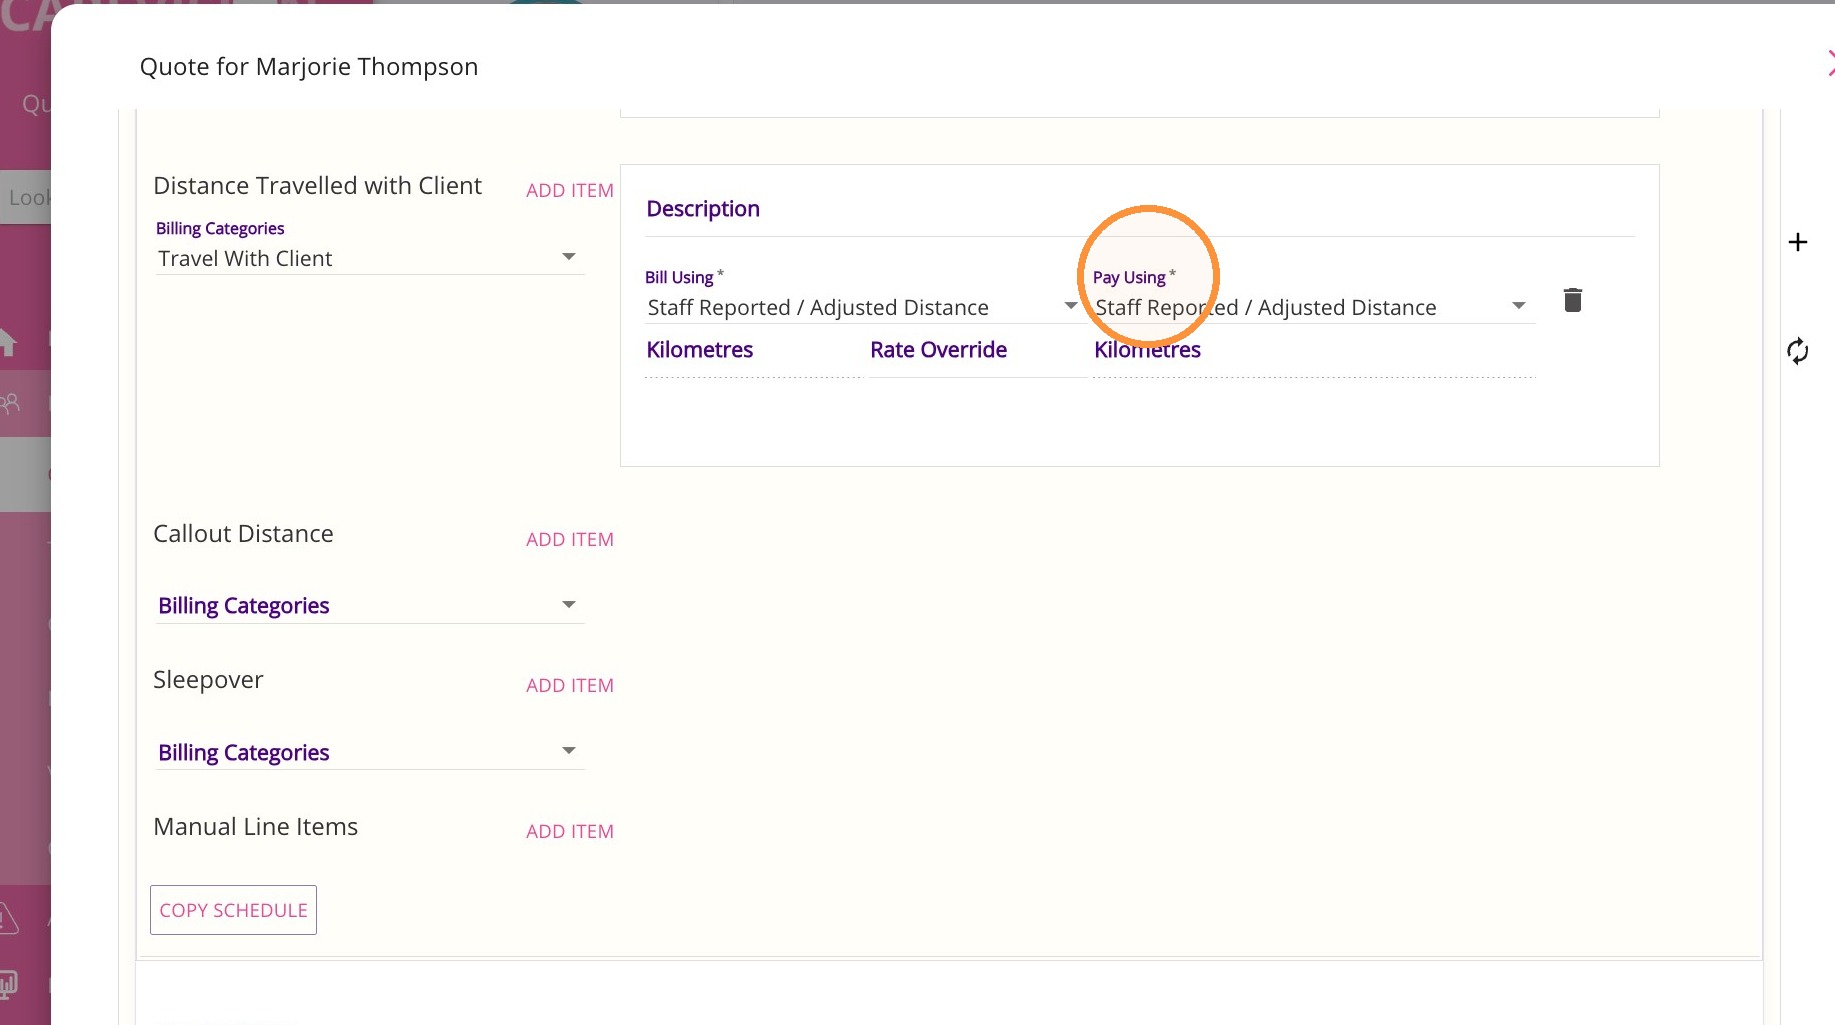
7. Review the Pay Using setting
The Pay Using setting determines which distance or travel duration is used to calculate staff payment.

OptionDescription
System-Tracked DistanceCalculates staff payment using the distance automatically recorded by the system while the trip is tracked through the mobile app.
Staff-Reported/Adjusted DistanceCalculates staff payment using the distance reported by the staff member, including any approved adjustment.
Custom DistanceCalculates staff payment using a manually entered distance. When selected, the Kilometres field can be edited.
System-Tracked TimeCalculates staff payment using the travel duration automatically recorded by the system.
Staff-Reported/Adjusted TimeCalculates staff payment using the travel duration reported by the staff member, including any approved adjustment.
Custom TimeCalculates staff payment using a manually entered travel duration. When selected, the applicable duration field can be edited.

Notes
Use a distance-based option when the staff member is paid by kilometre. Use a time-based option when the staff member is paid according to the travel duration.
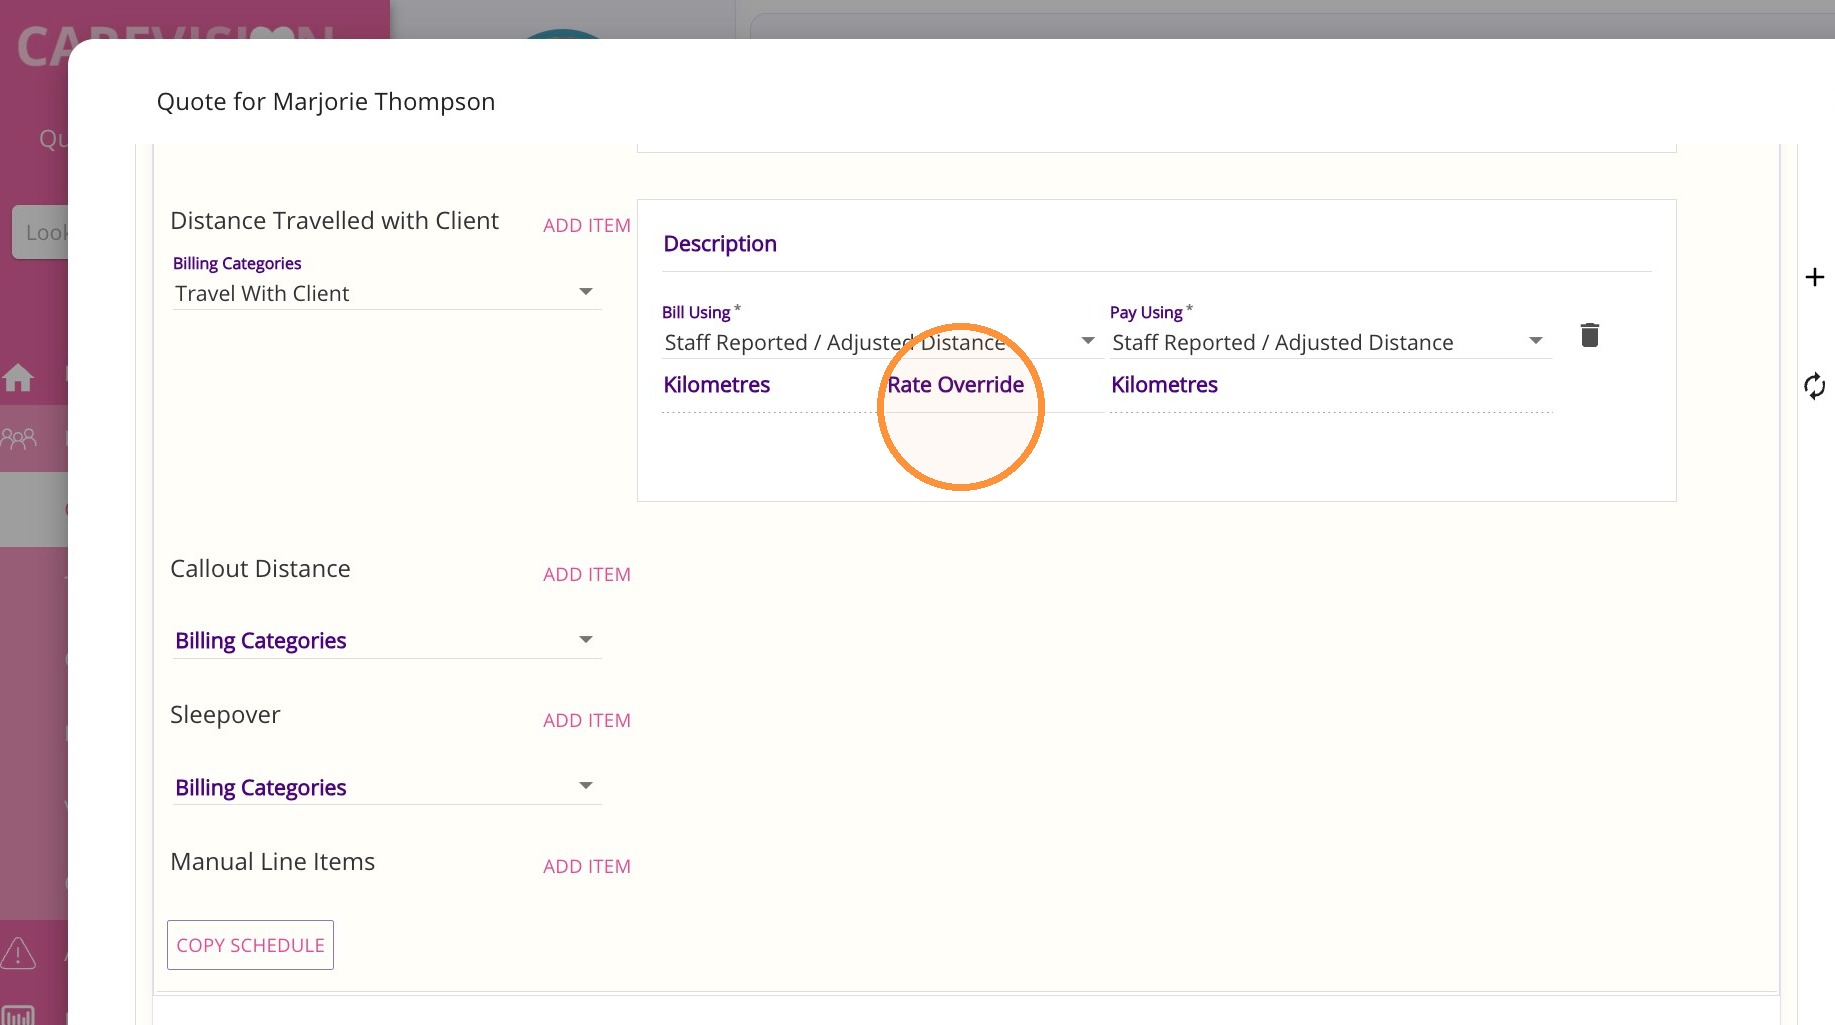
8. Apply a rate override, if needed

Use Rate Override when the DTWC rate for this quote must differ from the standard rate configured against the selected billing category.

For example, use a rate override when:

  • The client has an individually agreed rate.

  • A funding arrangement requires a different rate.

  • The organisation has approved a client-specific pricing exception.

Notes
We recommend that you do not routinely use Rate Override to make DTWC non-billable. If a DTWC category should always be non-billable, configure it with a zero-dollar rate so users do not need to enter a zero-dollar override each time.

9. Review the quote

  • Complete the remaining sections of the quote.

  • Click Recalculate.

  • Review the quote summary.


10. Save the quote.


What happens when the quote is accepted?

When the quote is accepted, its service and DTWC configuration flow through to the client’s care plan. Future bookings created from the care plan inherit these settings.


Check the Care Plan

Open the client care plan and confirm that the relevant service and DTWC category have carried across correctly. Check that the billing and payment settings align with the client’s funding agreement and your organization’s staff member payment policy.

Mobile Check-In and Check-Out Workflow
A staff member can track Distance Travelled with Client (DTWC) through the CareVision mobile app after checking in to the applicable booking.
See details here

Mobile Check-In and Check-Out Workflow for DTWC

1. Open the booking

  • Log in to the CareVision mobile app.

  • Select Calendar.

  • Find and open the relevant booking.

2. Check in

  • Tap Check In.

  • Wait for the confirmation message indicating that check-in was successful.

Note: Travel can only be tracked while the staff member is checked in to the booking.


3. Tap Start Tracking KM Travelled.


4. Select the starting location

  • Select Start Tracking KM Travelled.

  • Choose the staff member’s actual current location as the Start Location.

The selected start location is used to calculate the journey. Selecting an incorrect location may result in an inaccurate distance being recorded.

For example, do not select the client’s home as the start location unless the journey is actually beginning there. Otherwise, the recorded distance may be shorter than the distance travelled, affecting downstream billing, staff payment, reimbursement, or reporting.


5. Start tracking the journey

  • After selecting the correct start location, select Start Tracking KM Travelled.

  • The app begins tracking the journey.

  • While tracking is active, the system records:

    1. Distance travelled
    2. Travel duration

6. Stop tracking the journey

  1. When travel with the client ends, select Stop Tracking KM Travelled.
  2. A confirmation window displays the recorded distance and travel duration.
Staff should stop the tracker when the journey ends rather than leaving it active until they check out of the booking.


7. Review and submit the travel details

Review the recorded distance and travel duration.

  • If the information is correct, select Submit.

  • If the information needs to be corrected, select Adjust.


When Adjust is selected:

  • Update the kilometres travelled, travel duration, or both.

  • Add notes explaining the adjustment when required.

  • Tap Submit.


After submission, the Start Tracking KM Travelled button is displayed again. The staff member can use it to record another journey during the same booking, if required.


What happens during the service review and approval process?

During the service review and approval process, an authorised user can:

  • Review the system-tracked distance and travel duration.

  • Review values reported or adjusted by the staff member.

  • Check any notes provided with an adjustment.

  • Make further adjustments when required.

  • Approve the booking for downstream processing.

Note: The distance or travel duration used for client billing and staff payment depends on the configured Bill Using and Pay Using settings. A custom distance or duration may also be entered on the applicable line item when a manually specified value is required.


For more information about configuring Distance Travelled with Client, contact the CareVision Support Team.