How to Assign Staff to a Shift Pattern with an Associated Social Group
This topic describes how to assign staff to a shift pattern with an associated social group.
Keywords: shift patterns, staff scheduling, social groups, carevision scheduling, assign staff shifts, preferred staff allocation, autoscheduling, staff calendar, schedule publishing
Step 1: Access and Edit a Shift Pattern
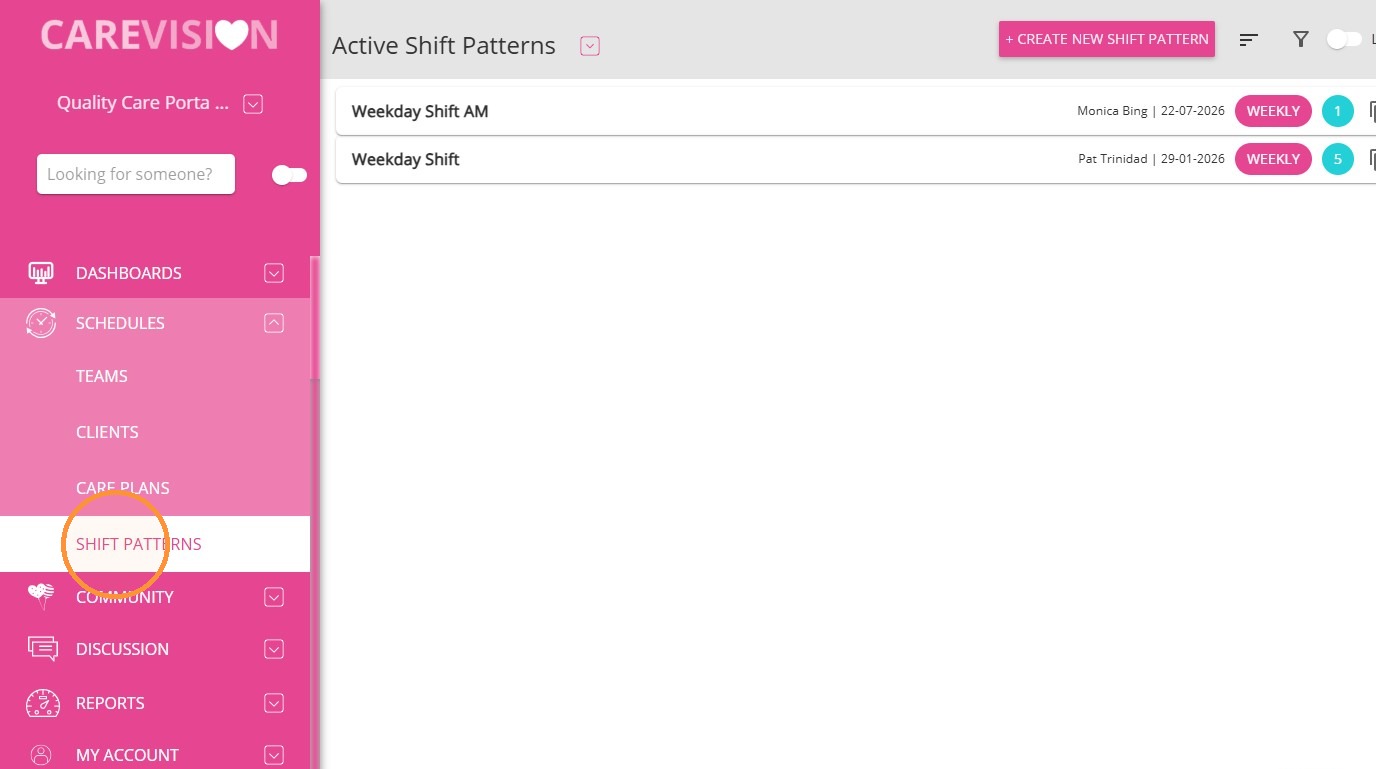
Navigate to Schedules > Shift Patterns.
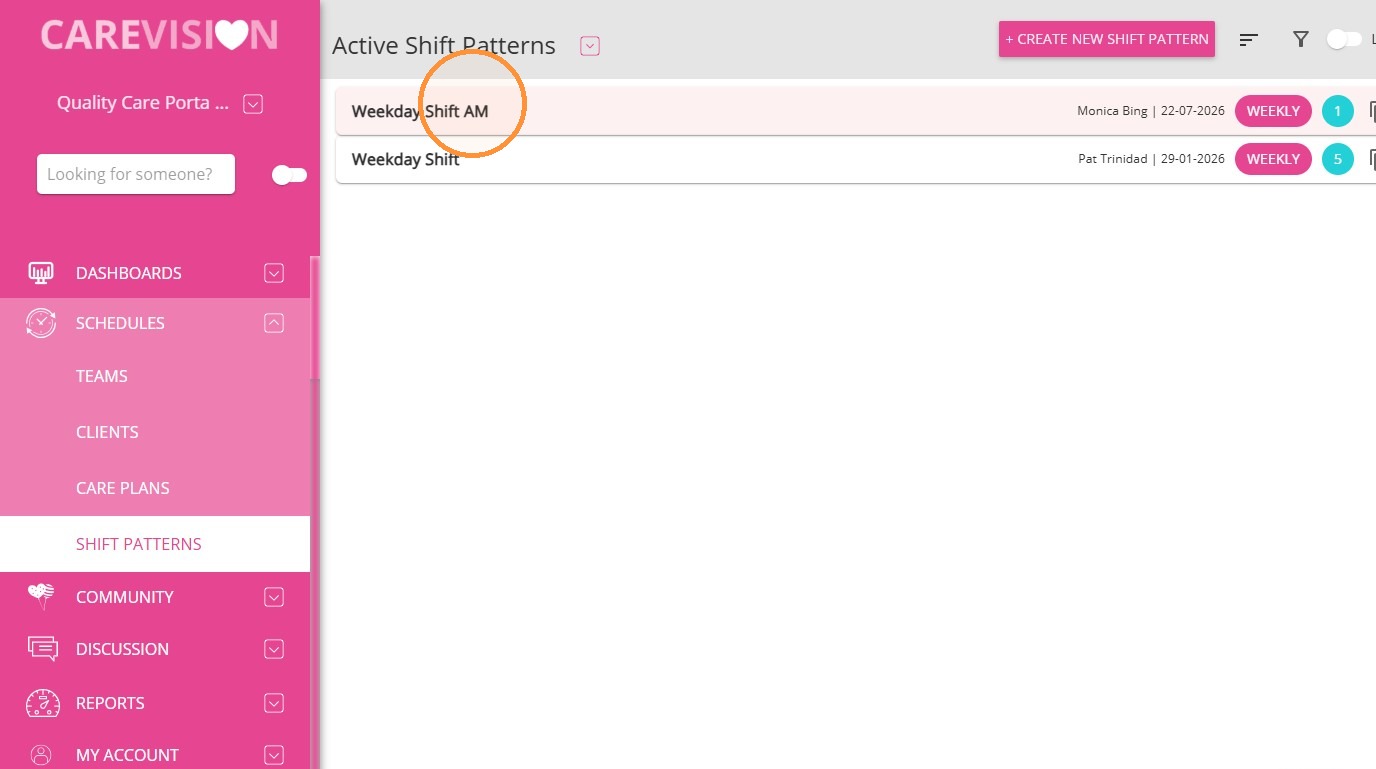
Select the relevant Shift Pattern.
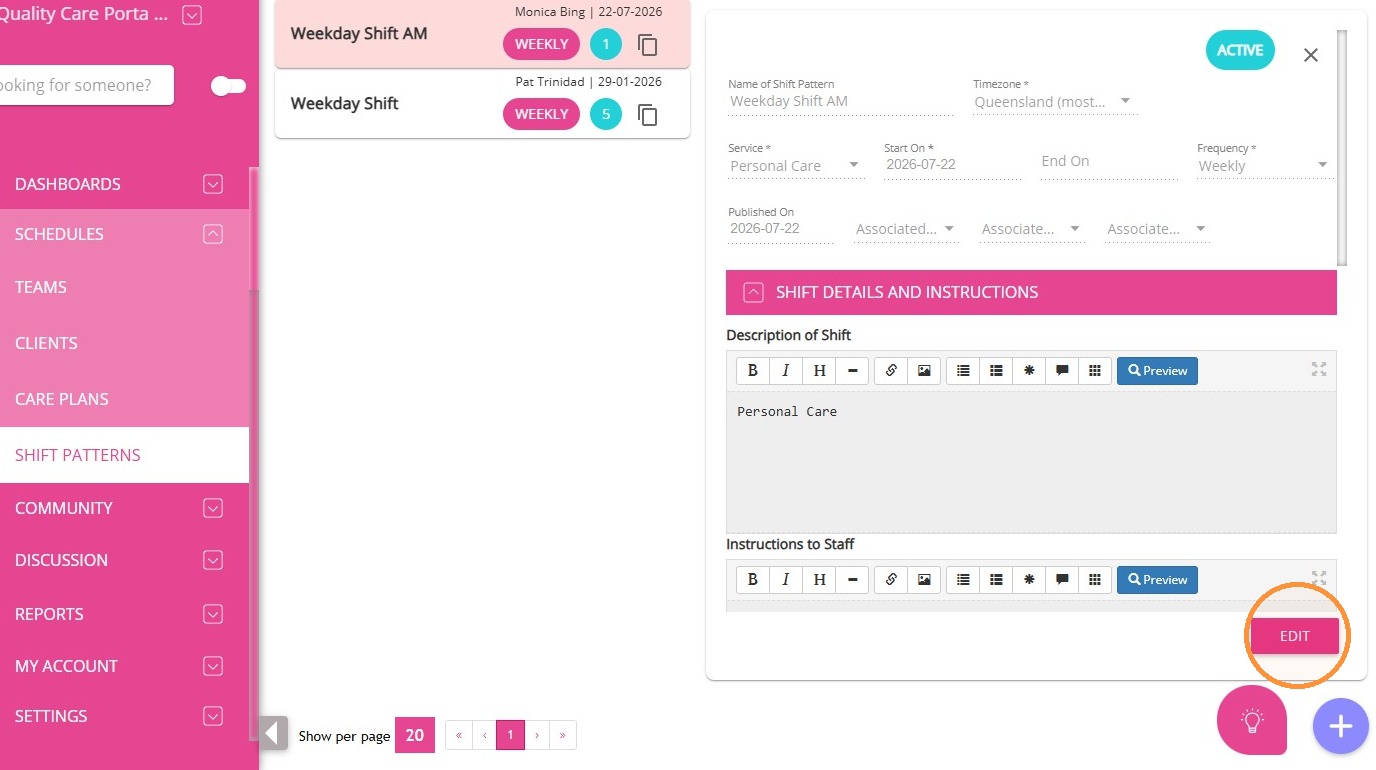
Click Edit.
Step 2: Associate a Social Group
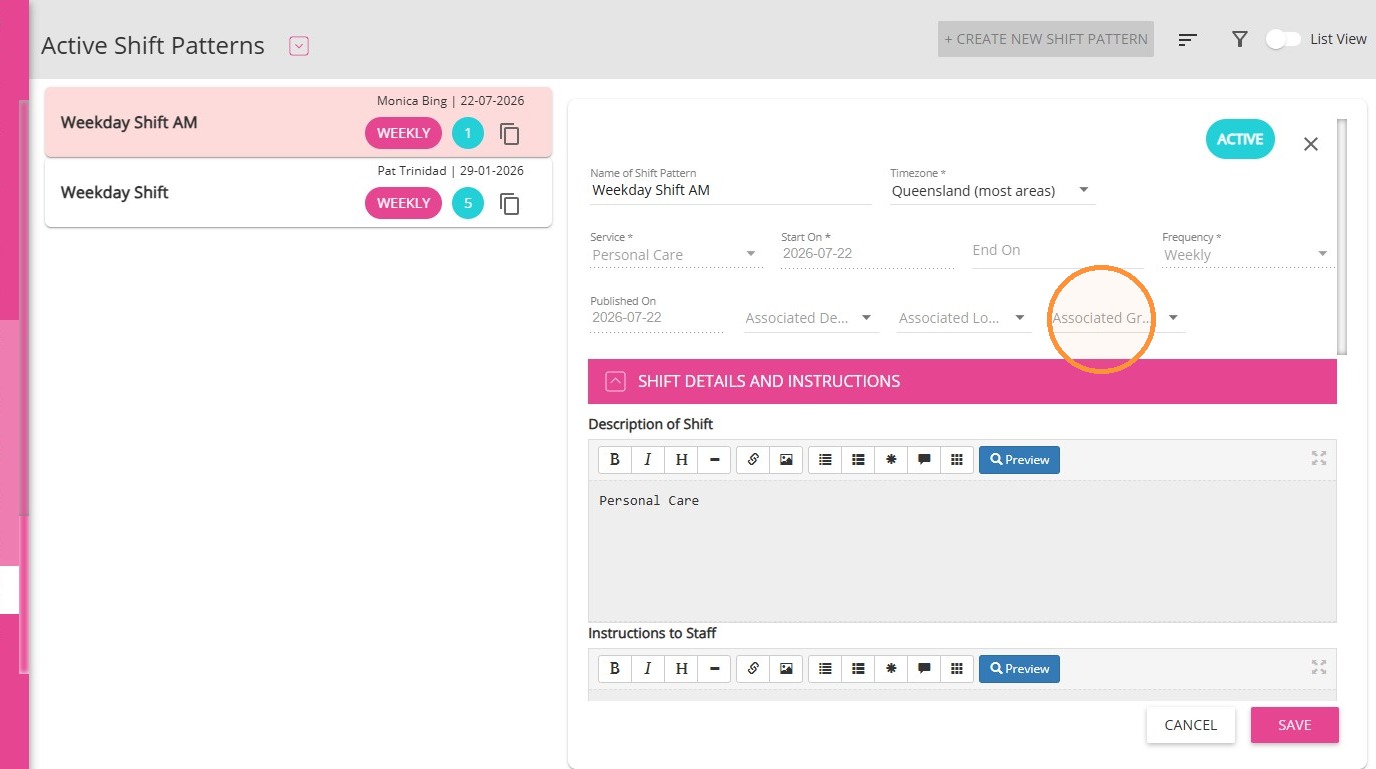
In the Associated Groups field, select the appropriate social group.
Step 3: Select Preferred Staff
Click the blue icon to select preferred staff members.
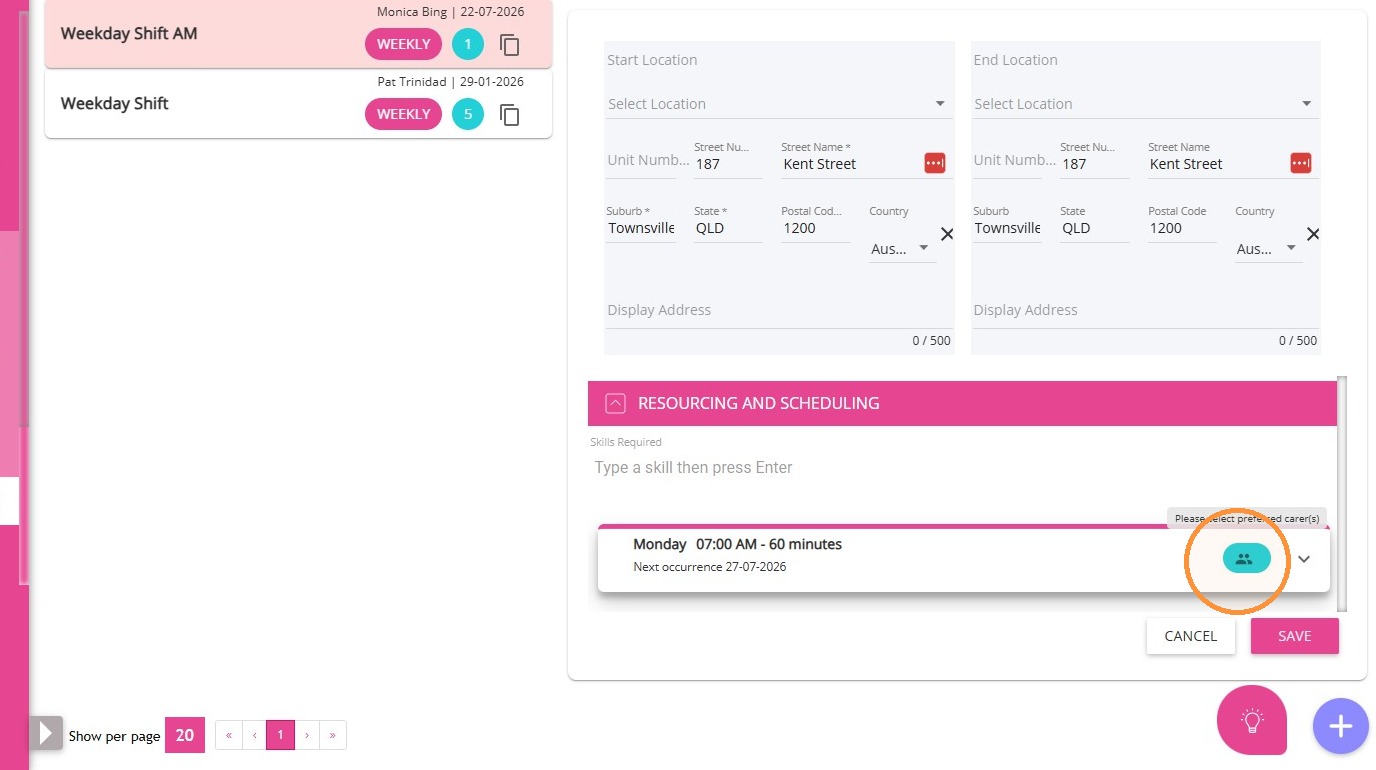
The Manage Preferred Staff form will appear. Select the staff members you want to assign as preferred carers.
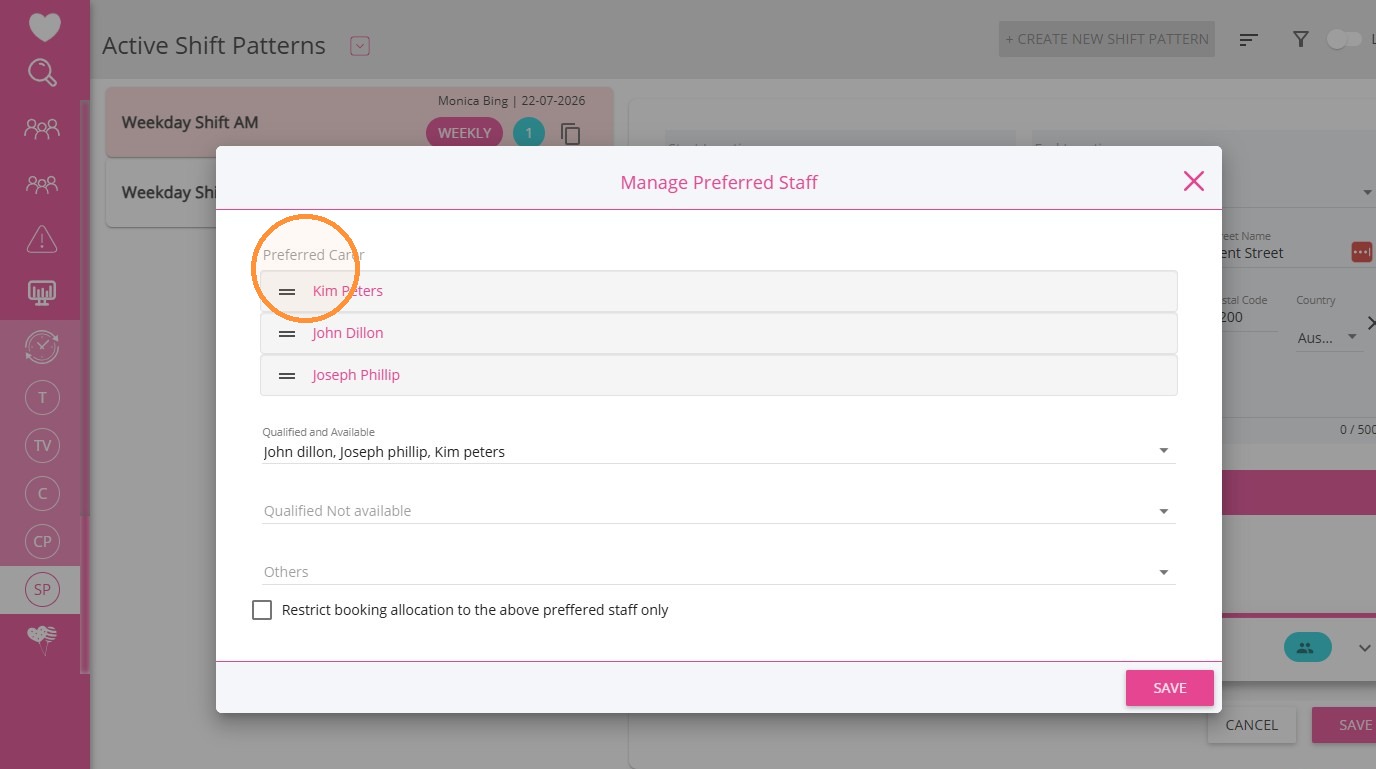
 Important Note: If a social group has a required skill assigned to it, the same skill must be added to any staff members you want to assign as preferred carers. Once the required skill has been added to their profiles, they will appear in the preferred carers list for that social group. See Set Up Staff Member's Skills
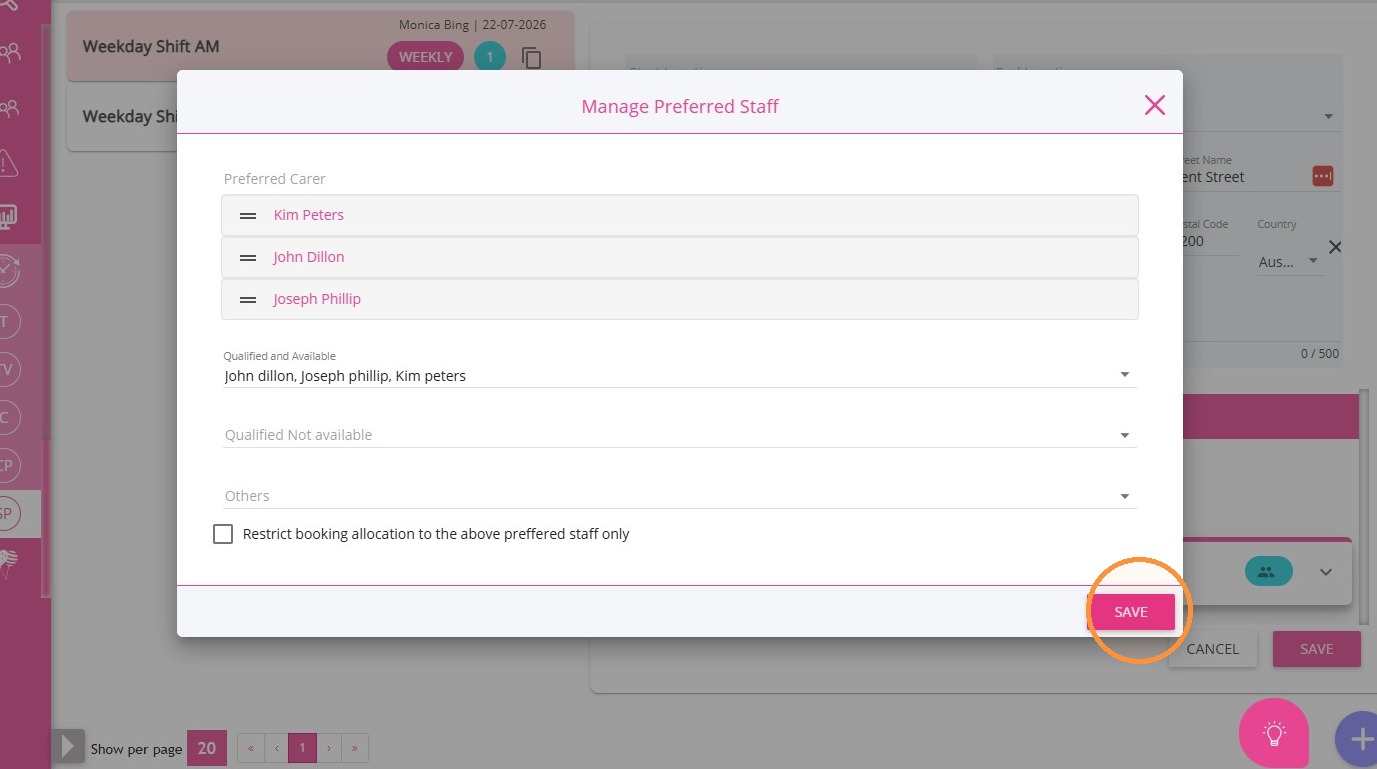
Click Save.
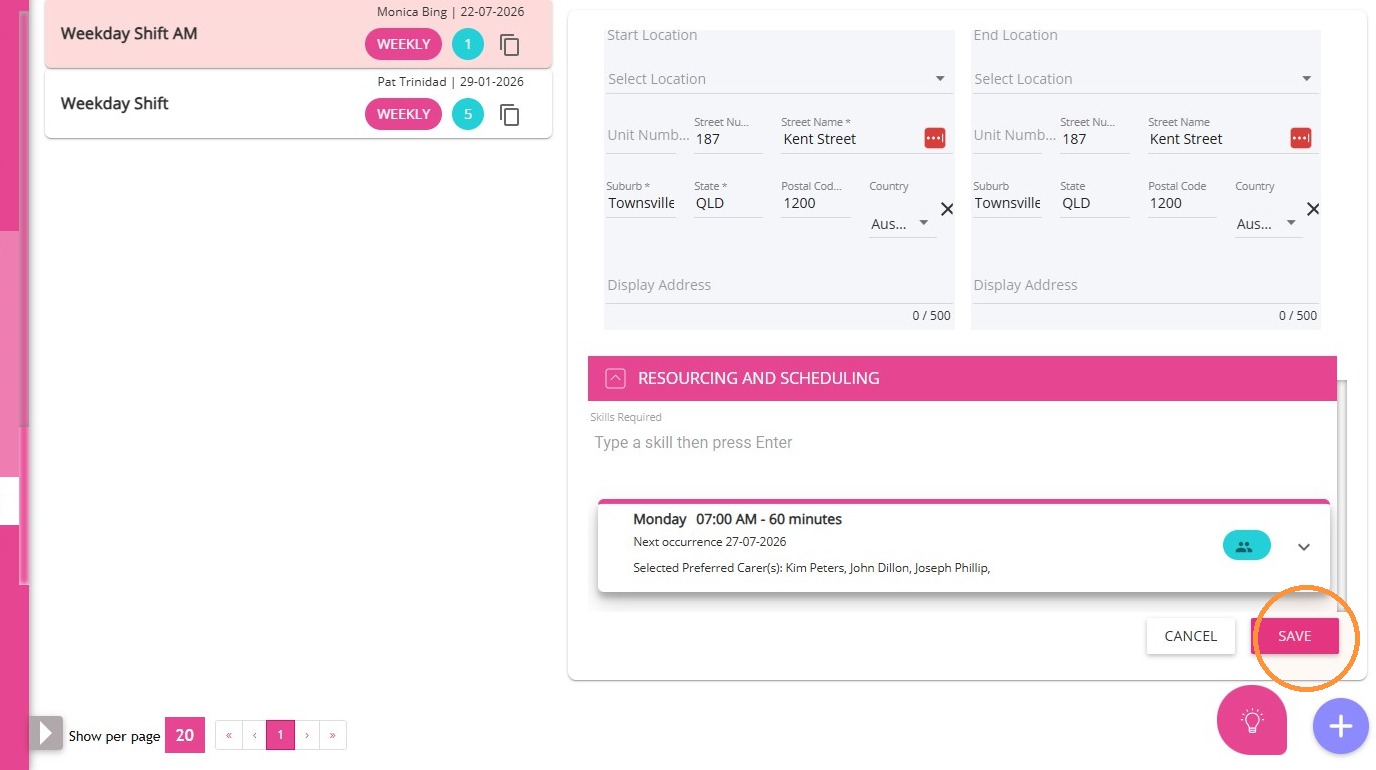
Click Save again to confirm changes to the shift pattern.
Step 4: Open the Scheduling Board
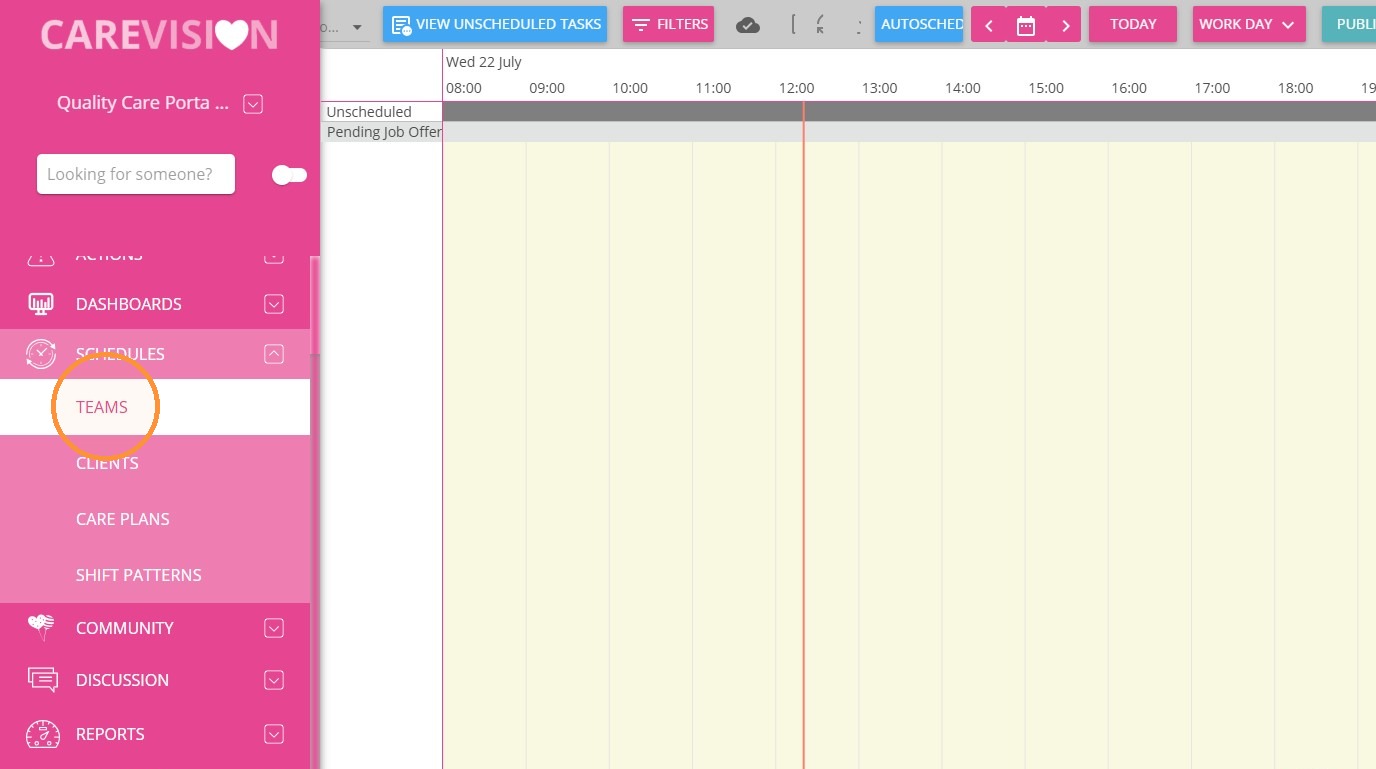
Go to Schedules > Teams.
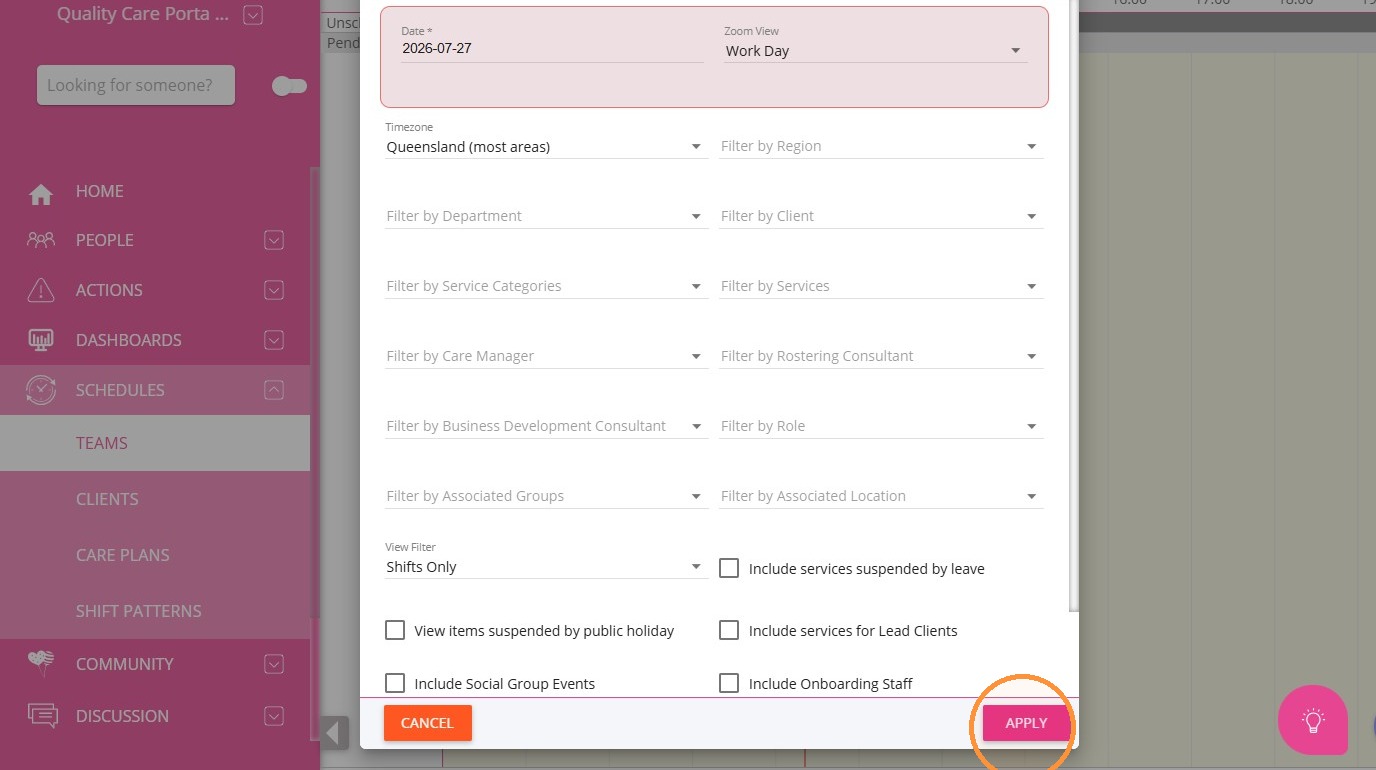
Apply filters as needed. Set the View Filter field to Shifts Only (recommended).
Then, click Apply.
Step 5: Allocate the Shift Pattern
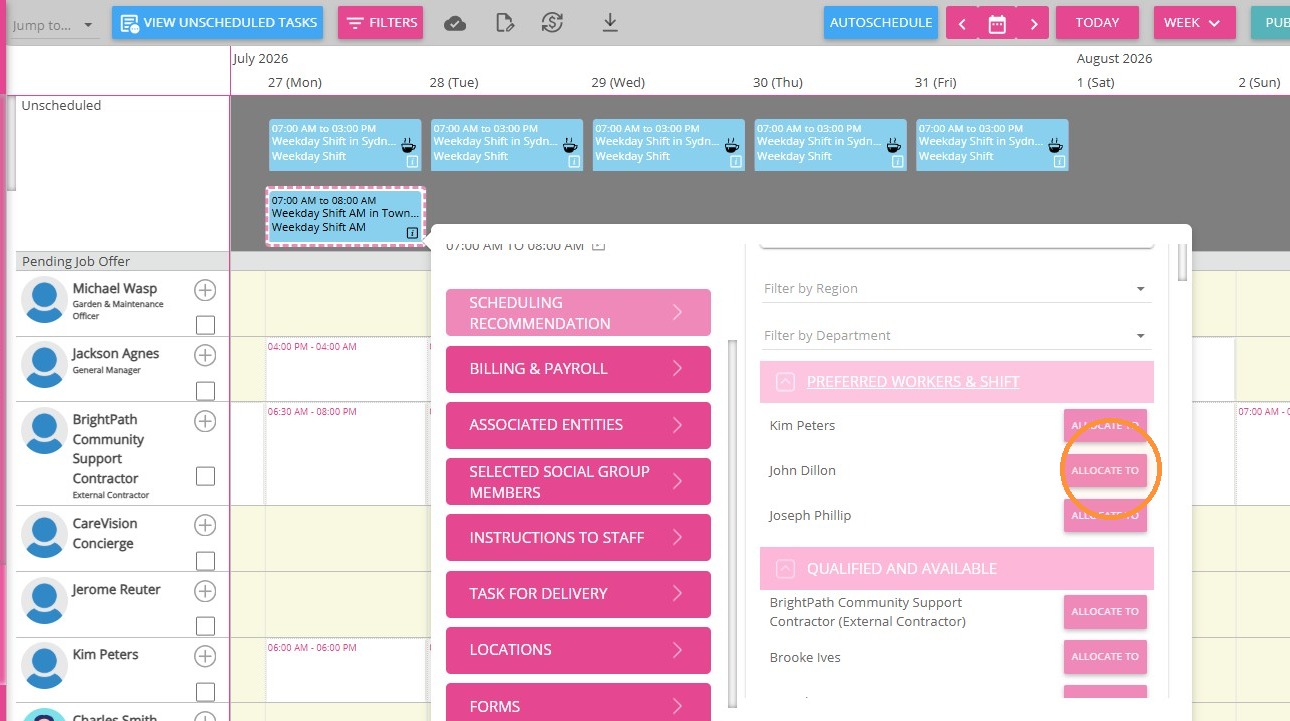
On the scheduling board, click the relevant Shift Pattern.
Option 1: Manual Allocation
Click Allocate To and select the staff member.
Click Allocate To and select the staff member.
Option 2: Auto Scheduling
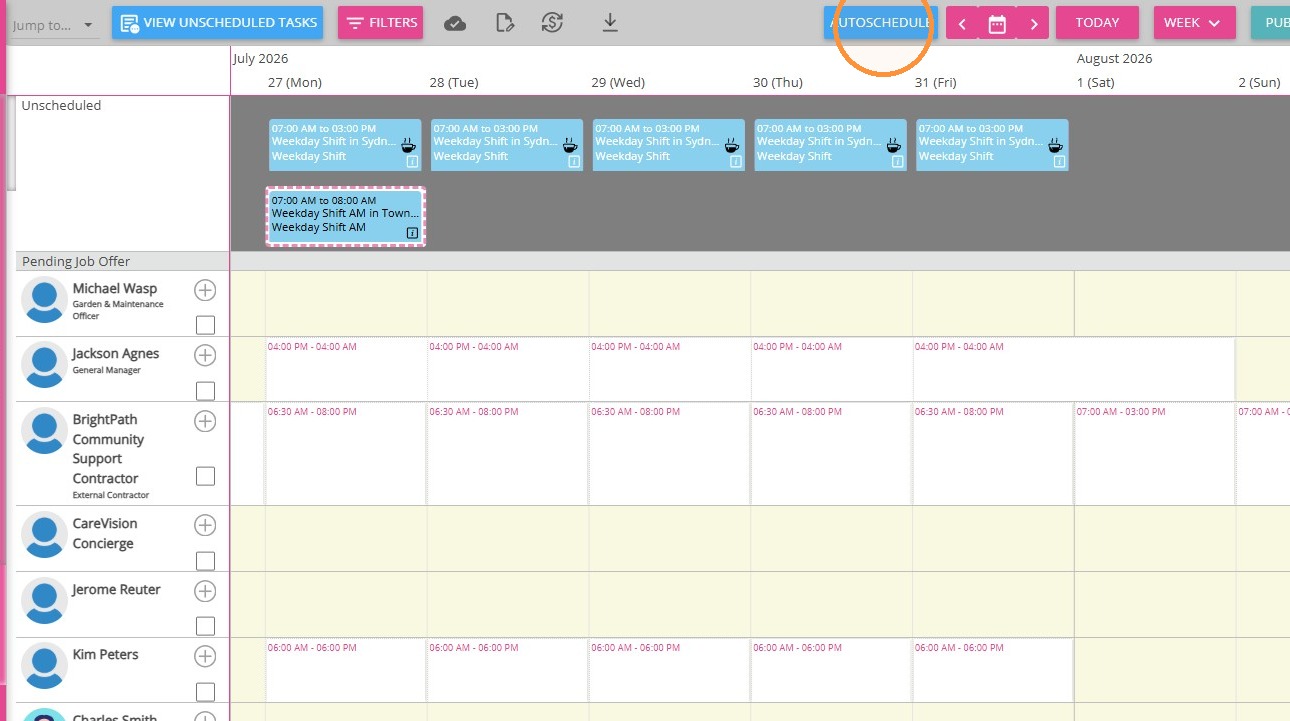
Click Autoschedule. The system will assign the shift pattern based on autoscheduling rules and preferred staff.
Click Autoschedule. The system will assign the shift pattern based on autoscheduling rules and preferred staff.
Step 6: Publish the Schedule
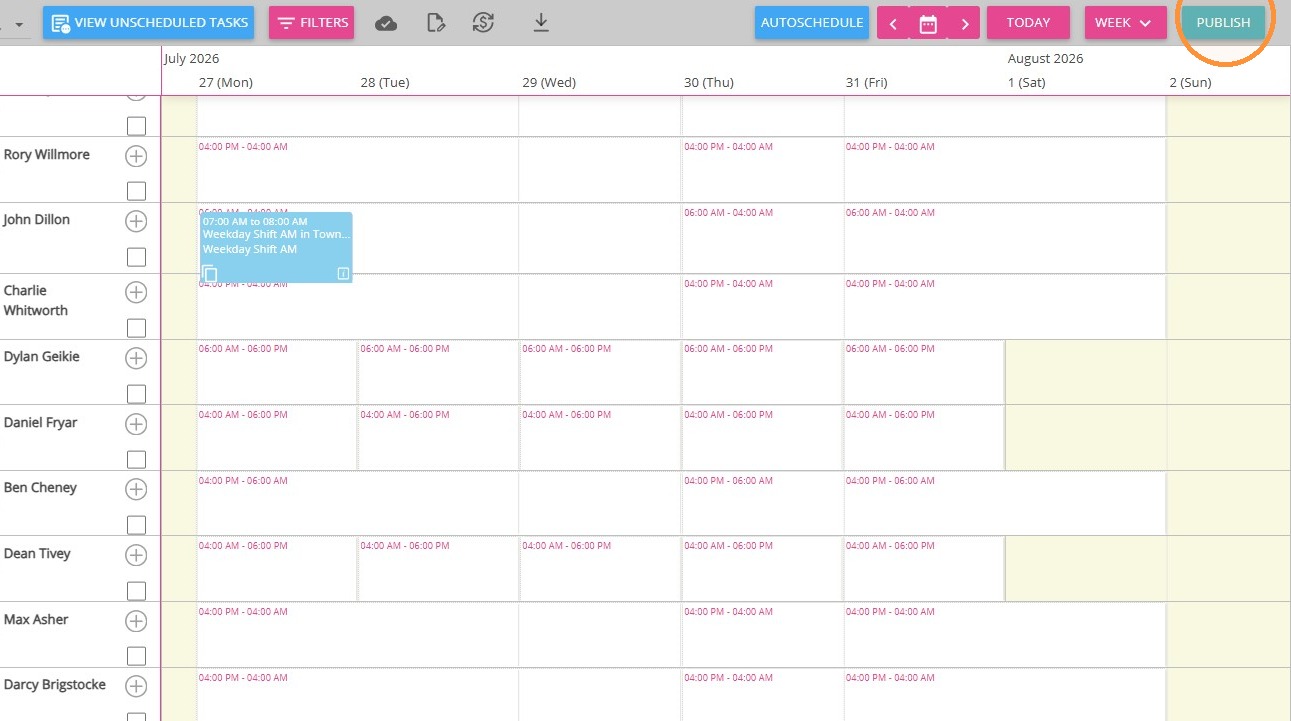
Once allocation is complete, click Publish.
Step 7: Verify the Allocation
Go to the staff member’s calendar.
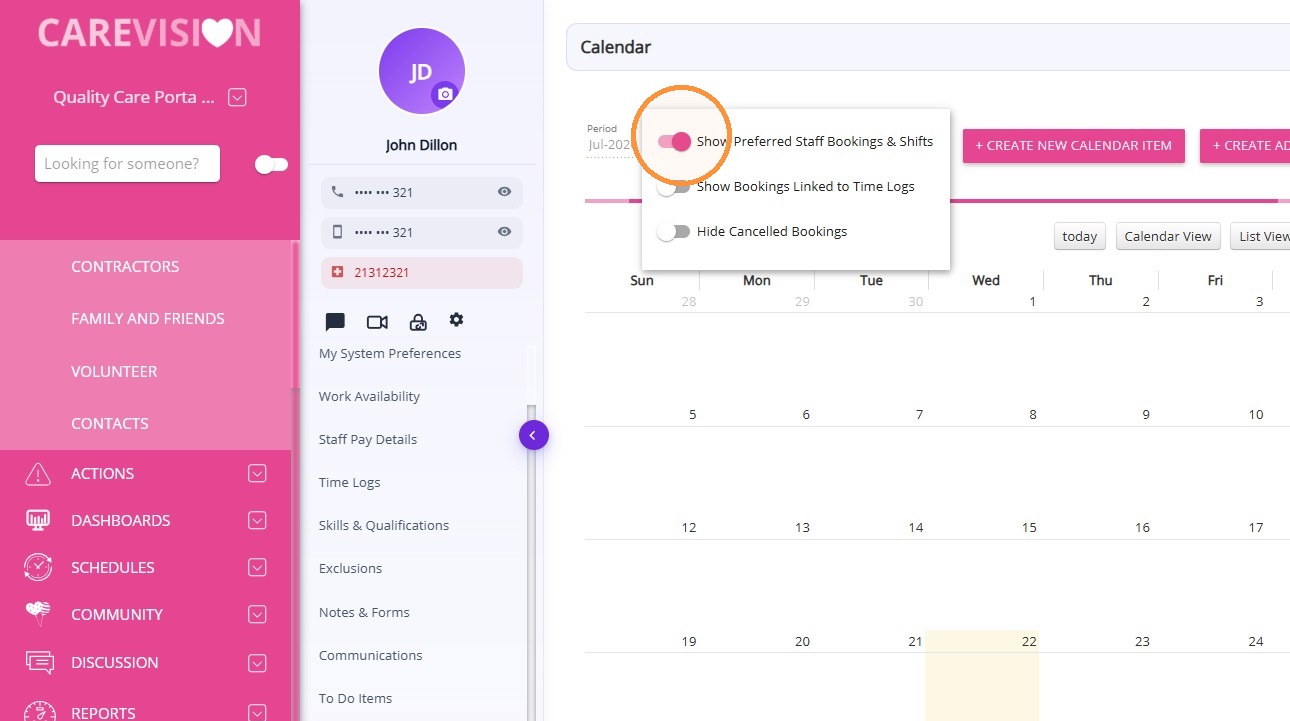
Enable the filter Show Preferred Staff Bookings & Shifts.
Enable the filter Show Preferred Staff Bookings & Shifts.
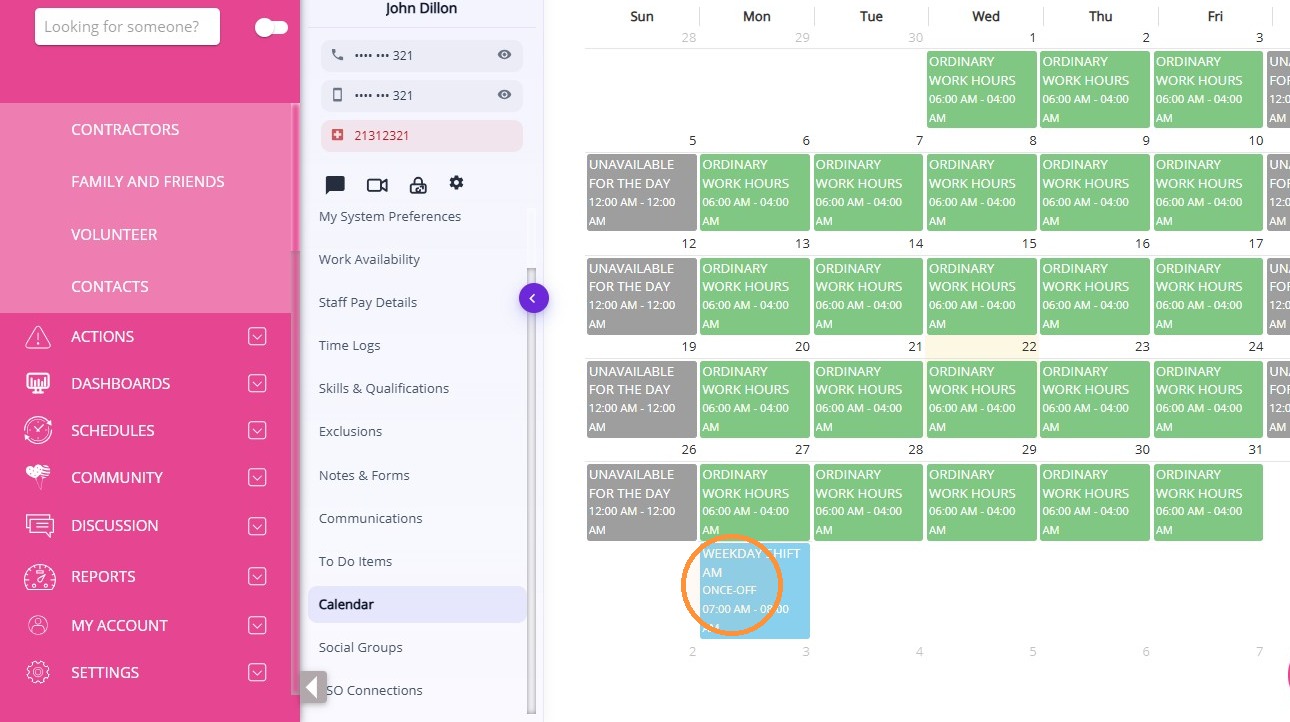
The published shift pattern will be visible on the staff member’s calendar.
This topic outlined how to assign staff to a shift pattern with an associated social group. For more information about shift pattern scheduling and staff allocation, contact the CareVision Support Team.