How to Add a Profile Picture
This topic describes how to upload and manage profile photos for Clients, Teams, and Volunteers within CareVision.
Keywords: profile photo upload, client profile image, carevision profile setup, team member photo, upload profile picture, client identification, image upload steps, profile management
Steps
- From the left navigation pane, select either Clients, Teams, or Volunteers.
- Open the profile where you want to add a photo.
- Go to the Detailed Profile section of the profile page.
- Click the camera icon on the profile picture.
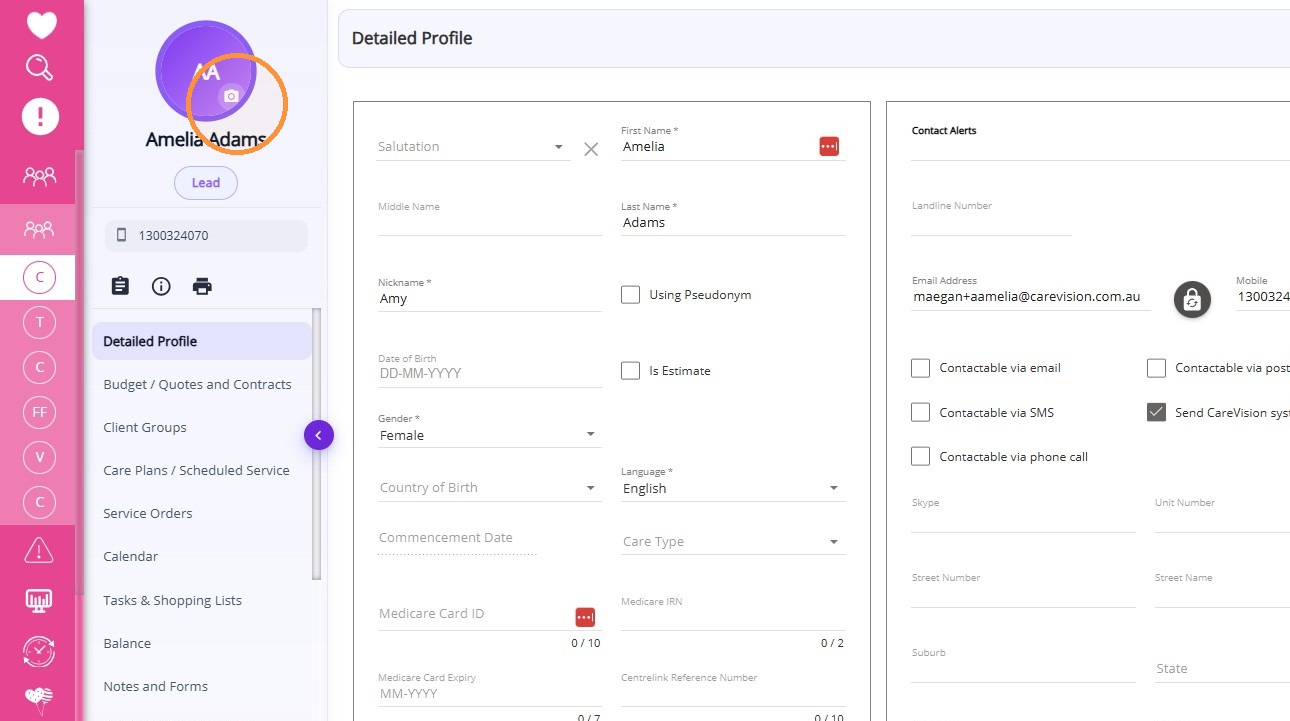
5. Select a photo from your computer (JPG or PNG format).
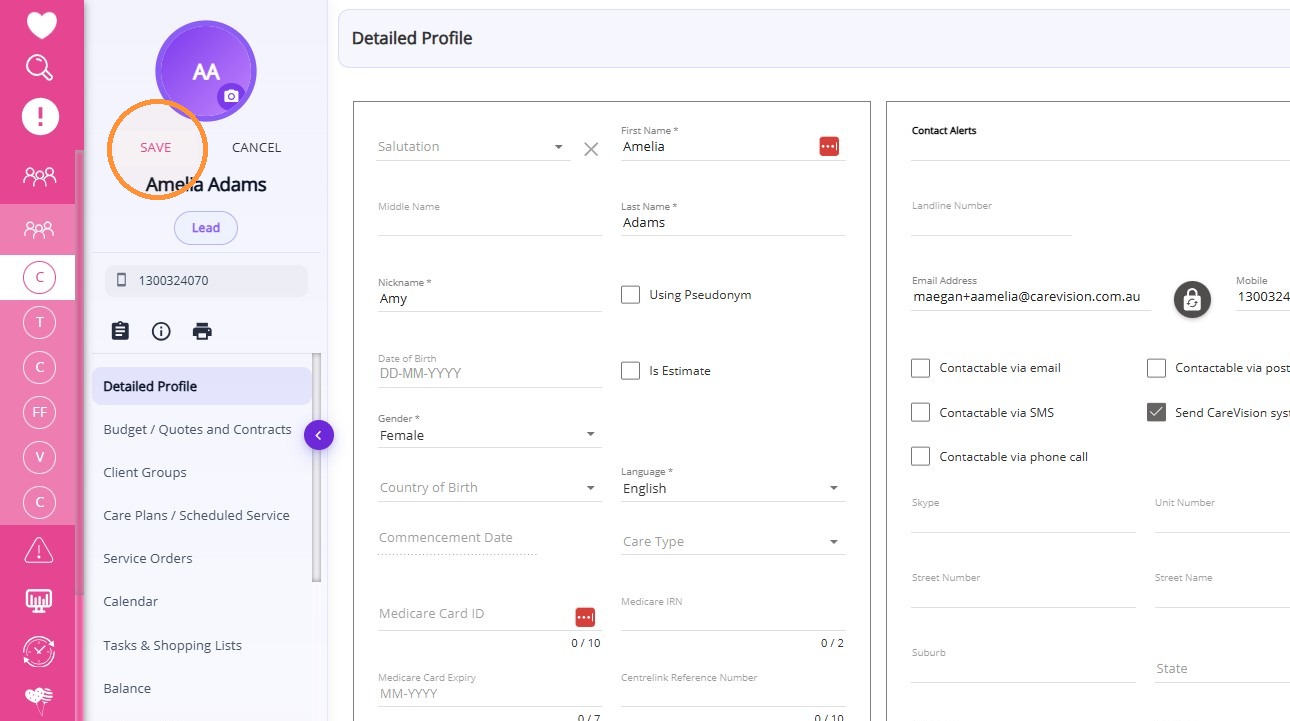
6. Click Save to upload the image.
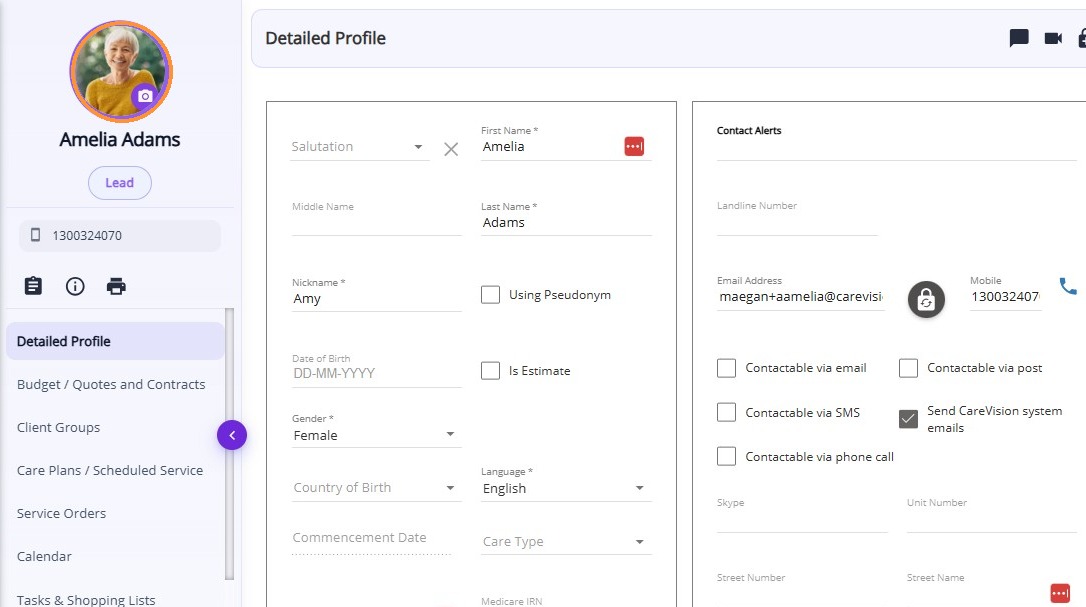
7. Once the upload is complete, refresh the page by clicking the refresh icon in your browser (usually located next to the address bar) or by pressing F5 on your keyboard.
8. Your uploaded photo will now appear as the profile picture.

Note: For best results, use a square image (4:4 ratio), such as 300 x 300 or 500 x 500 pixels, or larger.
This topic explained how to upload profile photos and ensure they display correctly across Clients, Teams, and Volunteers. For more information about profile photo setup, contact the CareVision Support Team.