Configure Contractor Notifications
I. Configure contractor notifications
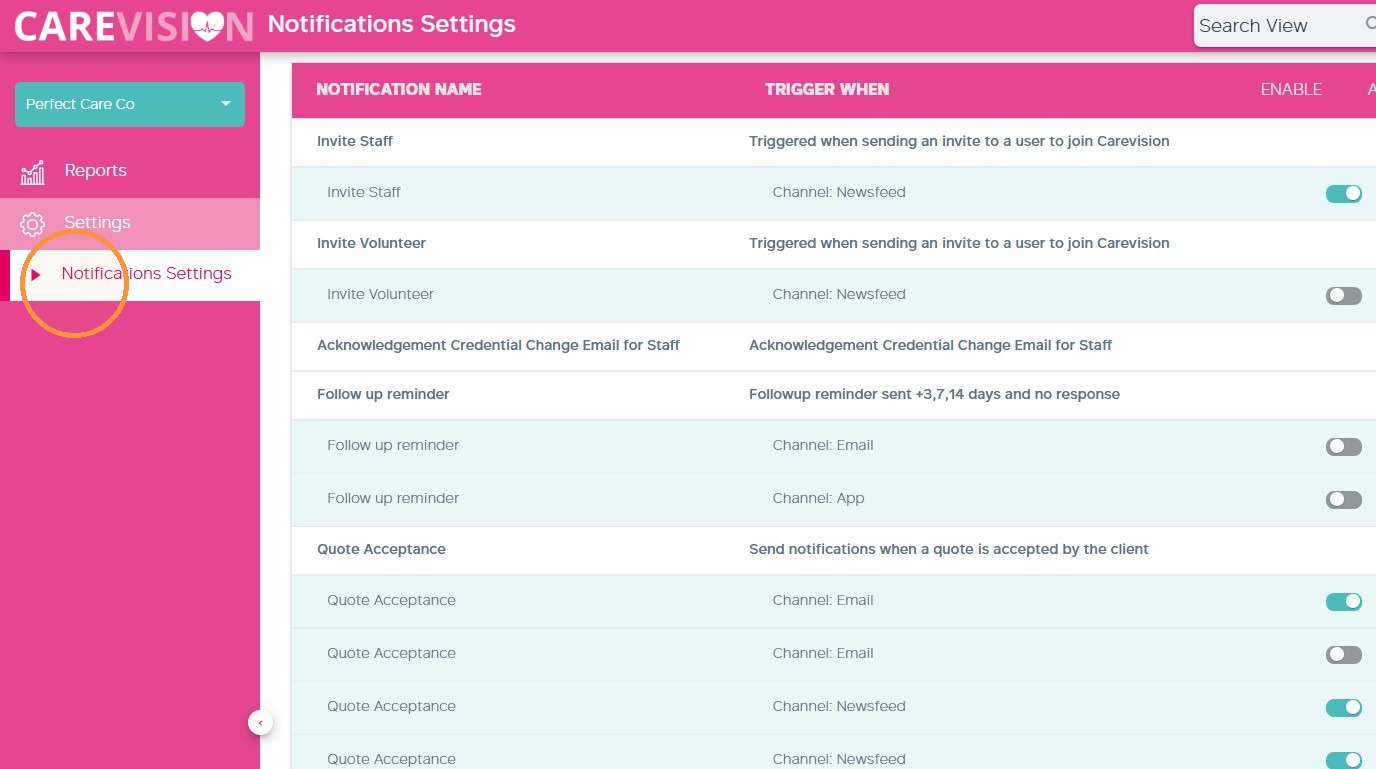
2. From the left navigation pane, go to Settings > Notification Settings.
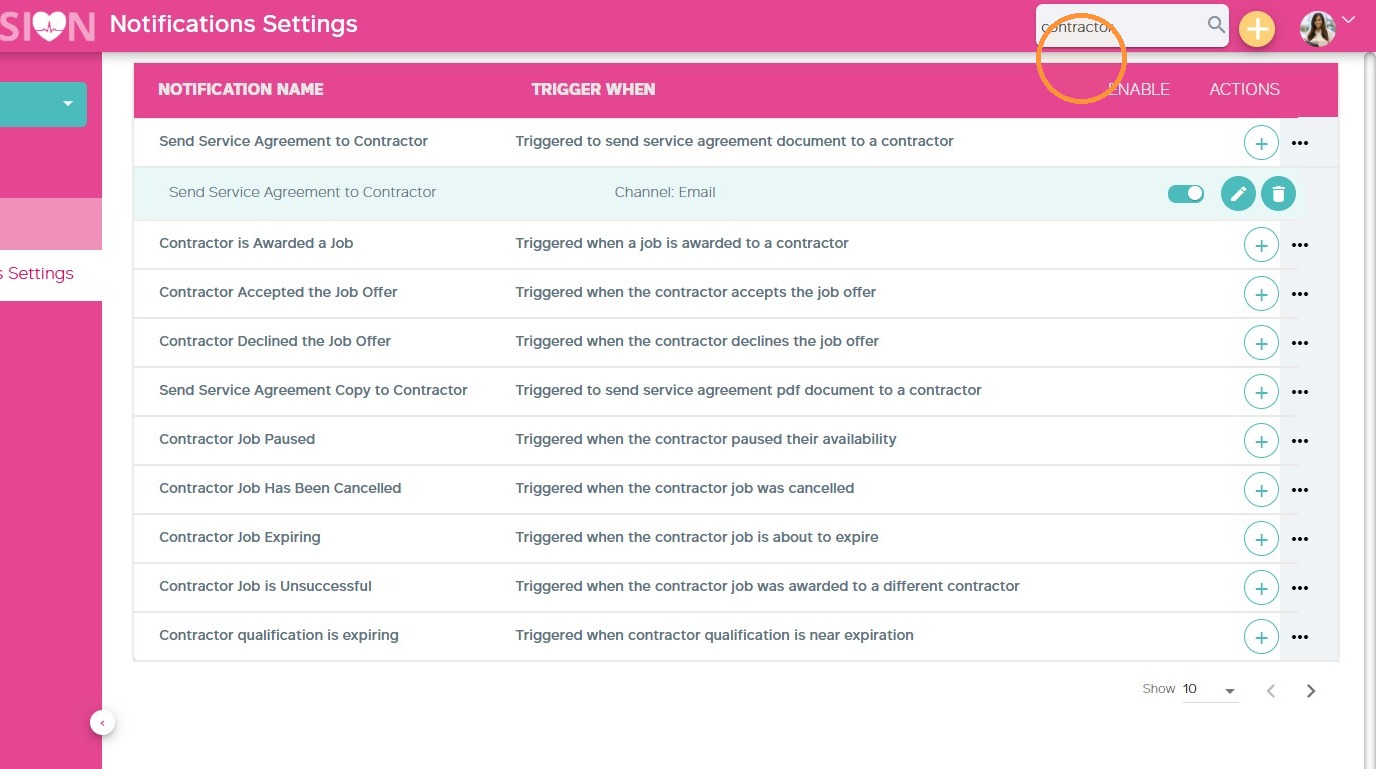
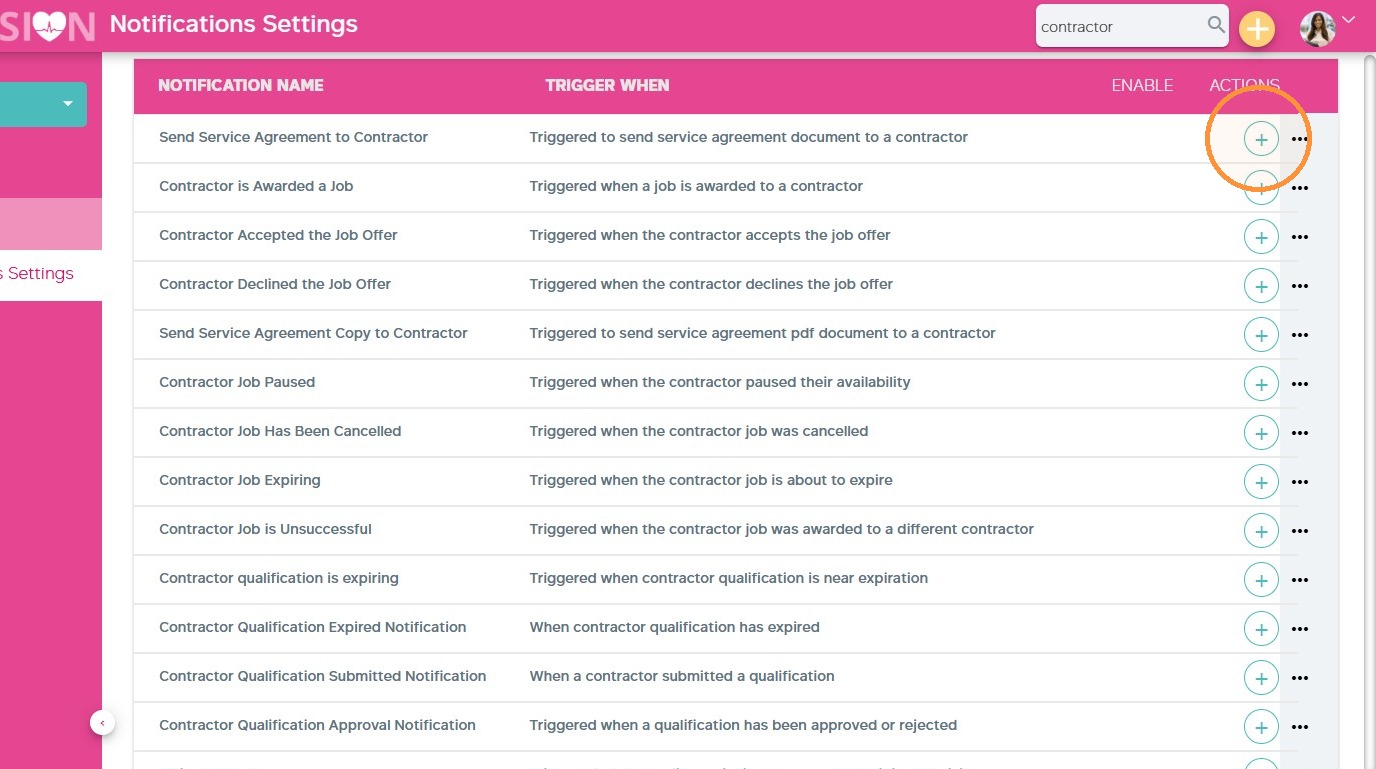
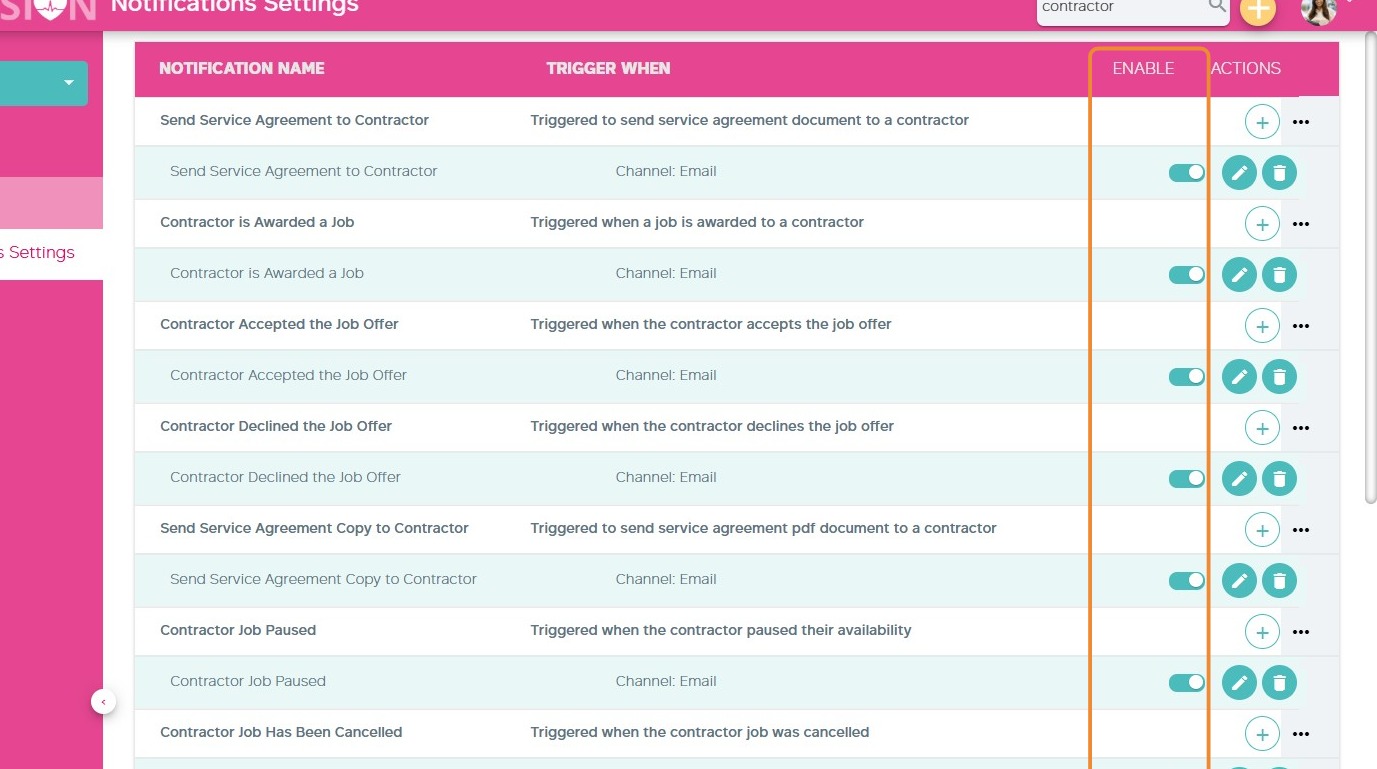
2. In the search bar, enter Contractor. This filters the list to display all contractor-related notification trigger points.
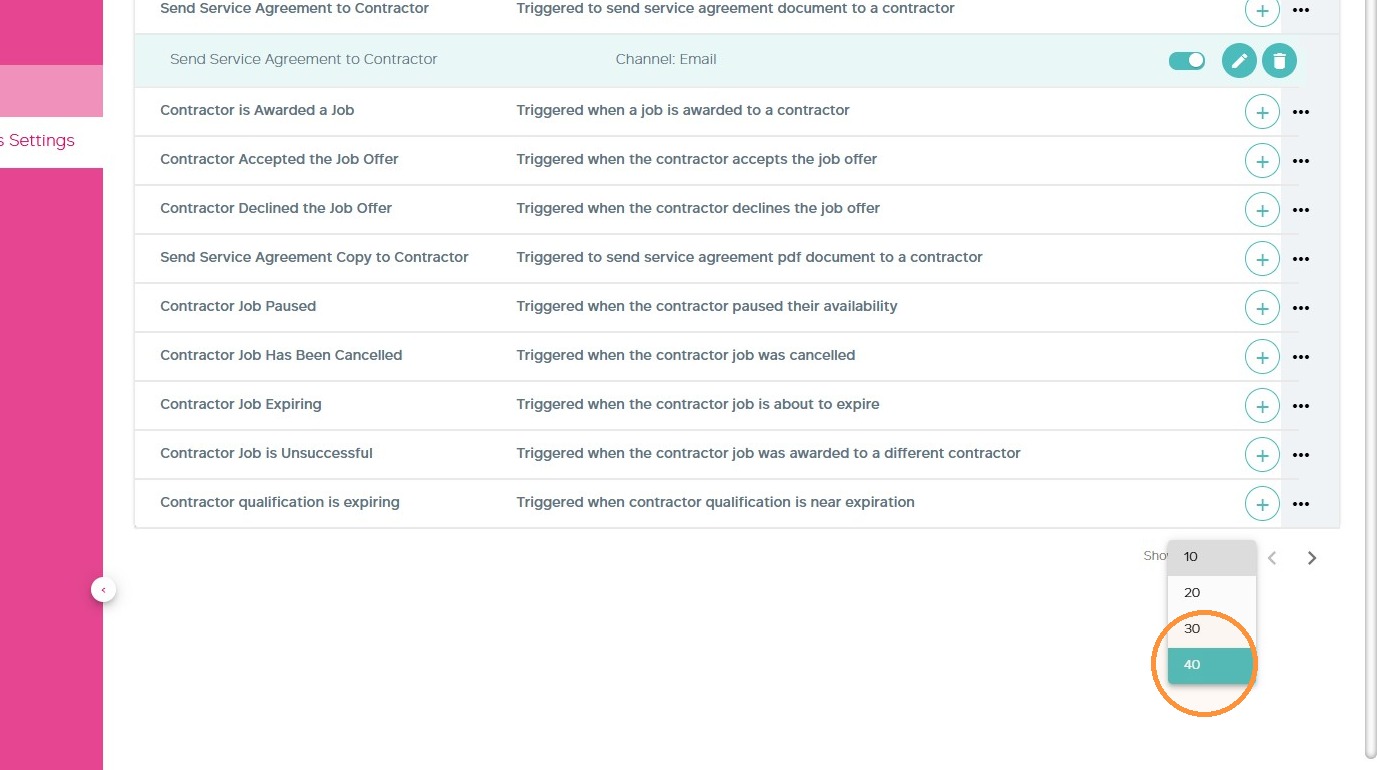
3. Set the maximum number of results displayed per page to 40.
4. Review the available notifications.
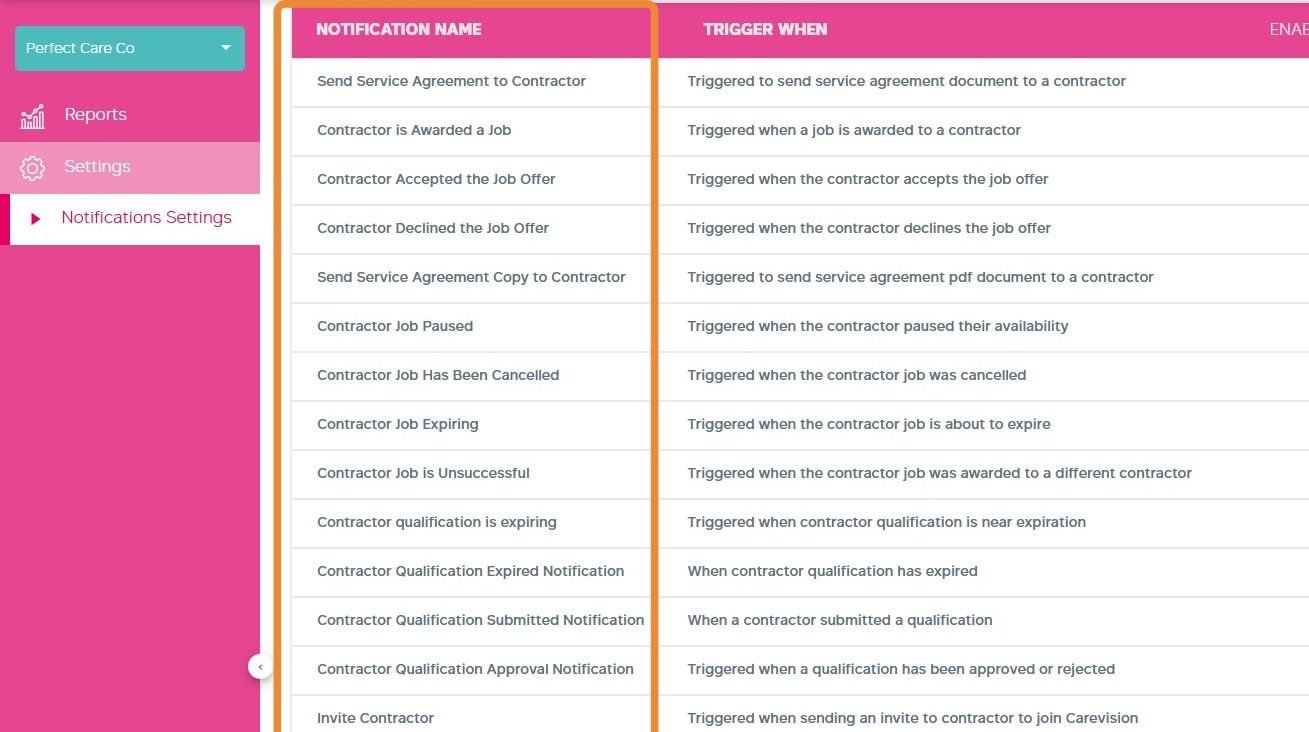
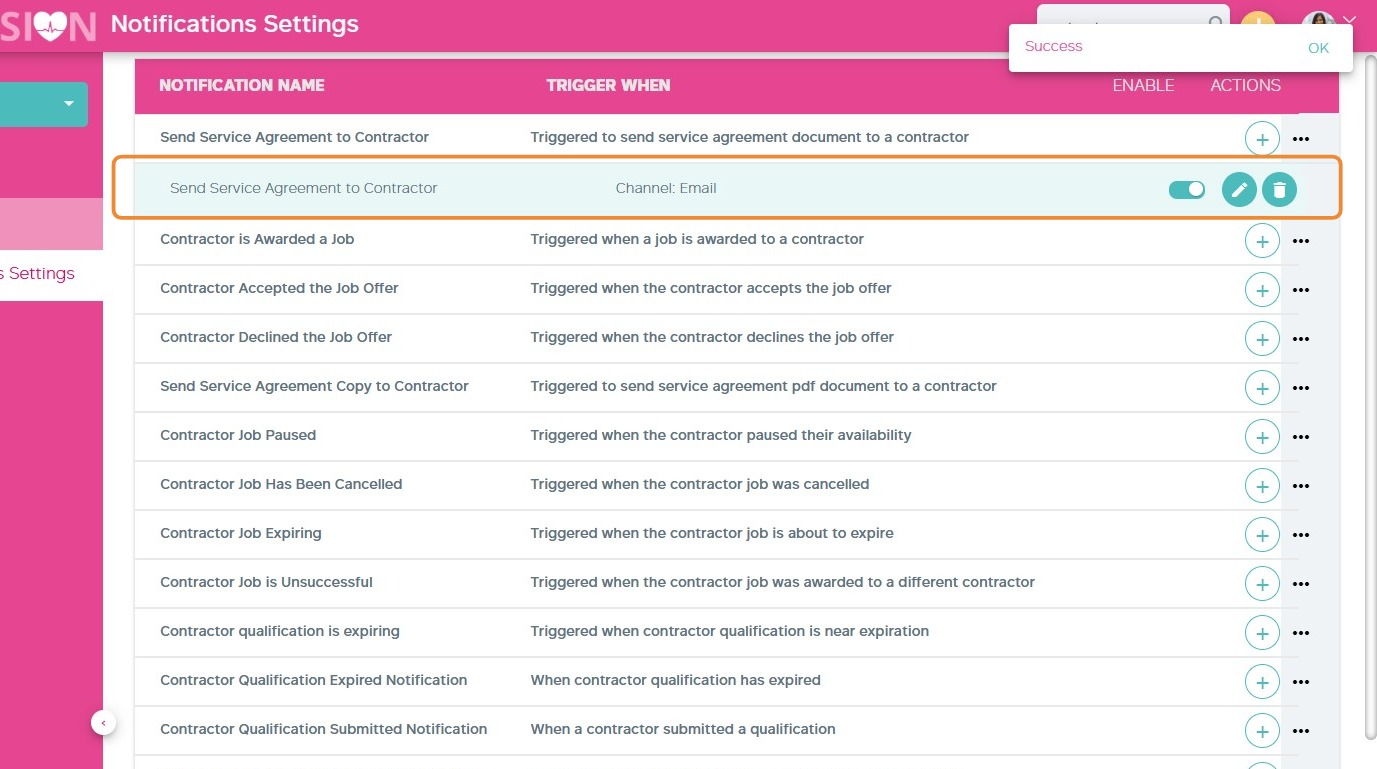
5. Each row represents a trigger point that can be configured and independently turned on or off. To configure a notification, click the plus (+) icon next to it.
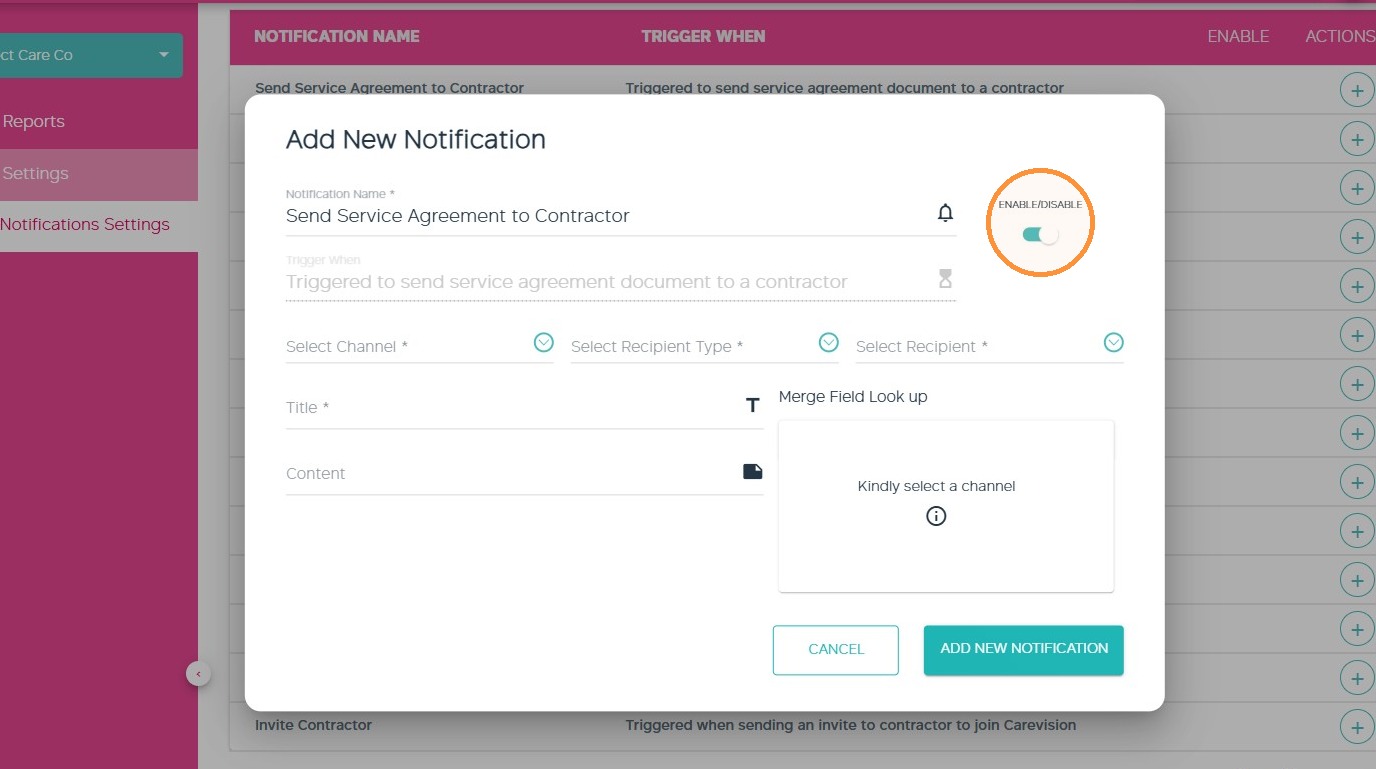
6. Turn on the Enable Notifications toggle.
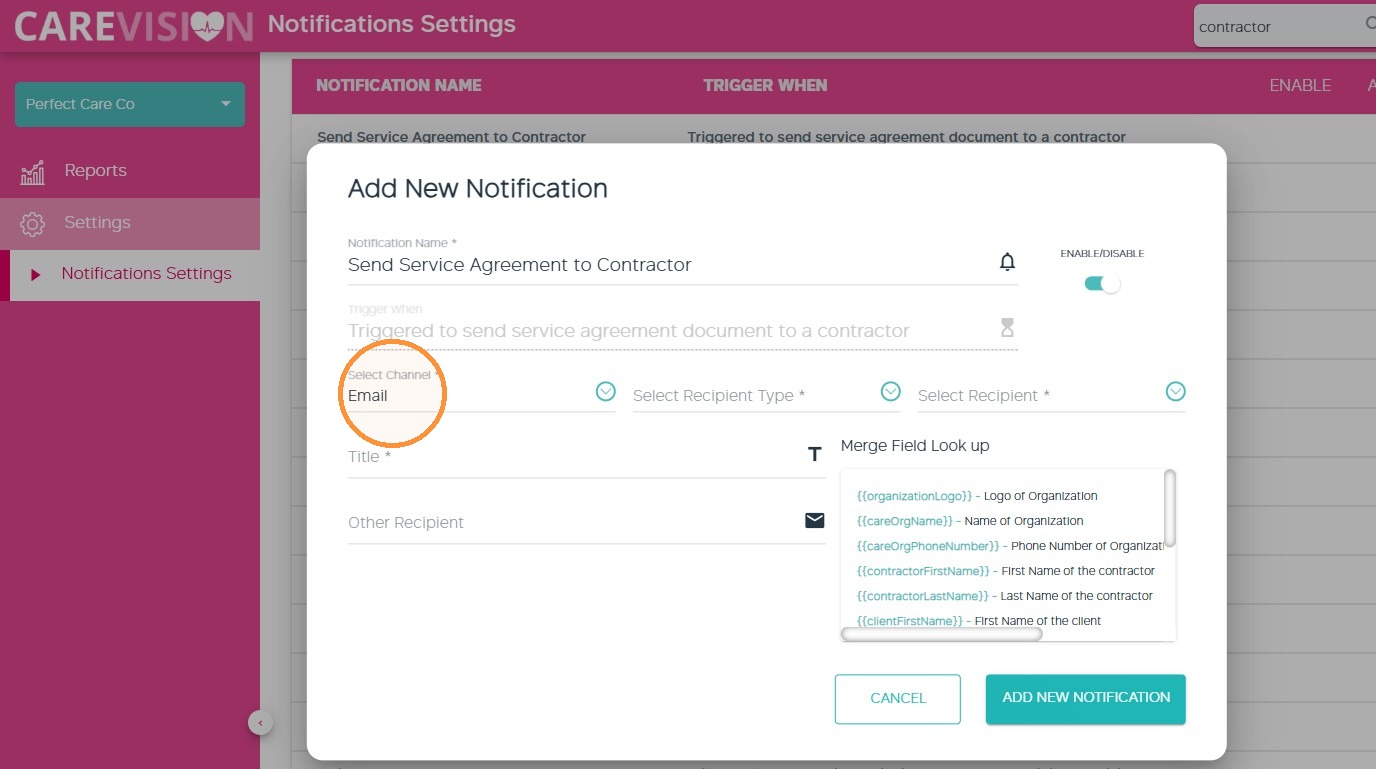
7. In the Select Channel field, select Email. This determines how the notification will be delivered. If other channels are configured for the test, each selected channel should also be validated.
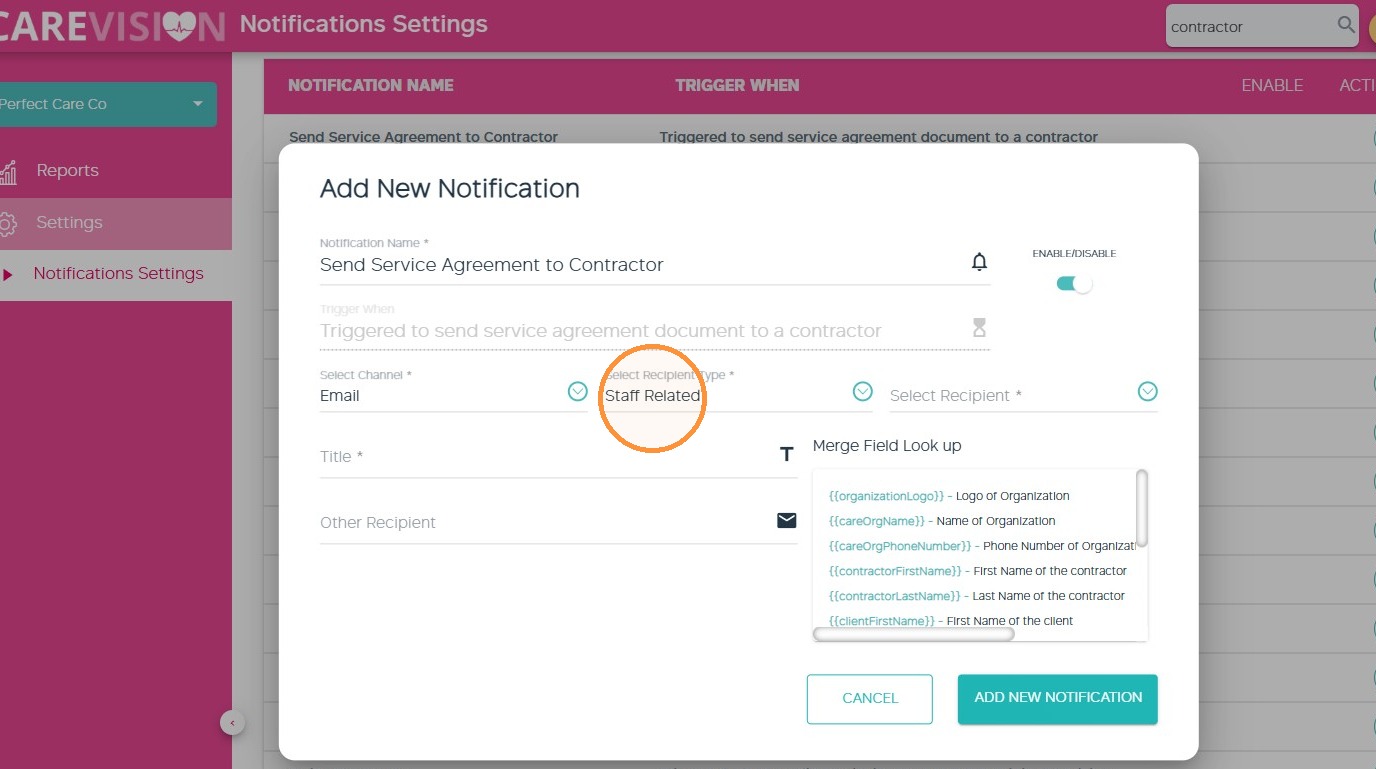
8. In the Select Recipient Type field, select Staff Related.
9. In the Select Recipient field, select Contractor. This directs the notification to the contractor associated with the relevant workflow or trigger.
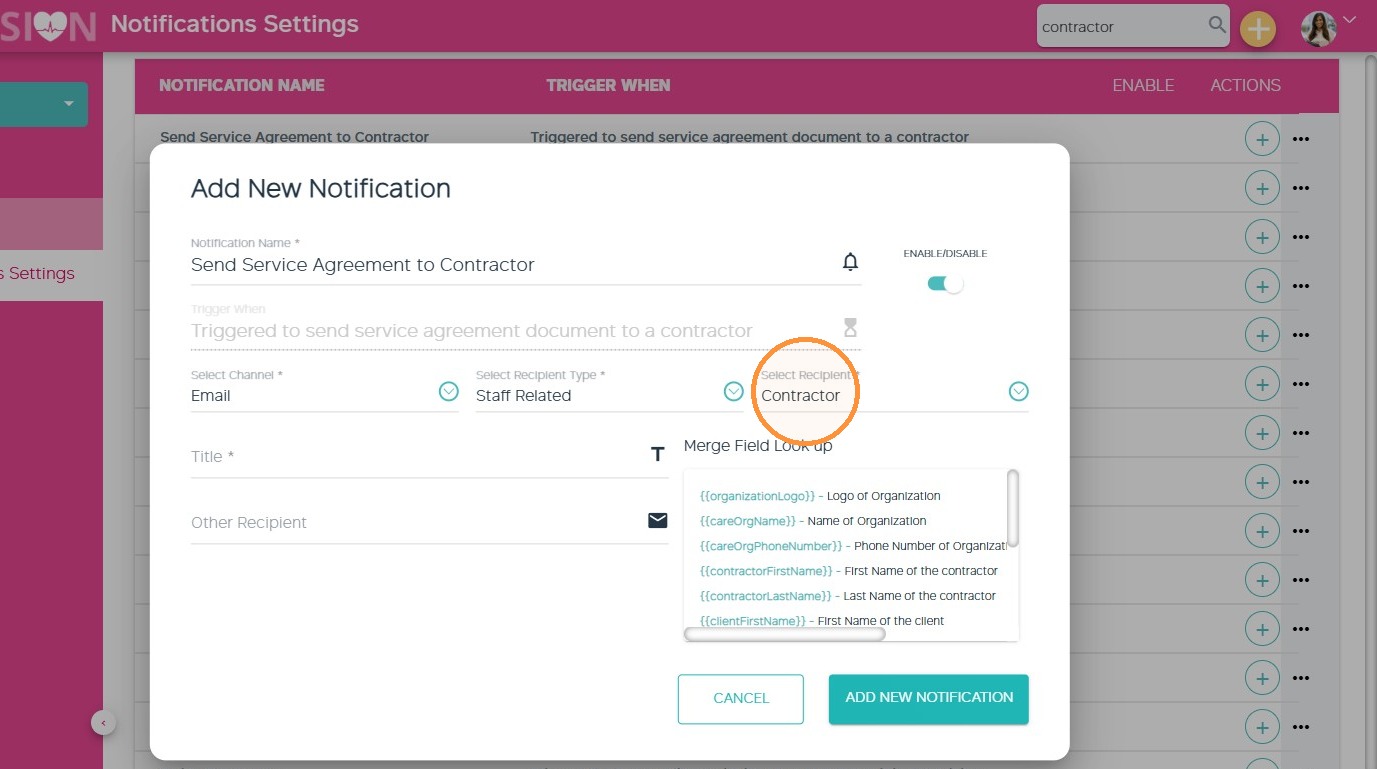
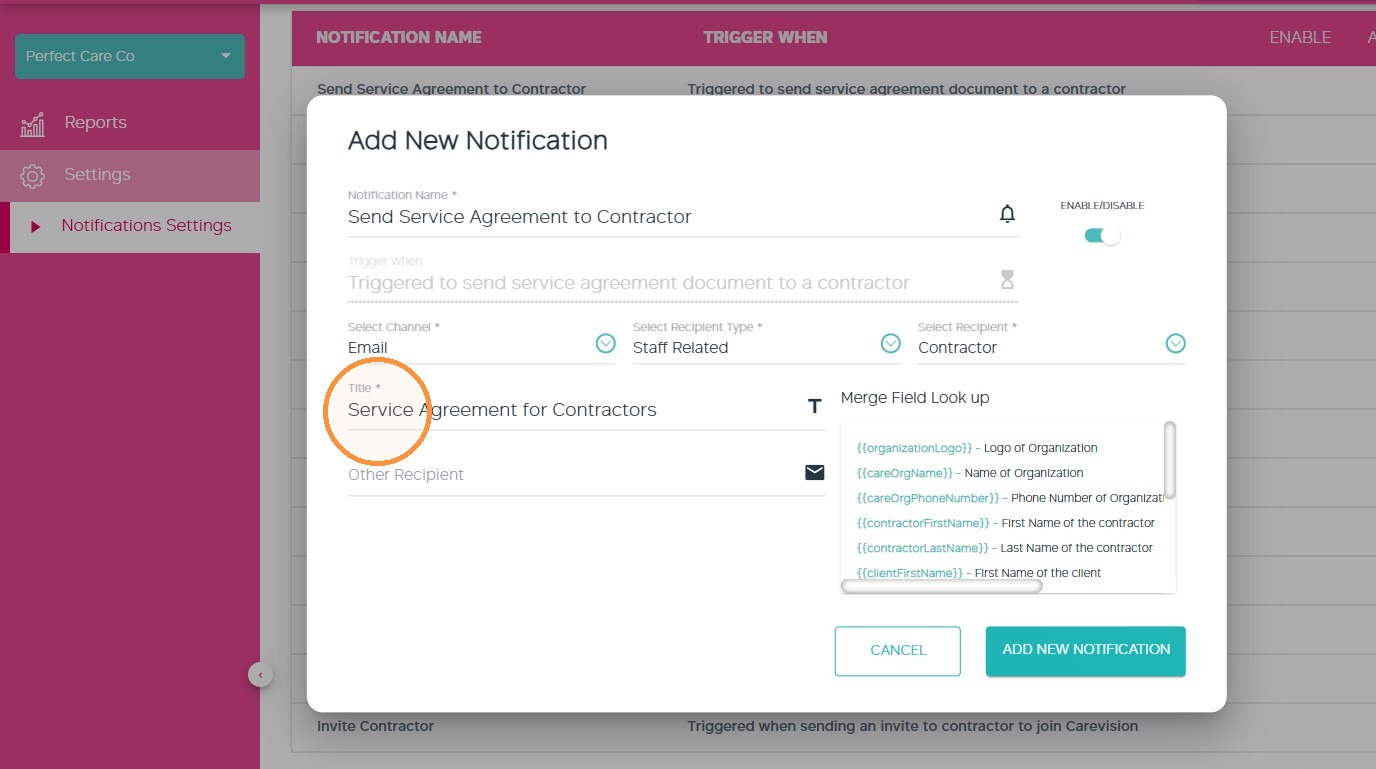
10. In the Title field, enter the notification title. The text entered here will appear as the email subject line.
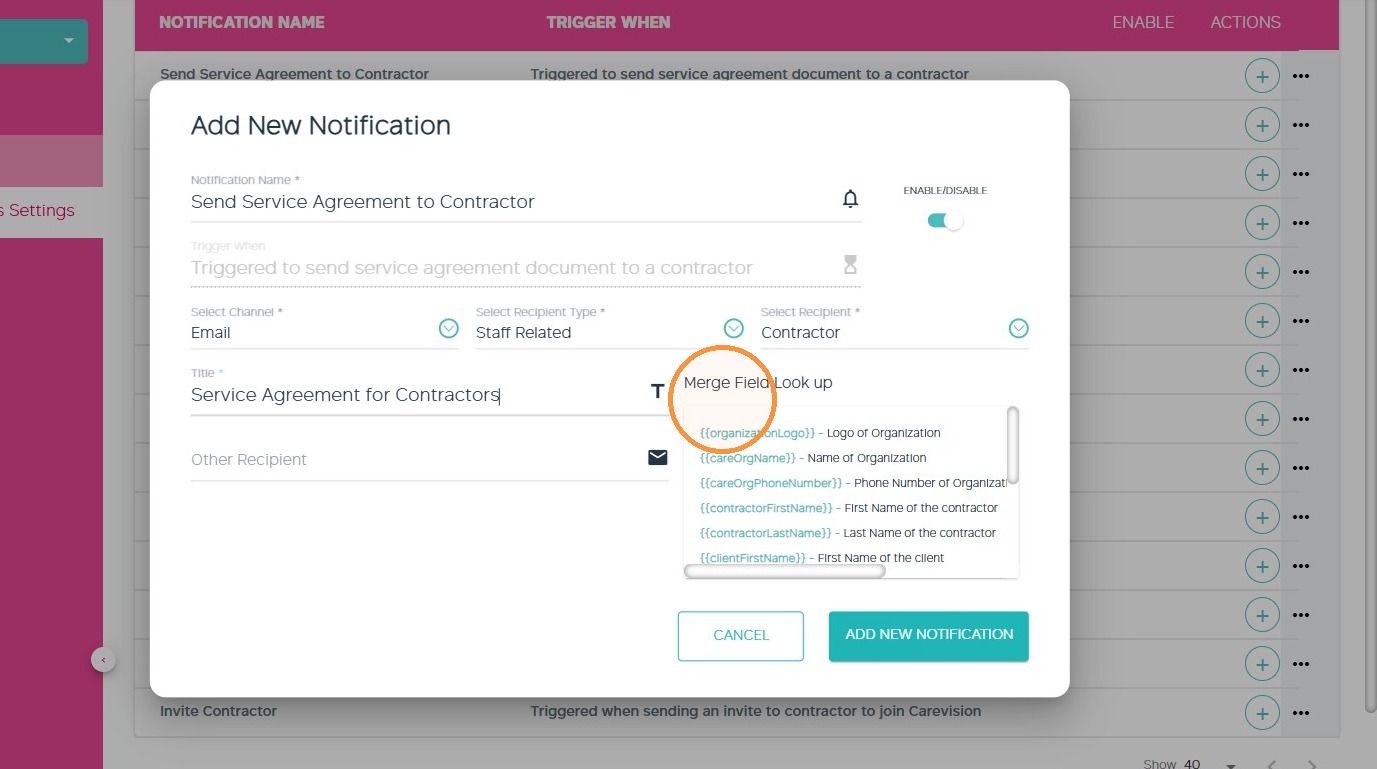
11. The Merge Field Lookup field displays the available merge elements that can be included in the notification content, such as information relating to the contractor, client, booking, service, or job. The available fields may vary by notification trigger.
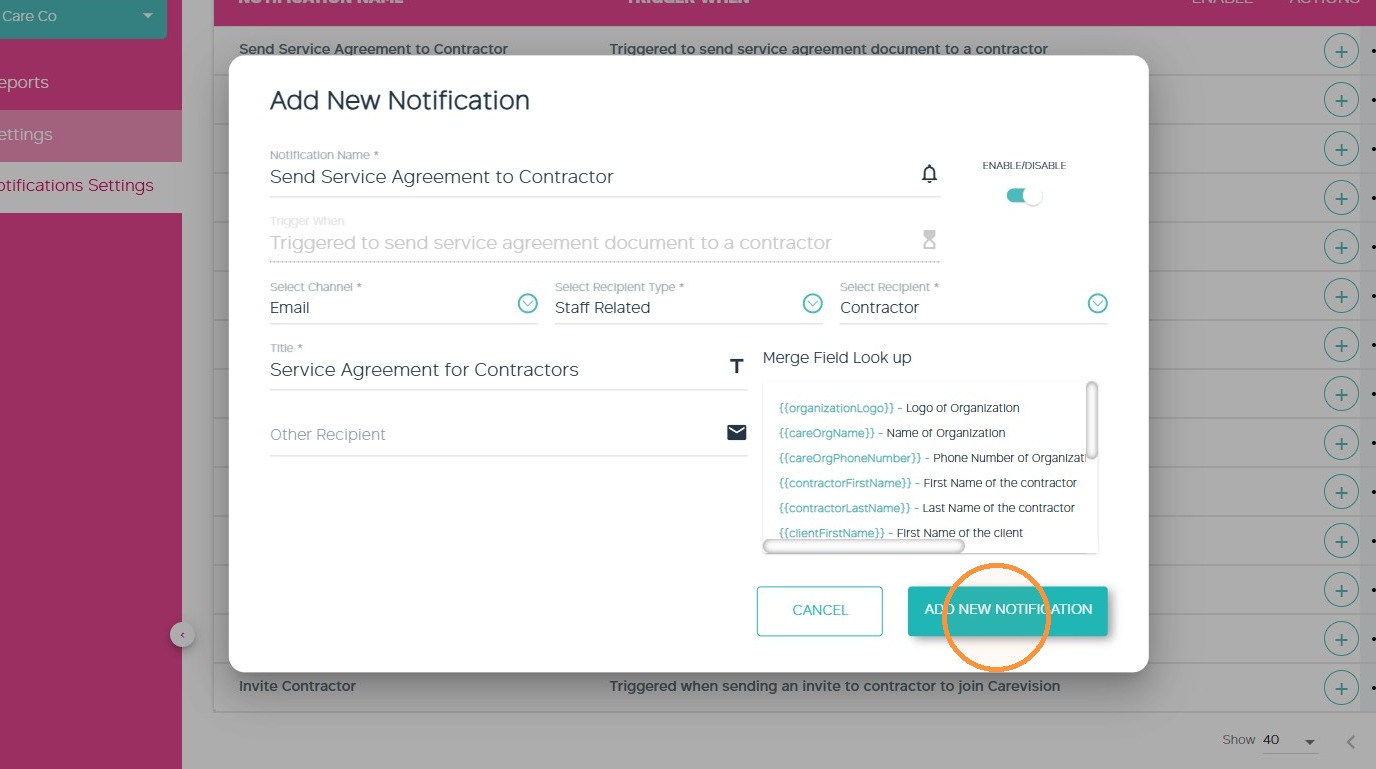
12. Click Add New Notification to save the configuration.
13. The newly added notification appears as a green-highlighted row. The green highlighting indicates that a configuration has been added for that trigger point.
II. Configure Head Office and Branch Notifications
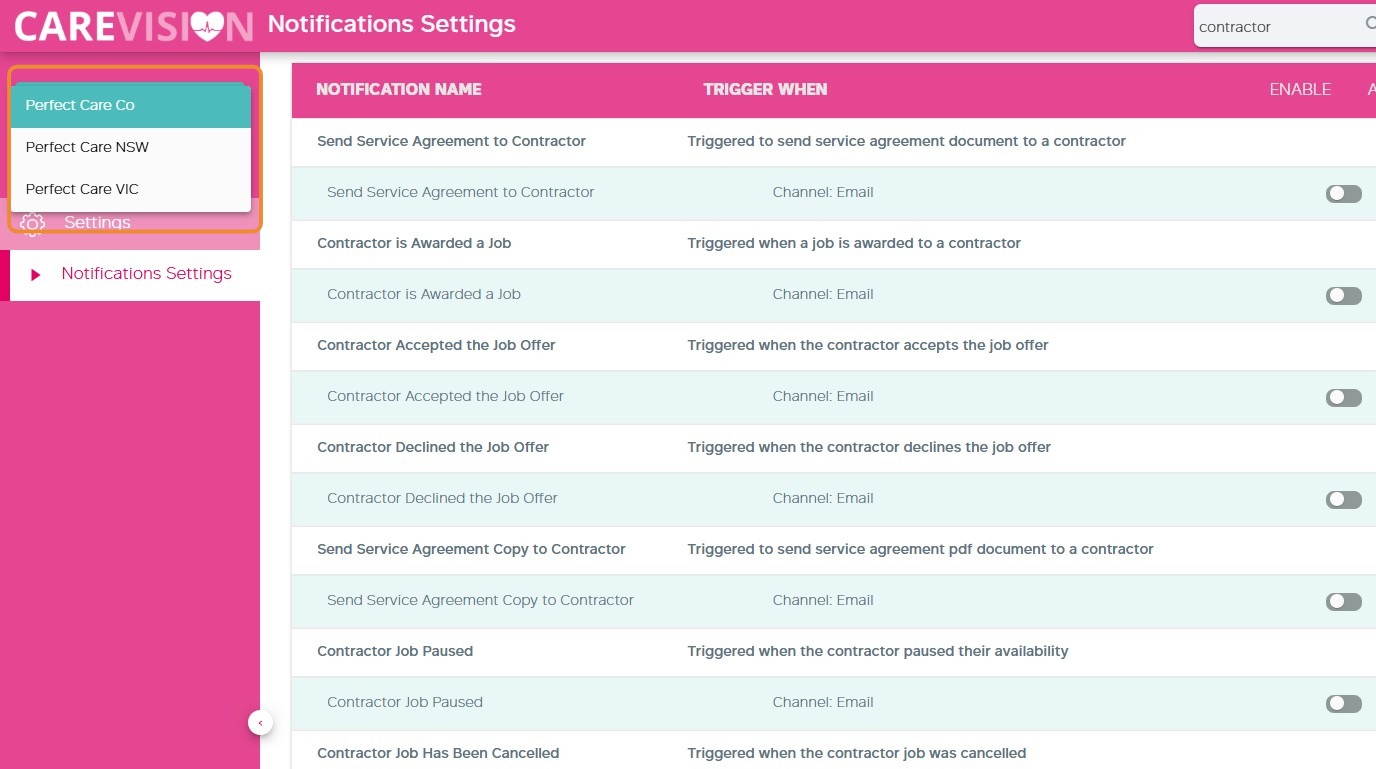
Head Office
At least one branch
Additional branches where the business wants further assurance that the behaviour is consistent
Use internal email addresses so all test messages remain within the organisation.
Testing both structures proves that notifications behave correctly at Head Office and branch levels.
III. Configure the organisation-wide notification switch
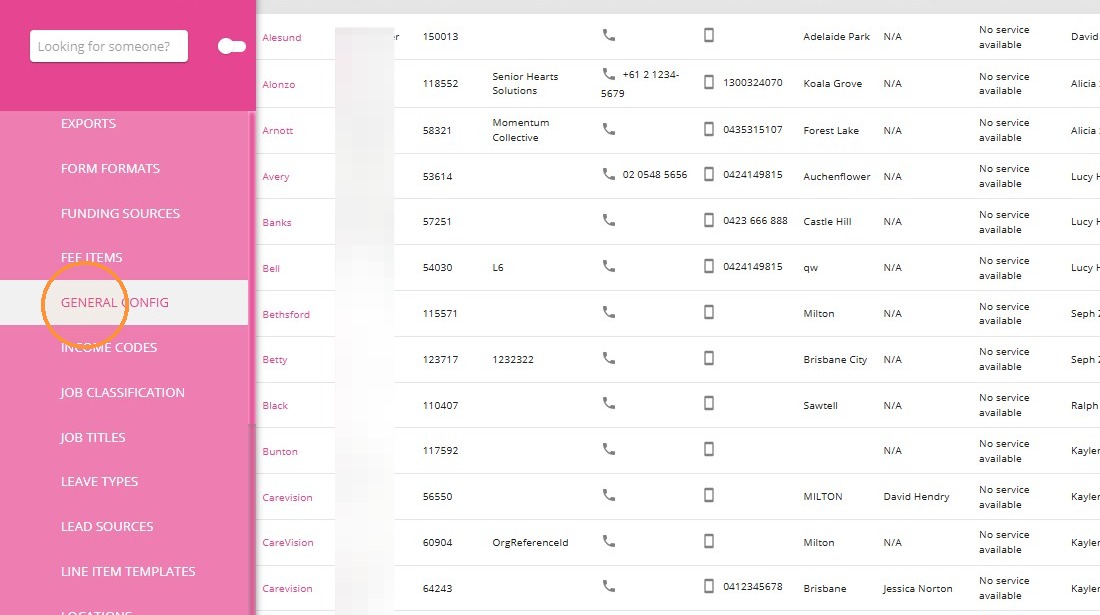
1. From the left navigation pane, go to Settings > General Config.
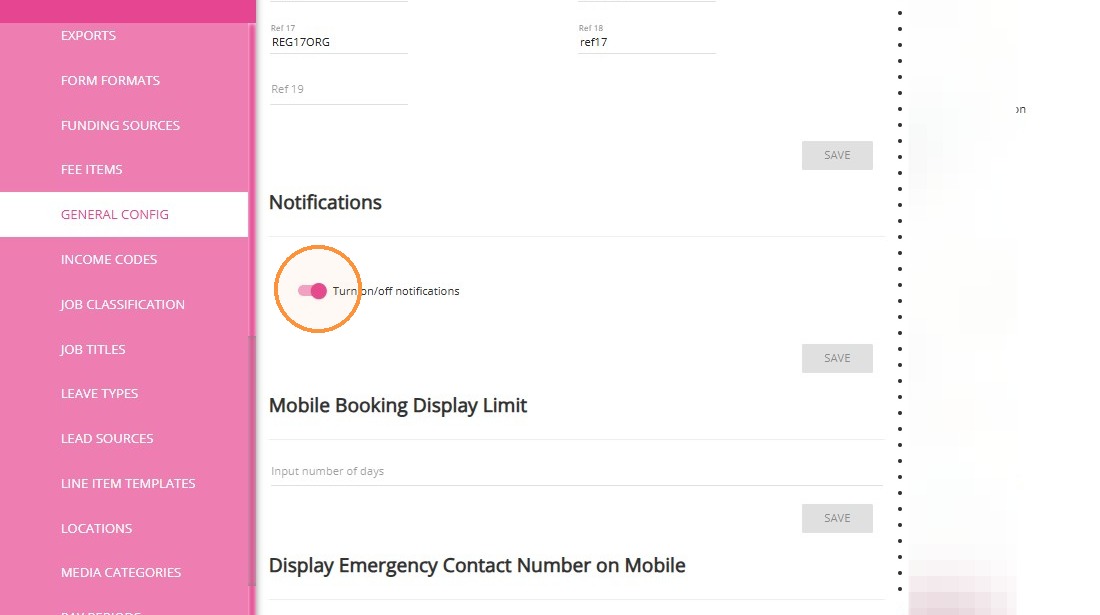
Enable the notification.
Fire the relevant workflow trigger.
Confirm that the contractor receives the expected email.
Disable the same notification.
Fire the workflow trigger again.
Confirm that the contractor does not receive an email.
Record the result for that notification trigger.
Repeat the applicable tests at Head Office and Branch level.
Section IV: Review Contractor Recommendations and Select Contractors
Section VI: Contractor Receives and Responds to Award Request
Section VII: Review Contractor Responses and Select Awardees